*This post contains affiliate links and may earn commissions on recommended products. As an Amazon Associate, I earn from qualifying purchases.


Extend the flavor of fresh chives by learning how to dry chives at home. It’s an easy and economical way to have chives on hand no matter the season.
One of my favorite things to grow is chives, because they are so easy to take care of! They add a burst of onion flavor without the bite and are perfect for adding to so many dishes, from baked potato soup to chive cream cheese.
Chives grow quickly and come back year after year. The only downside is that living in the Midwest, they die back in the winter.
However, by drying chives you can use their flavor even through those cold months!
Drying herbs like chives is an easy and economical way to boost flavor in your recipes.
Plus, you don’t need any special equipment to get started.
How to harvest chives
Chives can be harvested multiple times throughout the growing season.
Cut them back to no less than 2 inches above the ground so they can grow back.
Ideally, you’ll want to cut at least 5 inches of length to have enough chives for using or drying.
Remove any dead or yellowing leaves.
If your chives have flowered, you can turn the chive blossoms into chive blossom vinegar by steeping them in white wine vinegar, or use the blossoms as a salad garnish.
Gently rinse and pat the chives dry to remove excess moisture.
How to dry chives
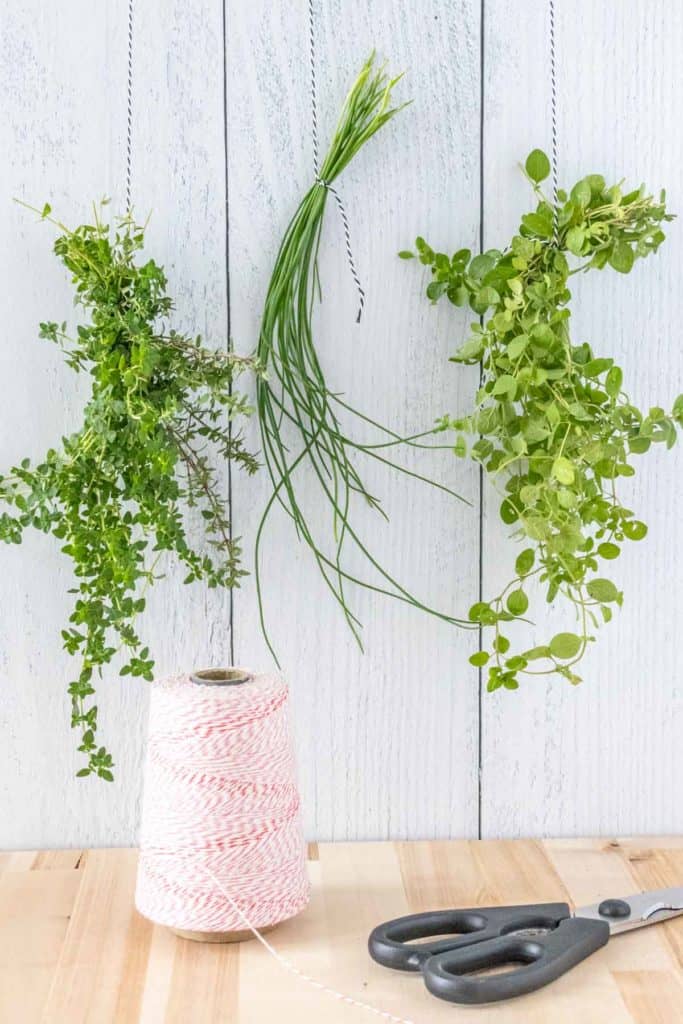
You can dry chives by hanging them, oven drying, or using a dehydrator.
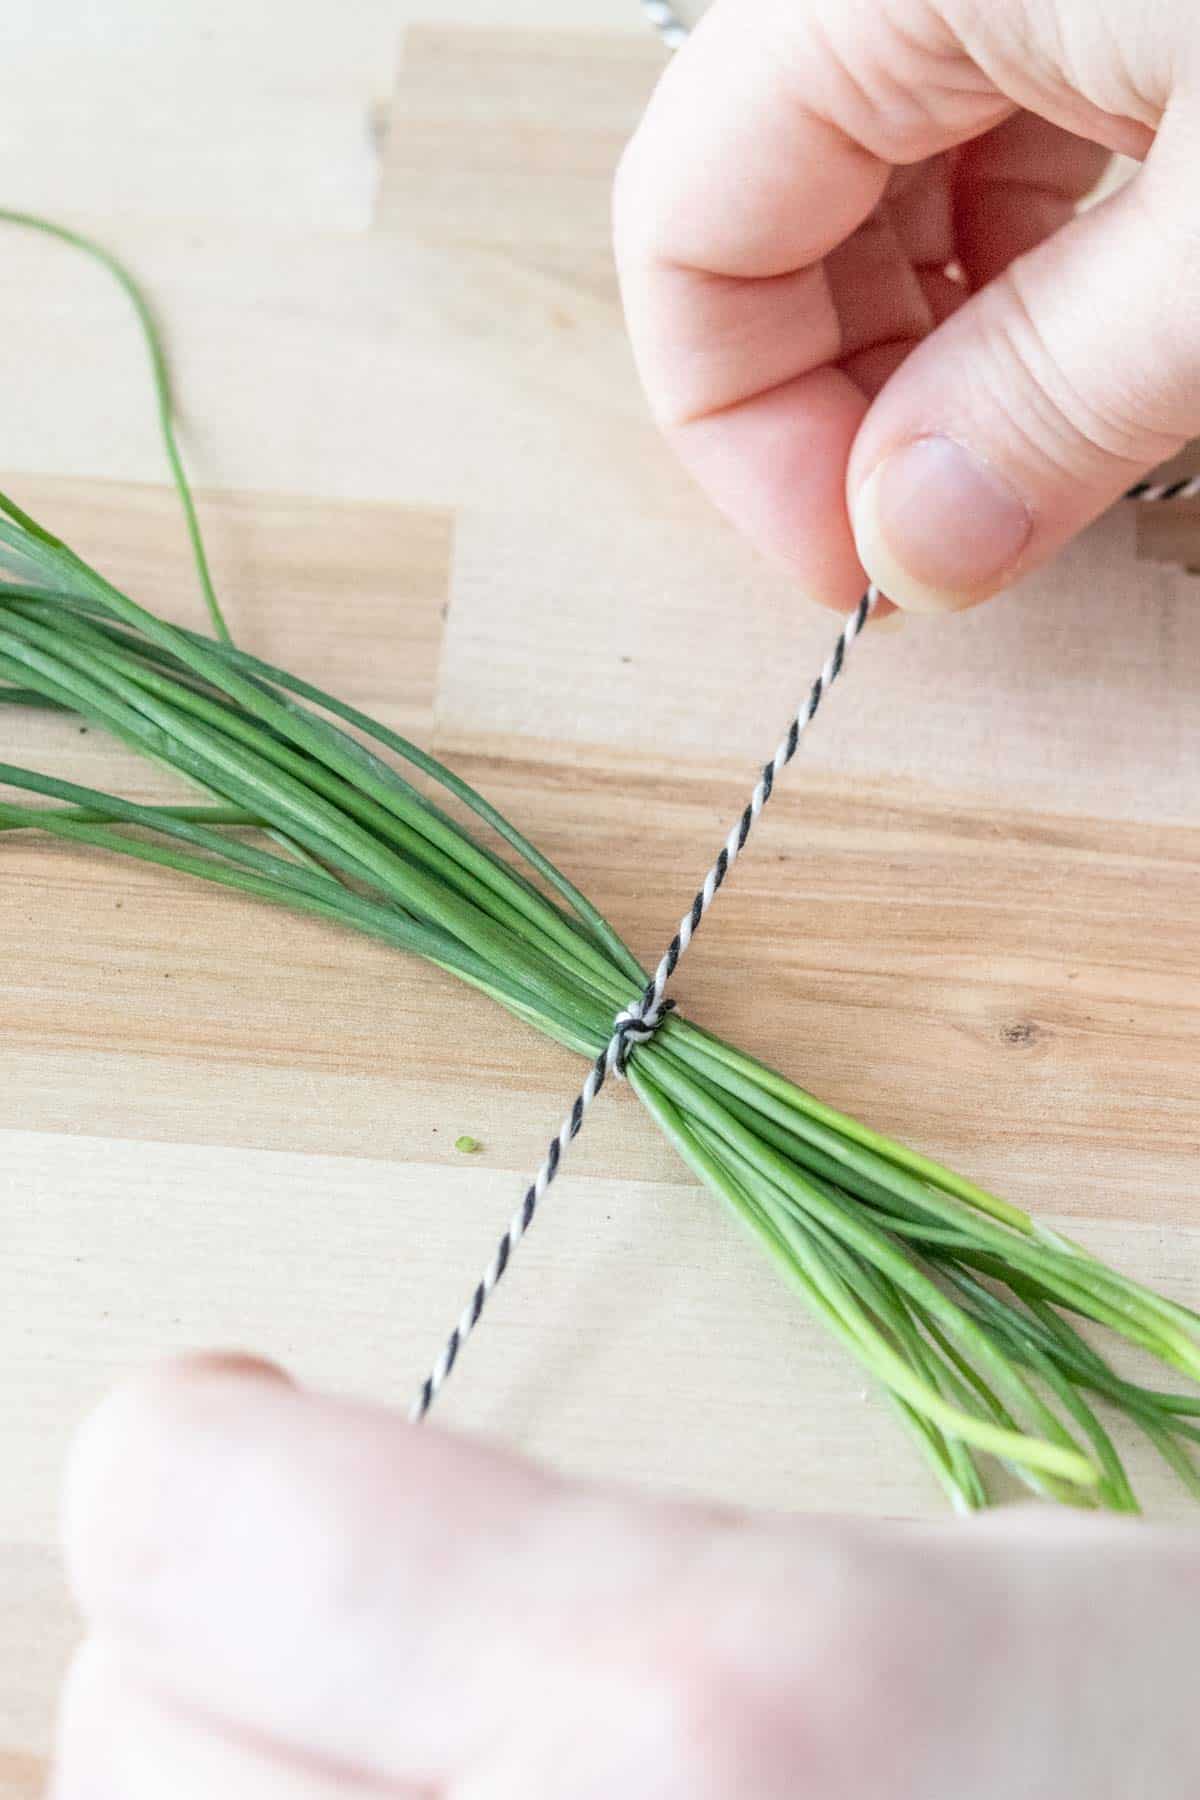
For air-drying chives, tie chives into a bundle, leaving some string to tie into a loop or tie directly to a hook. You can also use a rubber band if you don’t have kitchen string.
Hang the chives in a cool dry place away from direct sunlight, preferably a place air can flow around all sides.
A pot rack or a hook from the ceiling both work well for drying herbs.
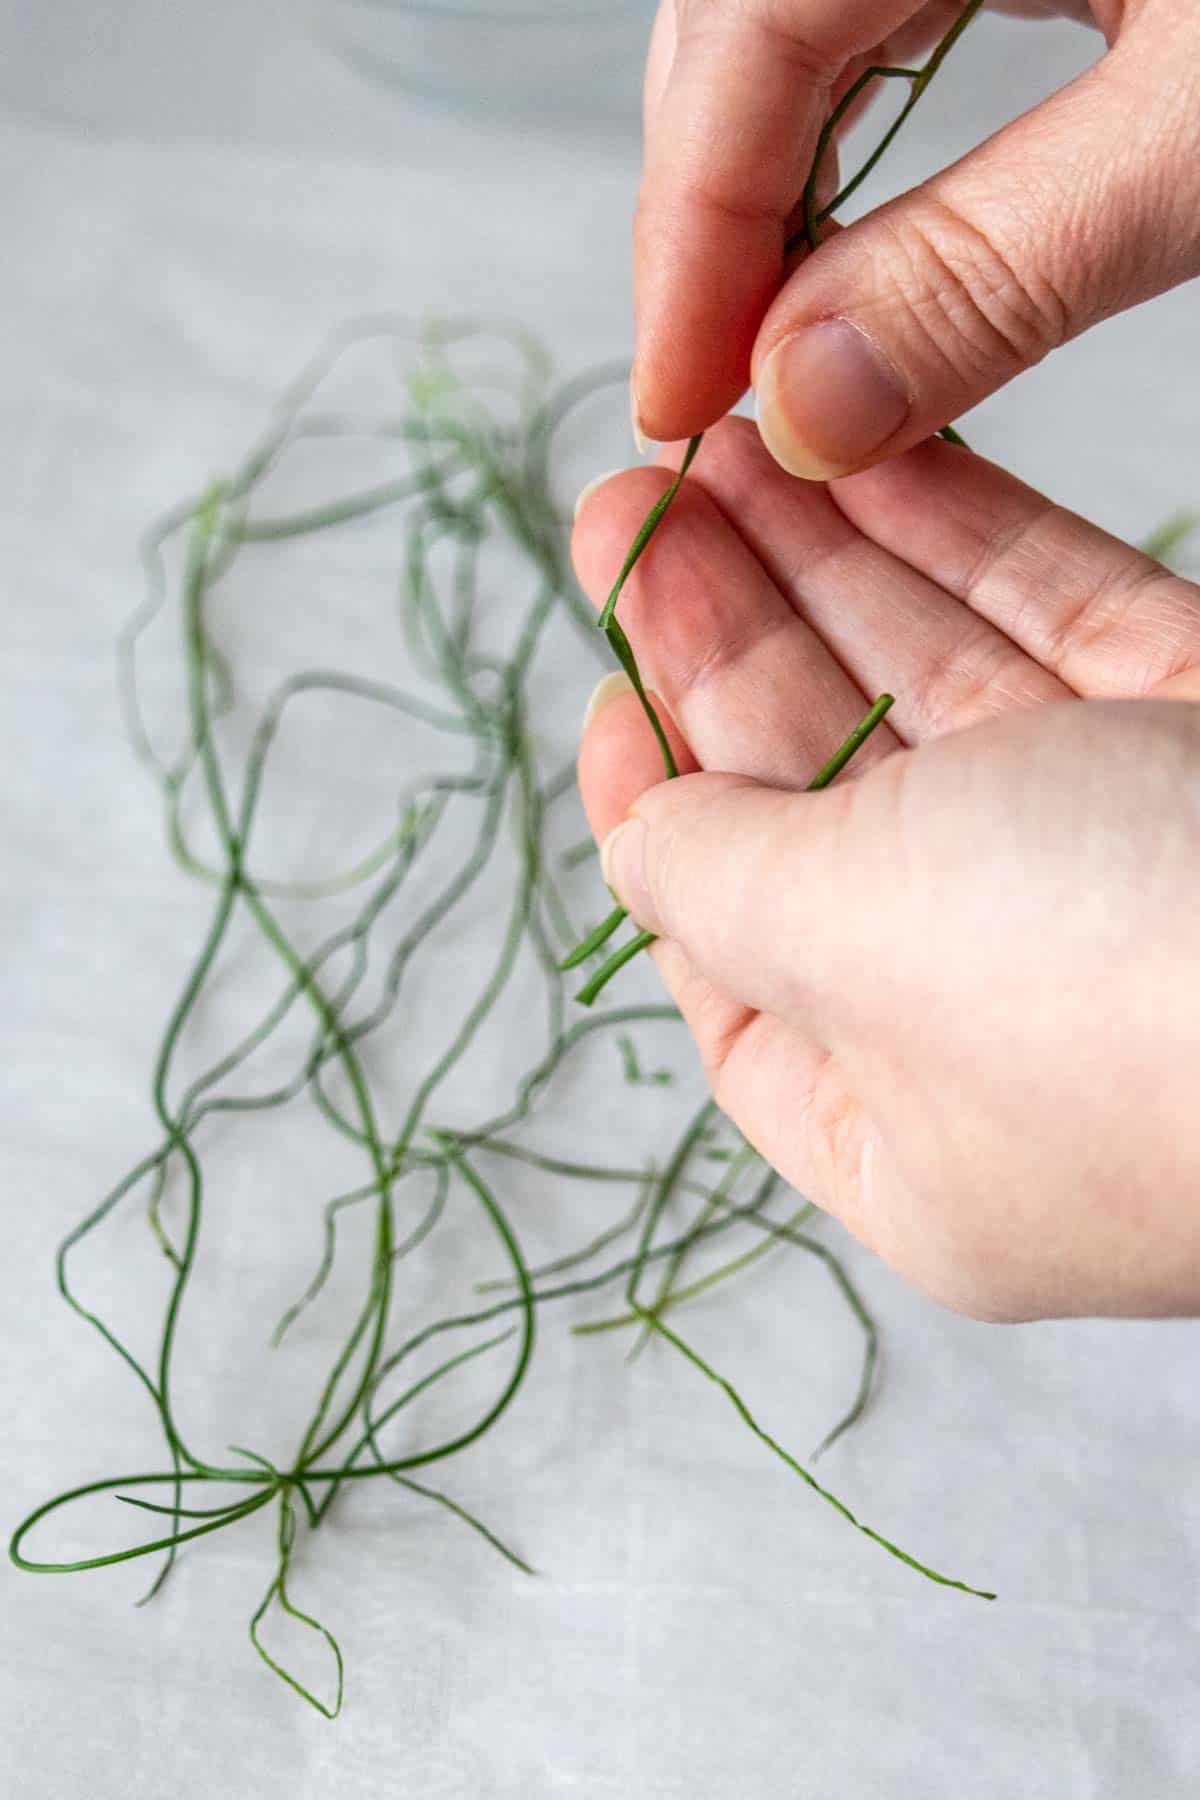
Chives will wilt as they dry, and then become brittle. They are ready to store when they easily break between your fingers.
Air drying herbs can take anywhere from 2 days to 2 weeks.
Oven drying chives
Line a baking sheet with parchment paper * (for easy gathering of the pieces) and heat oven to its lowest temperature, between 170°F and 180°F.
Arrange chives in a single layer on the parchment paper.
Want to save this recipe for later?
You can also dice the chives (or use kitchen scissors) before drying if you prefer. Scatter the pieces onto the parchment.
Place in the oven and leave the door slightly ajar.
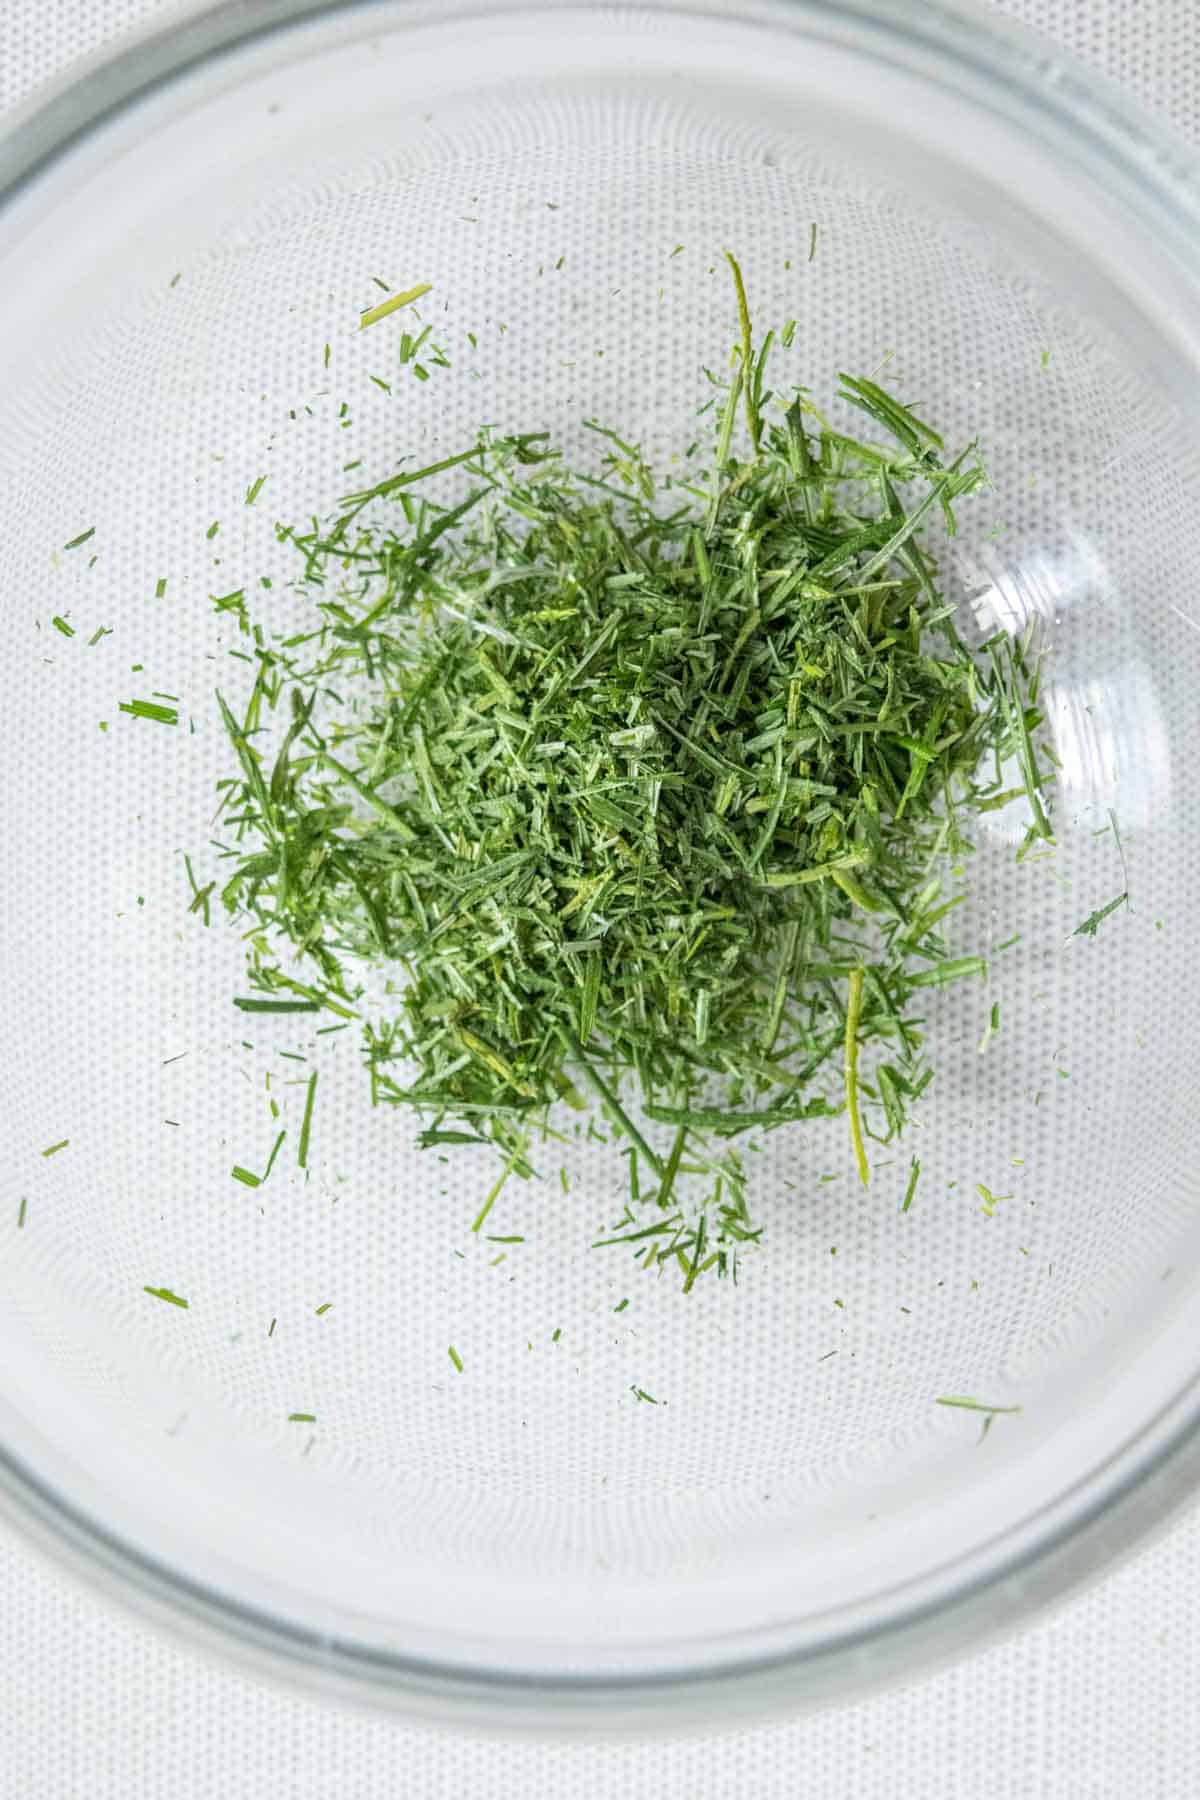
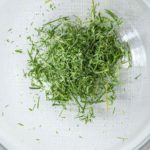
Dry the chives for about 1 hour. Check every 20 minutes and test for dryness; the chives are ready when they crumble in your fingers.
Break chives into small pieces and store for use.
Drying chives with a dehydrator
If you prefer to use a dehydrator, set it to 105°F.
Arrange the chives in a single layer on the dehydrator tray, and let dry for 3-4 hours, until crisp.
Storage tips
I recommend storing dried herbs in glass spice jars or small mason jars.
Keep them in a dry place like your spice cabinet.
Moisture will make the chives lose their potency, so be sure to scoop out of the jar; do not shake out over a hot steaming pan.
Dried herbs can keep for 1 year. Replace yours once they no longer have a strong aroma. They should not mold if they are fully dry, but if you see any signs of it, discard immediately.
Using dried chives
I like to use dried chives in any place that needs a light burst of allium flavor.
It’s a must in homemade dips and mixes like homemade ranch seasoning.
Sprinkle dried chives onto scrambled eggs or mix into cheese quiche.
Fold into a biscuit dough or your favorite bread or make a chive butter.
Swap dried herbs with fresh by reducing the amount by 1/3.
For any recipe asking for 1 tablespoon fresh chopped chives, swap in 1 teaspoon dried chives.
Dry chives at home and save money this year!
How to Dry Chives
Ingredients
- 1 bunch fresh chives
Directions
- Rinse chives gently, removing any yellow leaves. Pat dry with a towel.
To hang dry
- Gather the chives together into a bundle. Cut a length of kitchen twine and tie a knot around one end of the chives. Tie a loop around the other end and hang in a cool, dry place.
- It will take between 2 days and 2 weeks for the chives to fully dry.
To oven dry
- Turn your oven as low as it can go. (For my oven this is 170°F.)
- Spread the chives in a single layer on a parchment-lined baking sheet. Place in the oven and leave the door ajar.
- Check the chives every 15-20 minutes for dryness, pinching a leaf or two between your fingers to see if it crumbles. The chives should be fully dry within 1 hour.
Once dry
- When chives are dry, crumble the leaves into small pieces and place in a glass jar. Label and store in a cool, dry place for up to 1 year. Once the chives lose their aroma, it's time for a new batch.
Want to save this recipe for later?
Nutrition
Nutrition information is provided as a courtesy and is an estimate based on online calculators. Any nutritional information found on Stetted should be used as a general guideline only.
You might also like:


About Megan
I learned how to cook by exploring seasonal ingredients, and you can too! Meal time shouldn’t be stressful or complicated, and with fresh ingredients and easy methods, I’m here to help you enjoy the time spent in the kitchen. Read more…


Excellent help on saving my chives. Thank you!!
I love this recipe. I have chives growing around and I use them all the time. This recipe will help me not only use my chives, but expand on what I can do with dried chives. Thank you for sharing this great idea for how to lengthen the life of the chive.
Thank you for your idea on drying chives at home.