*This post contains affiliate links and may earn commissions on recommended products. As an Amazon Associate, I earn from qualifying purchases.


Make burger night even better with these homemade hamburger buns! Soft yet sturdy, these buns are a staple for grilling season and beyond.
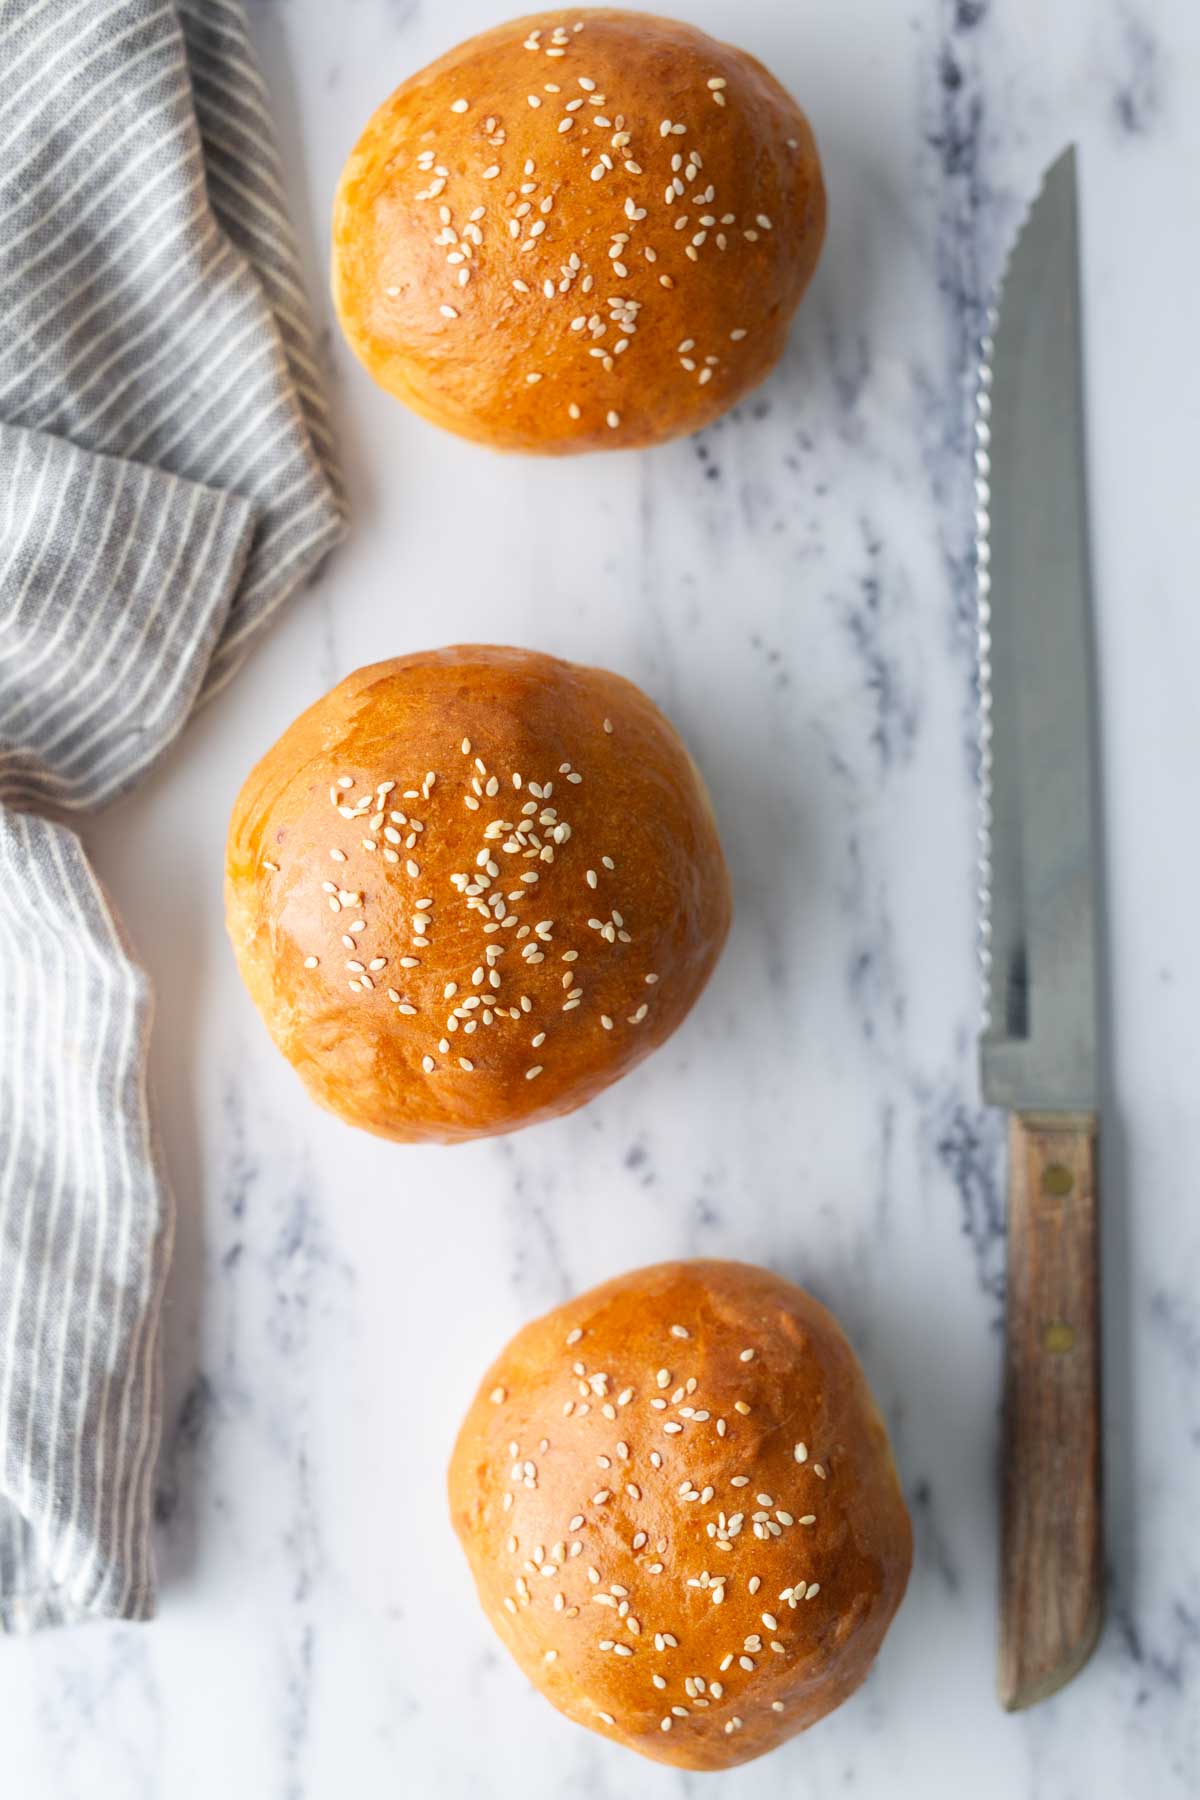
Burger night is a staple of summer. No matter what kind you enjoy, there’s always a way to upgrade the classic, from onion jam to cherry bbq sauce, and of course, your own homemade burger buns.
These soft buns take cues from brioche, with a bit of butter and egg for rich, tender flavor, and a dough that’s so easy to work with.
They’re perfect for turkey burgers, pulled pork sandwiches, or even just a quick sandwich of cold cuts. Add sesame seeds or leave them unadorned—either way they’re delicious!
Ingredients for homemade hamburger buns
This is just an overview. For full measurements and step-by-step instructions, scroll down to the printable recipe card, or use the button on the side.
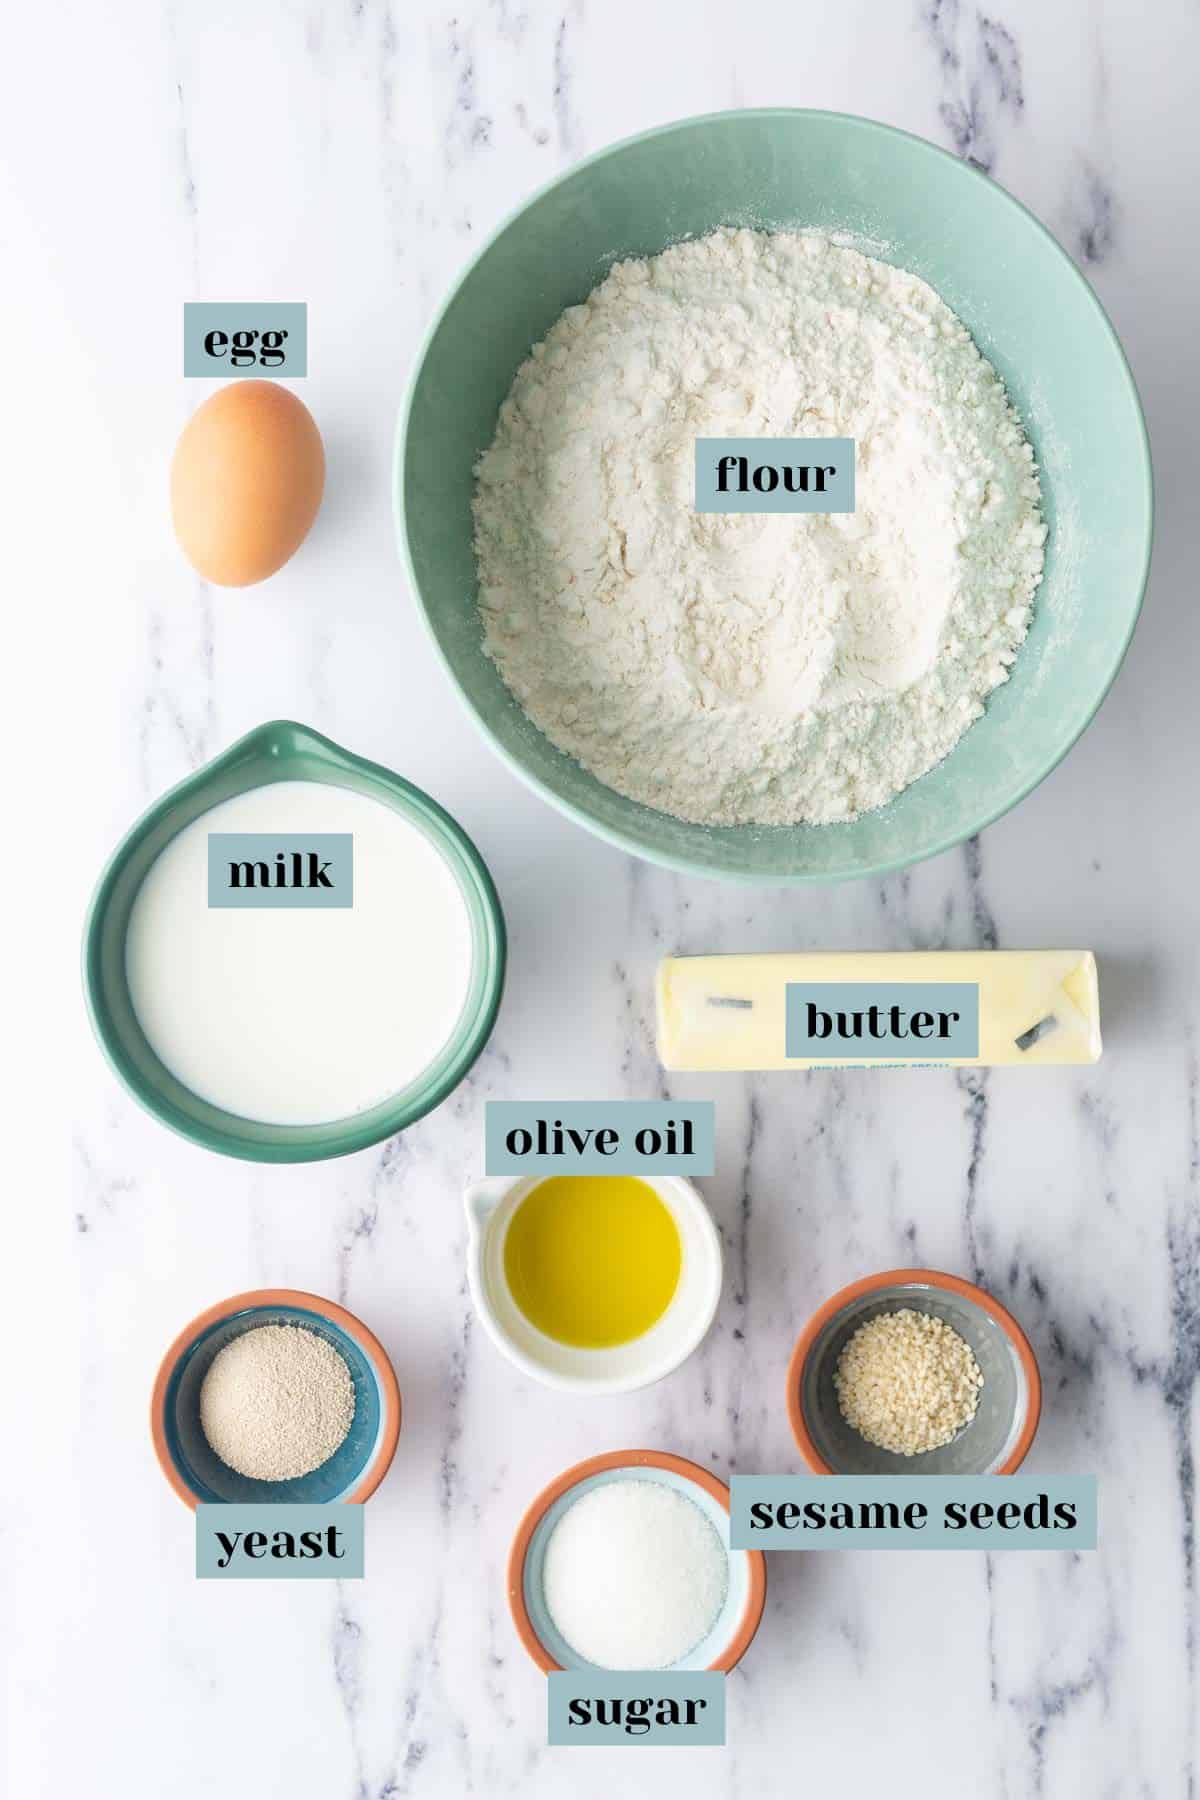
You’ll need:
- Whole milk
- Active dry yeast (not instant yeast)
- Granulated sugar
- Melted unsalted butter
- Eggs
- All-purpose flour *
- Salt
- Olive oil
- Sesame seeds
If you don’t have whole milk on hand, 2% milk will work, but the buns will be a little less rich. I don’t recommend using skim or a milk alternative for this recipe.
For a chewier texture, use bread flour in place of all-purpose. Keep in mind you might need more or less flour depending on your humidity levels and the flour itself. I recommend using a kitchen scale * to weigh it, or be sure to use the spoon-and-level method (no scooping directly into the flour)!
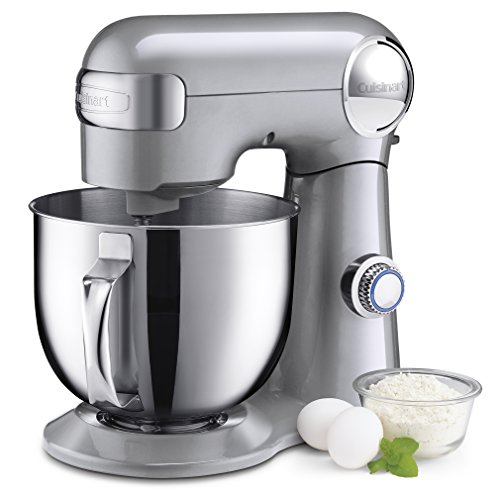
Tools & equipment
When I make bread recipes, sometimes I use my stand mixer * and sometimes I just use a bowl and dough whisk *. Both will work here—it just depends on your preference!
A bench scraper * is also really helpful for making doughs. I like to have a flexible one for scraping the bowl, and a metal one for scraping my countertop (the “bench”).
You’ll also want some parchment paper * or a reusable silicone baking liner to prevent the buns from sticking to the baking sheet.
bread tools
 Buy Now →
  Buy Now →
  Buy Now →
 *
How to make this recipe
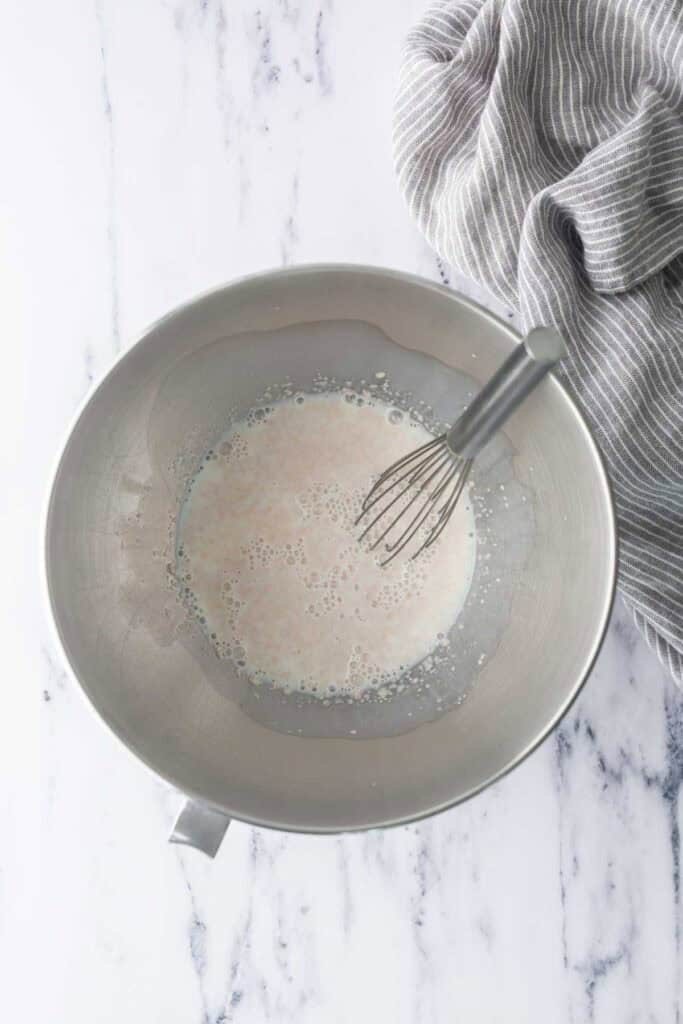
Warm the milk in a small saucepan * or in a microwave-safe container, just until it reaches 110°F. You don’t want it to be too hot or it will kill the yeast. An instant-read thermometer is helpful here, or you can test a drop of milk on the inside of your wrist; it should feel warm but not hot.
Whisk together the milk, yeast, and sugar in the bowl of a stand mixer (or large bowl if mixing by hand). Let it rest for 5-10 minutes, until a foamy layer forms.
Want to save this recipe for later?
Help! My yeast didn’t foam! If your milk and yeast did not foam, either your yeast is dead or the milk was too hot. You’ll need to start over to ensure the dough rises.
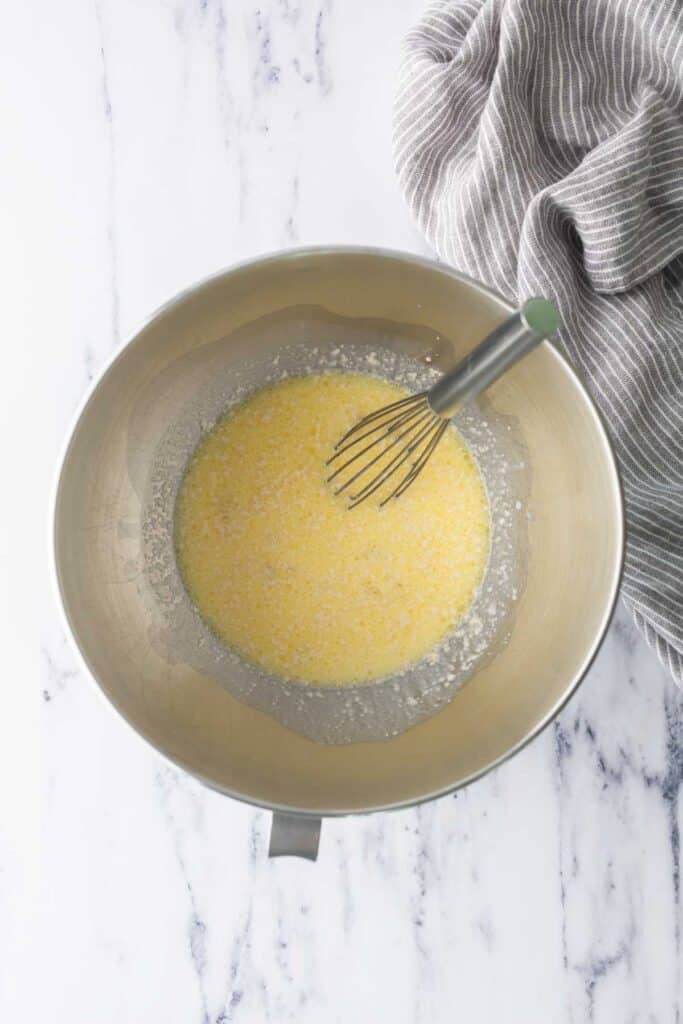
Whisk in the melted butter (make sure it is cooled) and the egg, then add the flour and salt.
Using the dough hook or a dough whisk if mixing by hand, mix until a shaggy dough forms. Then knead the dough: with a stand mixer, continue to mix on medium-low. By hand, lightly flour your work surface, dump out the dough, and knead. Both will take 6-8 minutes to get a smooth and soft dough. It should be slightly tacky and not overly sticky; if more flour is needed add it just 1 tablespoon at a time.
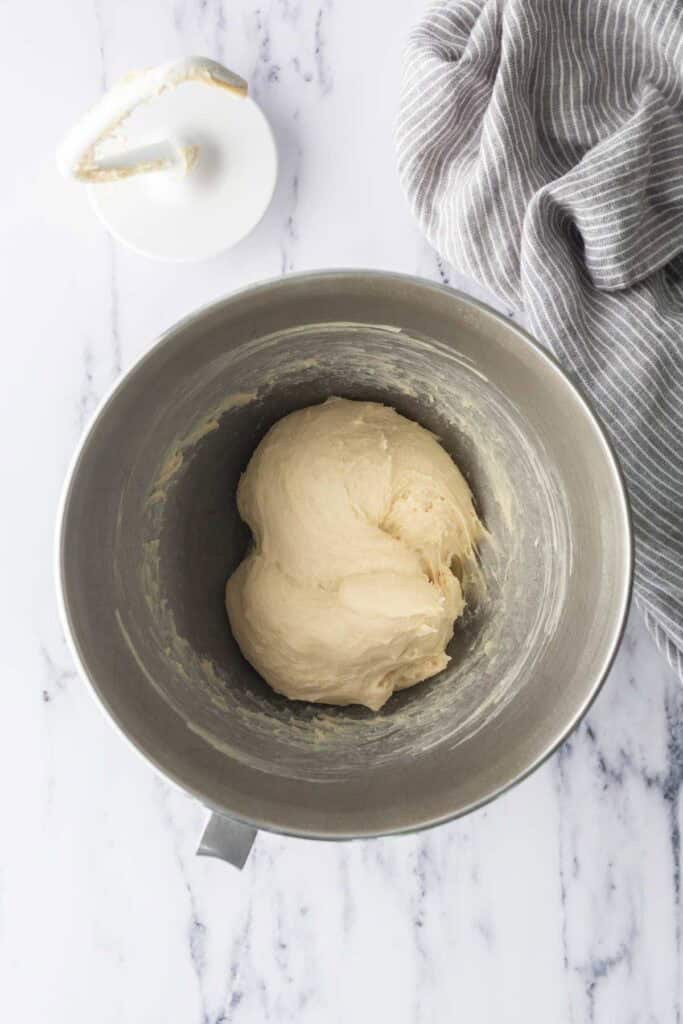
Pour a small drizzle of olive oil into a large bowl and swirl to coat. Transfer the dough into the bowl. Cover and let rise in a warm place until doubled; this will take 1 to 1 1/2 hours depending on your kitchen.
Line a baking sheet with parchment and set aside. If you don’t want the buns to touch at all when baking, use two.
Deflate the dough and transfer to a countertop dusted with flour. Divide the dough into 8 equal pieces and shape into a smooth ball. An easy way to do this is to hold your hand in a C shape, cup it over the dough on the counter, and move your hand around in a circle.

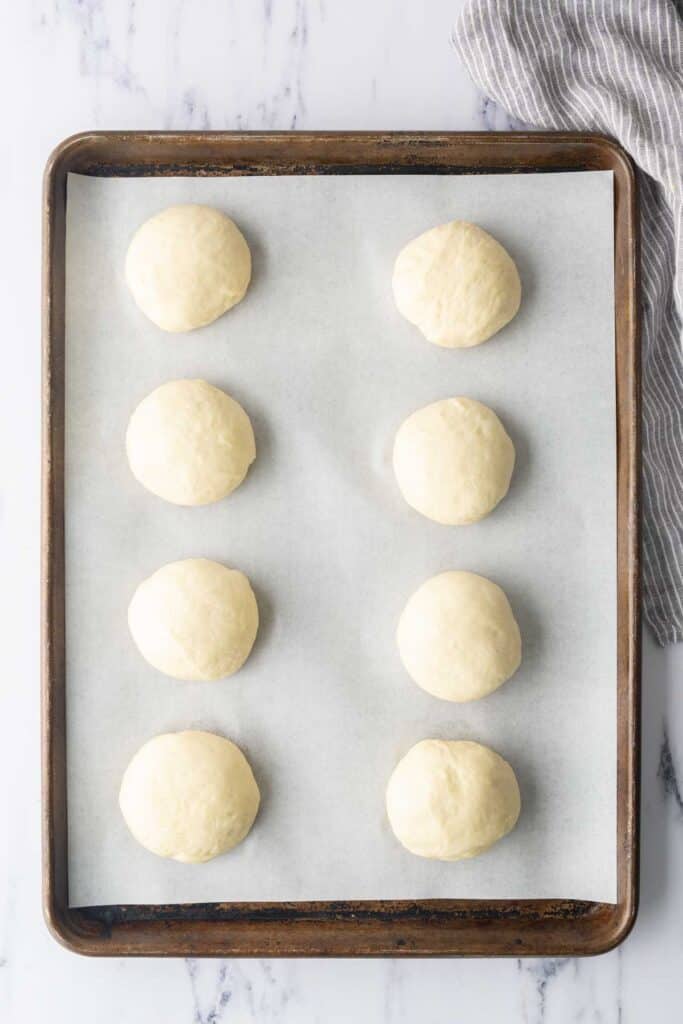
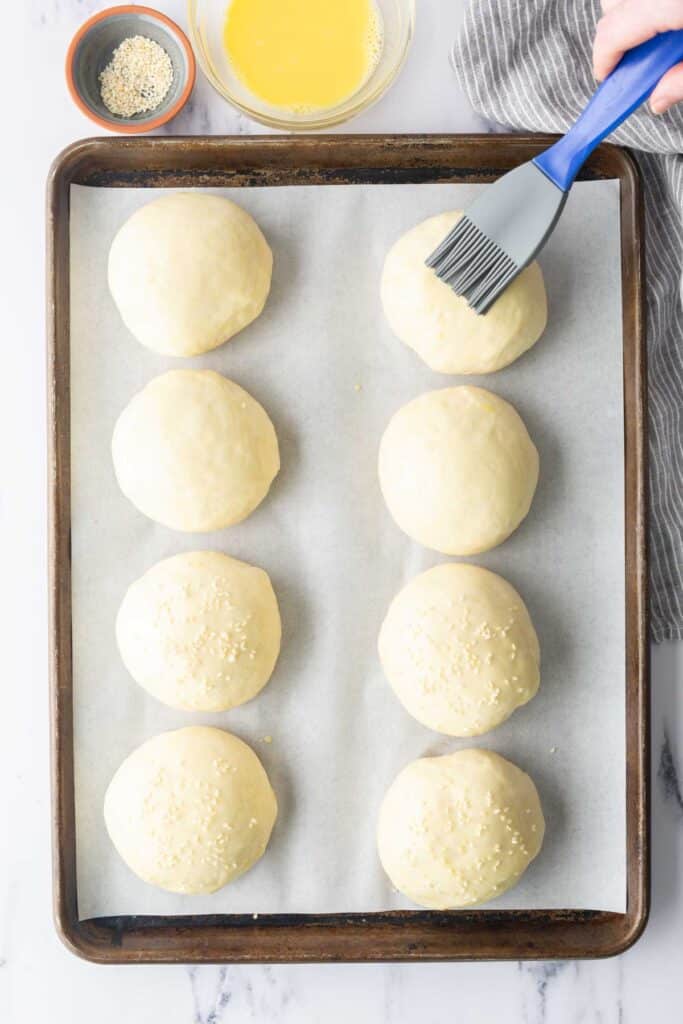
Place the dough balls onto the baking sheet and flatten slightly with your palm. Cover and let rise 45 minutes, or until puffy.
Partway through rising, preheat the oven to 375°F.
Whisk together the second egg and water, then brush over the tops of the buns. Sprinkle with white sesame seeds, if you like.
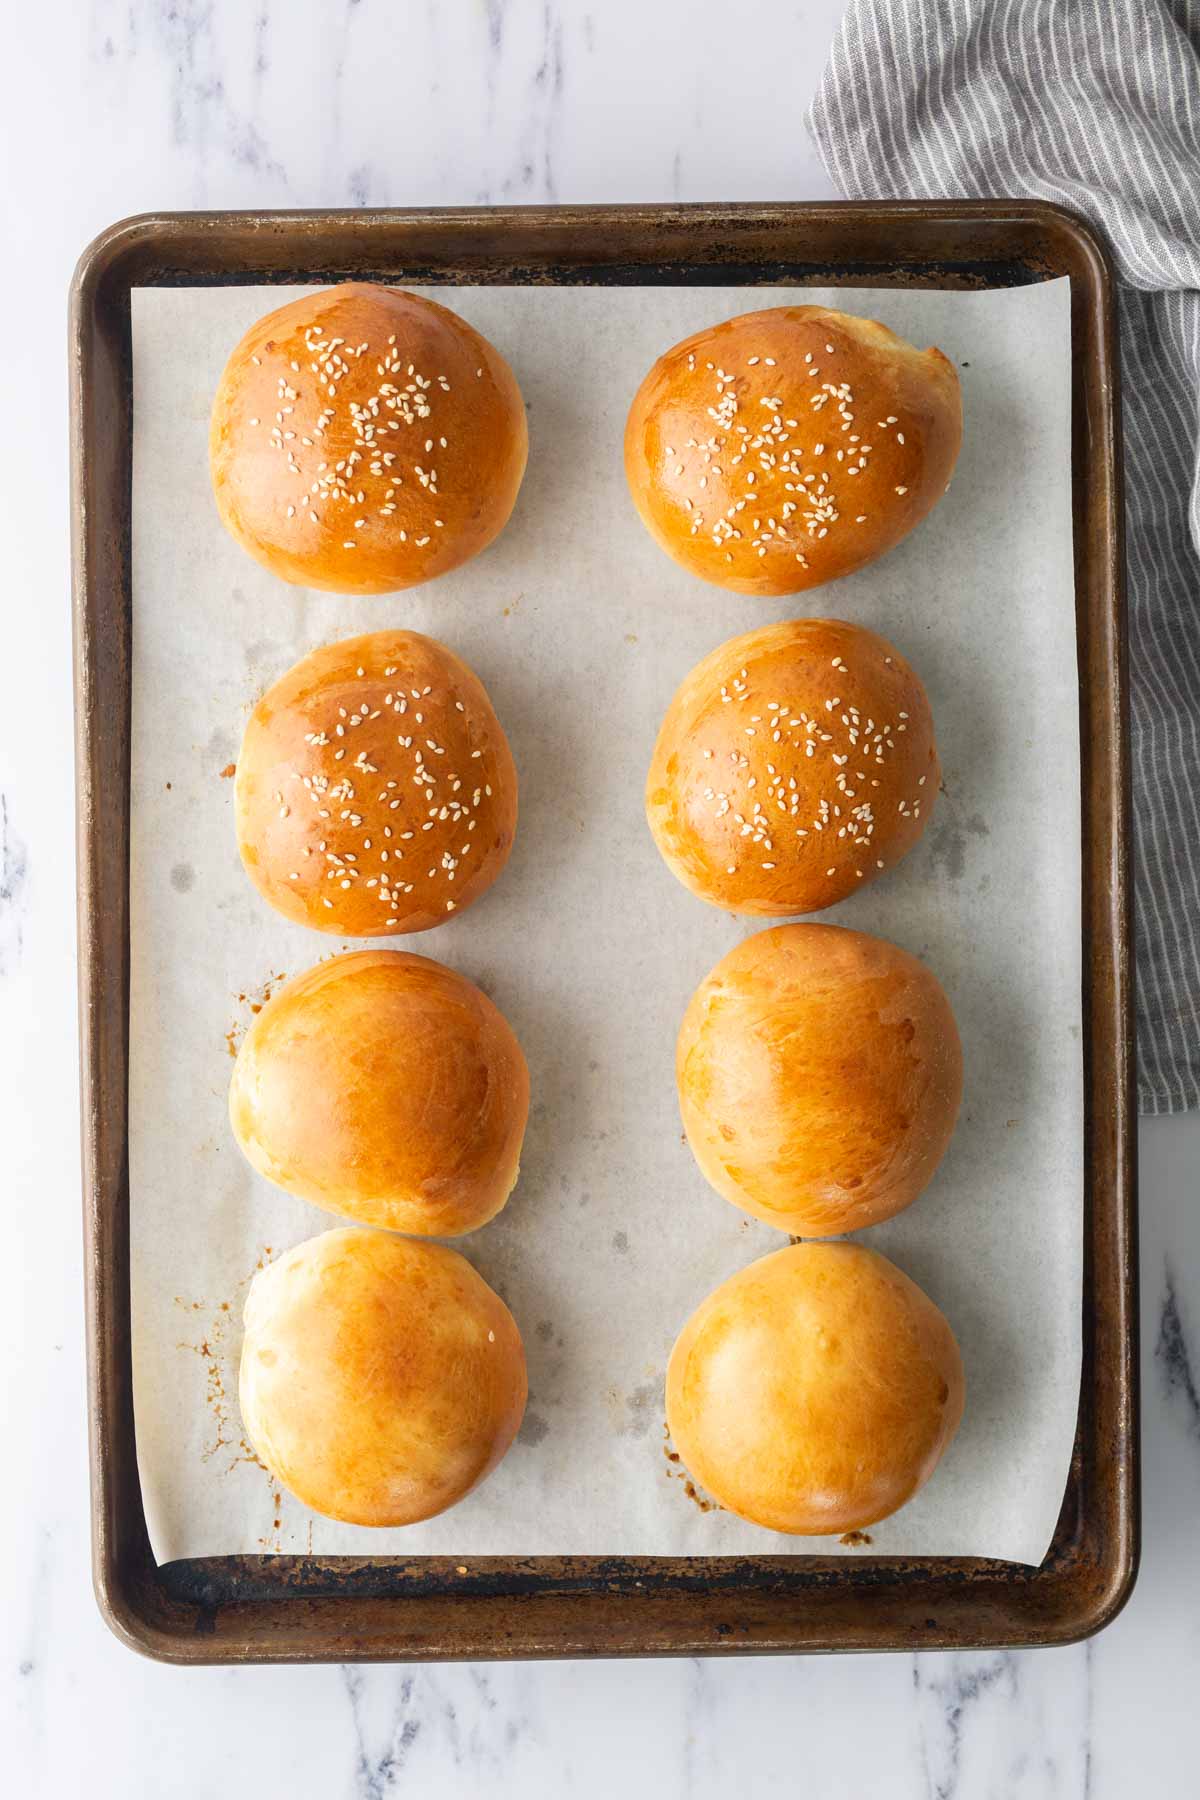
Bake for 15-18 minutes, until beautifully golden brown. Make sure to rotate the pans halfway through for even browning on all sides.
Once baked, let the buns cool completely on a wire rack * before slicing. They’re great toasted with a bit of butter before adding your burger!
Storage tips
These buns are best the same day they are baked, but should keep for about 3 days if stored well at room temperature.
Once cooled, store in an airtight container or a bread bag sealed with a twist tie.
If you want to save the buns for later, use the freezer, not the refrigerator, or they can dry out. Wrap each burger bun individually in plastic wrap, then tuck into a freezer bag.
Frozen buns can be stored for up to 3 months. Thaw unwrapped at room temperature.
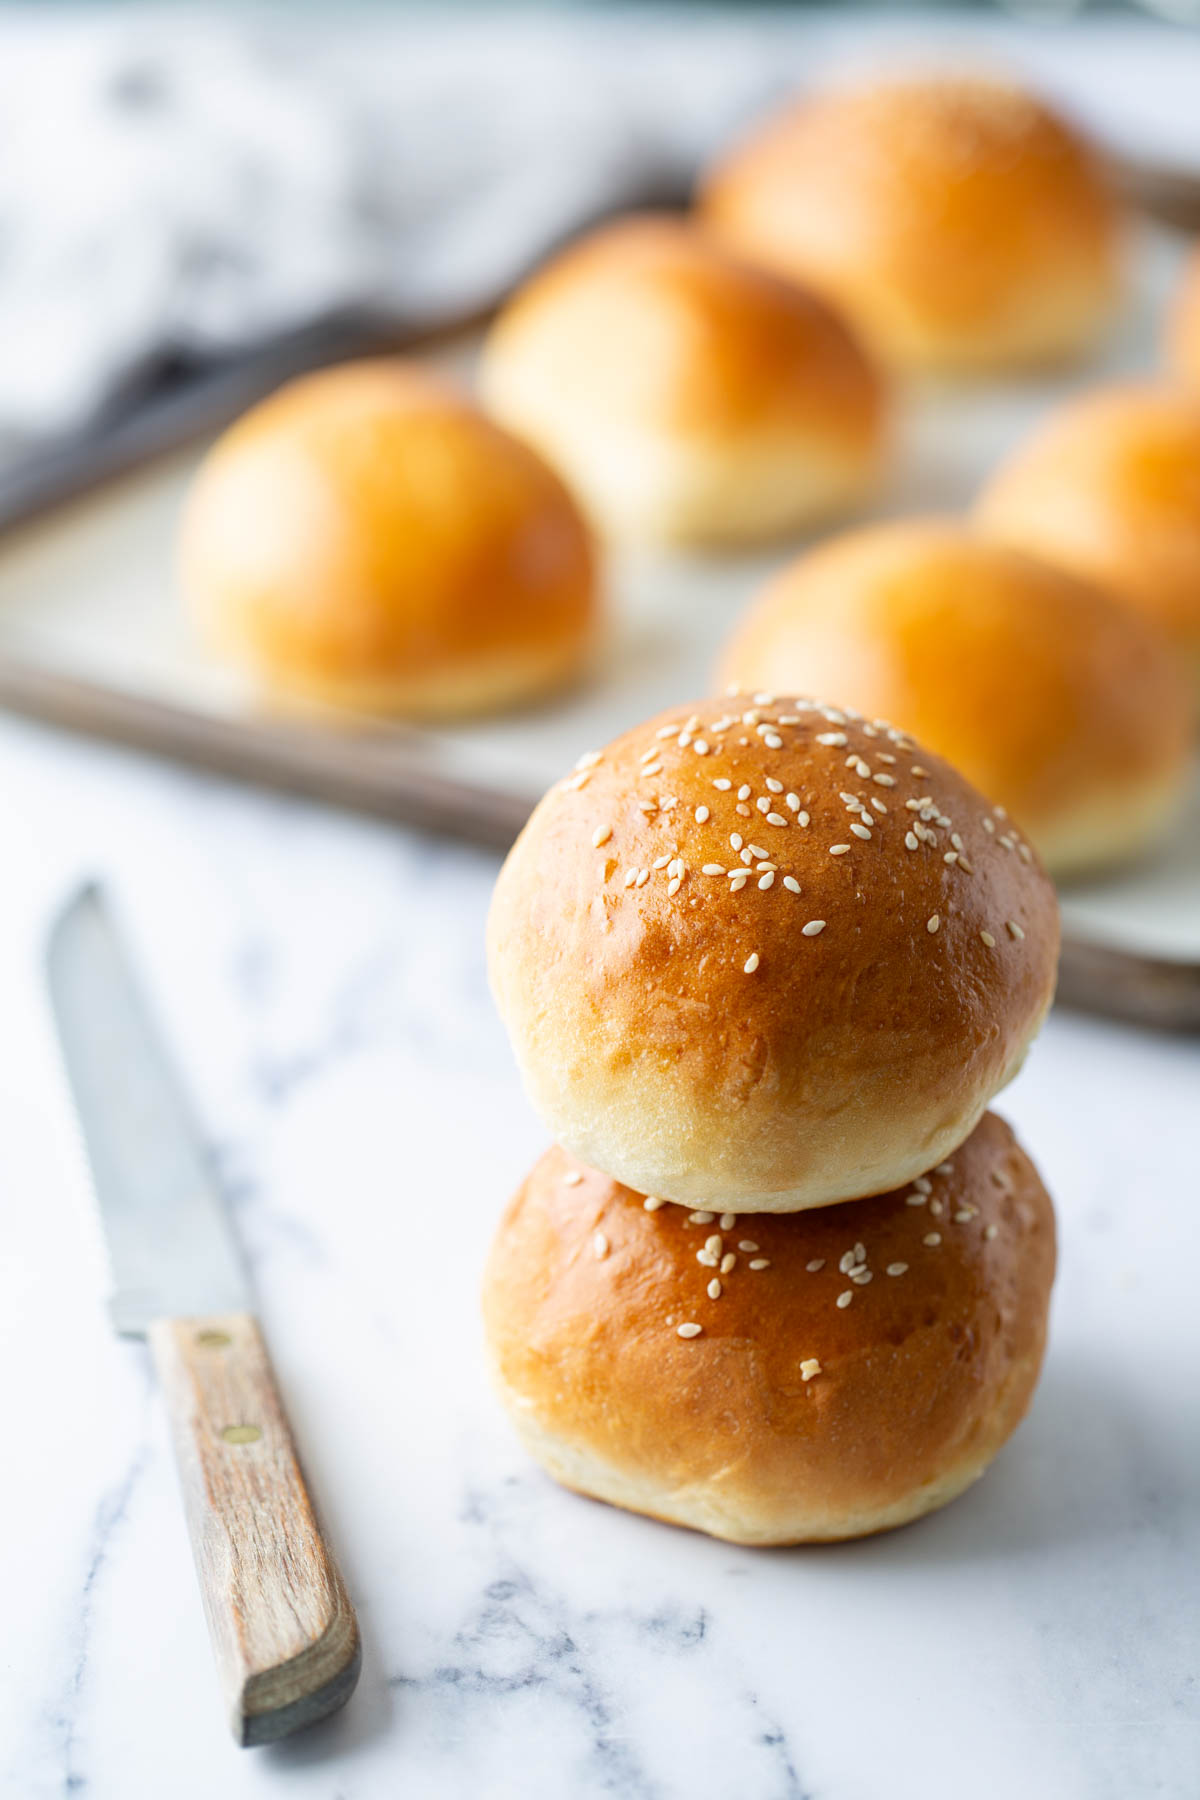
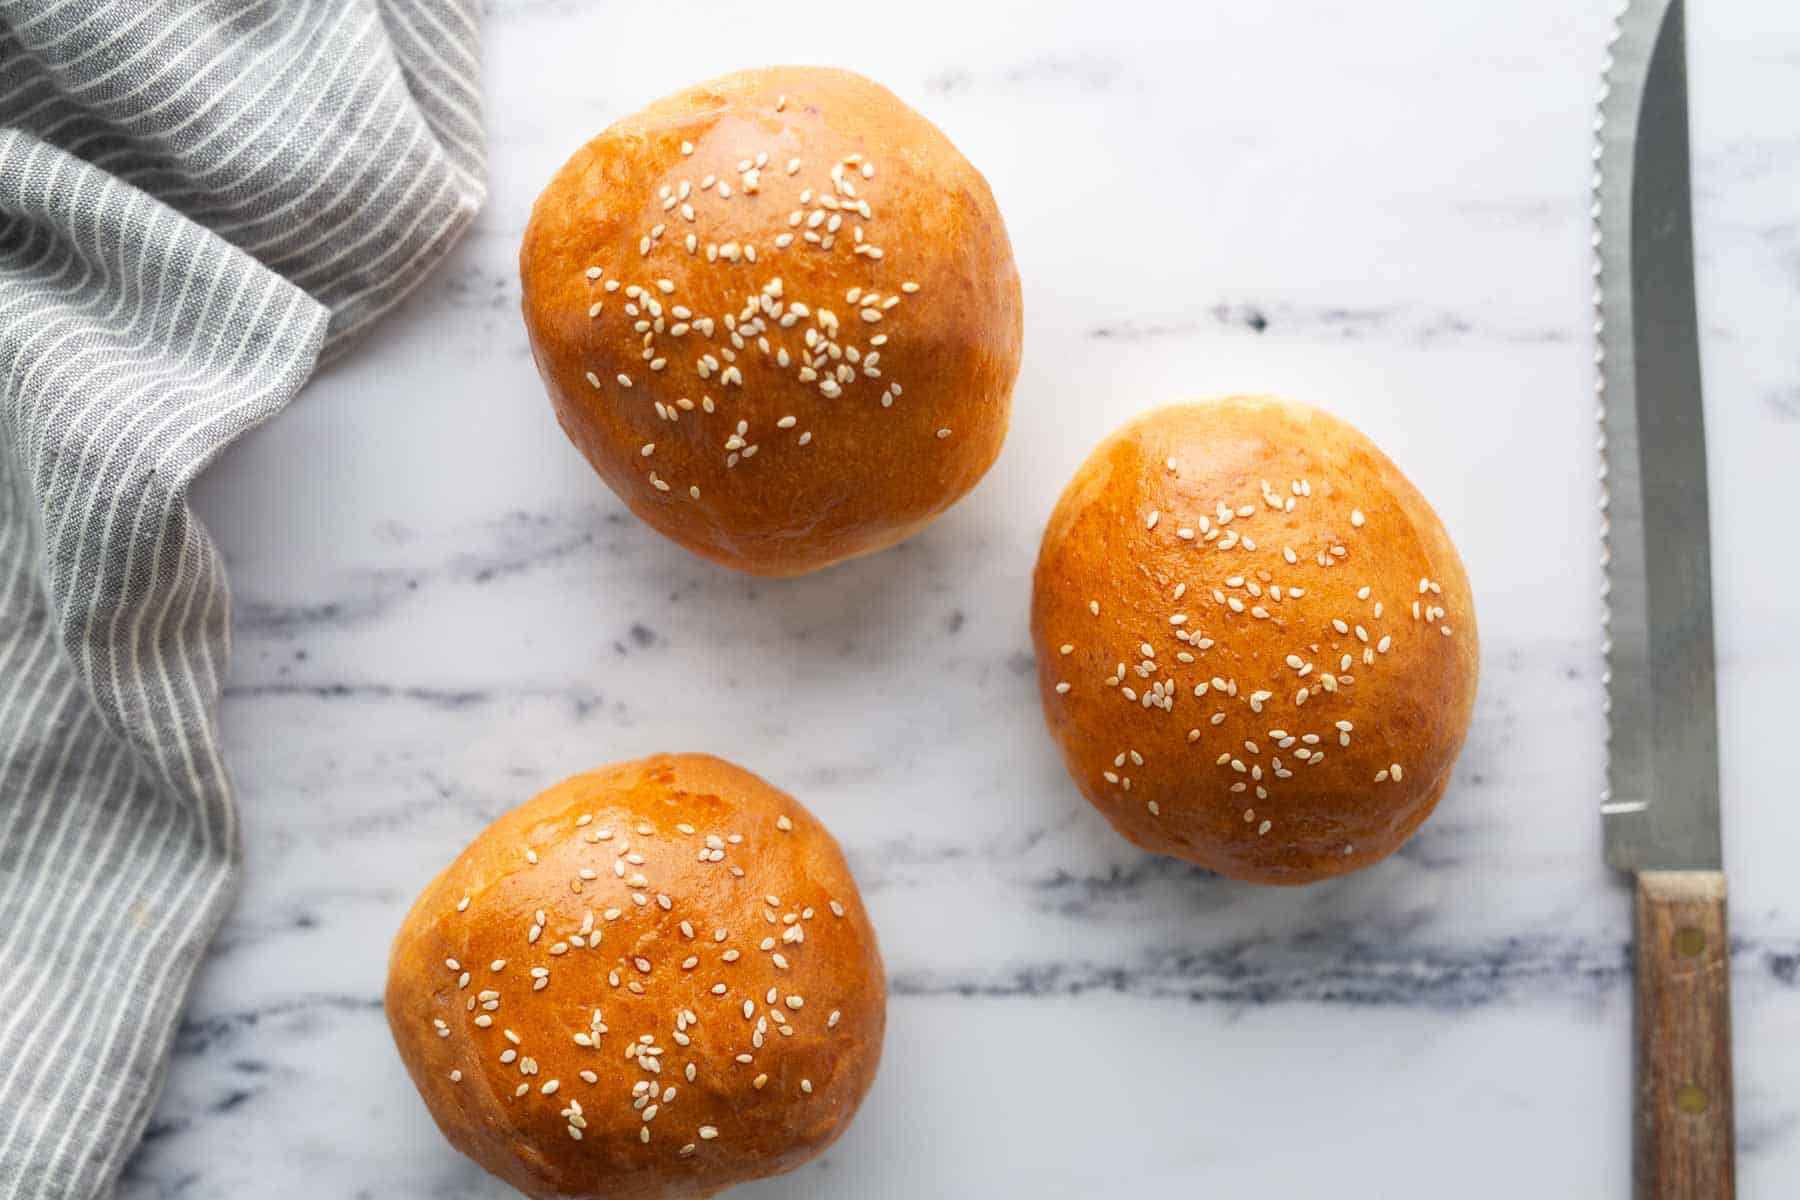
If you’ve always wanted to make homemade hamburger buns, now’s the perfect time!
Homemade Hamburger Buns
Ingredients
- 1 cup whole milk
- 2 1/4 teaspoons active dry yeast
- 2 tablespoons granulated sugar
- 3 tablespoons unsalted butter, melted and slightly cooled
- 2 large eggs, divided use
- 3 1/4 cups all-purpose flour, plus more as needed
- 1 1/4 teaspoons kosher salt
- Extra virgin olive oil
- 1 tablespoon water
- Sesame seeds, optional
Directions
- Gently heat the milk in a small saucepan or microwave safe container to 110°F. (30-45 seconds in the microwave.)1 cup whole milk
- Whisk together the warm milk, yeast, and sugar in the bowl of a stand mixer. Let sit for 5-10 minutes until foamy.2 1/4 teaspoons active dry yeast, 2 tablespoons granulated sugar
- Add the melted butter and egg, whisking briefly to combine.3 tablespoons unsalted butter, 1 large eggs
- Add the flour and salt. Using the dough hook attachment, mix on low speed until a shaggy dough forms. Increase to medium-low speed and knead for 6-8 minutes until the dough is smooth, soft, and slightly tacky. If needed, add a small amount of flour, 1 tablespoon at a time.3 1/4 cups all-purpose flour, 1 1/4 teaspoons kosher salt
- Lightly grease a large bowl with extra virgin olive oil. Transfer the dough to the bowl, cover, and let rise in a warm place for approximately 1-1 1/2 hours, or until doubled in size.Extra virgin olive oil
- Line a baking sheet with parchment paper.
- Gently punch down the dough and transfer it to a lightly floured surface. Divide into 8 equal portions and shape each into a smooth ball. Arrange on the prepared baking sheet, spacing them several inches apart. Flatten each ball slightly with your palm.
- Cover loosely and let rise for 45-60 minutes until puffy.
- Preheat the oven to 375 degrees F.
- Whisk together the remaining egg and water. Brush the tops of the buns with the egg wash and sprinkle with sesame seeds, if using.1 large eggs, 1 tablespoon water, Sesame seeds
- Bake for 15-18 minutes, rotating the pan halfway through, until deeply golden brown and cooked through.
- Transfer the buns to a wire rack and cool completely before slicing.
Notes
- If mixing by hand: Use a dough whisk or sturdy spoon until you have a shaggy dough, then knead by hand on a flour-dusted countertop for 6-8 minutes, until smooth.
Want to save this recipe for later?
Nutrition
Nutrition information is provided as a courtesy and is an estimate based on online calculators. Any nutritional information found on Stetted should be used as a general guideline only.
You might also like:


About Megan
I learned how to cook by exploring seasonal ingredients, and you can too! Meal time shouldn’t be stressful or complicated, and with fresh ingredients and easy methods, I’m here to help you enjoy the time spent in the kitchen. Read more…