This post contains affiliate links and may earn commissions on recommended products. As an Amazon Associate, I earn from qualifying purchases.
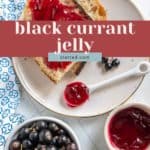
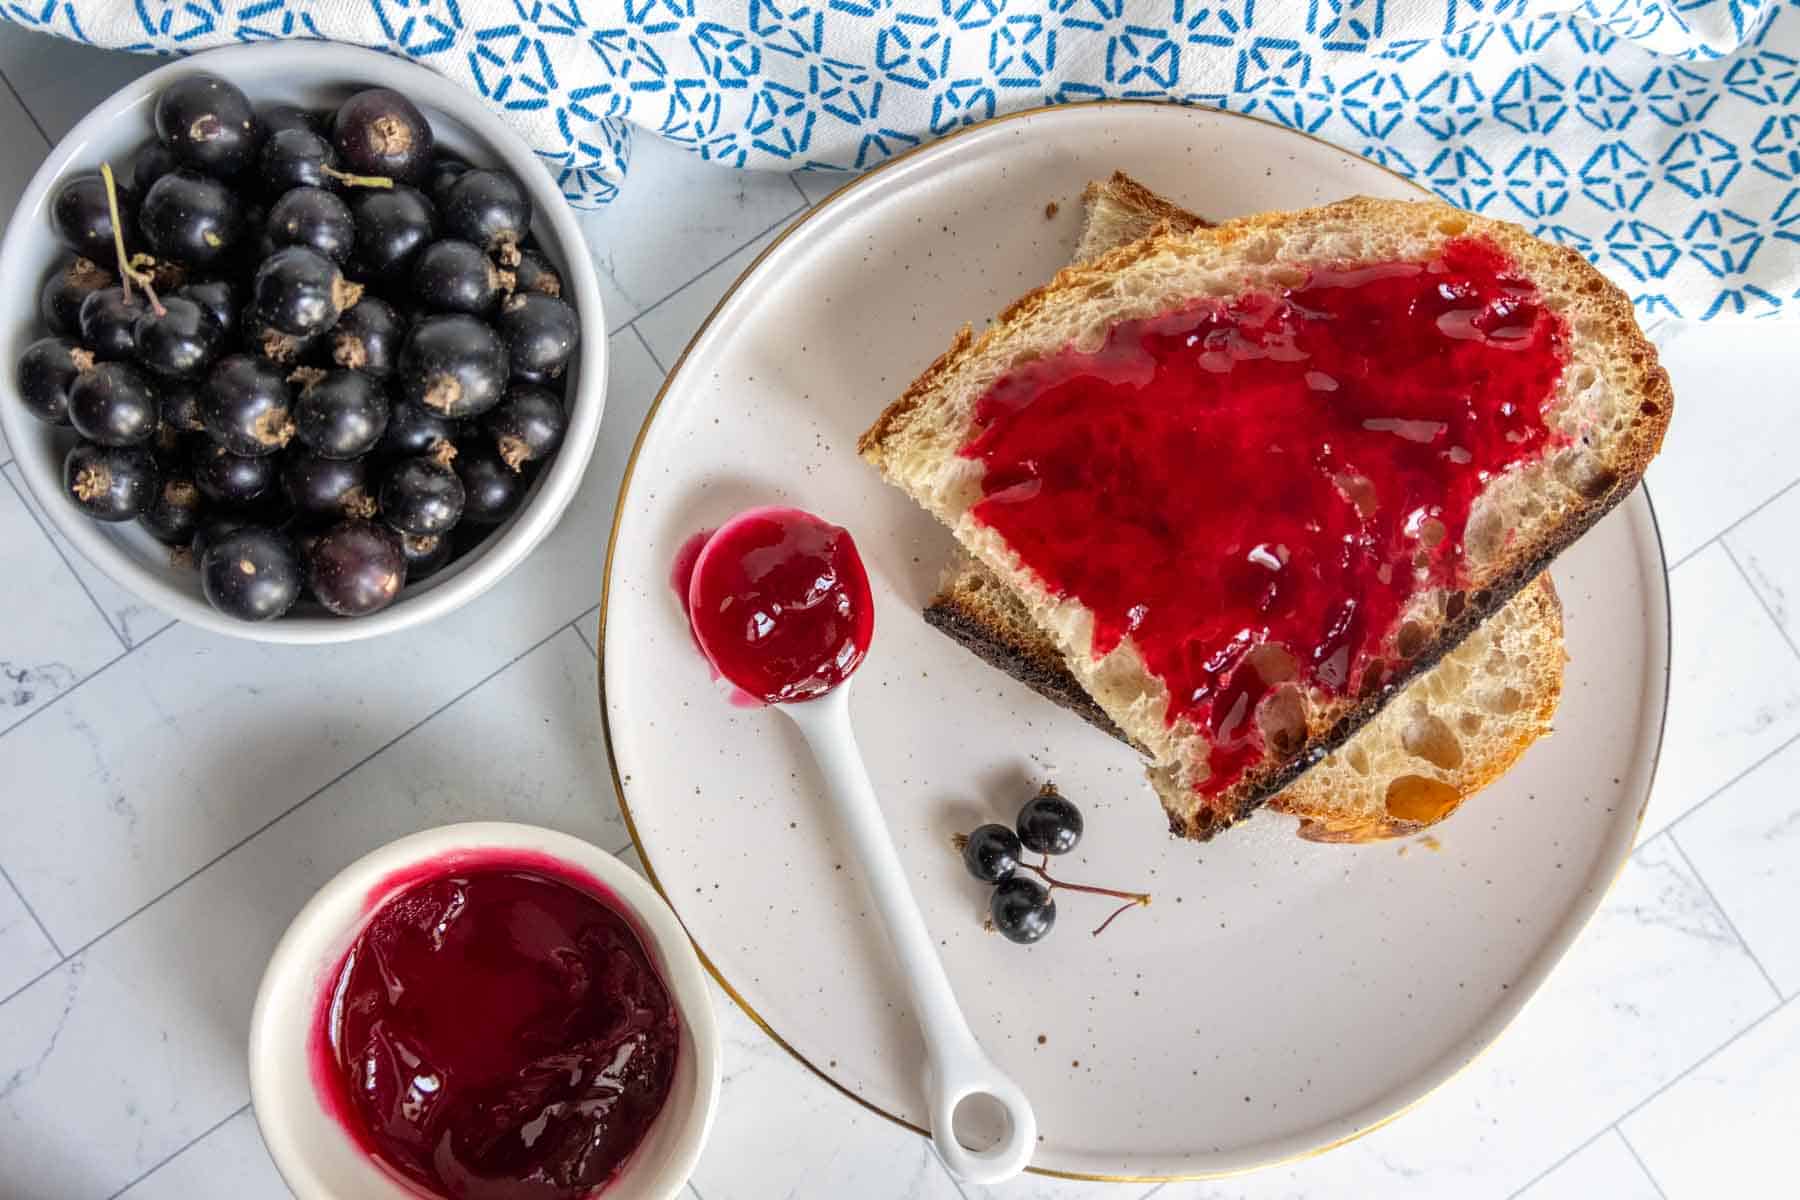
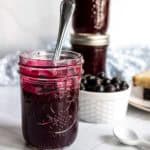
Wonderful on toast or scones, this black currant jelly is the perfect balance of tart and sweet flavor.
The very first time I went to England I fell in love with black currant flavors. It’s everywhere, from bottled drinks to candies, and from jams to cough drops!
Currant isn’t as popular a flavor here in the U.S., but I think it should be. If you’re lucky enough to have a place you can harvest or forage black currants, I encourage you to give them a try.
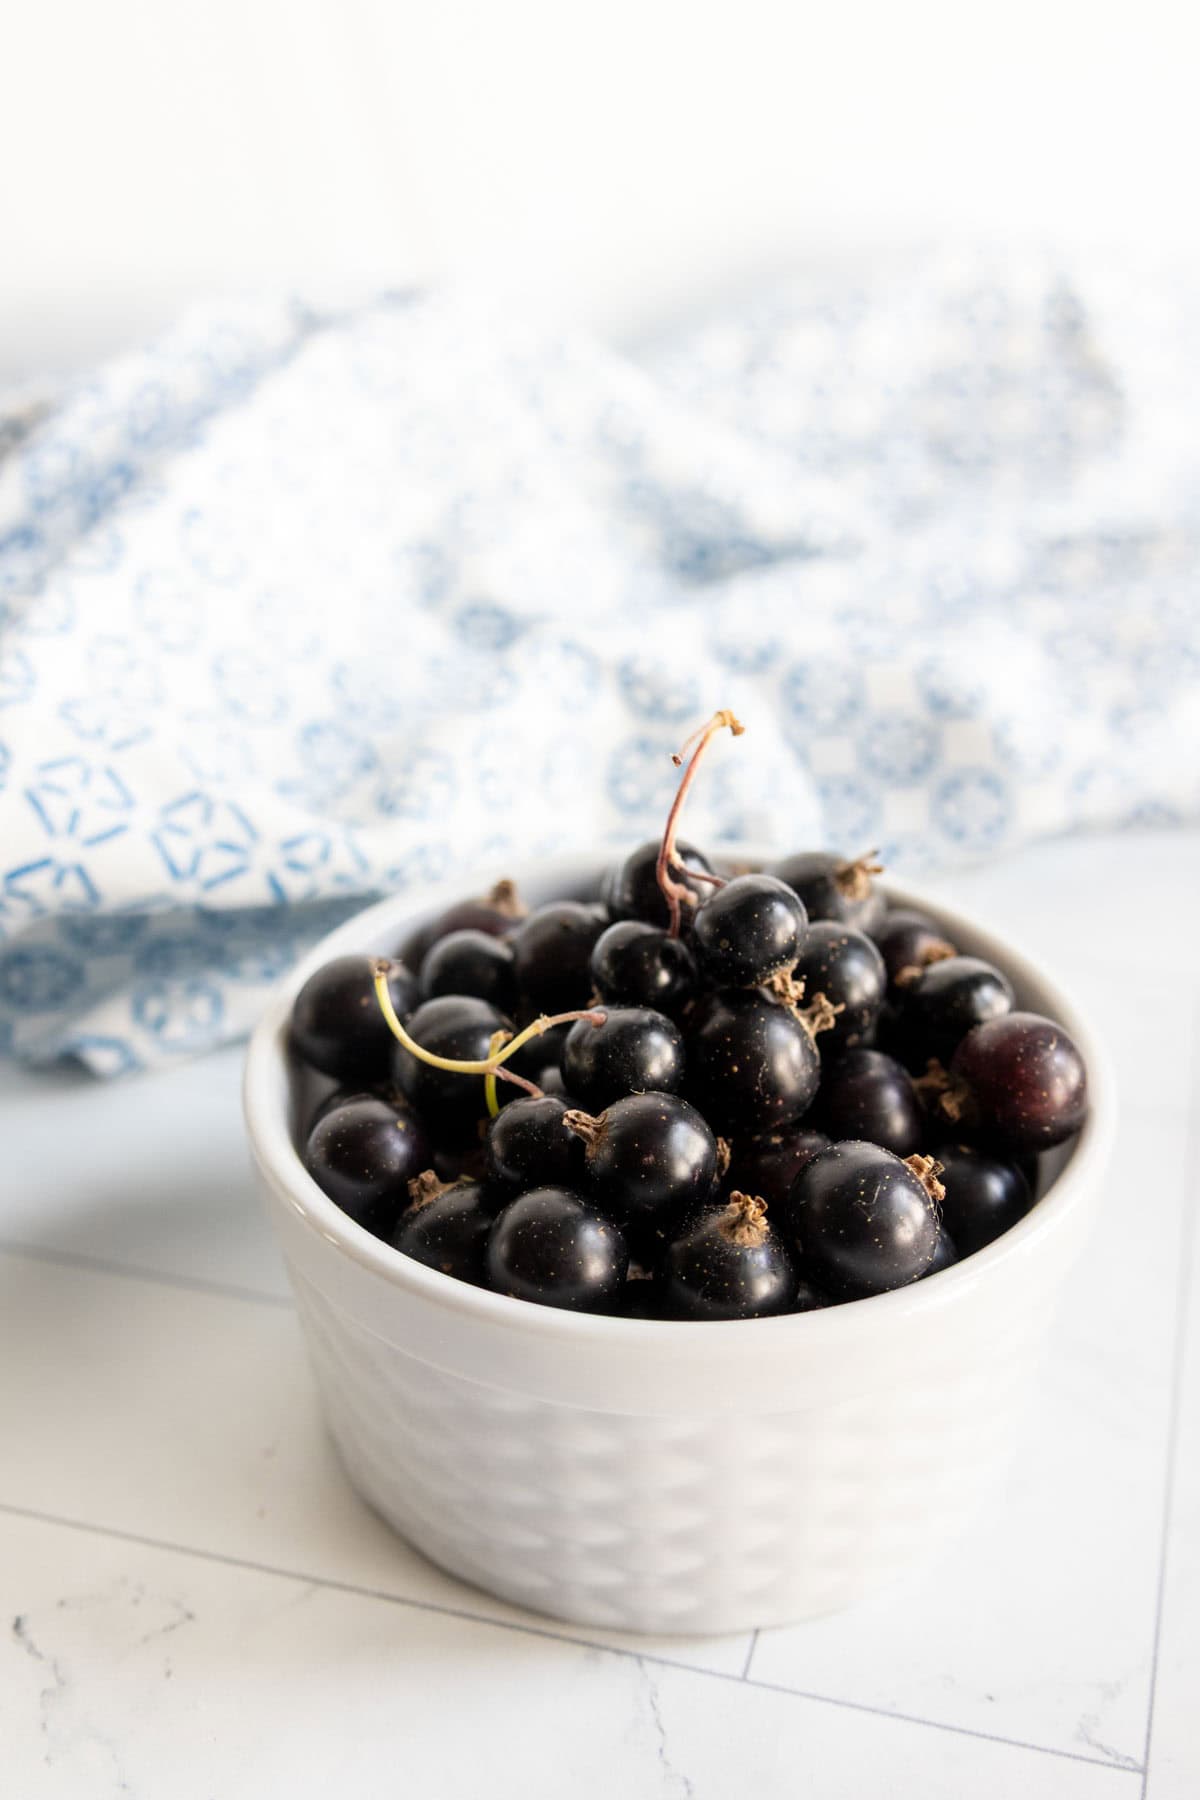
Black currants (or blackcurrants) are tart and astringent, so they aren’t really pleasing to eat on their own, but they are wonderful when transformed into jelly, jam, or drinks!
This jelly recipe only requires three ingredients. Grab some jars and get ready!
Ingredients for black currant jelly
Full list of ingredients with quantities is located in the recipe card.
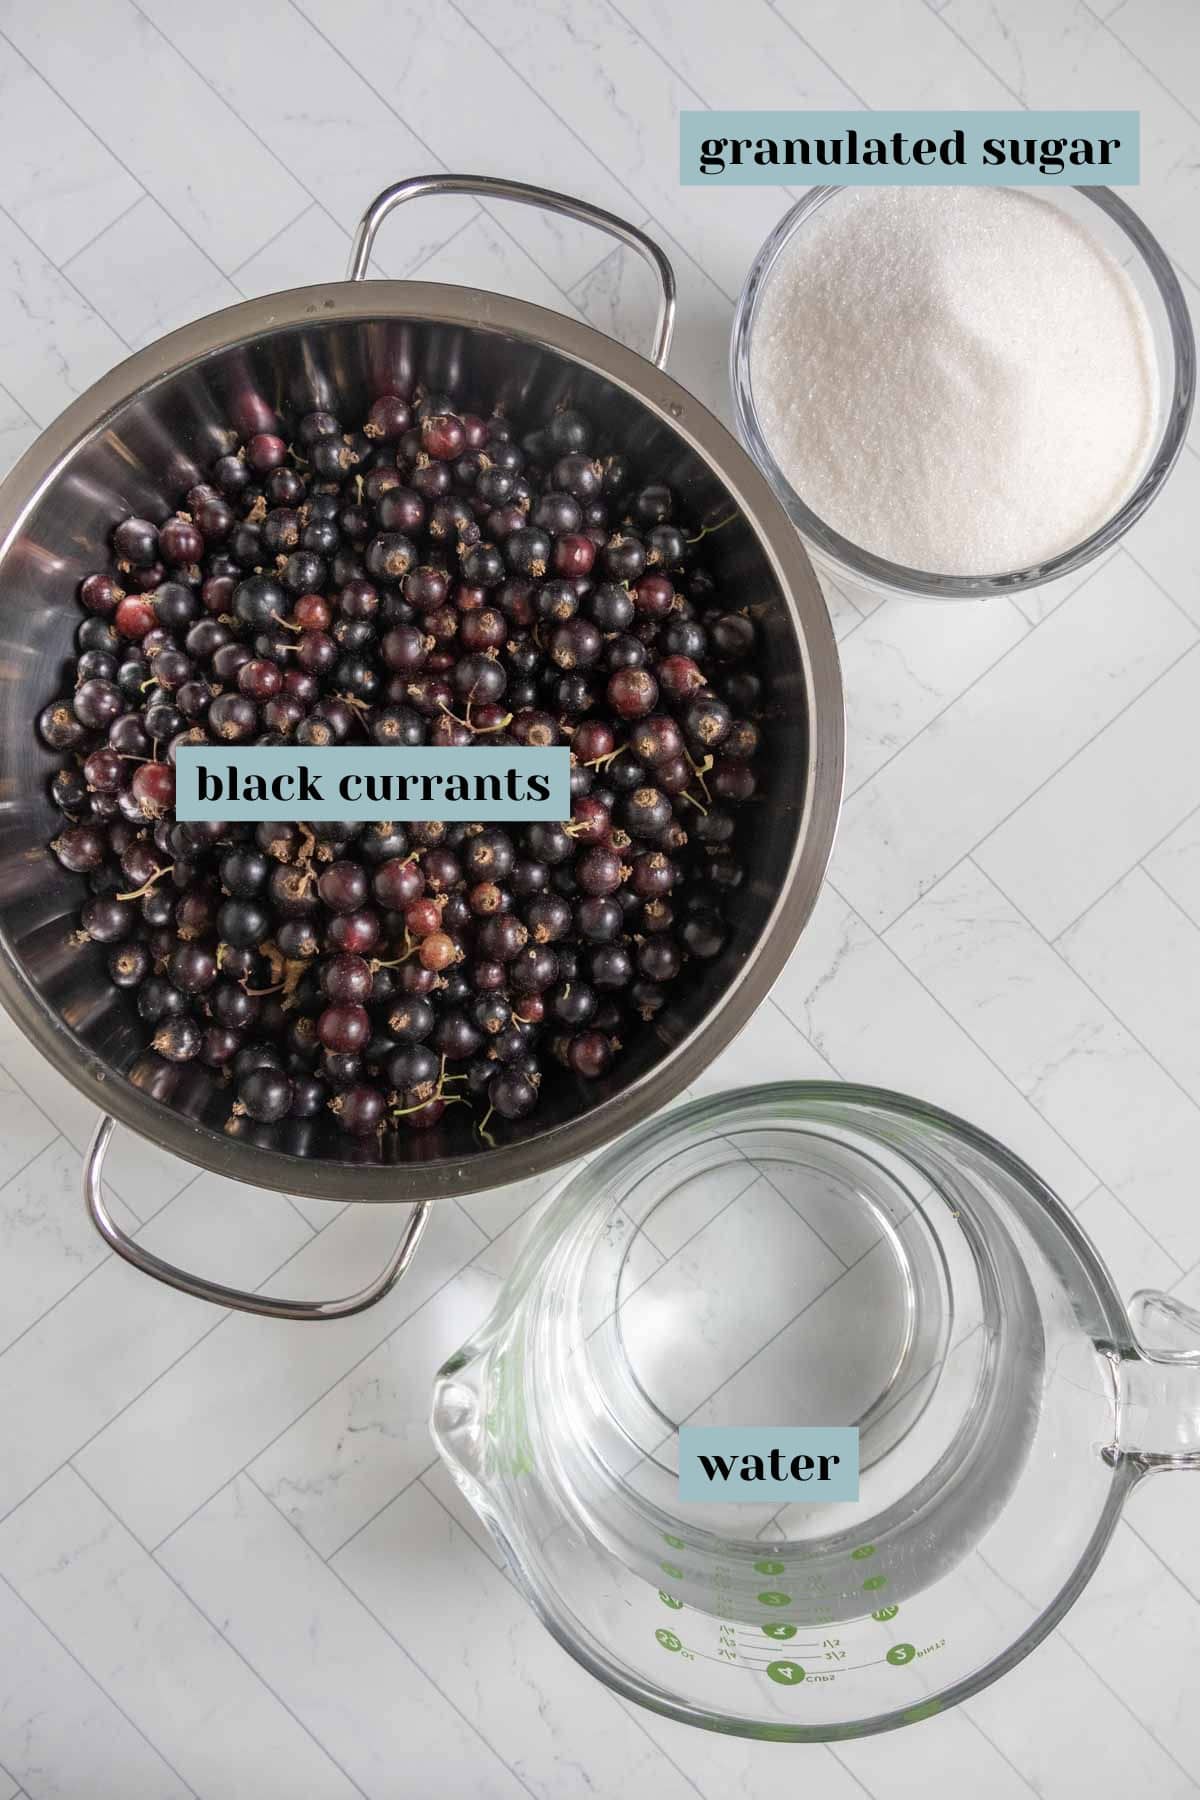
You’ll need:
- Fresh black currants
- Water
- Granulated sugar
Black currants have quite a bit of natural pectin, so you do not need to add pectin to this recipe for it to set.
You most likely will not be able to find black currants in the grocery store, at least here in the United States. This is because currants were banned plants for about 50 years in order to prevent the spread of white pine blister rust.
Currants grow best in northern climates, so you might find them available at farmers markets or growing wild in the Midwest or North East. They grow in clusters that are a bit tedious to harvest, but when they are ripe you can easily get a few pounds off each plant. Try to harvest the black fruit only, not those lighter in color.
If you have extra black currants after making this recipe, try homemade cassis!
Equipment
You will need a large saucepan, a fine mesh strainer, and some jars for storing the jelly.
If you are canning the jelly (necessary for storing in the pantry) you’ll need a water bath canner, jar lifter, and new seals and rings for the jars.
You can use a jelly bag or cheesecloth for straining the juice, but it will take much more time, so I usually just press it through the strainer.
 Buy Now →
 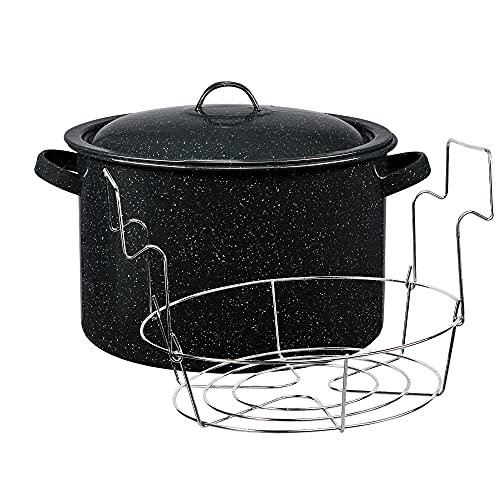 Buy Now →
  Buy Now →
 How to make this recipe
Rinse your currants. You do not need to worry about removing all of the stems or even any attached leaves, as they will be strained out.
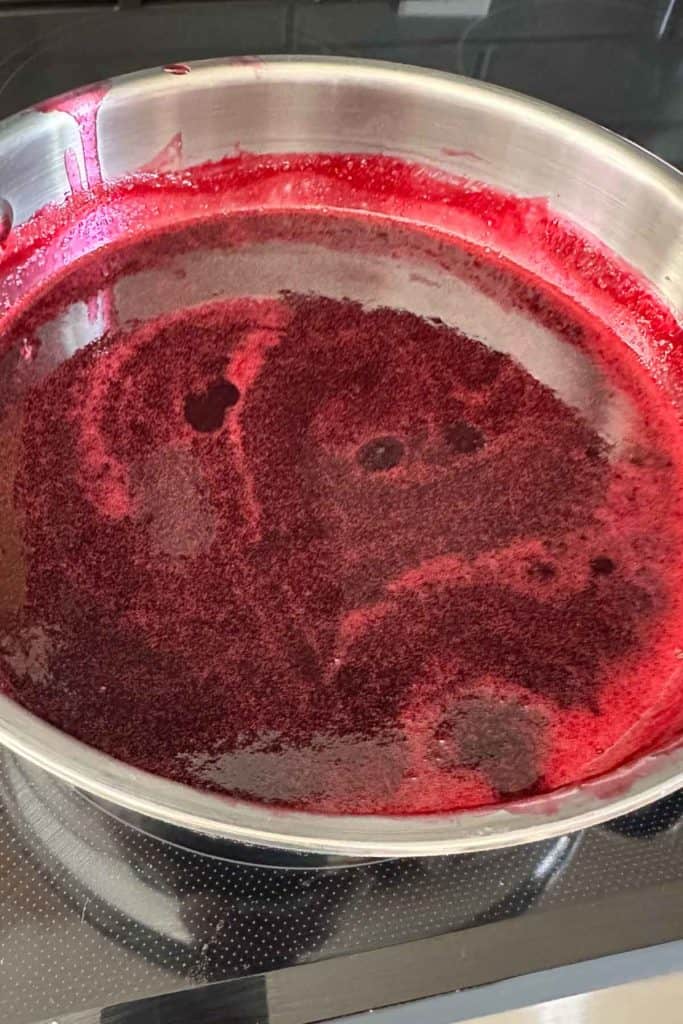
Add the currants to a saucepan and cover with water. Bring to a boil, then reduce heat to medium and let simmer for about 30 minutes.
Want to save this recipe for later?
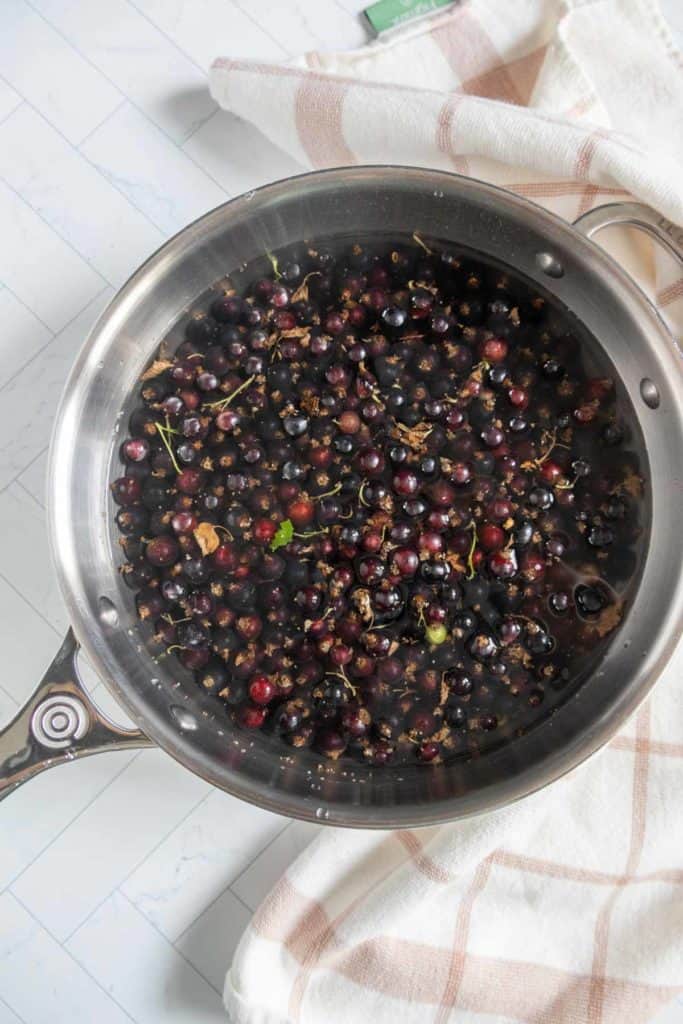
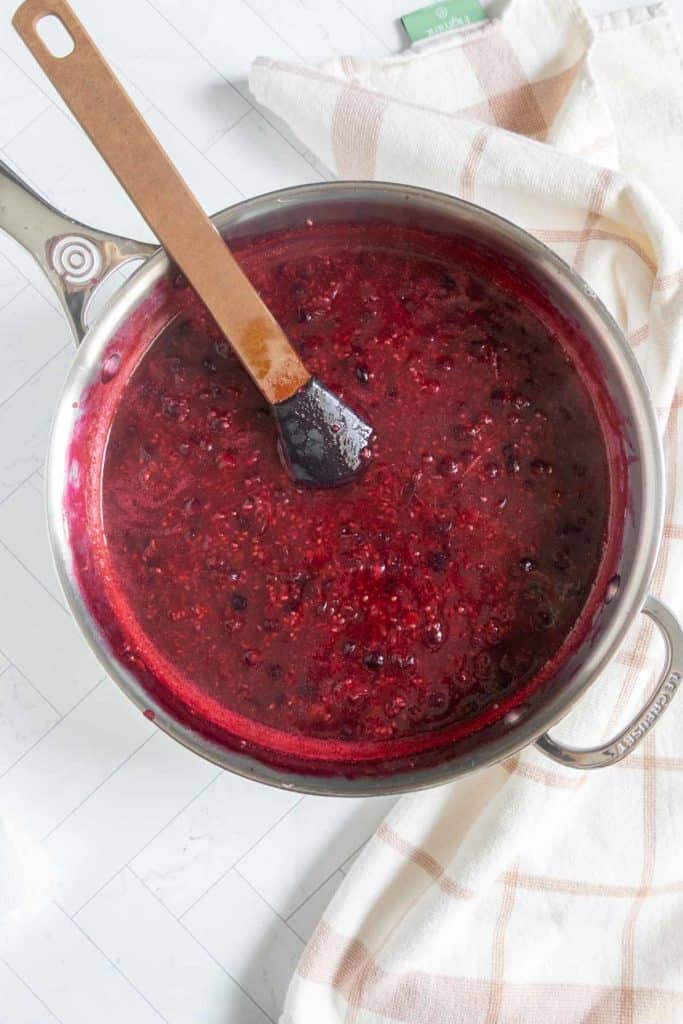
The liquid will turn from clear to a vibrant wine color as the currants burst and the juice is extracted.
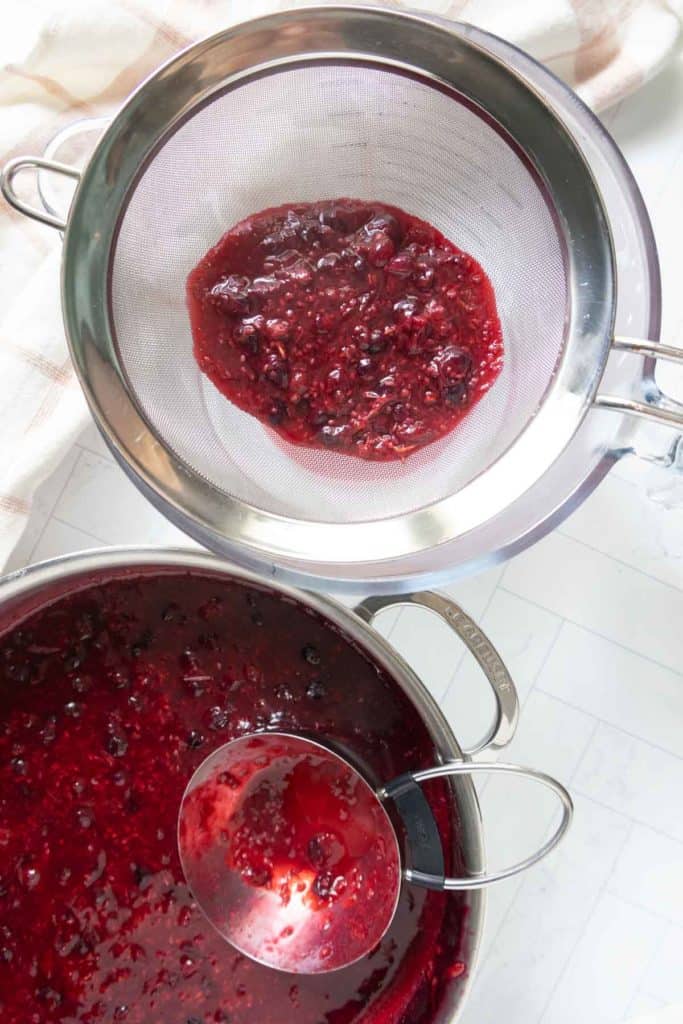
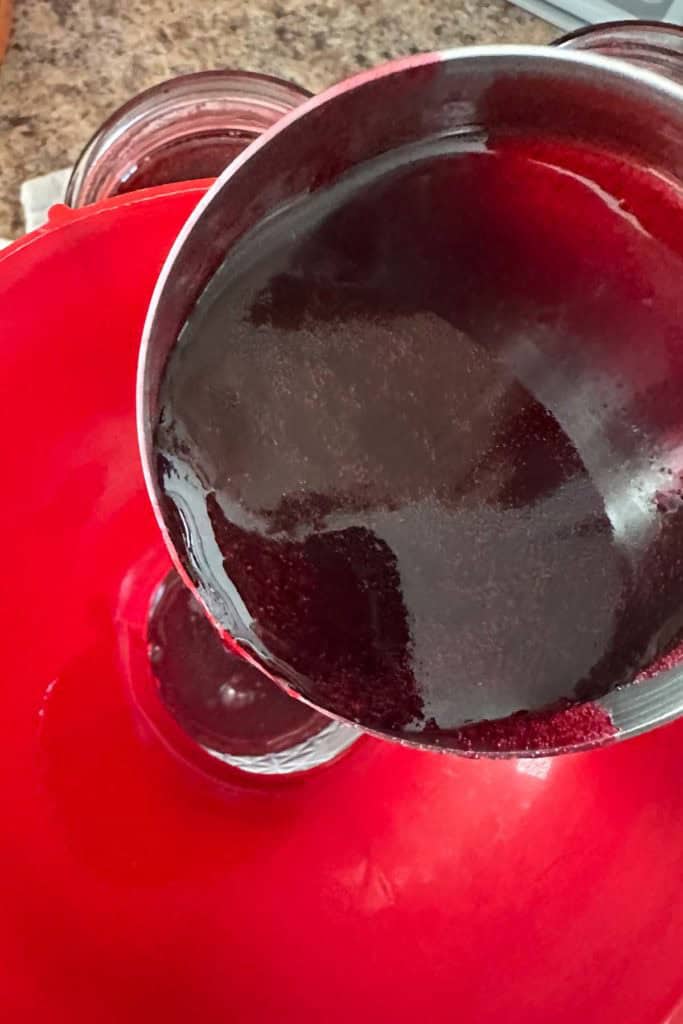
Set a fine mesh strainer over a bowl or large liquid measuring cup. It should be big enough so that your strainer sits on top without needing to be held.
You will need to measure the juice in order to add the right amount of sugar. I recommend straining right into the measuring cup if you have one large enough.
Scoop the currant mixture into the strainer, pressing and scraping with a spatula to extract the juice. Discard the pulp and repeat until all of the mixture is used up.
If you are water bath canning, at this point fill the canner with water and set to boil.
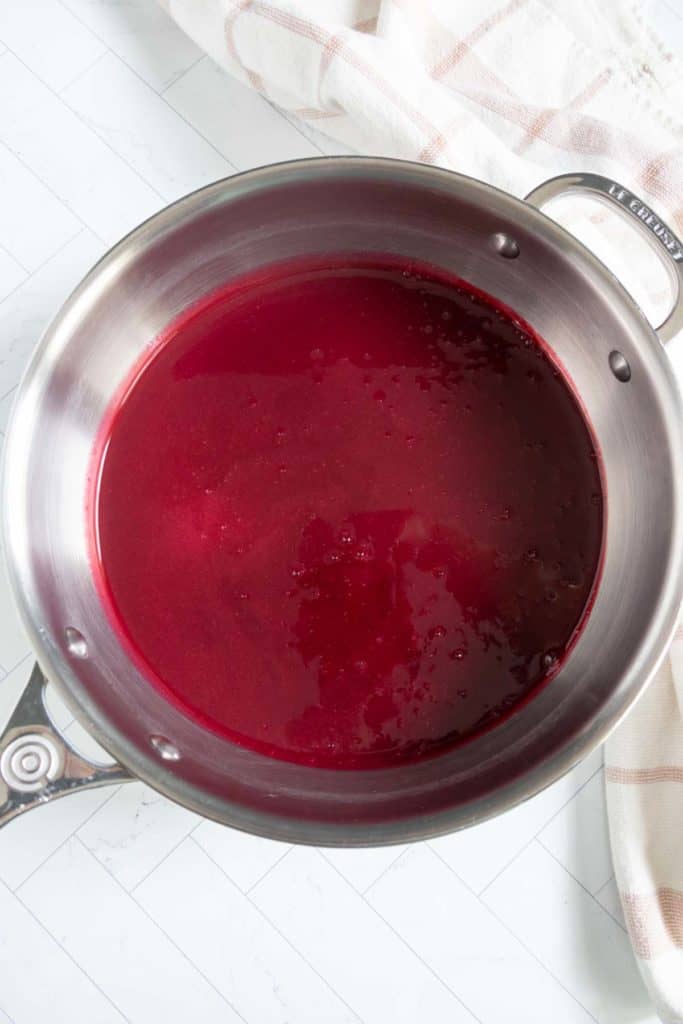
Measure the juice. You will need 75 grams of sugar (about 1/3 cup) for each 100 mL (3 1/3 fluid ounces) of juice. My 2 pounds of currants yielded exactly 800 mL of juice, so I used 600 grams of sugar.
Transfer the juice to a saucepan (you can quickly clean the one you just used) and stir in the sugar.
Heat over medium, stirring to dissolve the sugar. Once dissolved, increase heat and bring to a boil. Boil for 10-12 minutes, until the jelly reaches 220°F and it runs off the spoon in sheets rather than drops.
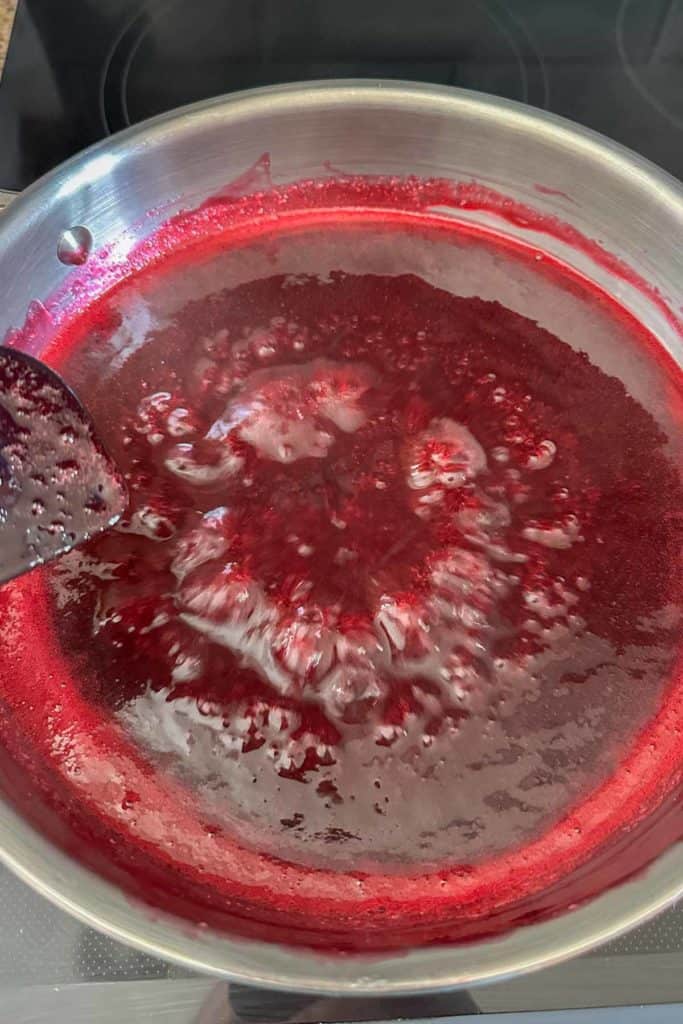
You can test the jelly for doneness by also using the wrinkle test. Set a small plate in the freezer before cooking the jelly. After boiling, place a small amount onto the plate and set in the freezer again for 1 minute. If the jelly wrinkles when pushed with your finger, it is ready.
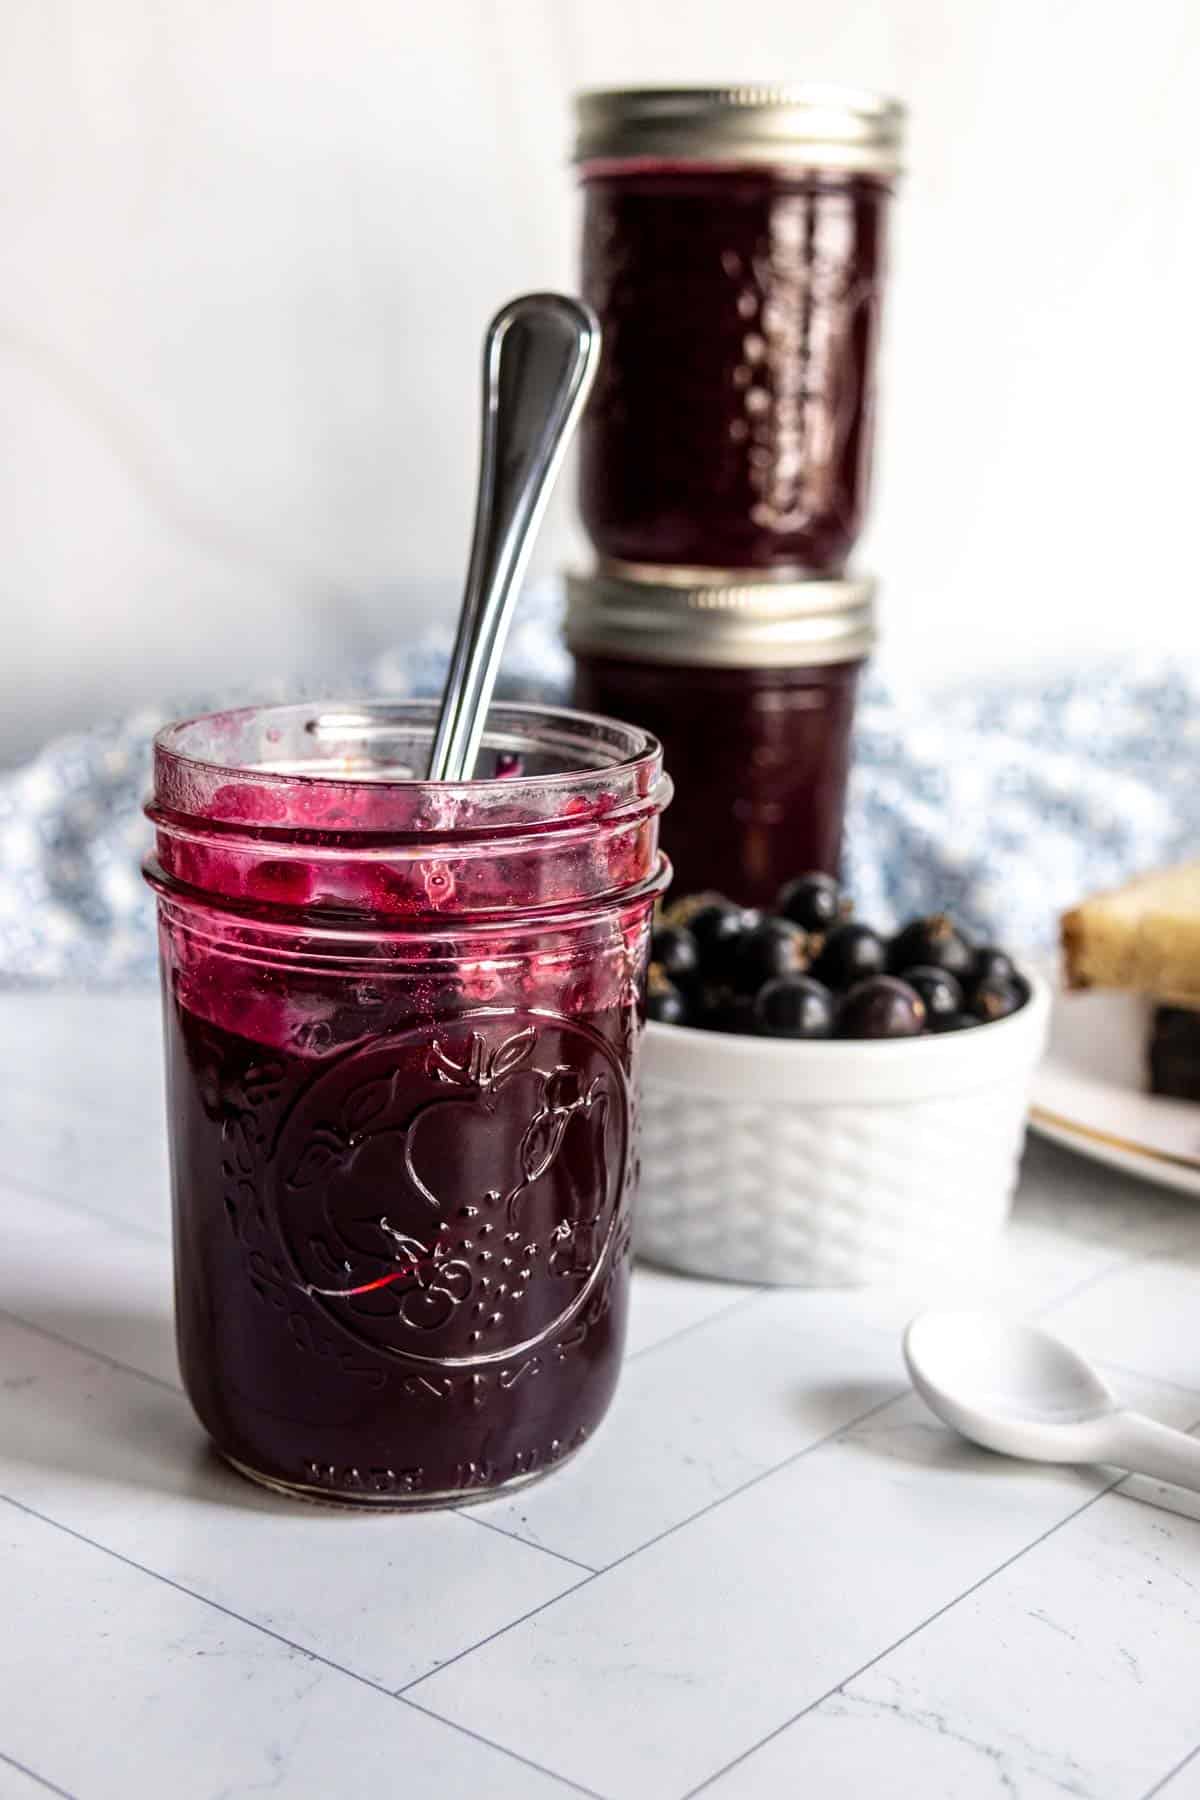
Ladle into jars, place lids, and let cool to room temperature before storing in the refrigerator.
Water bath canning black currant jelly
For pantry storage, you will need to process the jars in a canner.
Make sure your canner is filled and set to boil before the jelly is cooked, or it won’t be ready when the jelly is done. Even on fast stoves it will take a while to heat such a large pot.
Fill the jars, leaving 1/4 inch of headspace. Place the lids and screw on the bands fingertip tight.
Use a jar lifter to carefully lower the jars into the boiling water. Place the lid and let process for 10 minutes, then turn off the heat and let the jars rest for 5 minutes.
When the time is up, carefully remove from the water and place on a towel-lined countertop. Do not disturb for at least 24 hours; jelly can take up to 48 hours to set. Check the seals, label, and store in the pantry for up to 18 months.
FAQ
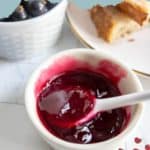
Enjoy this black currant jelly over English muffins, in crepes, or on pancakes!
— did you make this recipe? —
Leave a comment or tap the stars below to leave a rating — it helps others and supports our work. We love hearing how it turned out!
Black Currant Jelly
Ingredients
- 2 pounds black currants
- 3 cups water
- 3 cups granulated sugar, *see notes
Directions
- Rinse the currants. Pick out any large leaves, but don't worry about removing the stems or smaller bits. Combine in a large saucepan with the water.2 pounds black currants, 3 cups water
- Bring to a boil and let simmer for about 30 minutes. The liquid will turn dark red and will get somewhat thick as the currants pop.
- Once cooked, set a fine mesh strainer over a bowl or large measuring cup. Strain the currants, pressing to extract as much juice as possible. Discard the pulp.
- Measure the juice and sugar. You will need to use 75 grams of sugar per 100 milliliters of juice. (Approximately 1/3 cup sugar per 3 1/3 ounces juice). Any extra juice can be saved for another recipe.3 cups granulated sugar
- Place a small plate in the freezer for the wrinkle test later.
- Combine the juice and sugar in a large saucepan. Heat over medium, stirring to dissolve the sugar. Once dissolved, increase heat and bring the mixture to a boil. Boil for 10-12 minutes, stirring occasionally to prevent scorching the bottom, until the jelly reaches 220°F and it comes off the spoon in sheets.
- Remove the plate from the freezer and spoon a small amount of jelly onto it. Return to the freezer for 1 minute, then remove. Push the jelly with your finger. If it wrinkles, it is ready. If not, cook a few minutes longer, then repeat the test.
- When the jelly is ready, remove from heat. Ladle into clean jars. Place lids and rings and cool to room temperature, then store in the refrigerator.
Water bath canning
- If canning, fill your canner with water and set to boil before cooking the jam. Set aside jars, lids, and rings (or single sealable lids, depending on brand using). Proceed with the recipe above.
- When jelly is ready, fill jars to 1/4 inch headspace. Wipe rims clean of dripped jelly. Place lids and screw on rings fingertip tight.
- Use a jar lifter to lower the jars into the boiling water bath. Place the lid on the canner and boil jars for 10 minutes. Turn off heat and let jars rest 5 minutes, then carefully remove and set on a towel-lined counter.
- Let jars rest for 24-48 hours before checking for seals, labeling, and storing. Jelly make take as long as 48 hours to fully set.
Notes
- Makes 5 8-ounce (half pint) jars.
- You will need 75 grams of sugar per 100 milliliters of currant juice. You can use more or less to your taste, but it can affect the set.
- This recipe has not been tested with alternate sweeteners. If using, make sure to cook to indicated temperature and use the sheeting and wrinkle tests to make sure the jam will set.
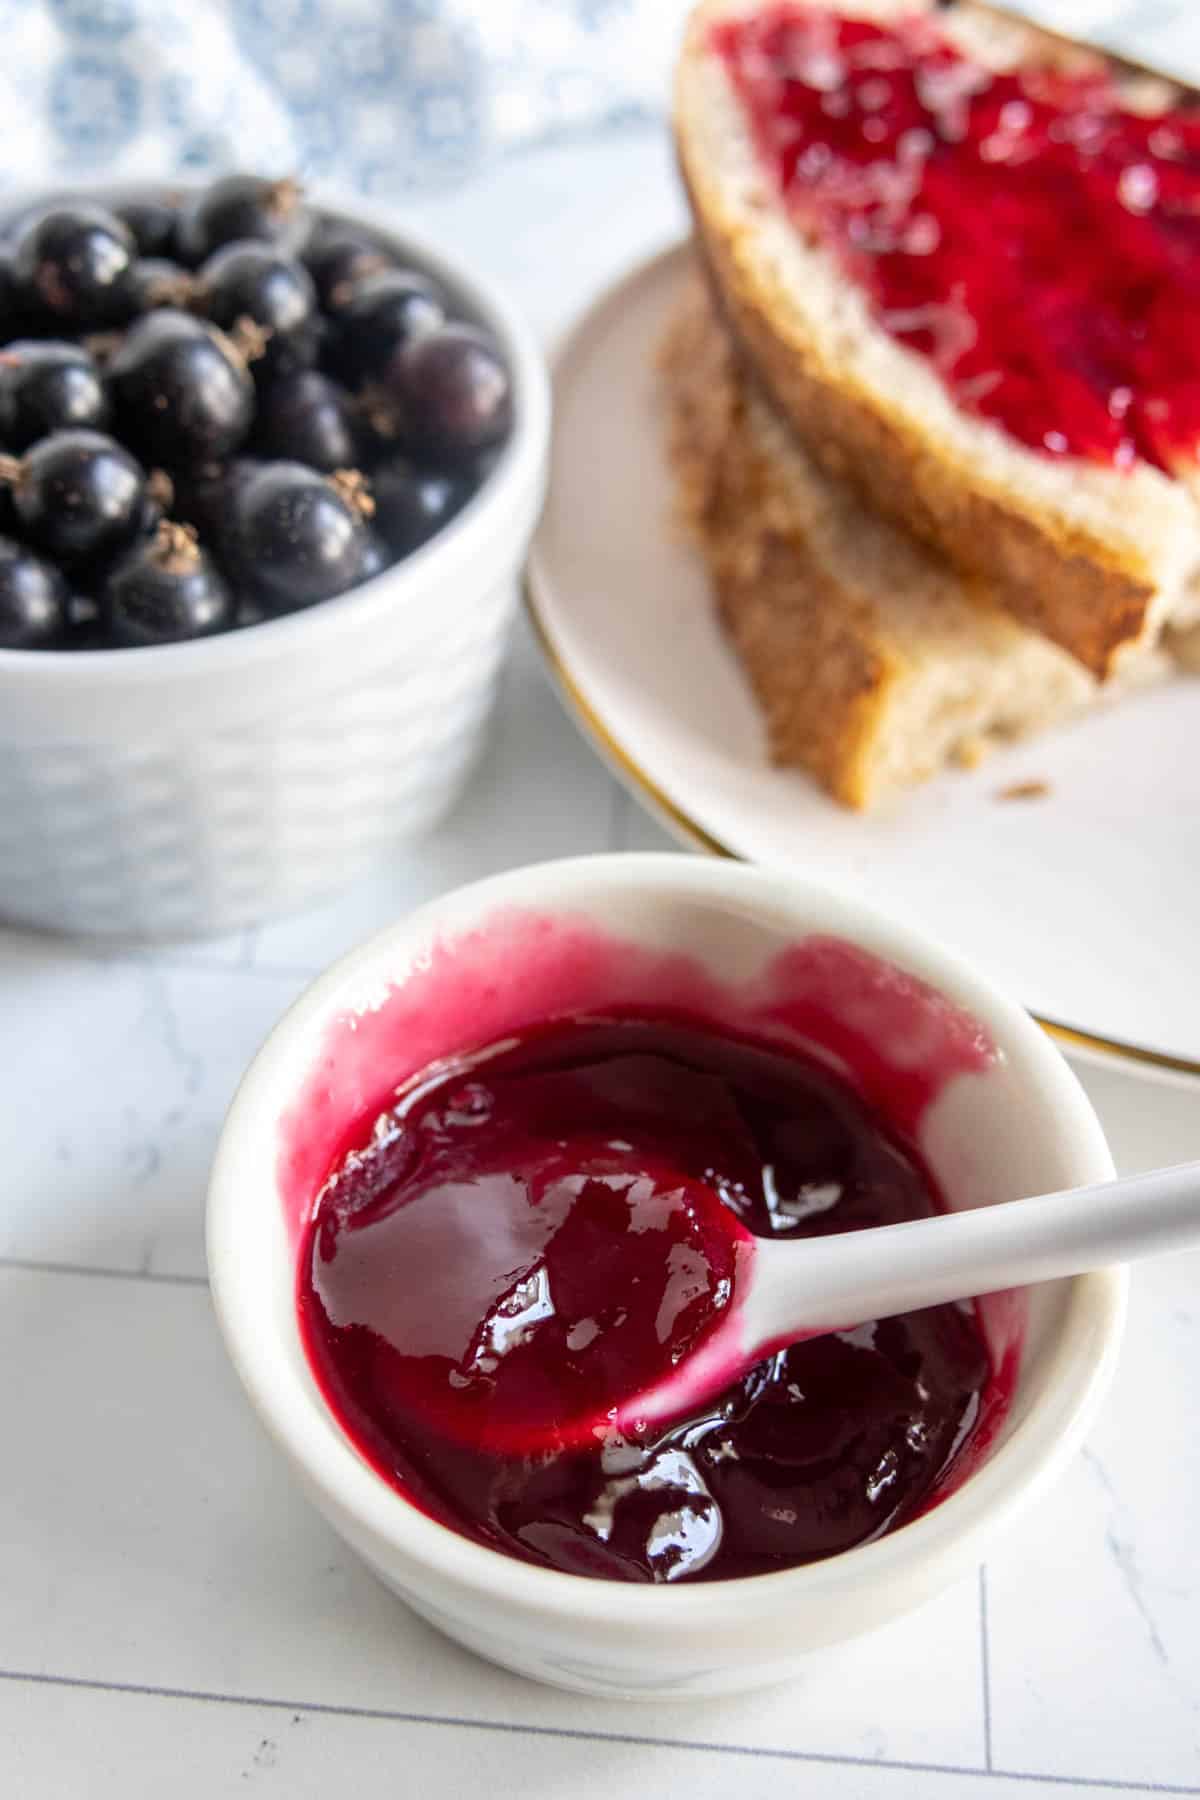
- The color of your jelly will depend on the variety of currant and how ripe they are. It should be anywhere from a deep red wine to almost black.
Want to save this recipe for later?
Nutrition
Nutrition information is provided as a courtesy and is an estimate based on online calculators. Any nutritional information found on Stetted should be used as a general guideline only.
You might also like:


About Megan
I learned how to cook by exploring seasonal ingredients, and you can too! Meal time shouldn’t be stressful or complicated, and with fresh ingredients and easy methods, I’m here to help you enjoy the time spent in the kitchen. Read more…