*This post contains affiliate links and may earn commissions on recommended products. As an Amazon Associate, I earn from qualifying purchases.
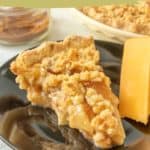
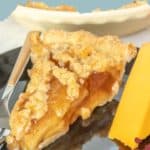
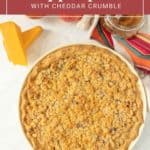
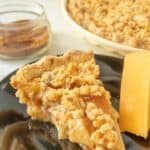
Level up your traditional apple pie with cheese! Cheddar cheese is added to the crumble for this delectable twist on apple pie.

Have you ever heard of the apple pie and cheese rule?
Growing up in Wisconsin, land of Cheeseheads, I heard it repeated often.
You see, the requirement of serving a slice of cheese with a slice of apple pie has long been an urban (rural?) myth among ‘Sconnies.
From what I can find it was technically never true, although from 1935-1937 restaurants were indeed required to serve a small amount of butter and cheese at every meal, likely to help boost the dairy industry in the Great Depression.
(Interestingly, Vermont passed a ruling in 1999 that asked for restaurants to make a “good faith effort” to serve some form of dairy with apple pie. Copycats.)
Before you freak out at the thought of cheese on pie, don’t worry. The flavor is subtle, but adds a layer of depth.
It might just be your new favorite pie!
Ingredients for apple pie with cheese
You’ll need:
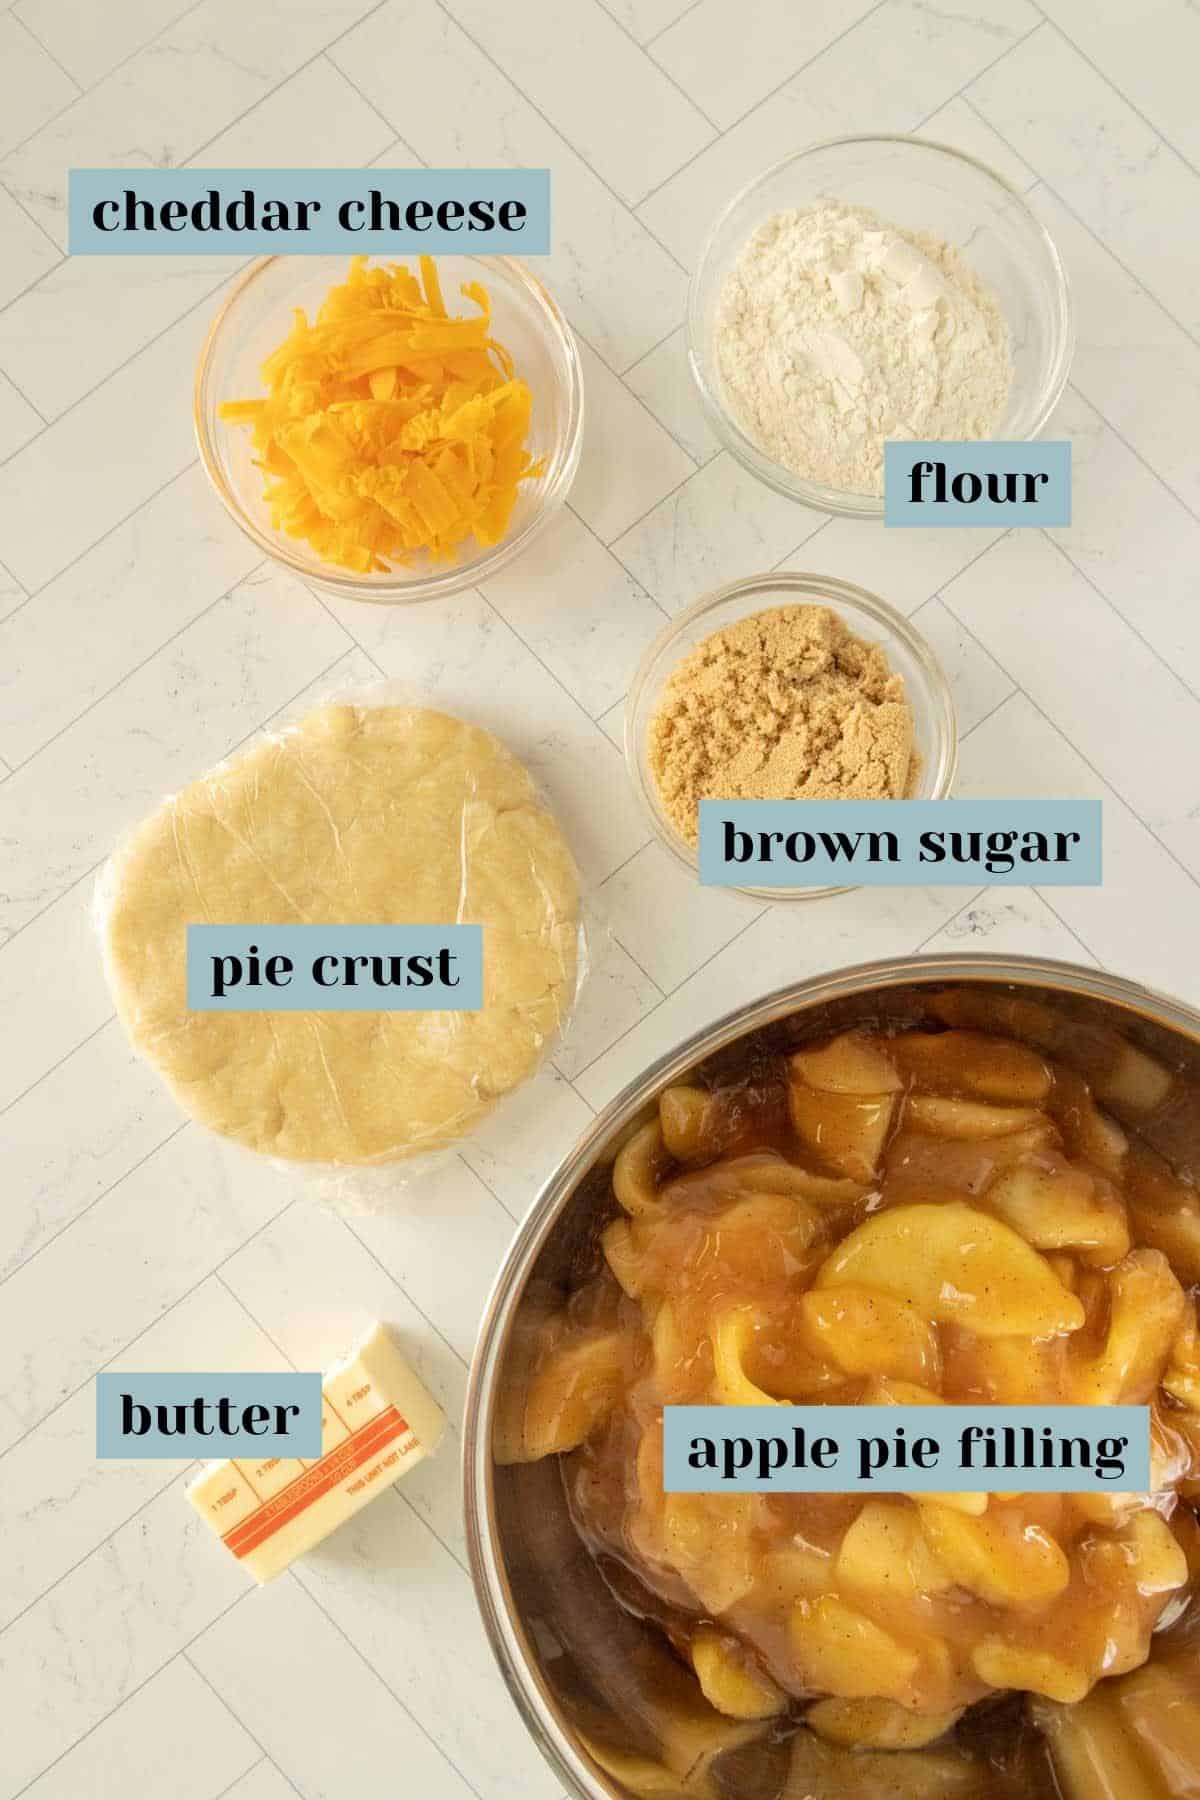
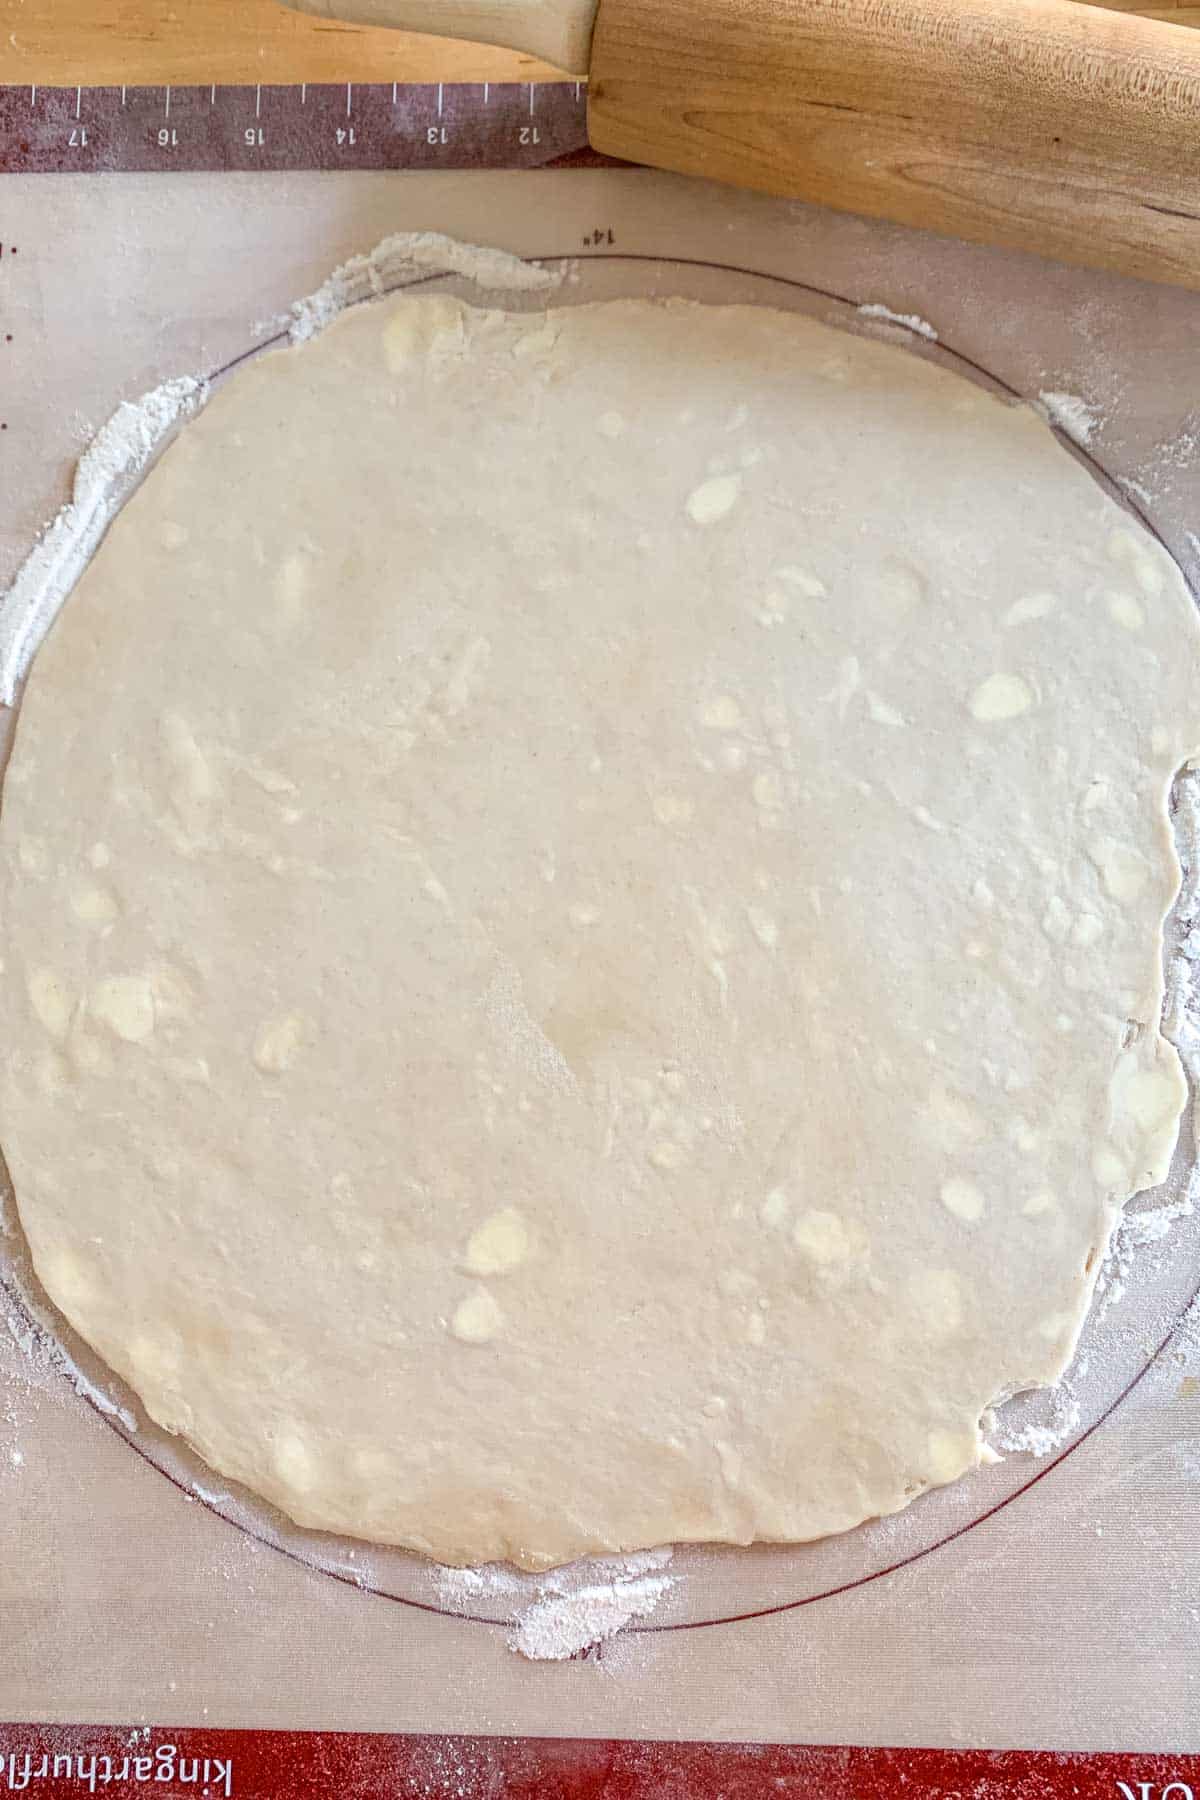
Pie crust – This recipe calls for just a single pie crust. If your pie pan is larger than 9 inches, make sure to roll out your crust larger.
Apple pie filling – For a 9-inch pie, you will need 32 ounces of pie filling. You can make your own apple pie filling, or buy at the store.
If you like a more piled-on apple pie or have a larger pie pan, you will need more filling.
Flour – I use all-purpose flour * for the topping. You can swap in whole-wheat flour or a gluten-free blend.
Brown sugar – Both light brown and dark brown sugar will work well in the topping. Dark brown sugar has a deeper molasses flavor.
Unsalted butter – You’ll need cold butter for making the crumble topping. I recommend unsalted due to the salt content in the cheese.
Cheddar cheese – You can use any variety of cheddar cheese, though I do recommend grating it yourself.
Mild, sharp, and extra sharp cheddar all work well. I’ve also made this pie with smoked cheddar cheese for a really unique flavor!
seasonal spotlight: apples
Fall is the perfect time to make apple pie. Apples are at their freshest both in stores and at local orchards, so take advantage!
How to make this recipe
Preheat the oven to 400°F.
Roll out your pie crust and fit it into the pie plate. Crimp the edges as desired.
Line the inside of the crust with a piece of foil or parchment paper. Fill with dried beans or pie weights.
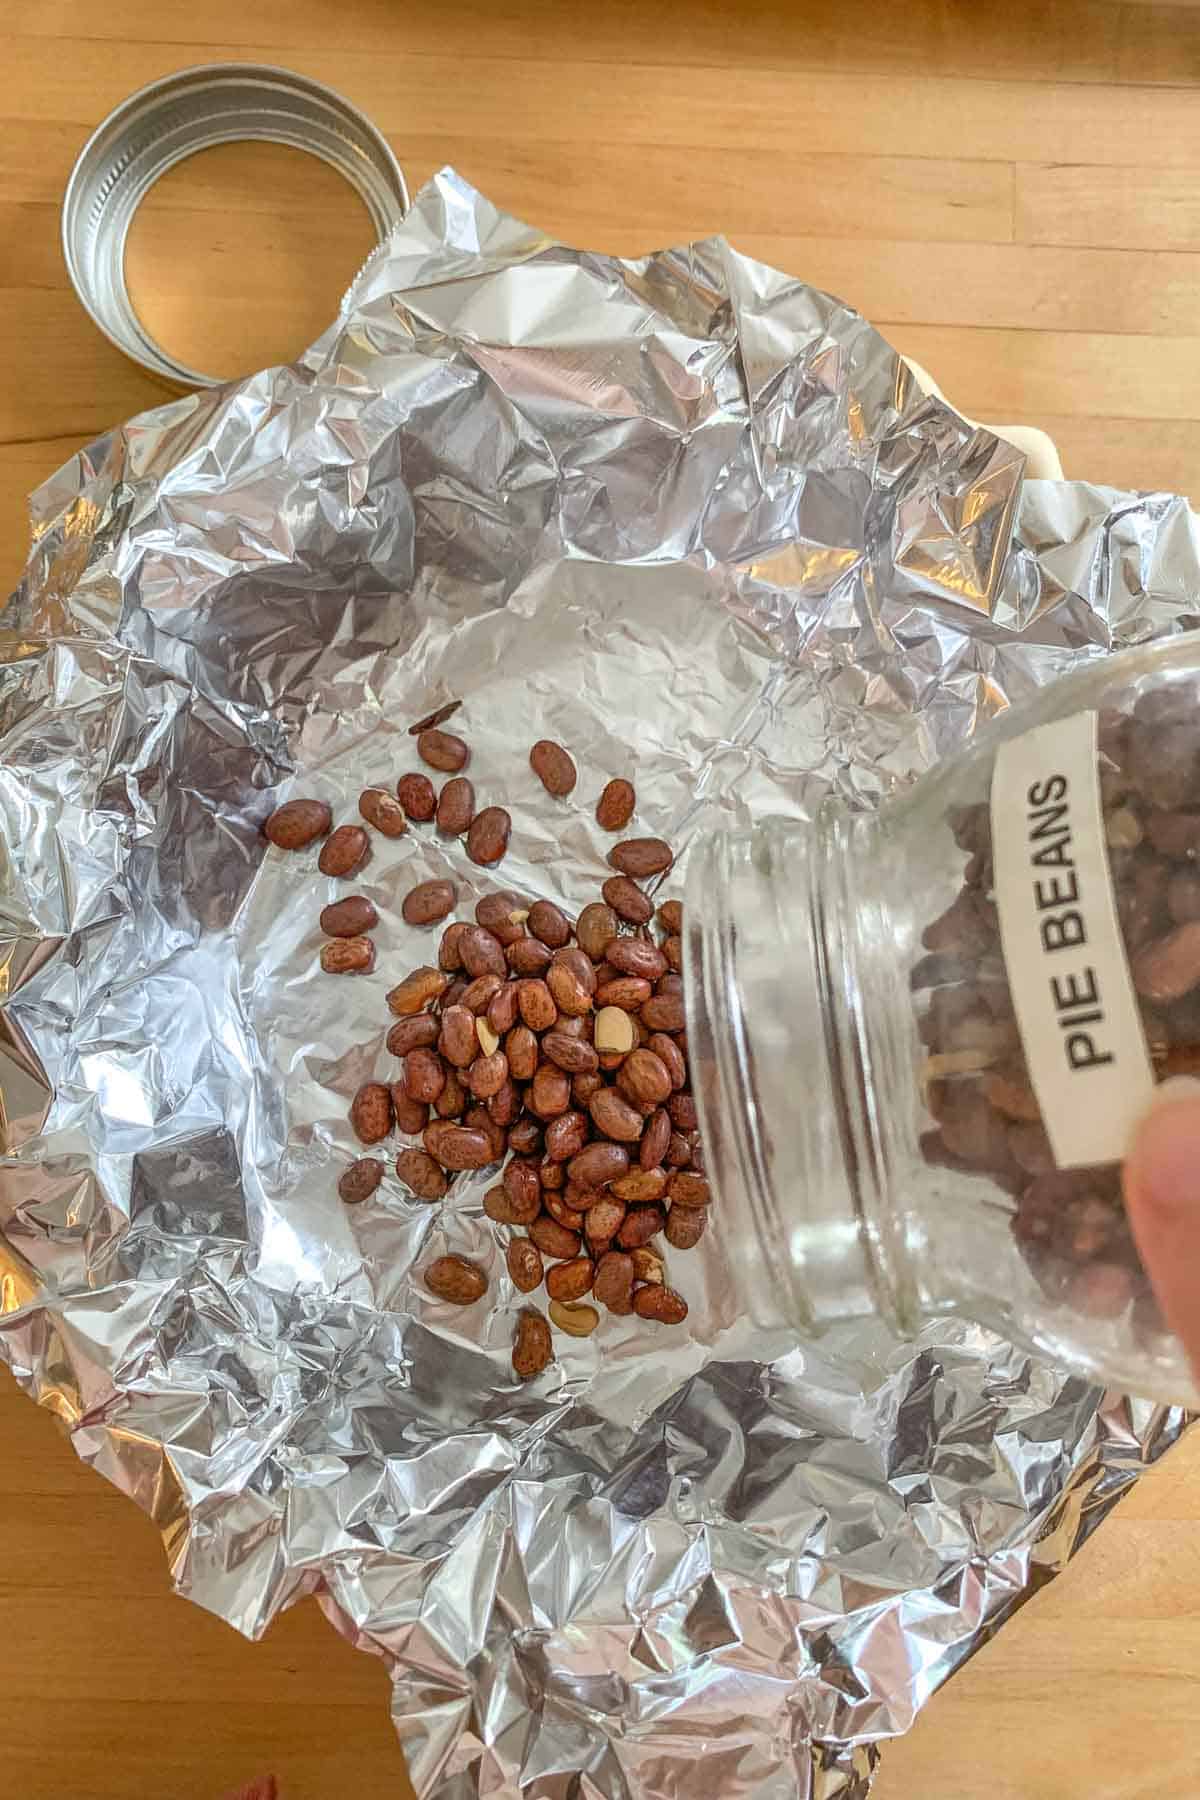
Bake the crust for 18 minutes, then remove from the oven. Remove the foil and beans and let cool slightly.
Want to save this recipe for later?
This step of blind baking will keep the crust bottom from being underbaked and soggy.
Reduce oven temperature to 375°F.
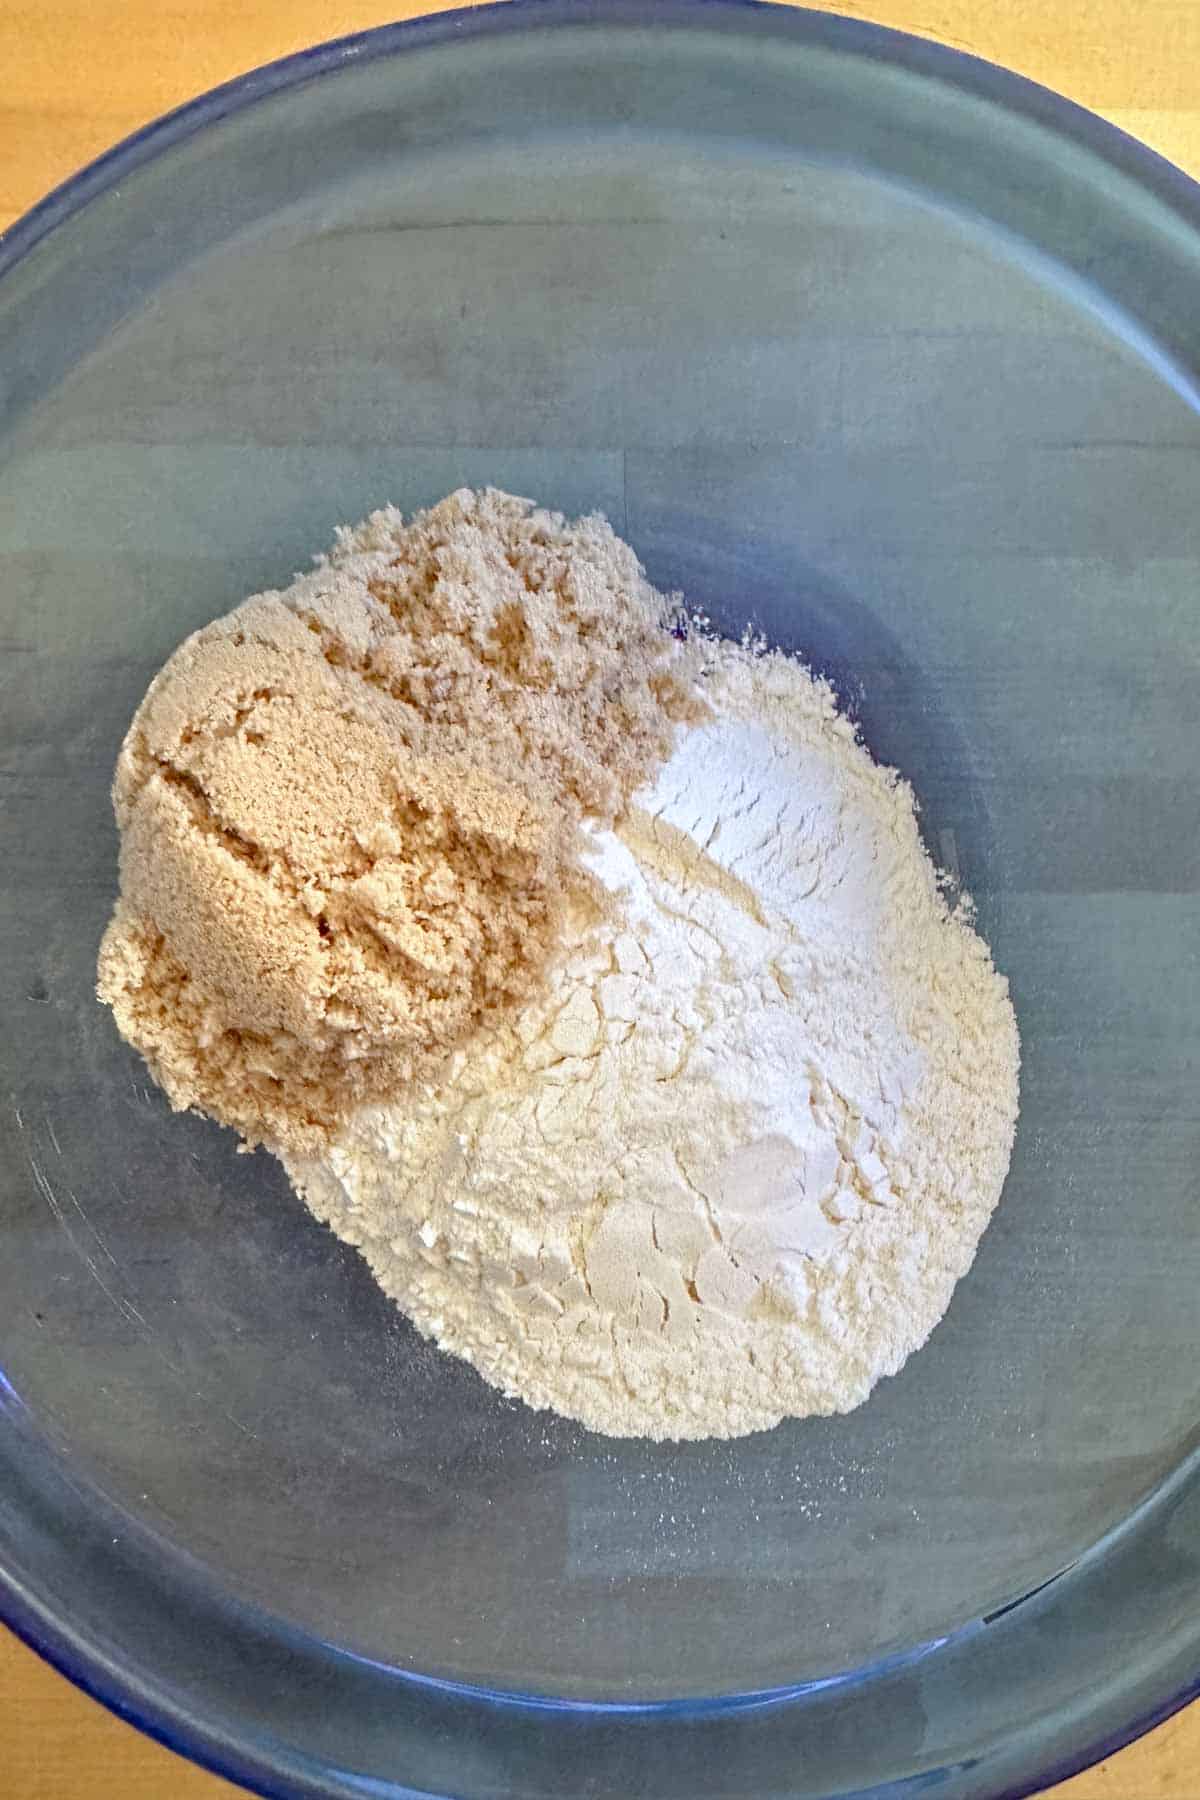
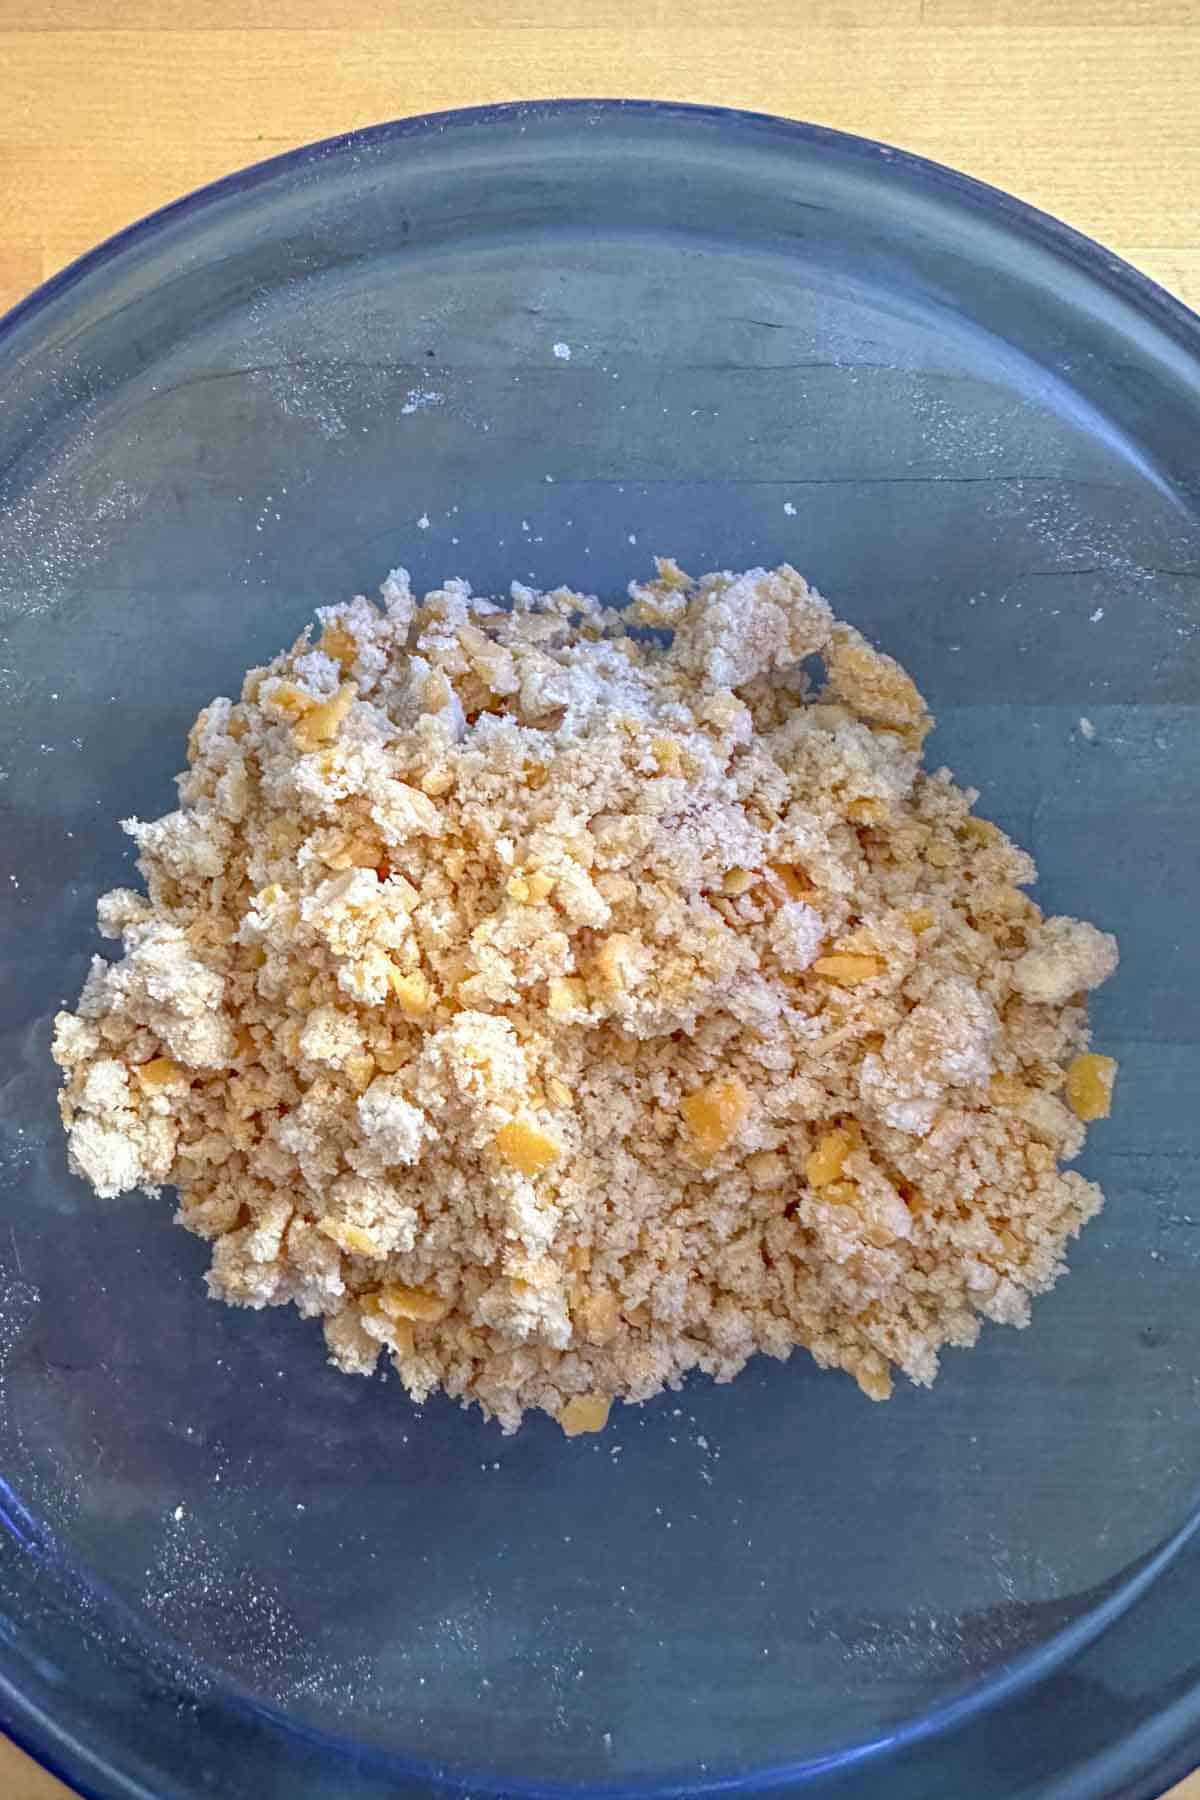
In a bowl, stir together the flour and brown sugar.
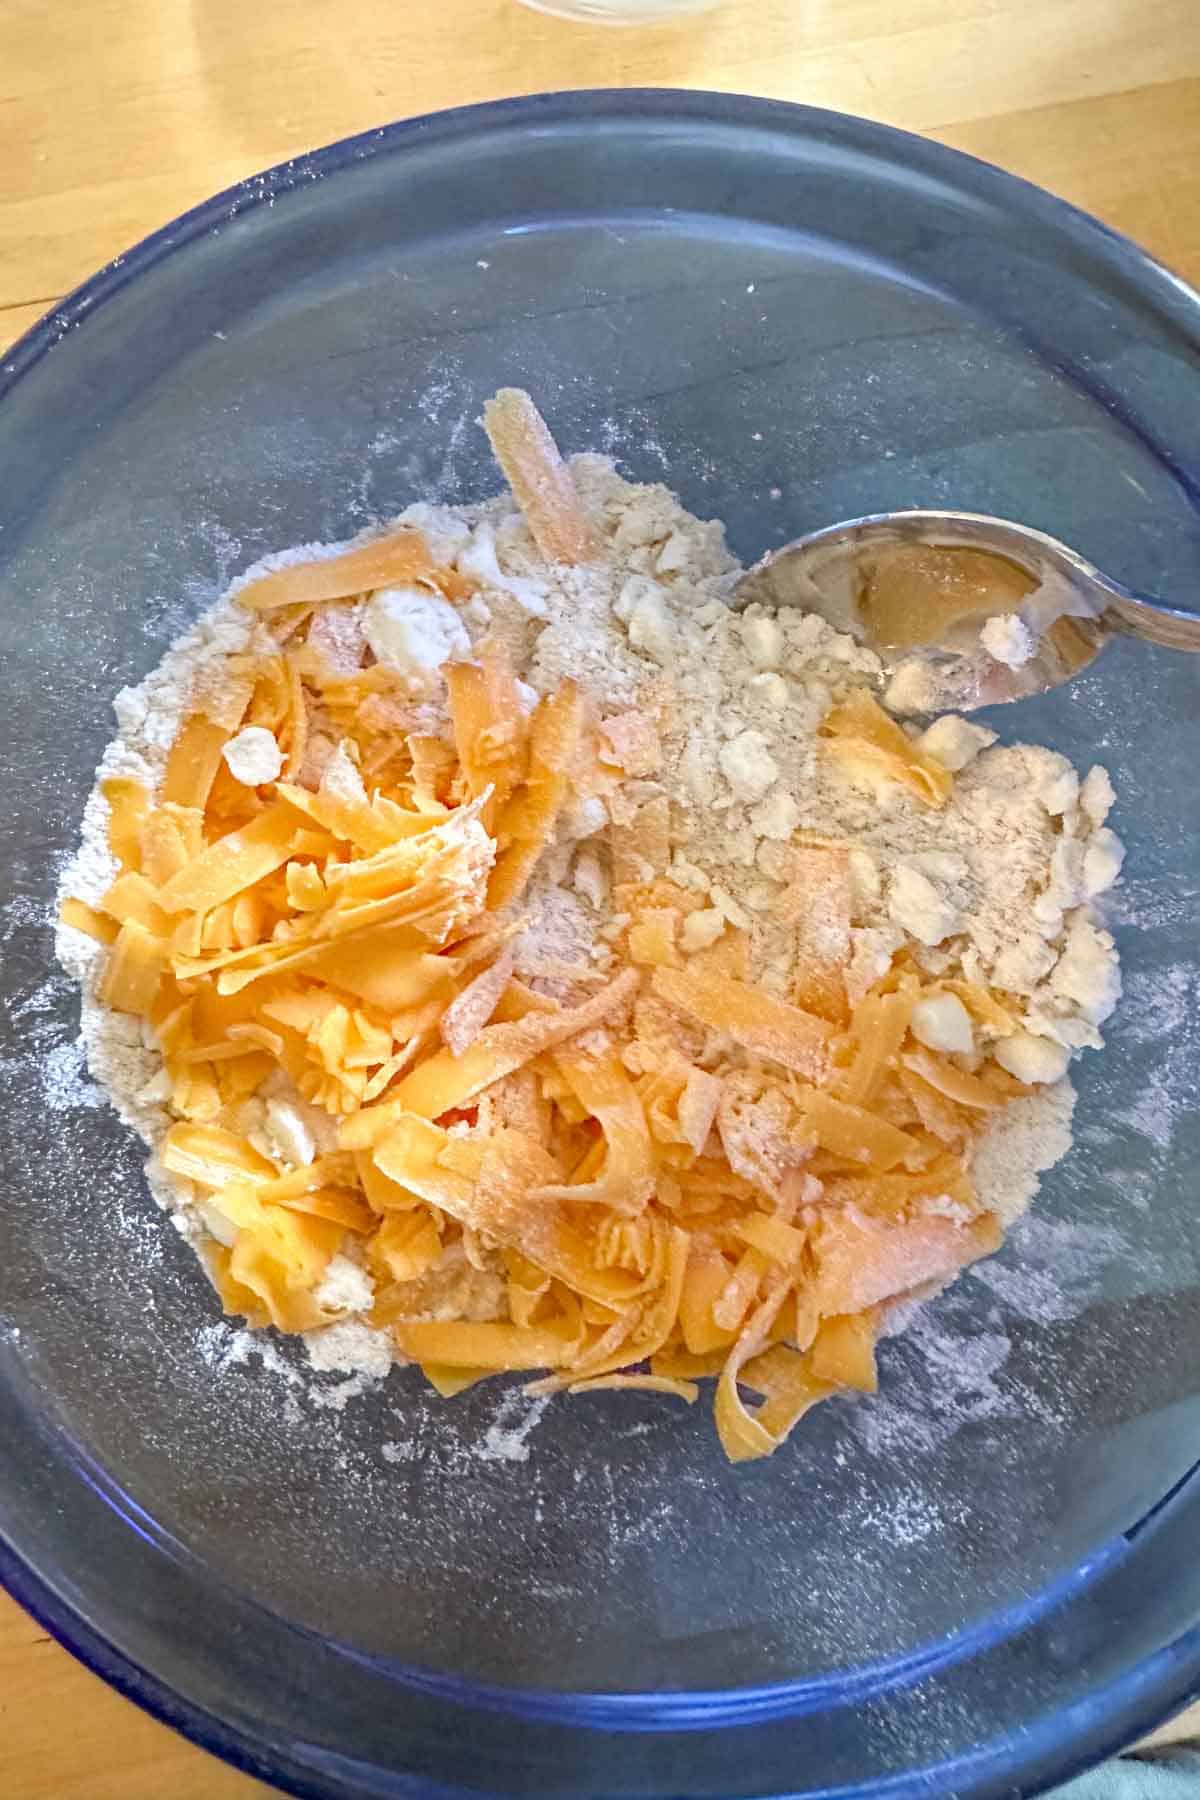
Cut in butter and cheese until the mixture is crumbly and sticks together when a handful is squeezed together.
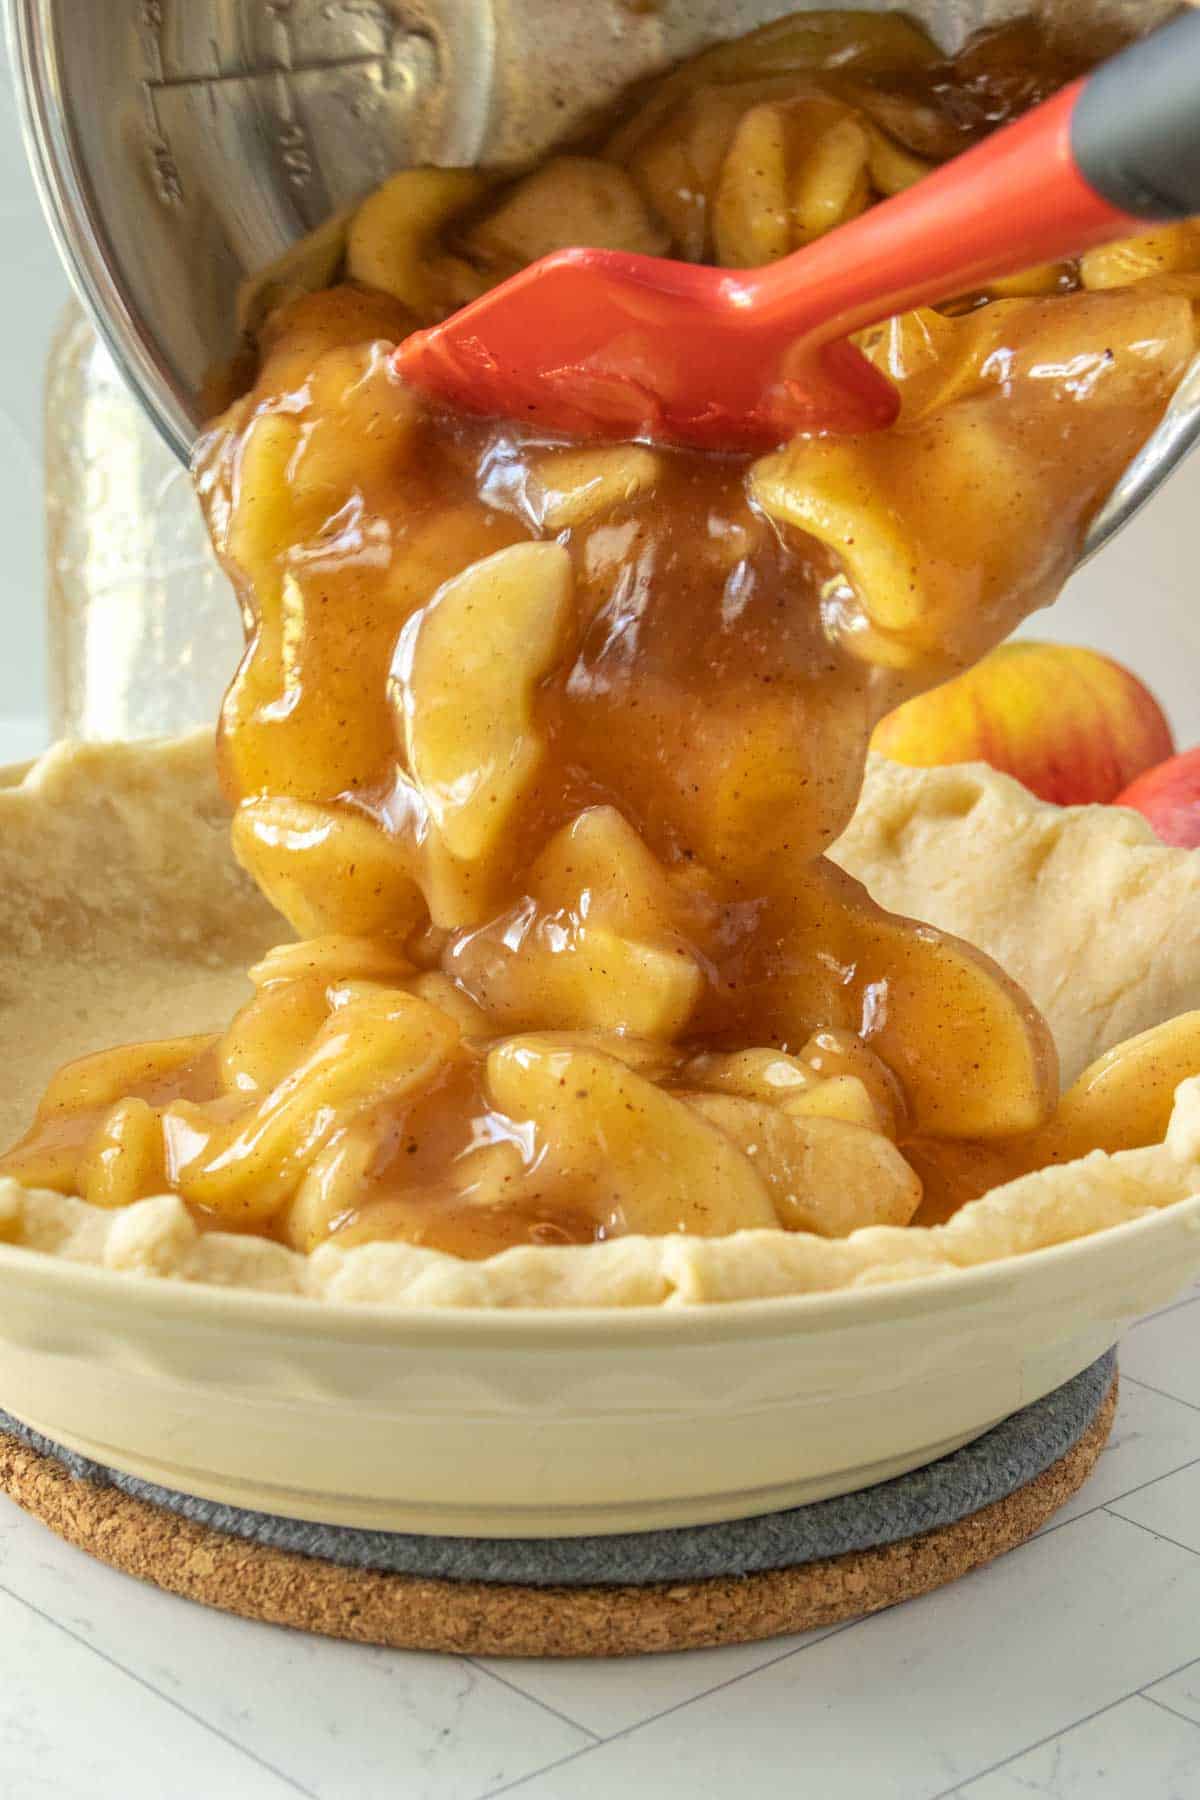
Pour the apple pie filling into the pie crust, spreading to fill evenly.
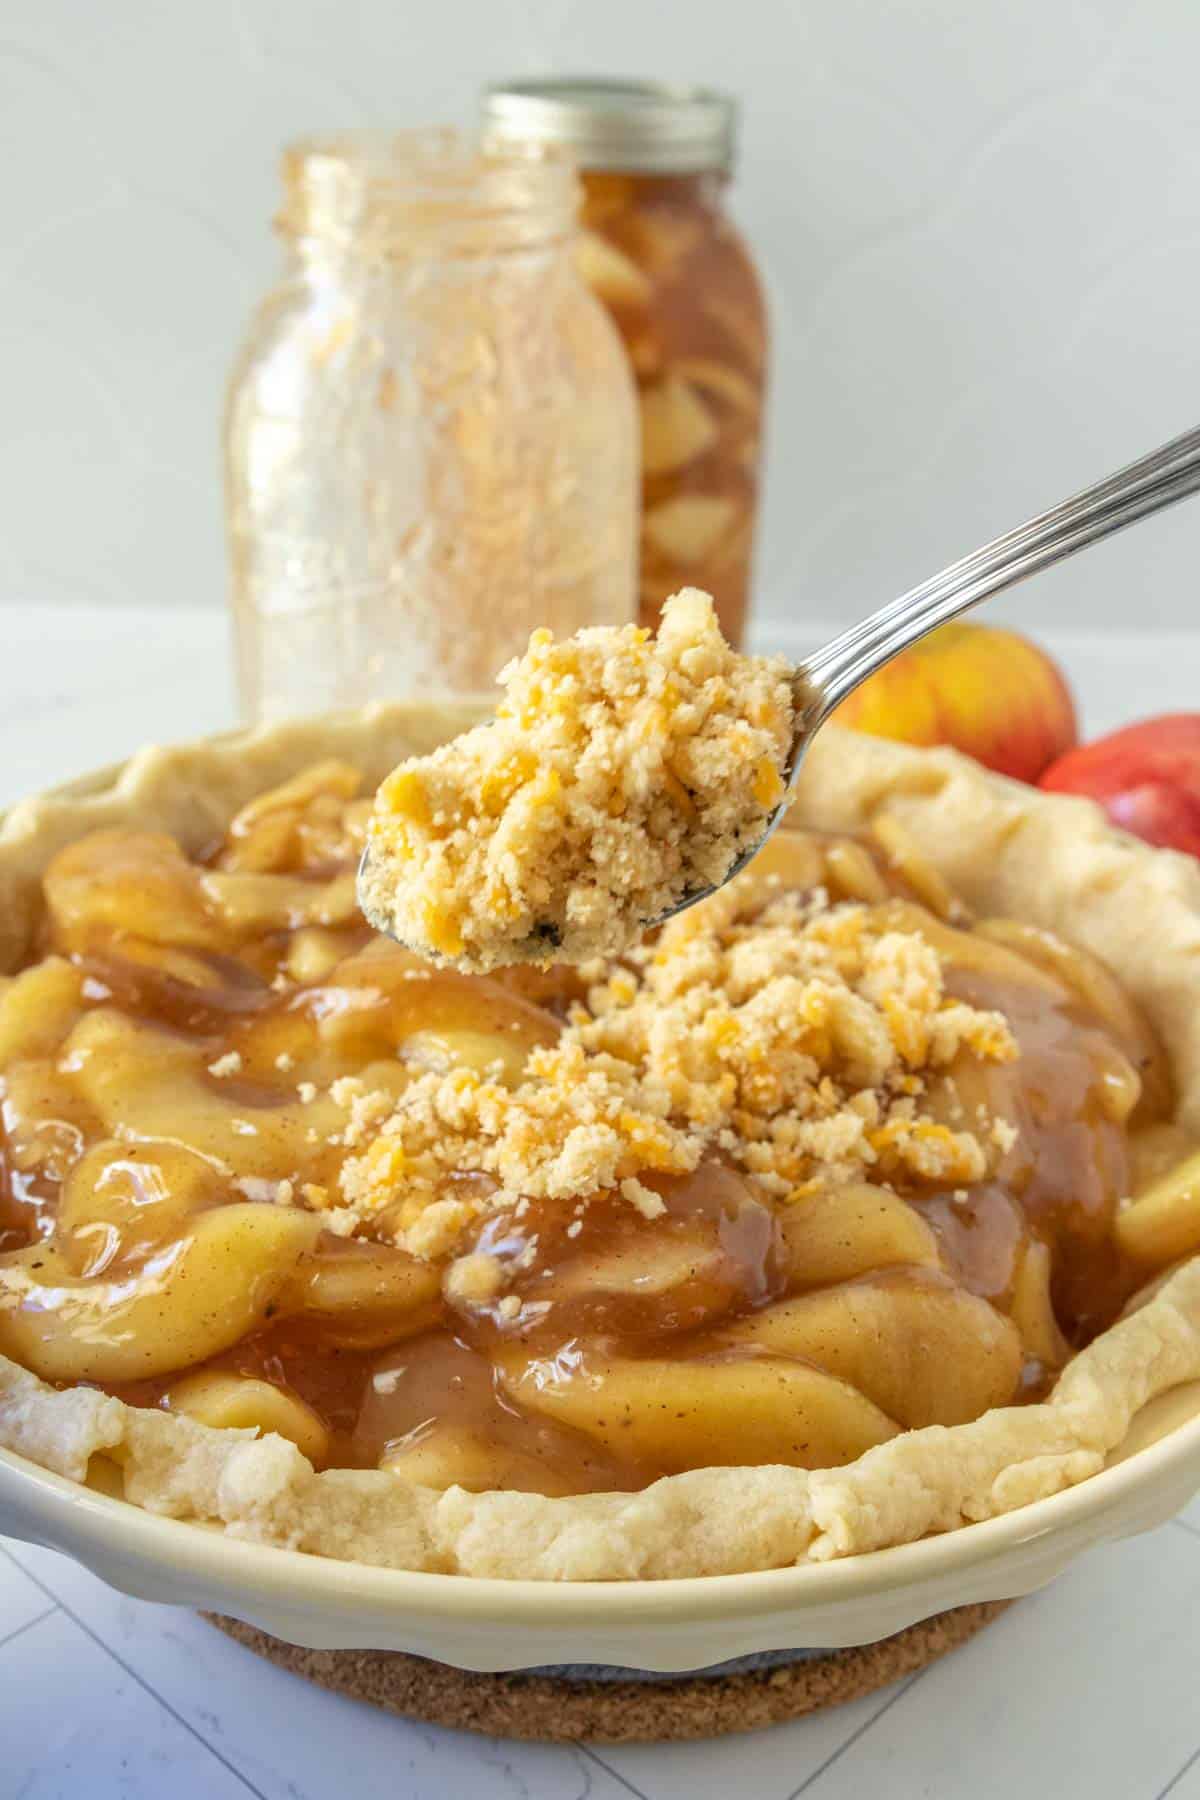
Scatter on the cheddar crumble on top of the pie. Make sure to reach all the way to the edges and cover the apples.
Place the pie on a rimmed baking sheet to catch any spills. Bake for 45 minutes, until crust and topping are nicely browned.
Let cool before serving. The longer the pie cools, the more the filling will firm up for neater slices.

Storage tips
This pie can be kept at room temperature for about 3 days. For longer storage, or if you like a chilled pie, keep in the refrigerator.
Make sure to wrap the pie well with plastic wrap to keep fresh.
You can also freeze this pie, baked or unbaked.
Assemble the pie in a disposable pie plate *, then freeze immediately (wrap tightly in foil first), or bake and cool completely before freezing.
To bake from frozen, bake at 425°F for 15 minutes, then reduce oven to 375°F. Cover crust edges with foil or a pie shield and continue to bake 30-40 minutes.
How to serve apple pie with cheese
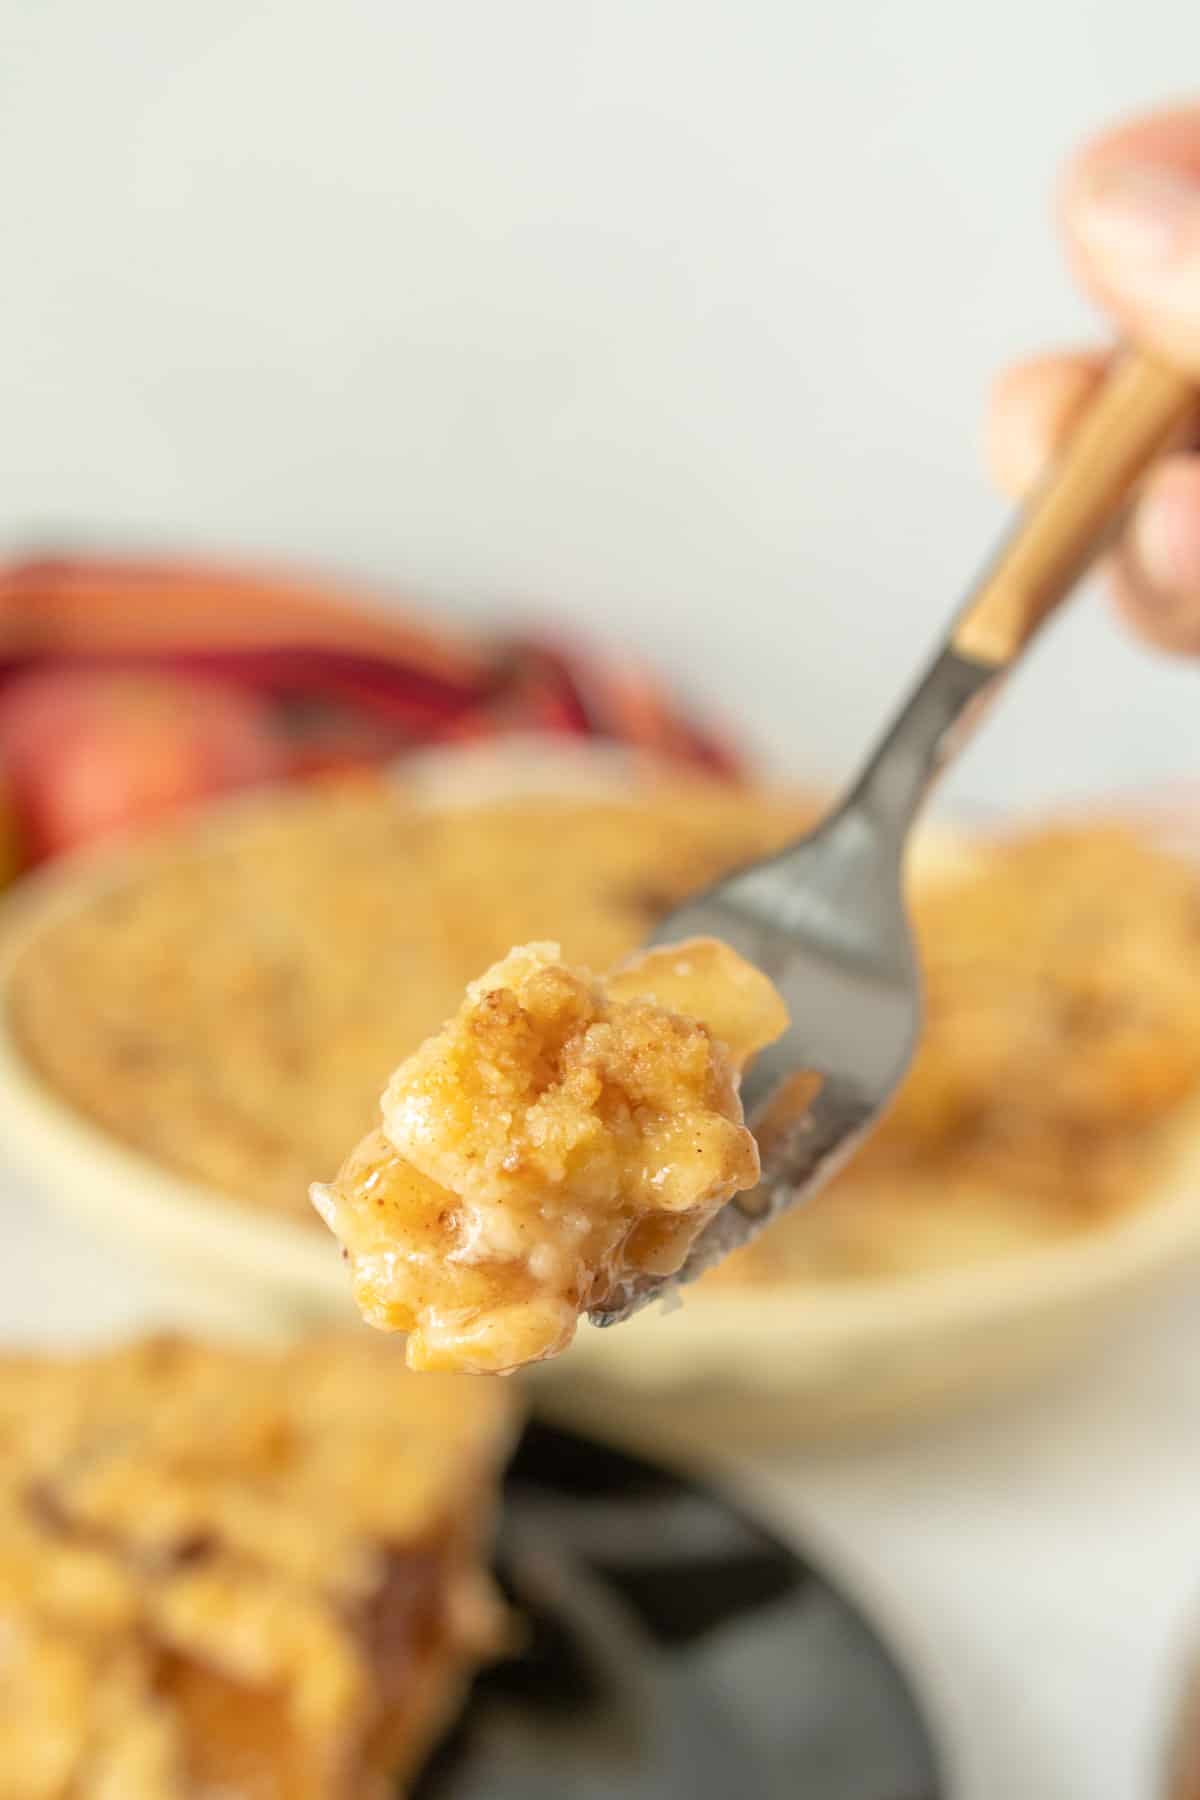
This apple pie is so good either hot or cold!
I love it right from the refrigerator, or warmed briefly in the microwave.
Serve with vanilla ice cream. Or for even more apple cheddar flavor, serve with a slice or two of your favorite cheese!
Apple Pie with Cheese
Ingredients
- 1 9-inch pie crust
- 1/2 cup all-purpose flour
- 1/3 cup brown sugar
- 1/4 cup unsalted butter, cold
- 1/2 cup grated cheddar cheese, about 1 ½ ounces
- 32 ounces apple pie filling
Directions
- Preheat oven to 400°F. Roll out pie crust and fit to pie plate, crimping edges as desired. Line with foil and fill with dried beans or pie weights *.
- Bake crust for 18 minutes, then remove from the oven. Remove beans and foil and set aside to cool slightly.
- Turn oven down to 375°F.
- In a small bowl, mix together flour and brown sugar. Cut in butter and cheese with a fork or pastry cutter until the mixture looks like coarse crumbs
- Pour pie filling into prepared crust. Scatter crumble mixture over the top, covering the apples evenly.
- Bake for about 45 minutes, until the crust and topping have browned. Let cool before serving to help pie set.
Want to save this recipe for later?
Recommended Products
Nutrition
Nutrition information is provided as a courtesy and is an estimate based on online calculators. Any nutritional information found on Stetted should be used as a general guideline only.


About Megan
I learned how to cook by exploring seasonal ingredients, and you can too! Meal time shouldn’t be stressful or complicated, and with fresh ingredients and easy methods, I’m here to help you enjoy the time spent in the kitchen. Read more…


Now that I am past my pie fears I can’t wait to try this one. Love the cheddar!!
Girl, I thought that was just a deep South thing — cheddar on apple pie. My grandmother I and used to split that. Love it!!!!!!
Thank you for your post, I was sad that my family was not able to make it to the apple orchard this year. Instead I ended up buying one of the bags and using that to do some baking. This years apple treat was apple /oatmeal cookies..I think they would have done better if I put in some walnuts though. Either way they were a good treat to add to the pile of recipies:)