This post contains affiliate links and may earn commissions on recommended products. As an Amazon Associate, I earn from qualifying purchases.
Add incredible flavor to your favorite dishes with caramelized onions! This step-by-step guide for how to caramelize onions will help you unlock this delicious technique.
You’ve probably tasted the sweet umami punch of caramelized onions while enjoying dinner out. For me this ingredient feels like an indulgent treat, but much like garlic confit, it’s actually easy to make yourself at home.
Caramelized onions take time. I hate to break it to you, but that’s just the truth of it! You might see other recipes or tricks that claim to cut the time in half, but you can’t rush the melding of flavors here.
If you’re wondering why you should take the time to caramelize onions, the answer here is: Why not? Honestly though, you’ll find all sorts of uses for them, from adding to dips to topping burgers.
What you’ll need
While you can make as much or as little as you like, this particular recipe calls for 2 pounds of onions.
Any variety of onion will do for caramelizing! Keep in mind that each onion variety will have a slightly different taste in the finished product. You can also use a combination of onions, if you like.
I like to use yellow onions, because it’s what I most often have on hand, and I like the end flavor better than caramelized red onions. If you use sweet onions like Vidalia, your end result will be even sweeter.
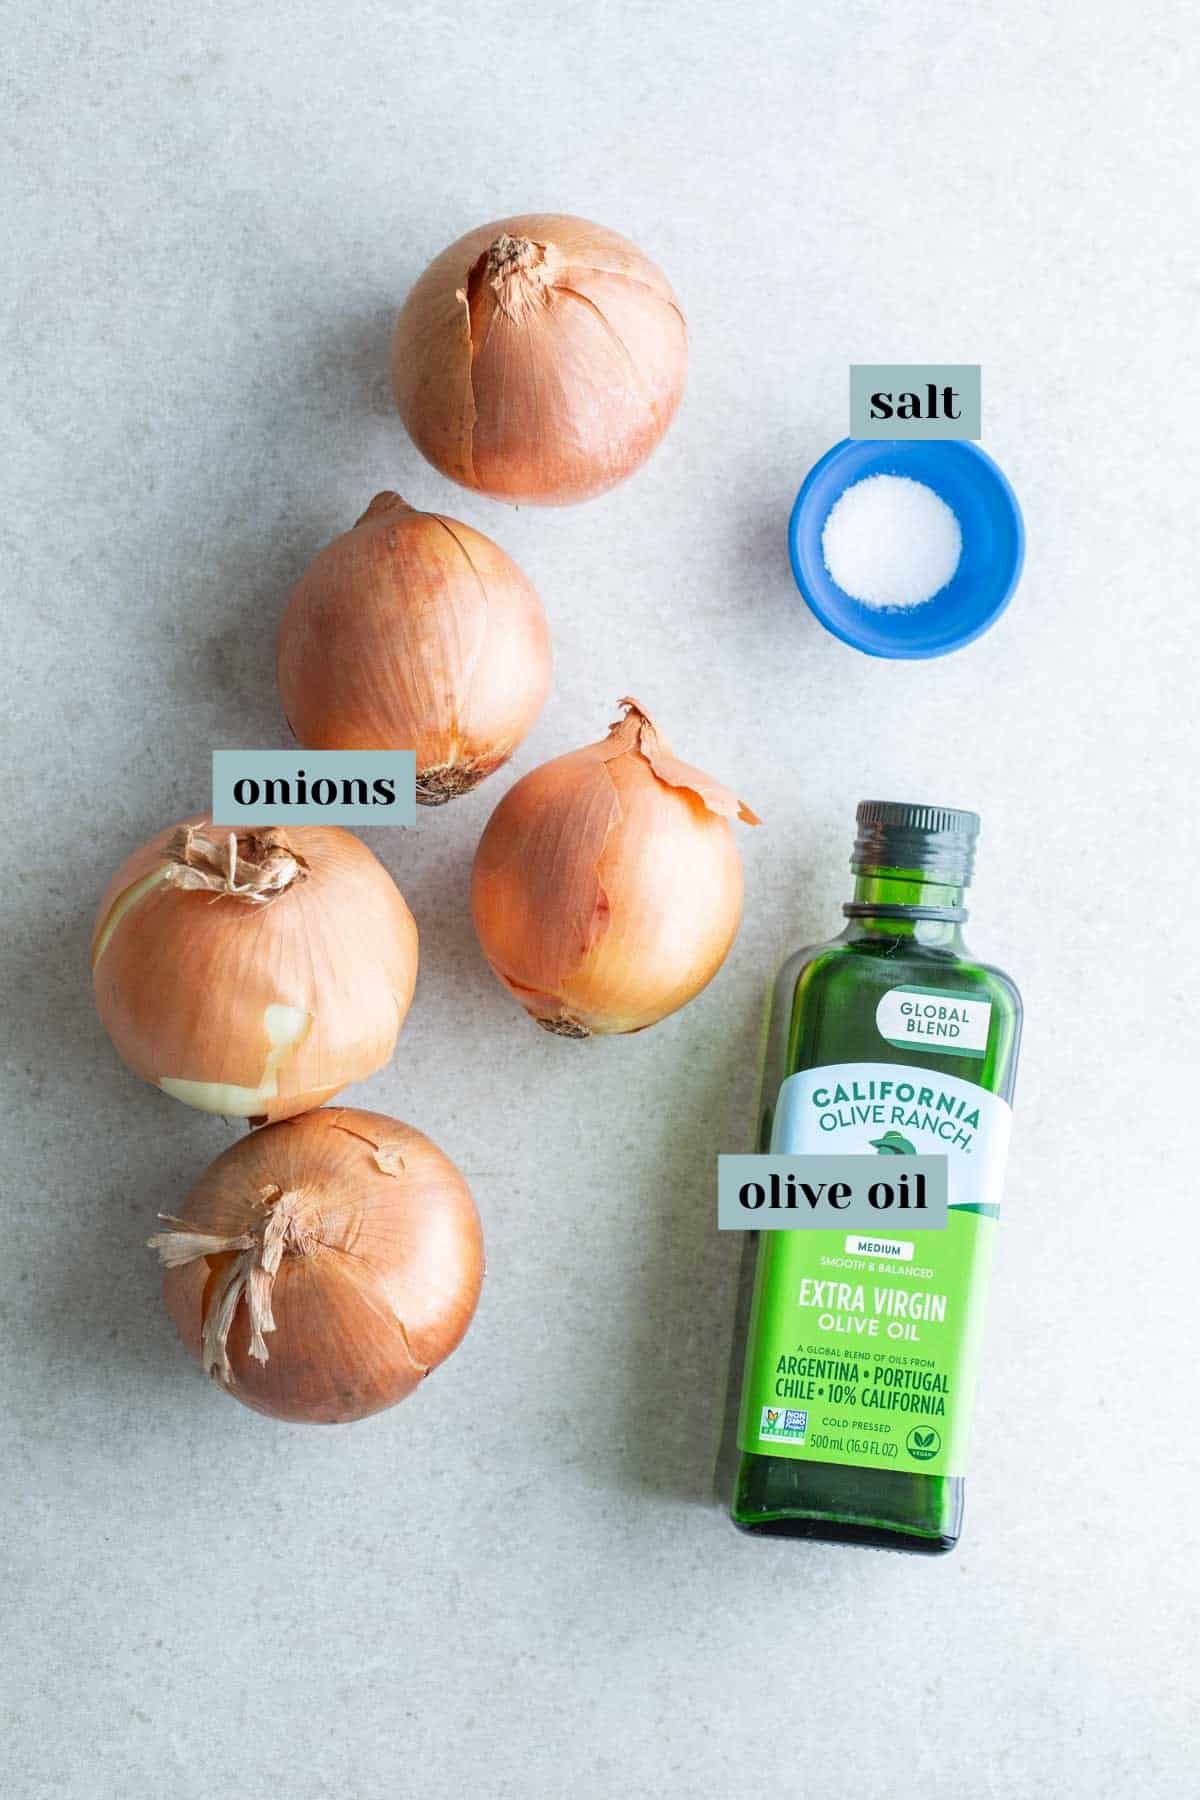
You will also need some olive oil, salt, and water. That’s it!
While you can add aromatics like fresh herbs or deglaze the pan with broth, wine, or balsamic vinegar, I prefer to focus on the rich flavor of the onions.
For equipment, choose from aluminum, stainless steel, or cast iron skillet. Make sure it is large enough to contain all of the onions!
A nonstick pan won’t get you the same kind of results, and you’ll end up with cooked, but not caramelized, onions.
To stir the onions, use a spatula or wooden spoon. It’s helpful if your utensil has a flat edge to scrape up the bits on the bottom of the pan. Remember, don’t use a metal utensil for cooking in metal pans!
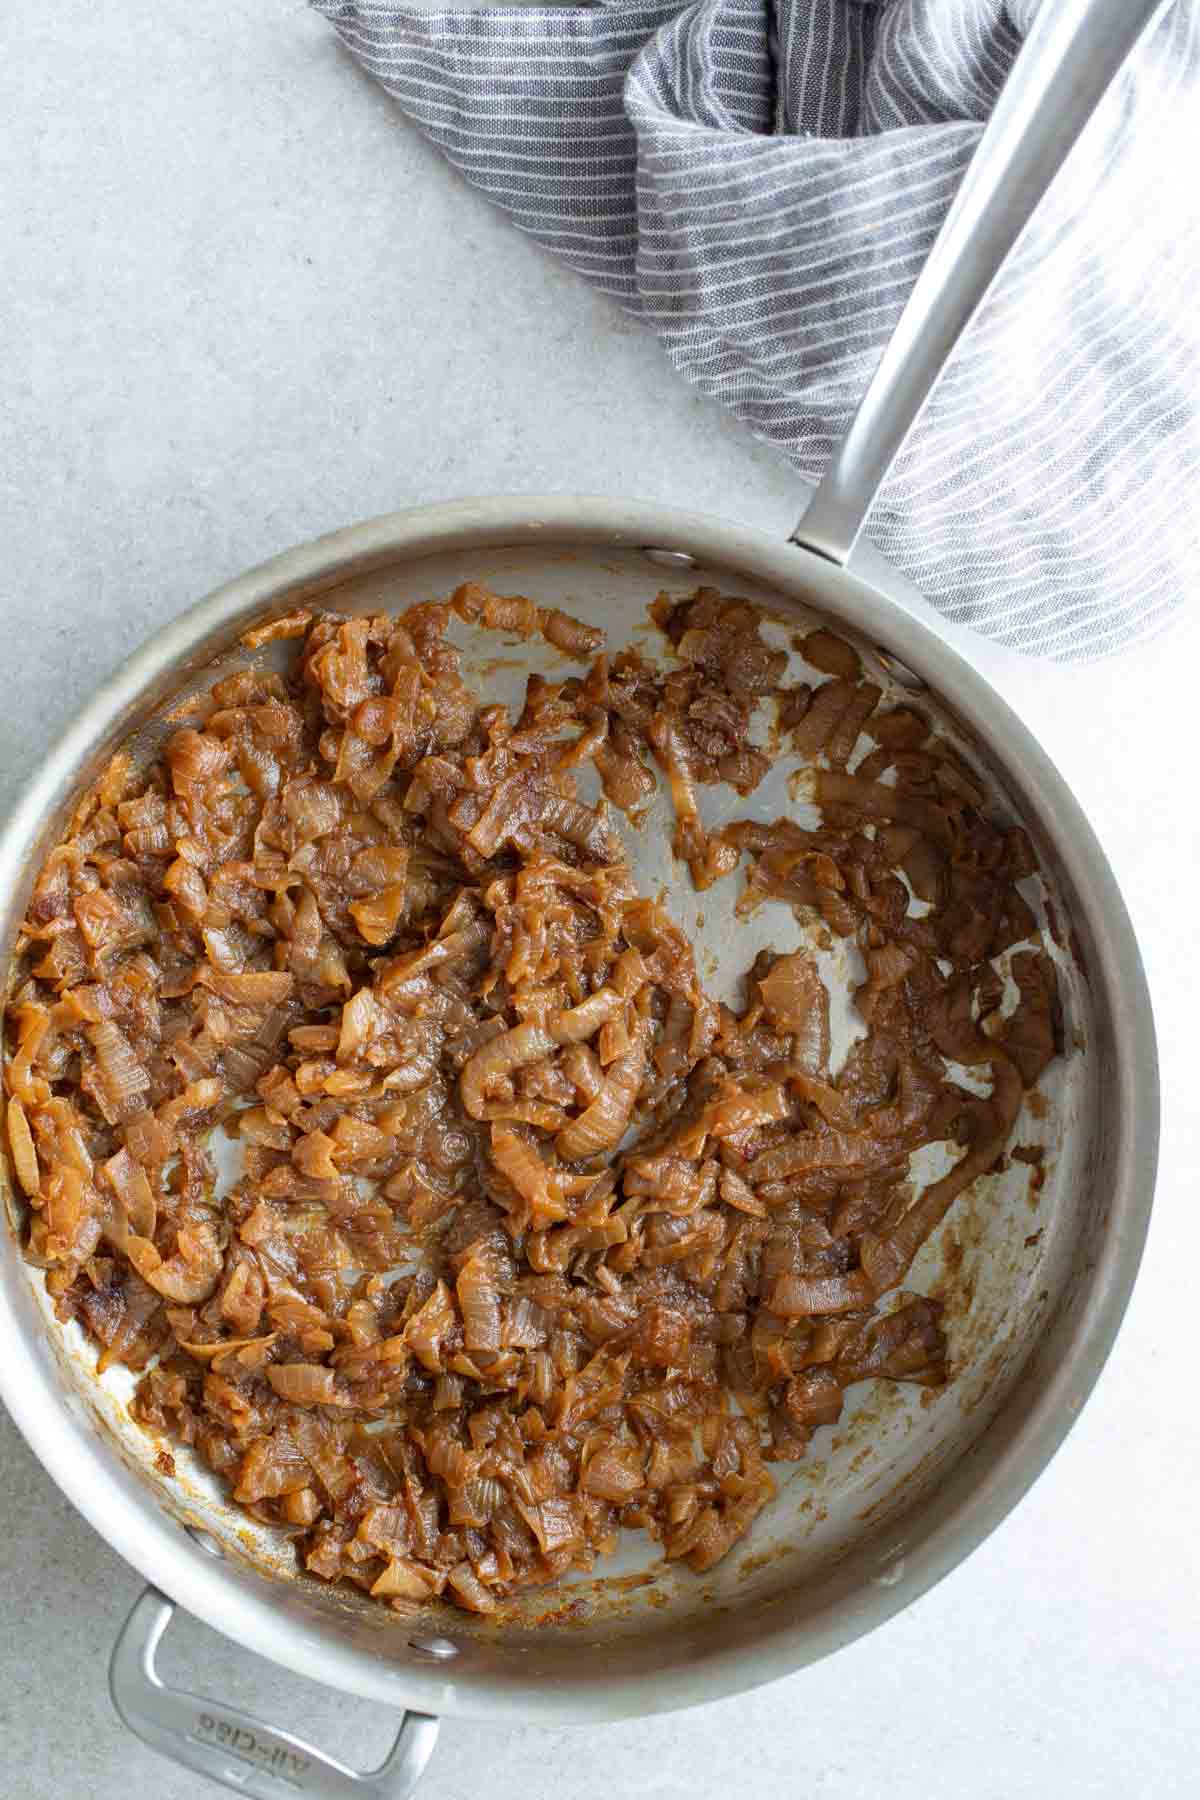
Caramelizing onions
Peel and trim the onions, then slice thinly. If you find that your eyes are tearing up too much while cutting, you can pop the onions into the freezer for about 10 minutes before continuing to slice.
Place your skillet over medium-low heat. When the pan is warm, add a small amount of olive oil — just enough to create a thin coating on the bottom of the pan.
Pour some water into a measuring cup and keep it near the stove.
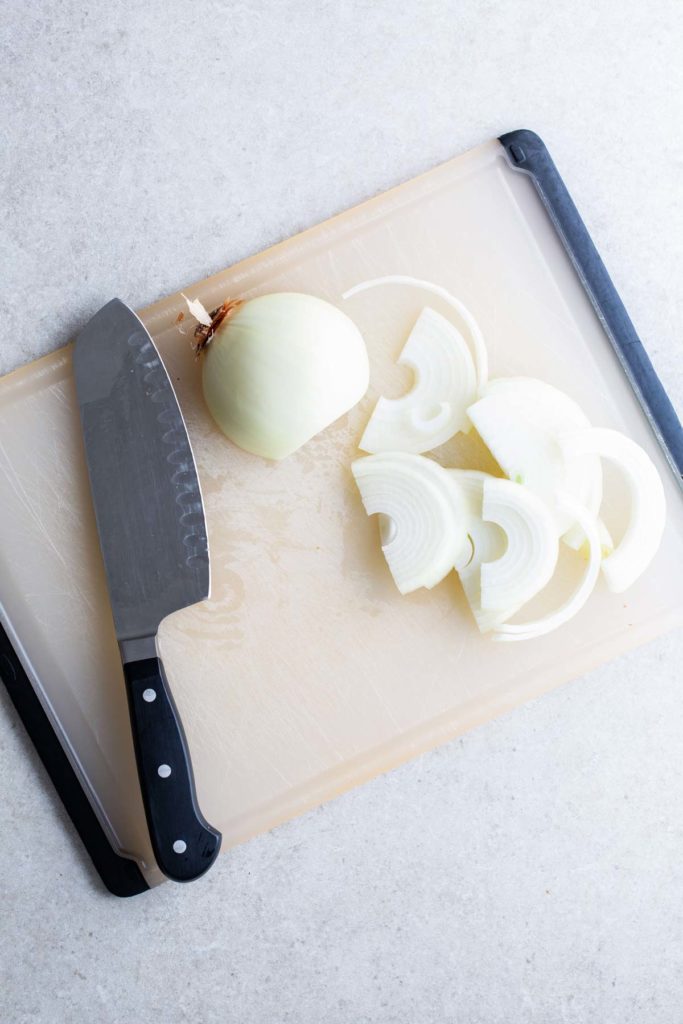
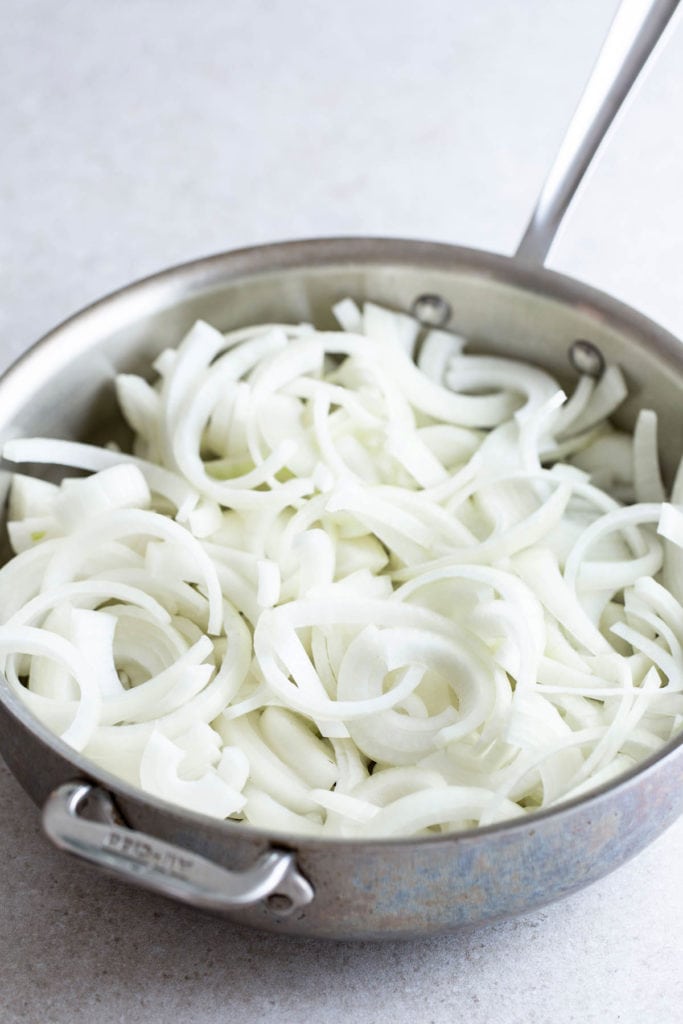
Add all of the sliced onions at once, and sprinkle on a big pinch of salt. Cook the onions, stirring occasionally, for about 5 minutes. At this point, a few brown bits will have started forming on the bottom of the pan.
Pour in a little water (just a tablespoon or two) and use your spatula to scrape up those browned bits, stirring them back into the onions.
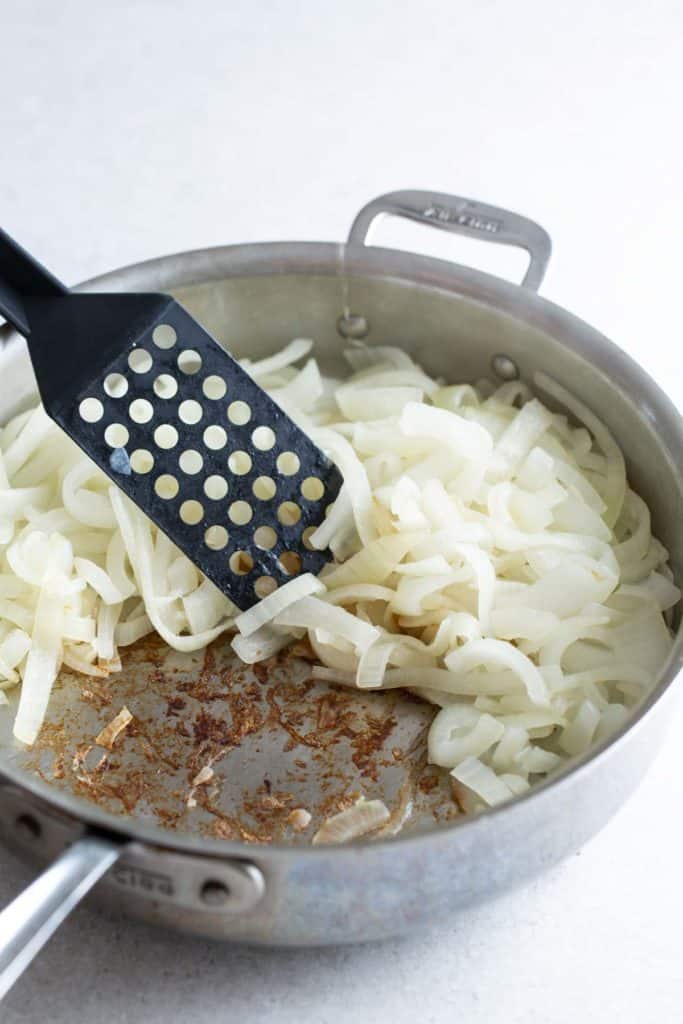
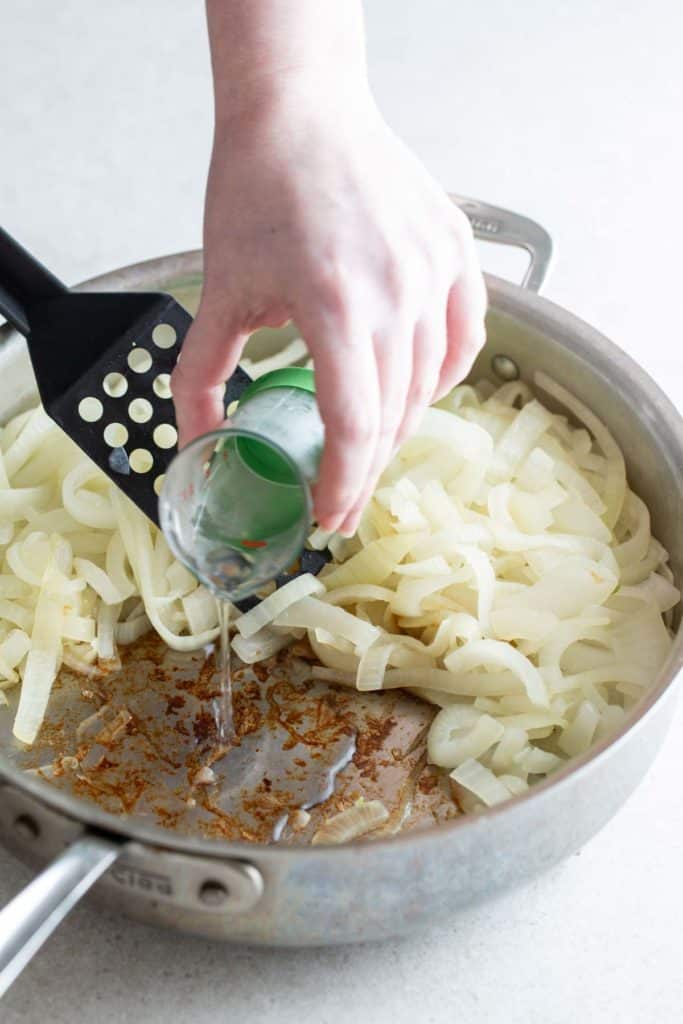
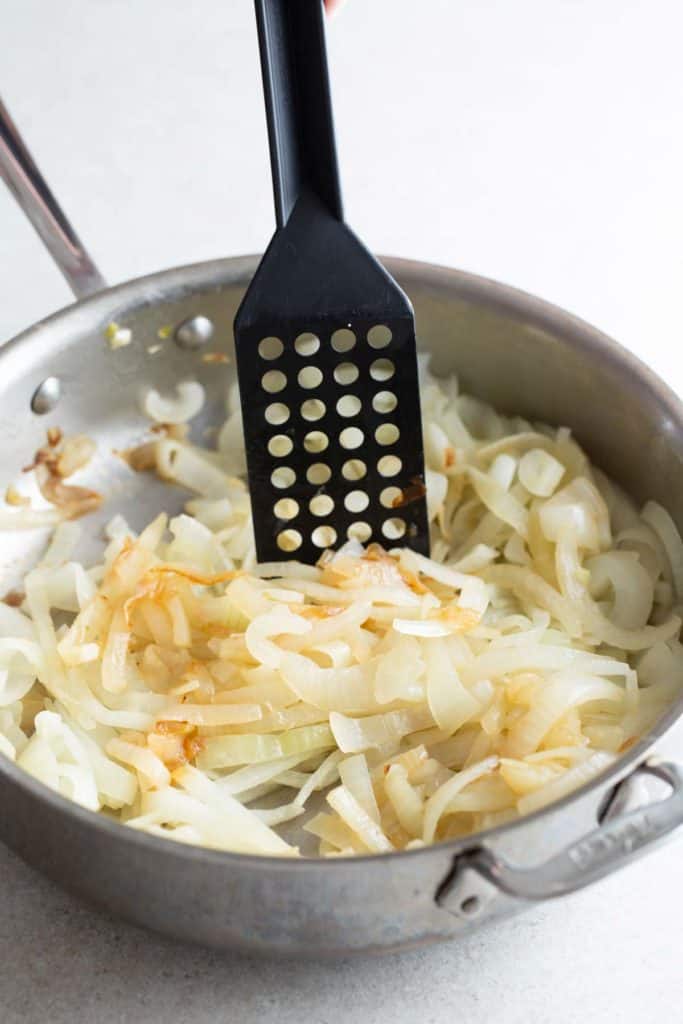
Repeat this same process every 5 minutes or so for 30-45 minutes, until the onions are caramelized. Do not cover the pan, as the will steam the onions rather than caramelize them.
Note that the pan you use, as well as what kind of stove you have, will affect how long this process takes. For example, induction stoves like mine are very efficient in heating. If you find the onions are starting to burn instead of brown, reduce the heat.
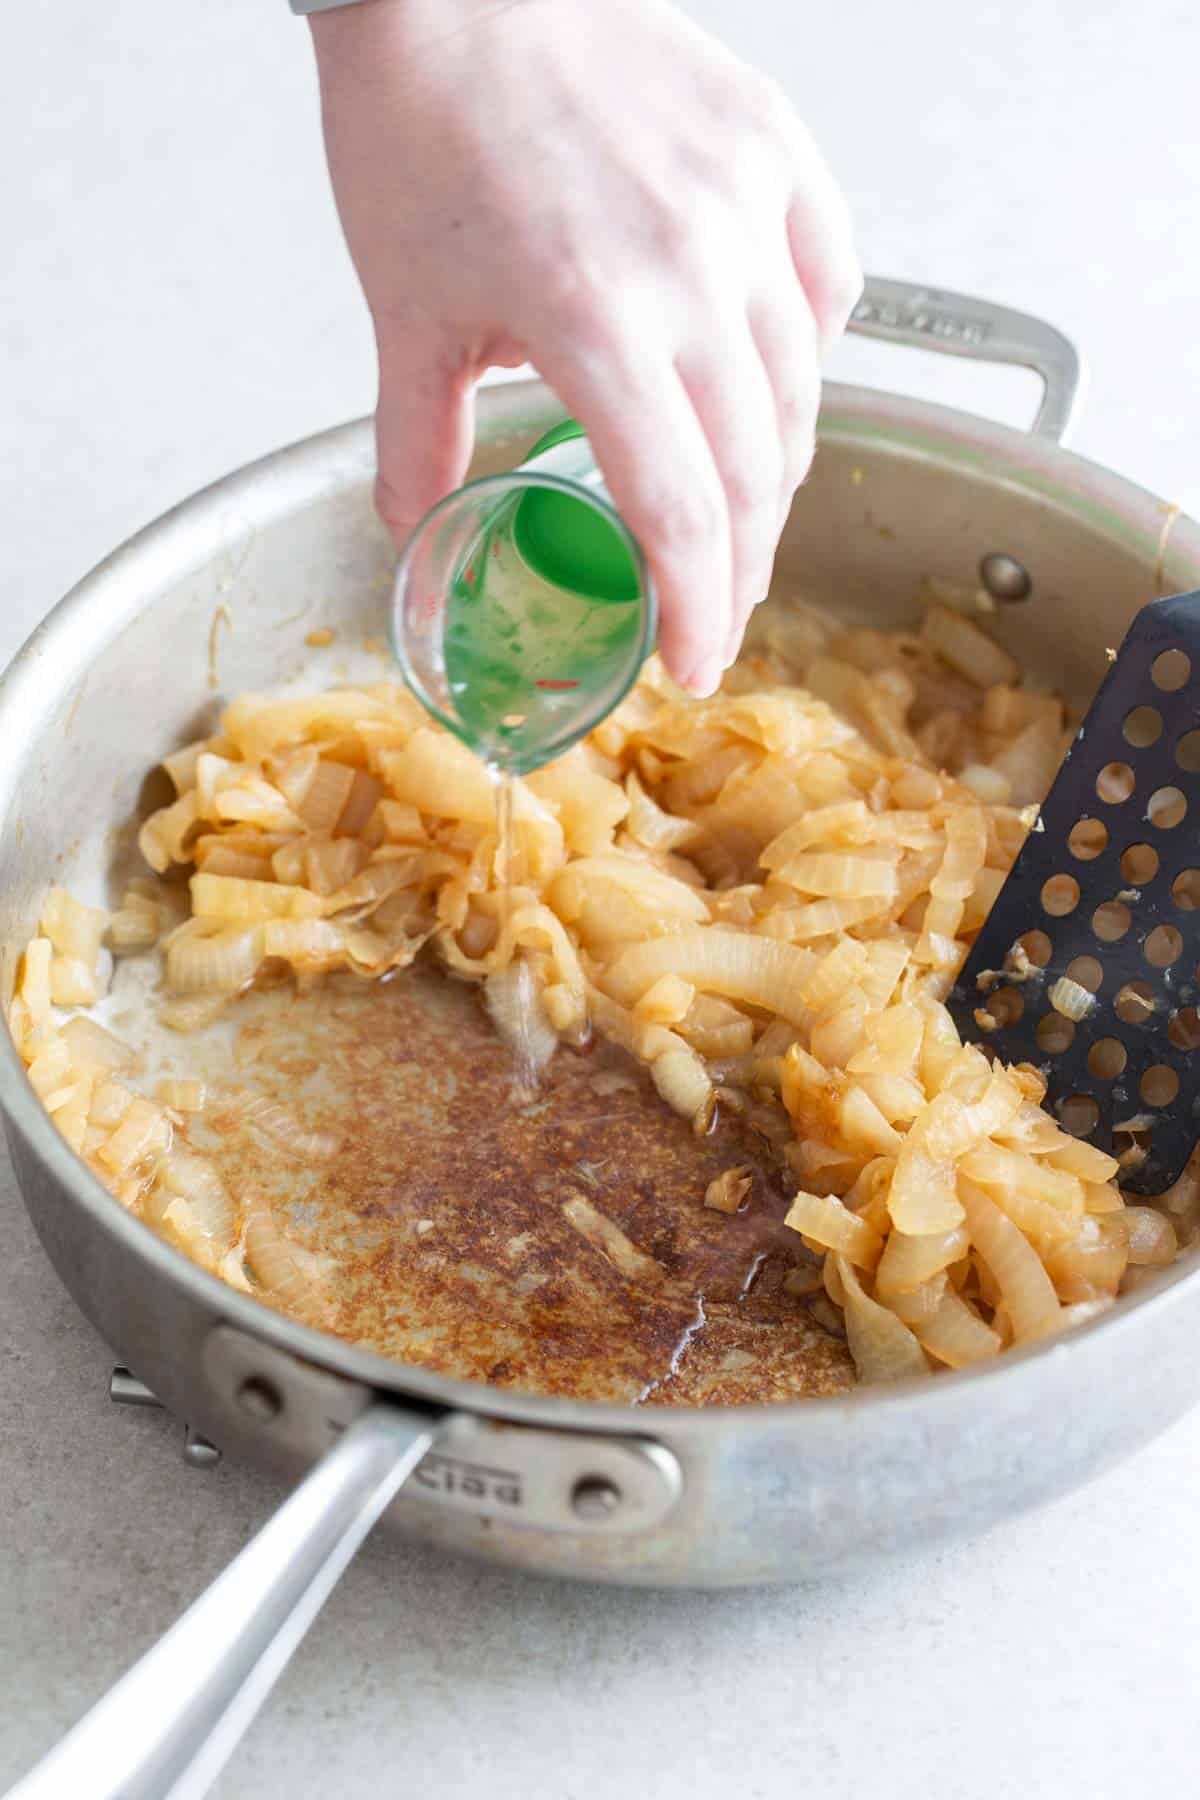
If you are cooking a lot of onions, the process will take even longer. Don’t give up, because you’ll be rewarded!
As the onions cook and become more caramelized, you’ll need to stir and deglaze the pan more often.
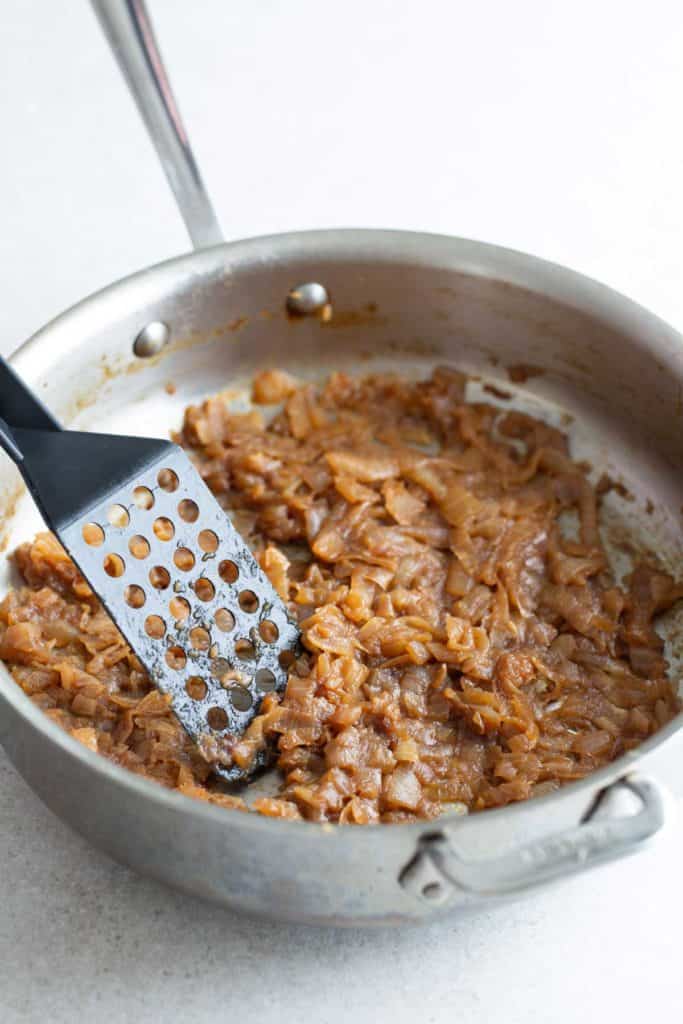
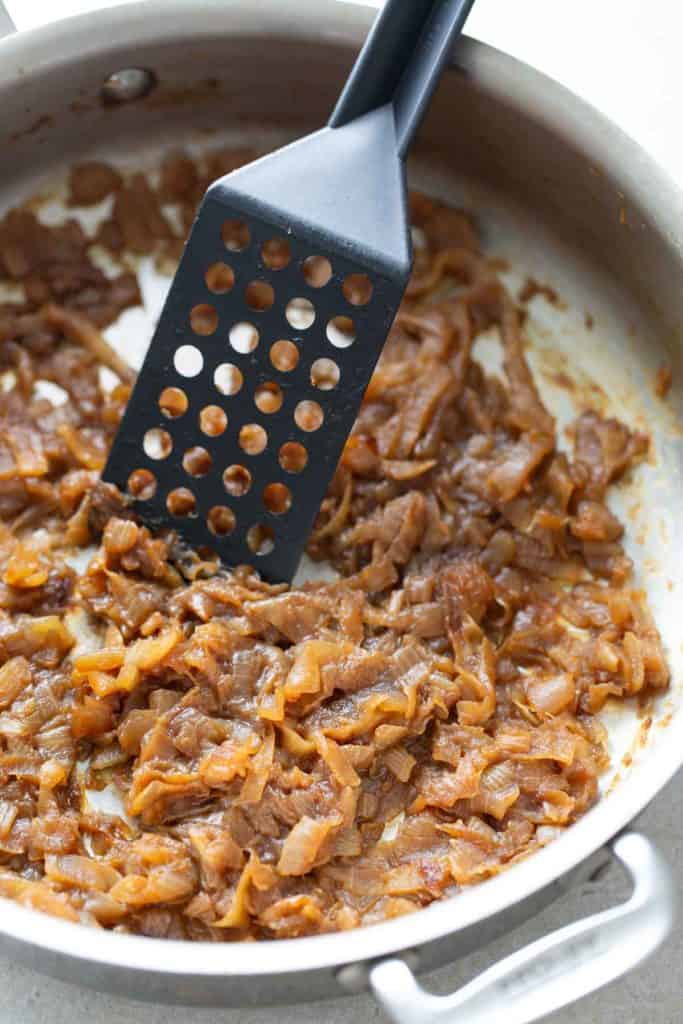
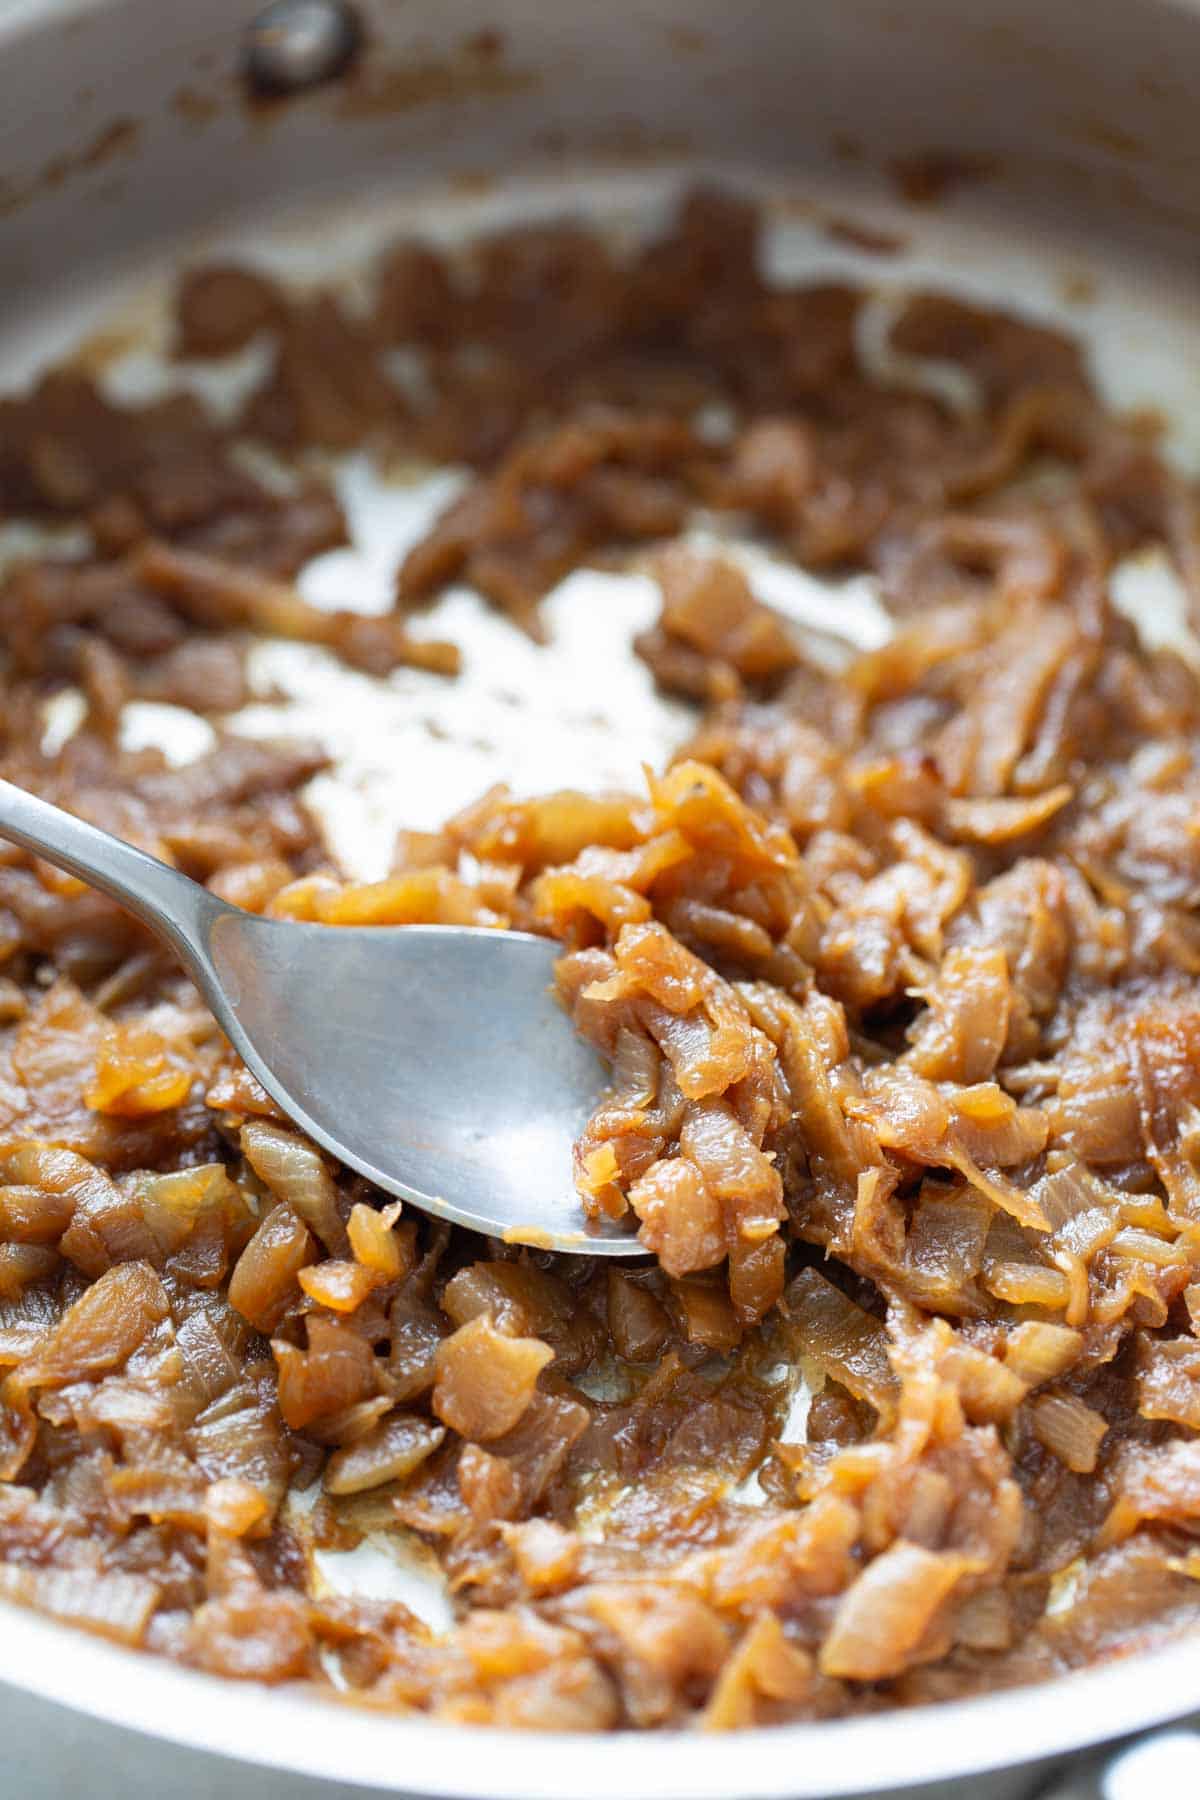
Use these cues to help you know when the onions are done:
- They should be moist, but not wet or soggy.
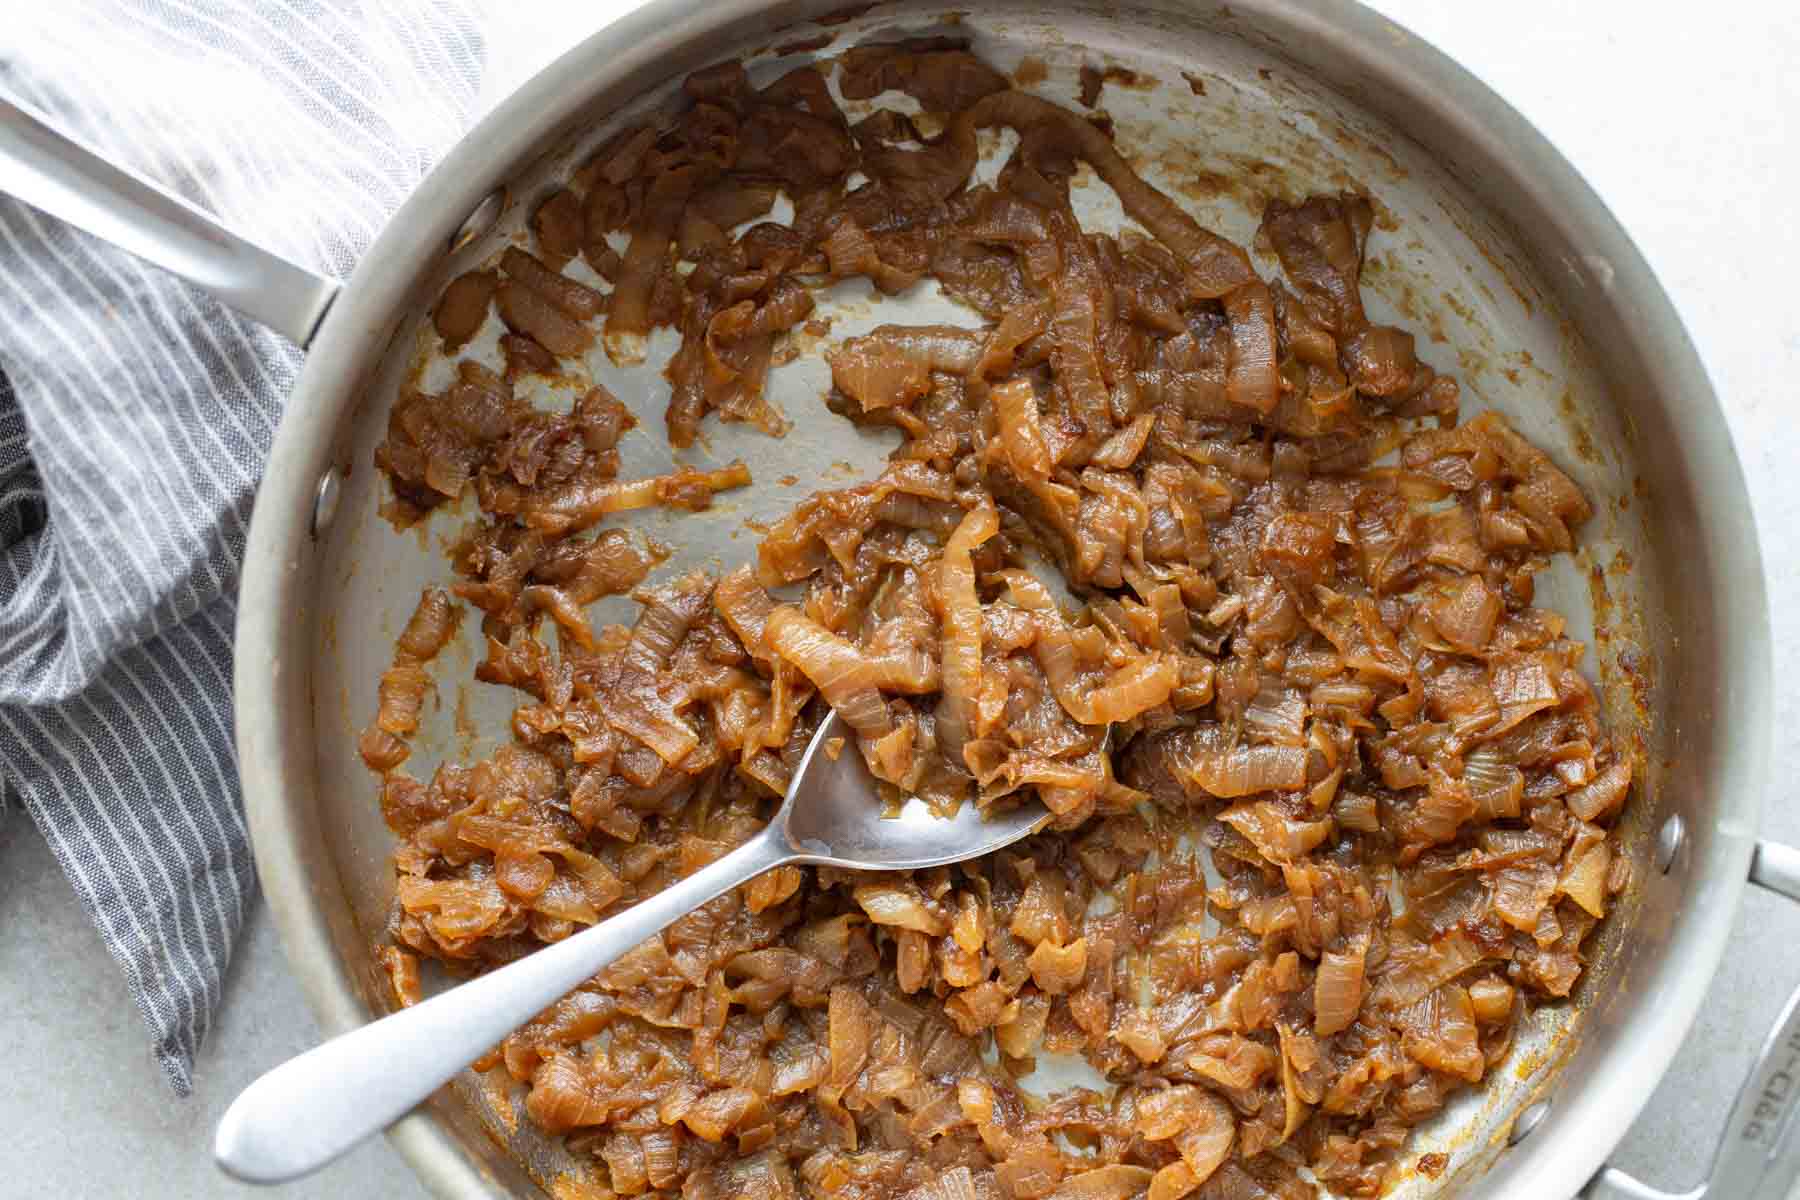
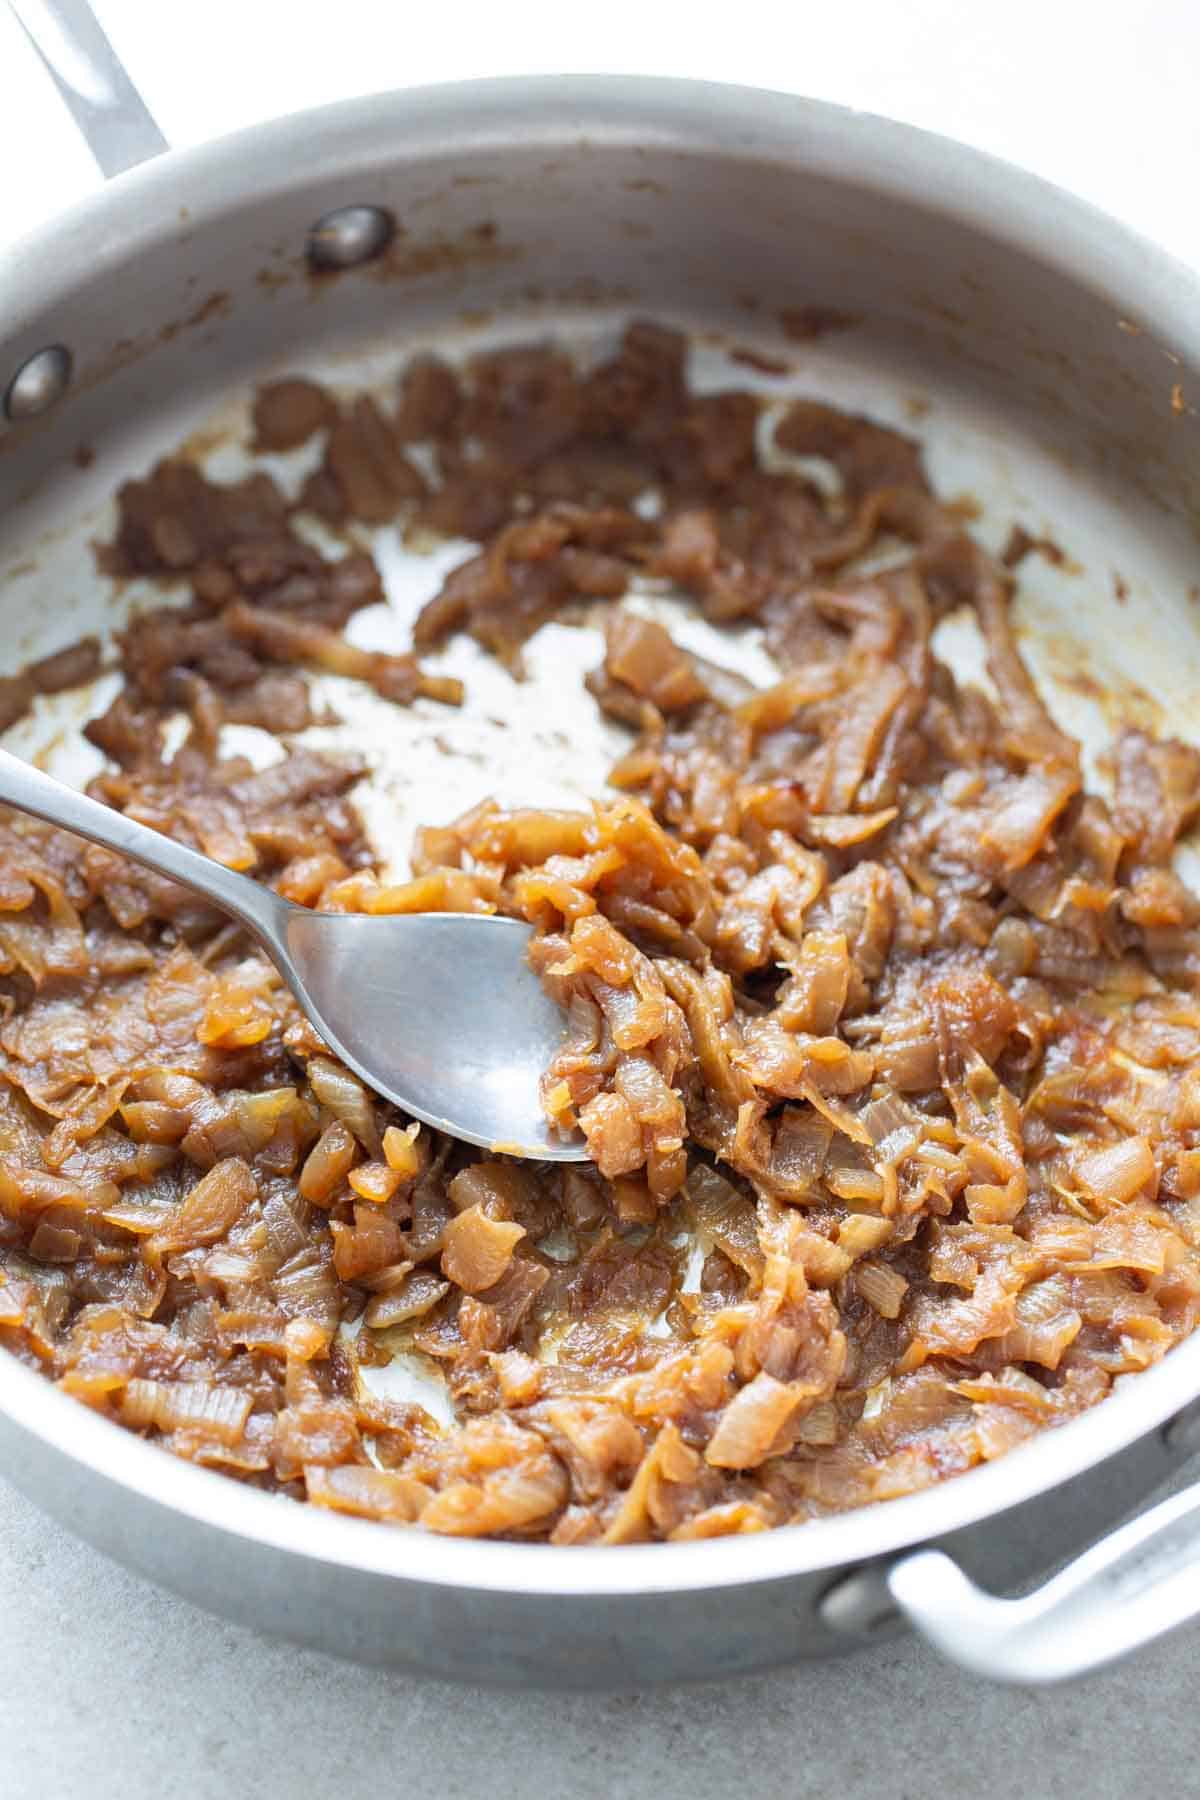
- The onions will be evenly brown and rich in color, not pale.
- Caramelized onions will taste both sweet and bitter, with the natural sharpness of the onion cooked away.
Once the onions are caramelized to your liking, you can use them immediately, or store for later use.
Storage and freezing
Caramelized onions will keep in an airtight container stored in the refrigerator for up to 4 days.
Not sure you can use them that quickly? No problem! You can freeze caramelized onions too.
I recommend either scooping the onions in ice cube trays for individual blocks, or scooping into a freezer bag, then laying the bag down and pressing flat before sealing. This will give you a “sheet” of caramelized onions, which you can then break off and use as needed.
Thaw frozen caramelized onions overnight in the refrigerator.
Ways to use caramelized onions
Use caramelized onions to make bacon onion dip, add to a cheese quiche, or top a bison burger.
They’re great added to a grilled cheese sandwich, or as a topping for fig pizza. Try them on top of mashed cauliflower or no-knead focaccia!
You can also try mixing them into your favorite macaroni and cheese, meatloaf, or meatballs.
Set aside some time to make savory, sweet caramelized onions and enjoy the mouthwatering results!
Love this recipe? Please leave a 5-star review below!
It means so much when you enjoy my recipes, so let me know how it goes and leave a comment if you have any questions.

How to Caramelize Onions
Ingredients
- 4 to 5 yellow onions, approximately 2 pounds, sliced thin
- 1 tablespoon extra virgin olive oil, or as needed
- 1/2 teaspoon kosher salt
- Water, as needed
Directions
- Place a large stainless steel, aluminum or cast iron skillet over medium-low heat (note: avoid using a nonstick pan). Once the pan is warm, add just enough oil to create a thin layer on the bottom. Have a small cup of water nearby.1 tablespoon extra virgin olive oil
- Add the onions along with a big pinch of salt. Cook, stirring occasionally, until brown bits begin forming on the bottom of the pan, 4-5 minutes.4 to 5 yellow onions, 1/2 teaspoon kosher salt
- Add a splash of water to deglaze the pan (1-3 tablespoons; just enough to loosen up the brown bits). Use a spatula or wood spoon to scrape up the brown bits and stir them back into the onions.Water
- Repeat this process for 30-45 minutes. As the onions become more caramelized, the process will speed up. You’ll need to stir and deglaze more often.
- Cook until the onions are a deep brown color and they taste both sweet and bitter.
- Store in an airtight container in the refrigerator for 3-4 days, or in the freezer for up to 3 months.
Notes
- Makes about 1 ½ cups.
- Doubling or tripling the recipe will increase cooking time.
Recommended Products
Nutrition
Nutrition information is provided as a courtesy and is an estimate based on online calculators. Any nutritional information found on Stetted should be used as a general guideline only.

About Megan
I learned how to cook by exploring seasonal ingredients, and you can too! Meal time shouldn’t be stressful or complicated, and with fresh ingredients and easy methods, I’m here to help you enjoy the time spent in the kitchen. Read more…


