This post contains affiliate links and may earn commissions on recommended products. As an Amazon Associate, I earn from qualifying purchases.


Sage is a quintessential herb for the holidays. Save money and reduce food waste by learning how to dry sage using any of four easy methods.
Sage is one of my favorite flavors to turn to when the weather starts to take a chill.
This fragrant herb is usually associated with holiday cooking, especially for roast turkeys or dressing recipes.
However, chances are you might not use up all the sage you grab for your holiday feast, so why not dry the excess?
Drying herbs at home is incredibly easy, with four different methods you can use depending on your equipment and how much time you have.
You’ll love being able to turn to the incredible flavor of home dried sage!
How to harvest sage
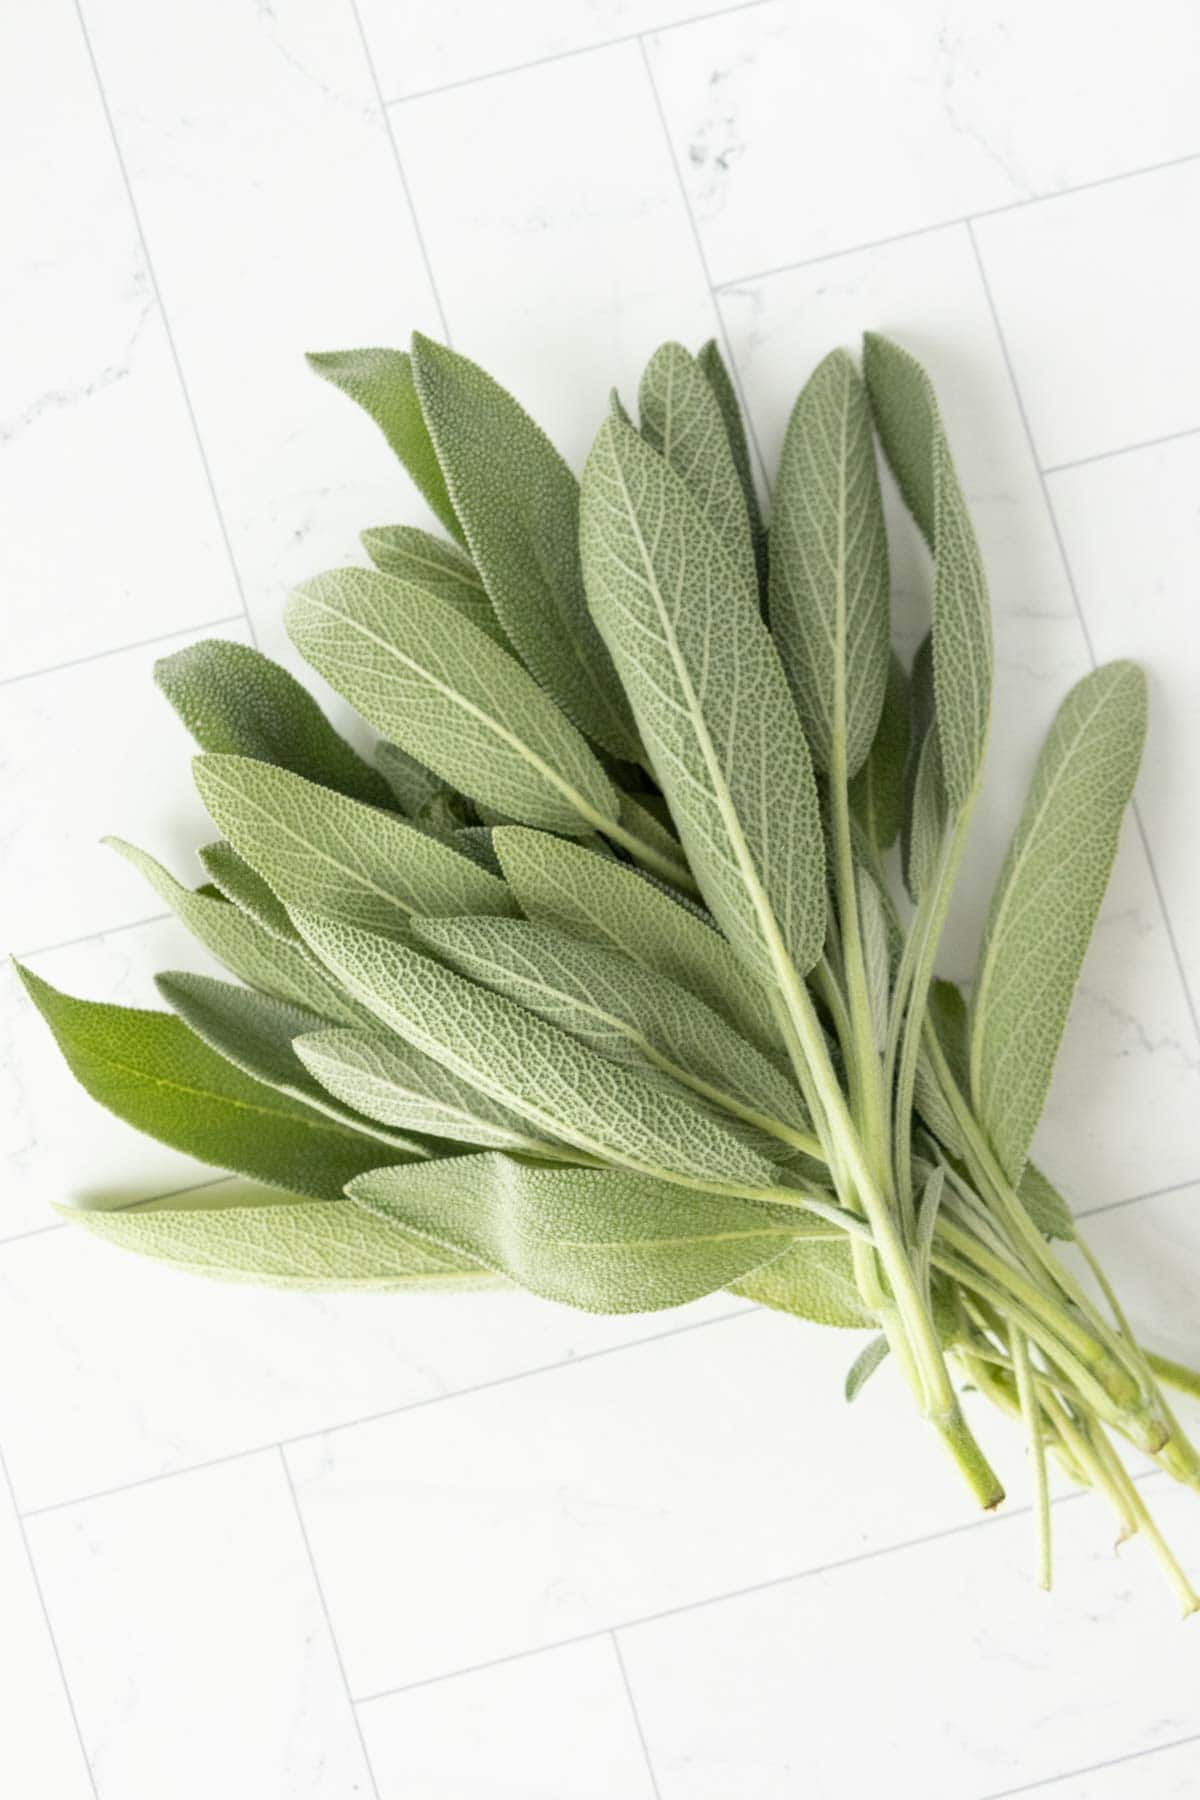
While most of us purchase sage at the store, some are lucky enough to have their own sage plant at home!
If you are harvesting sage, the best time to do so is in the morning, just after the dew dries but before the heat of the day sets in.
Harvest the sage before it flowers for the best flavor. You can harvest each leaf individually, or a large part of the plant.
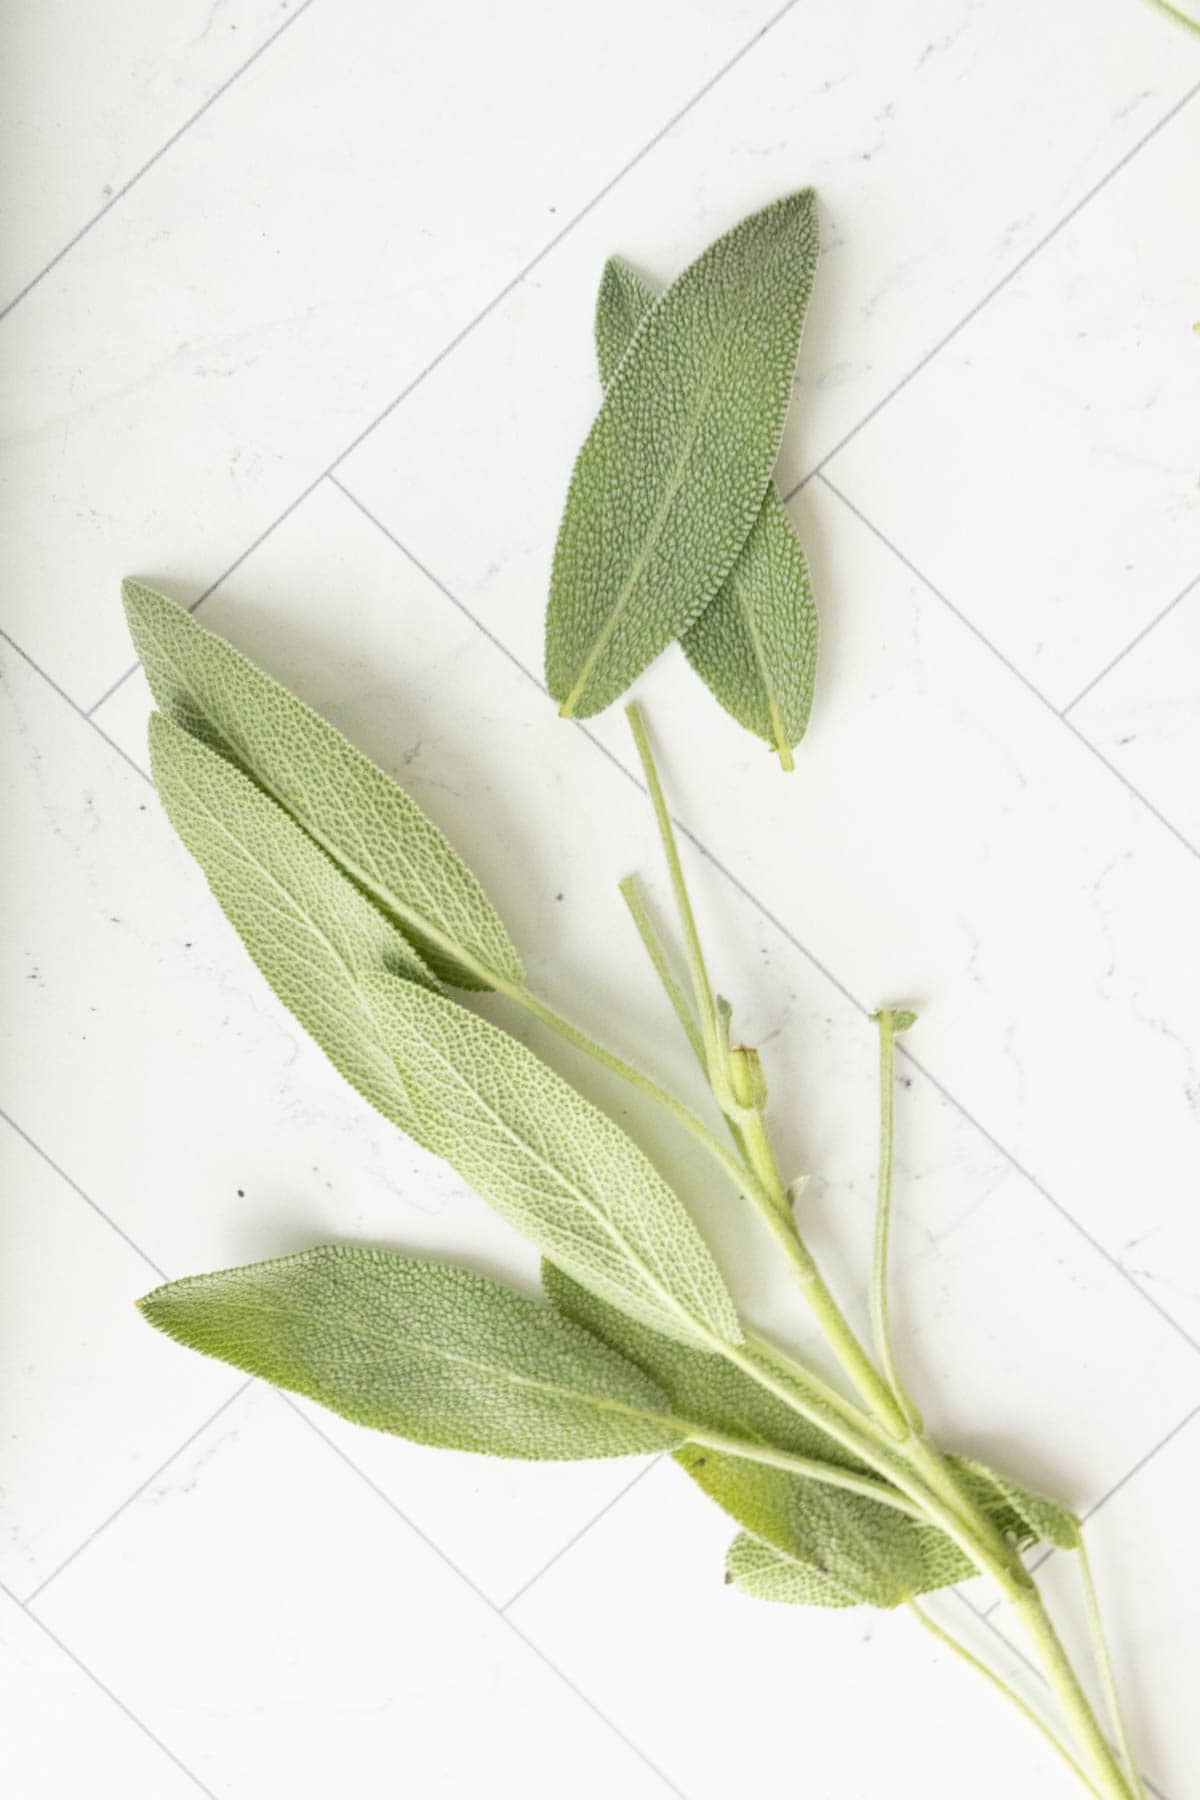
Be sure to cut the stem just above a set a leaves, leaving the lower woody stems intact, to encourage the plant to keep growing.
Wash sage leaves and pat dry with a clean kitchen towel or paper towel. You can also use a salad spinner to dry the separated leaves.
Air drying sage
Perhaps the easiest way to dry sage is air drying. However, this does take the longest amount of time, so you’ll need to plan ahead if you know you’ll need the dried sage soon.
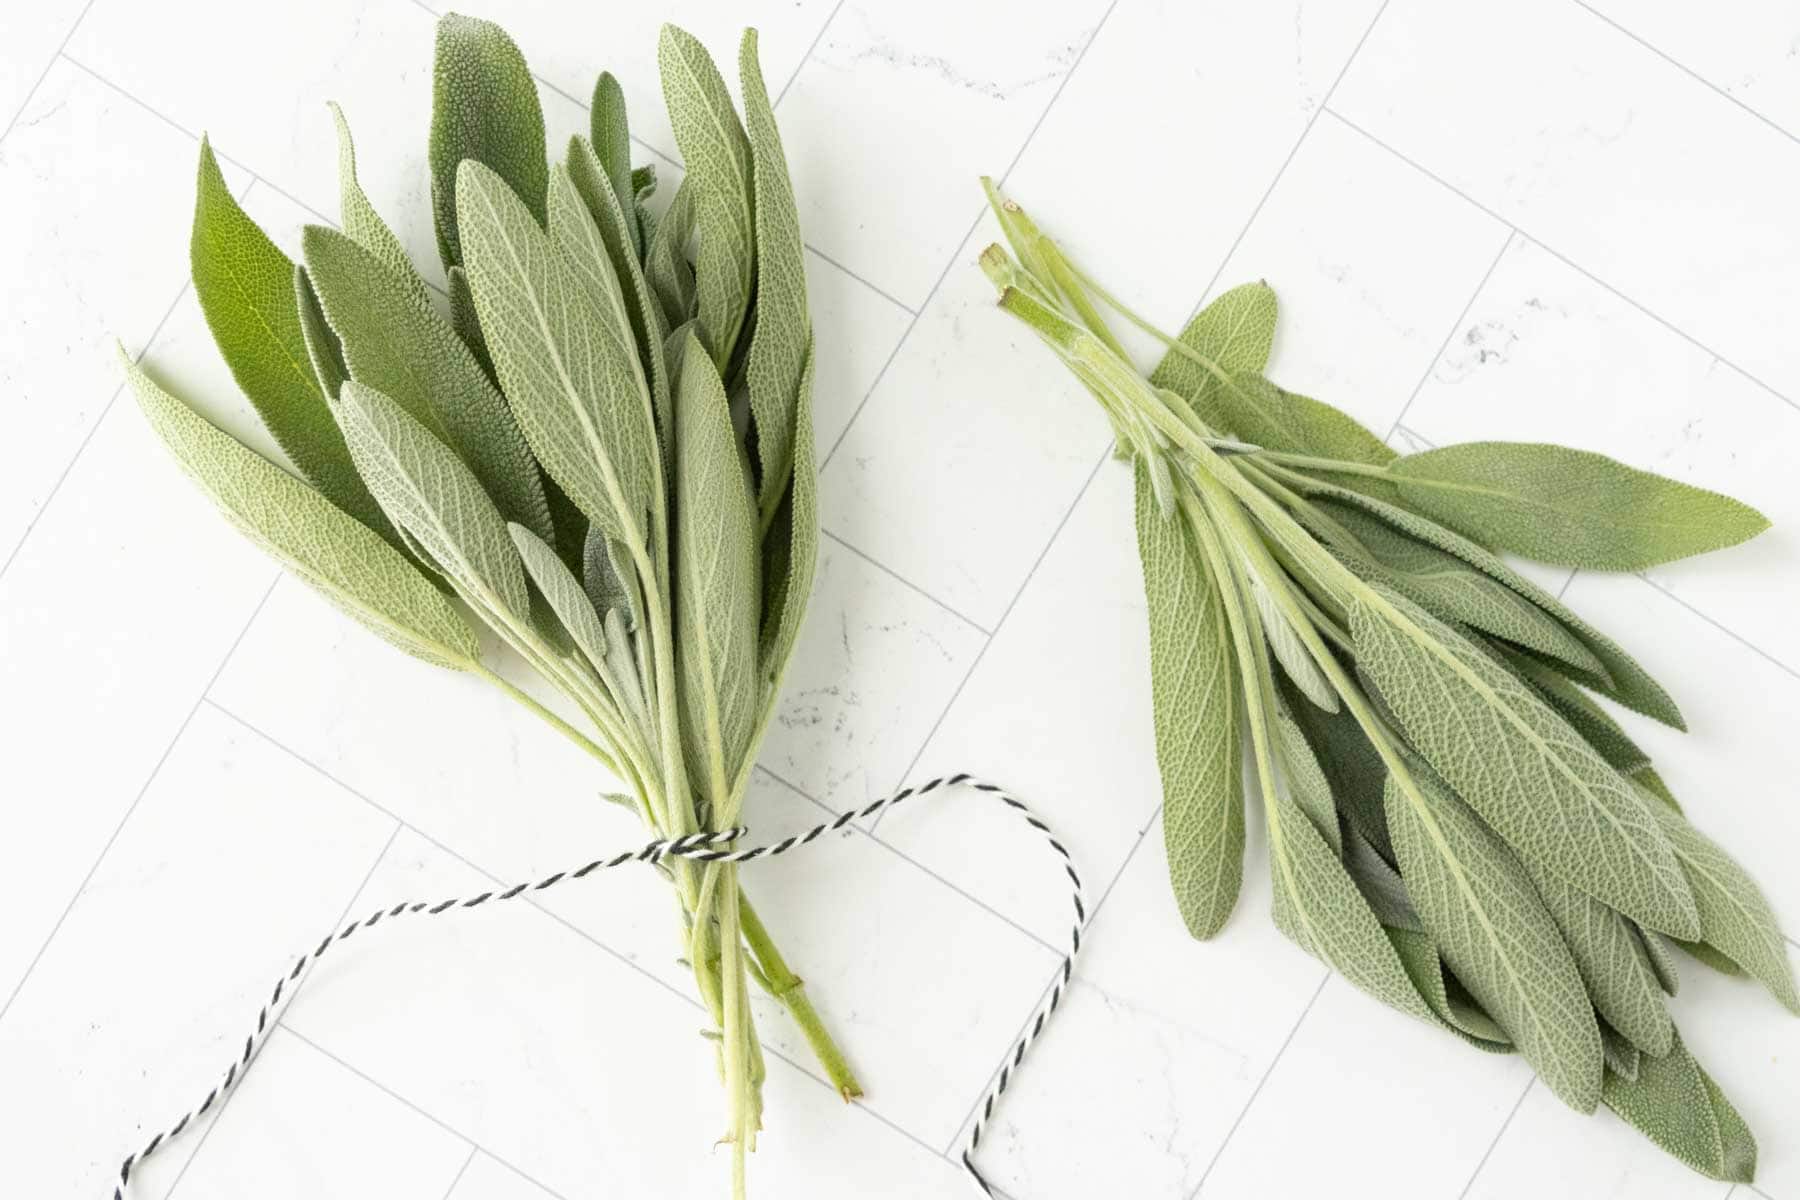
Gather your sage into bundles. I usually divide the sage into a few smaller bundles to help it dry faster.
Use one end of a length of kitchen twine and tie a knot around the stem end of the sage bundle. Tie a loop on the other end of twine to hang it, or clip with a clothespin.
Hang the sage in a well-ventilated area away from direct sunlight. A pantry is a good option, or you can also hang from a pot rack.
Let the sage hang for 1-2 weeks. Check every few days to see how it is drying, and turn if needed. Store once the leaves are crisp and easily crumble in your fingers.
How to dry sage in the microwave
A quick method for drying is to use the microwave. If you only have a little bit of sage leftover from cooking, this is a great option.
Remove the leaves from the stems. If your leaves are large, you can cut them into smaller pieces.
Place the leaves on a plate and cover with a paper towel.
Microwave in 30 second bursts, checking after each time for the level of dryness.
Want to save this recipe for later?
The total amount of time will depend on the size and thickness of your sage leaves, as well as your microwave’s power.
Using a dehydrator to dry sage
Food dehydrators are great for drying a wide variety of foods, including herbs. Dehydrators take a long time, but preserve the most amount of flavor in dried sage.
Remove the sage leaves from the stems and lay in a single layer on the dehydrator trays.
Set the dehydrator to 95-115°F. If your dehydrator has a setting for herbs, use that. It will take at least 2 hours to dry the sage, but it can be longer if you are drying a large amount or your dehydrator isn’t as powerful.
 Buy Now →
 How to dry sage in the oven
Oven drying is my preferred method for most herbs. It’s very easy and locks in a lot of the herbal flavor.
To dry sage in the oven, line a baking sheet or two with parchment paper or reusable silicone liner. Separate the sage leaves from the stems and arrange in a single layer on the baking sheet.
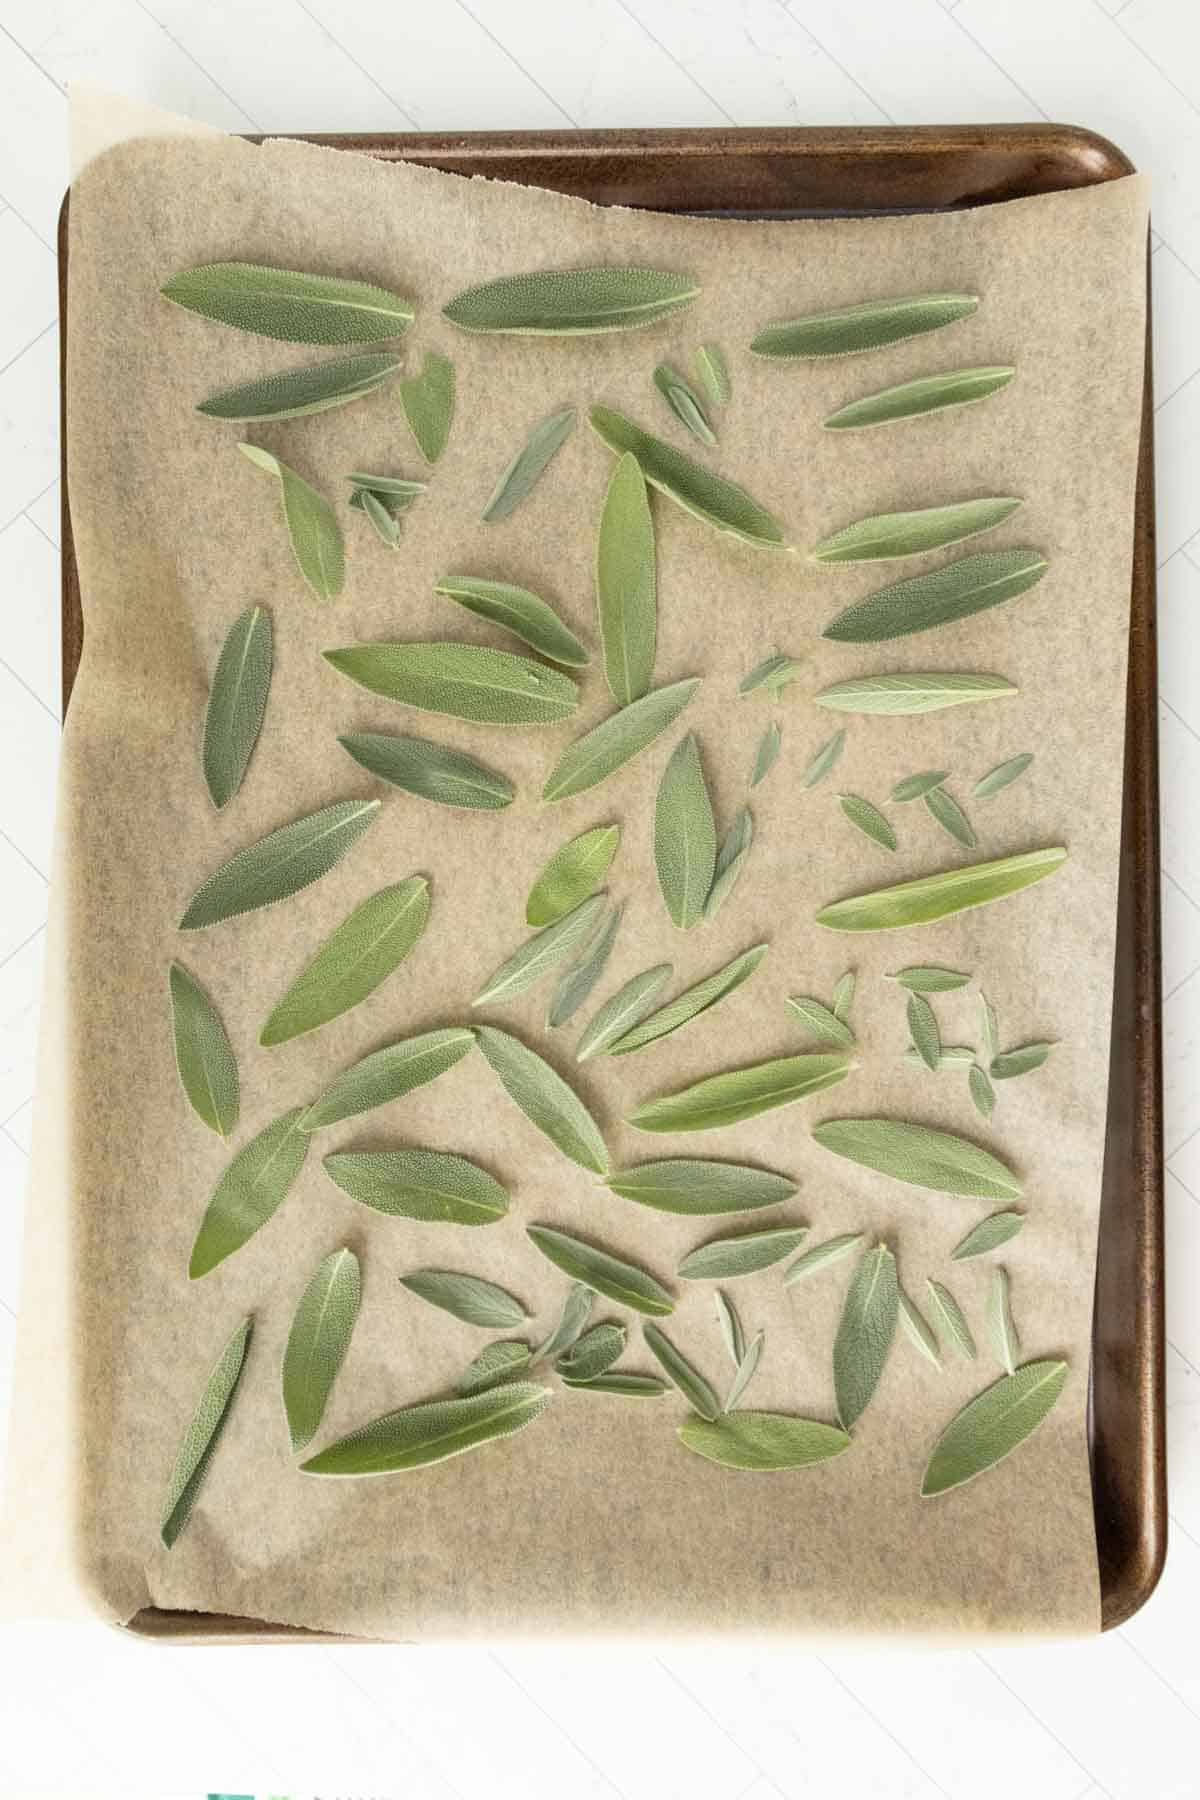
Turn the oven to its lowest temperature setting, usually somewhere between 170°F and 190°F.
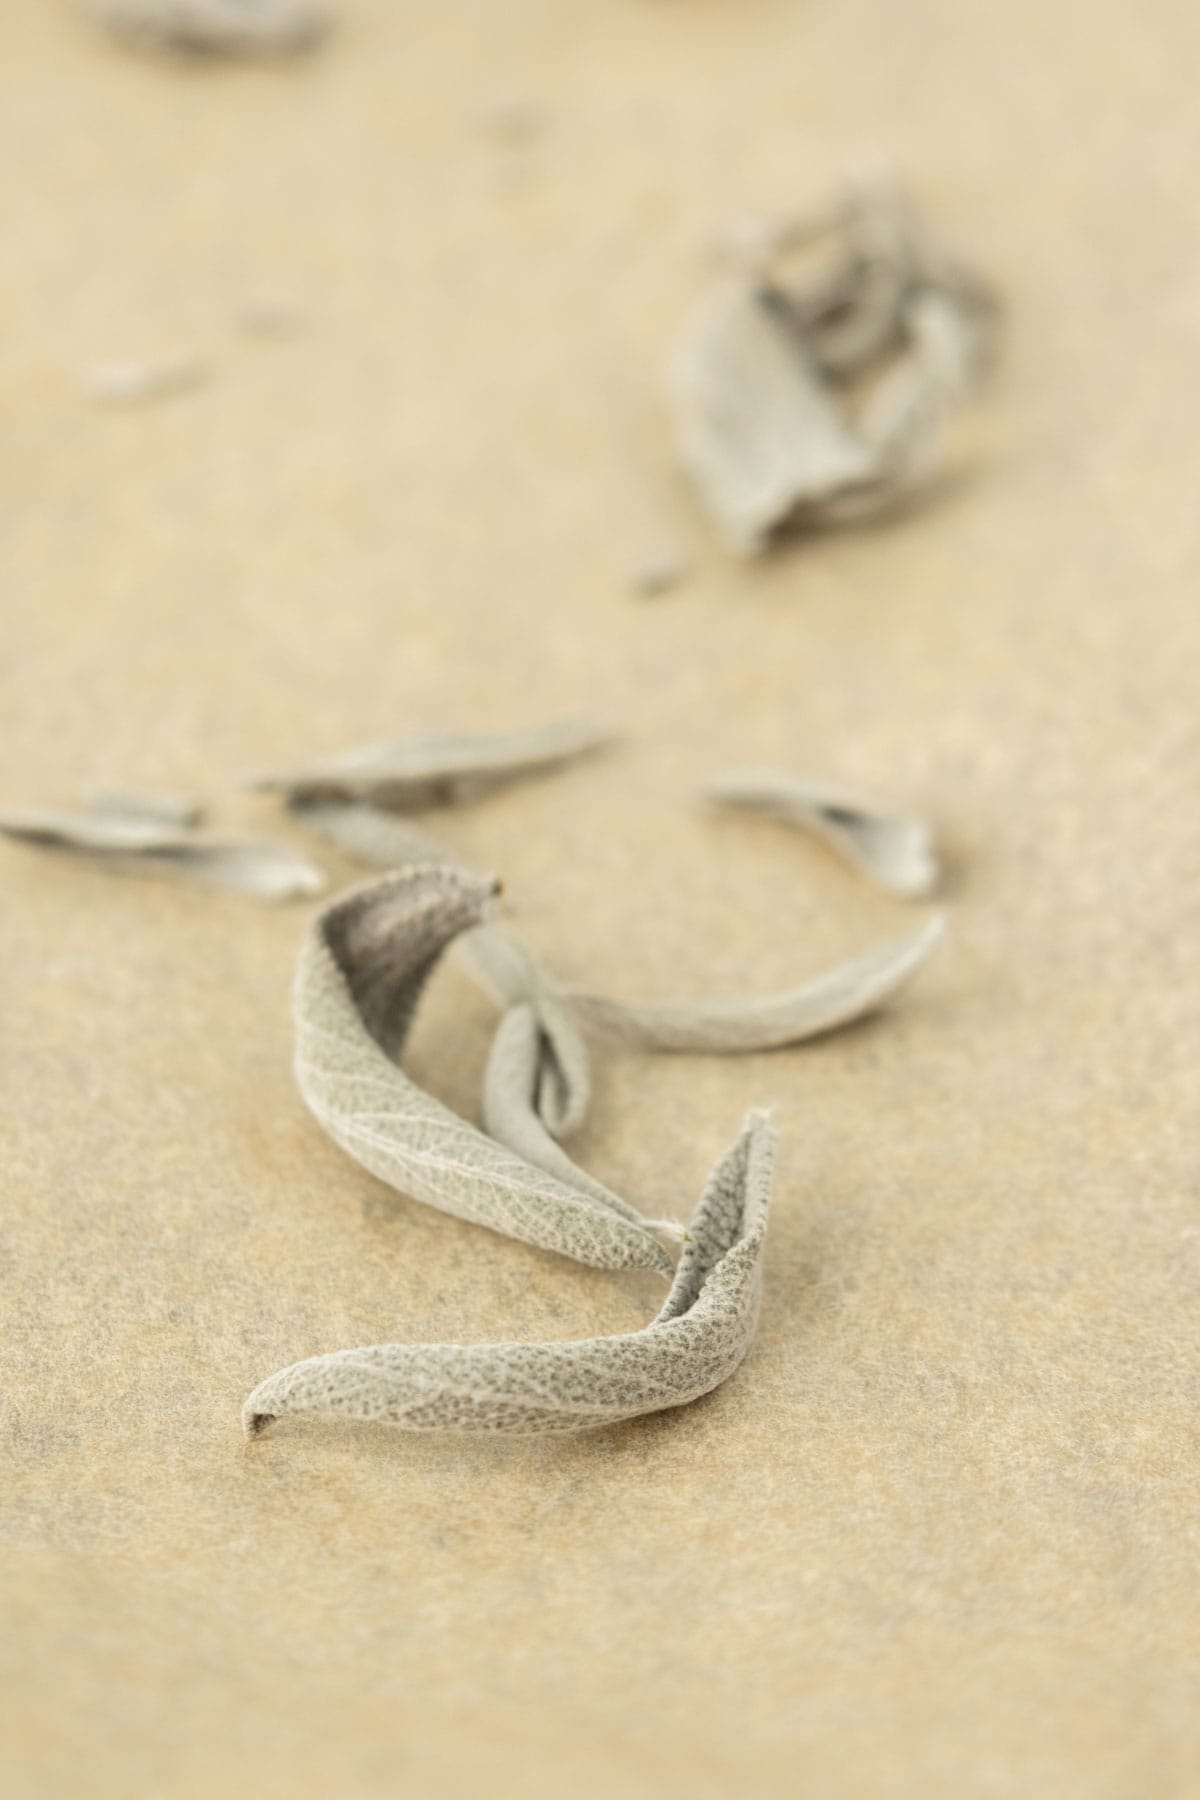
Place the baking sheet in the oven and bake for 1-3 hours, until the leaves are fully dry and crisp. The total amount of time will depend on how much you are drying, the temperature of your oven, and humidity levels in your house.
You can also leave the oven door slightly ajar while drying to speed up the process and allow some air flow. However, if you have a gas stove, small children, or curious pets, this is not recommended!
Storing dried sage
Once your sage leaves are dry, you need to store them in an airtight container. A spice jar is of course perfect for this, but you can also use any other container with a tight fitting lid or a sealable plastic bag.
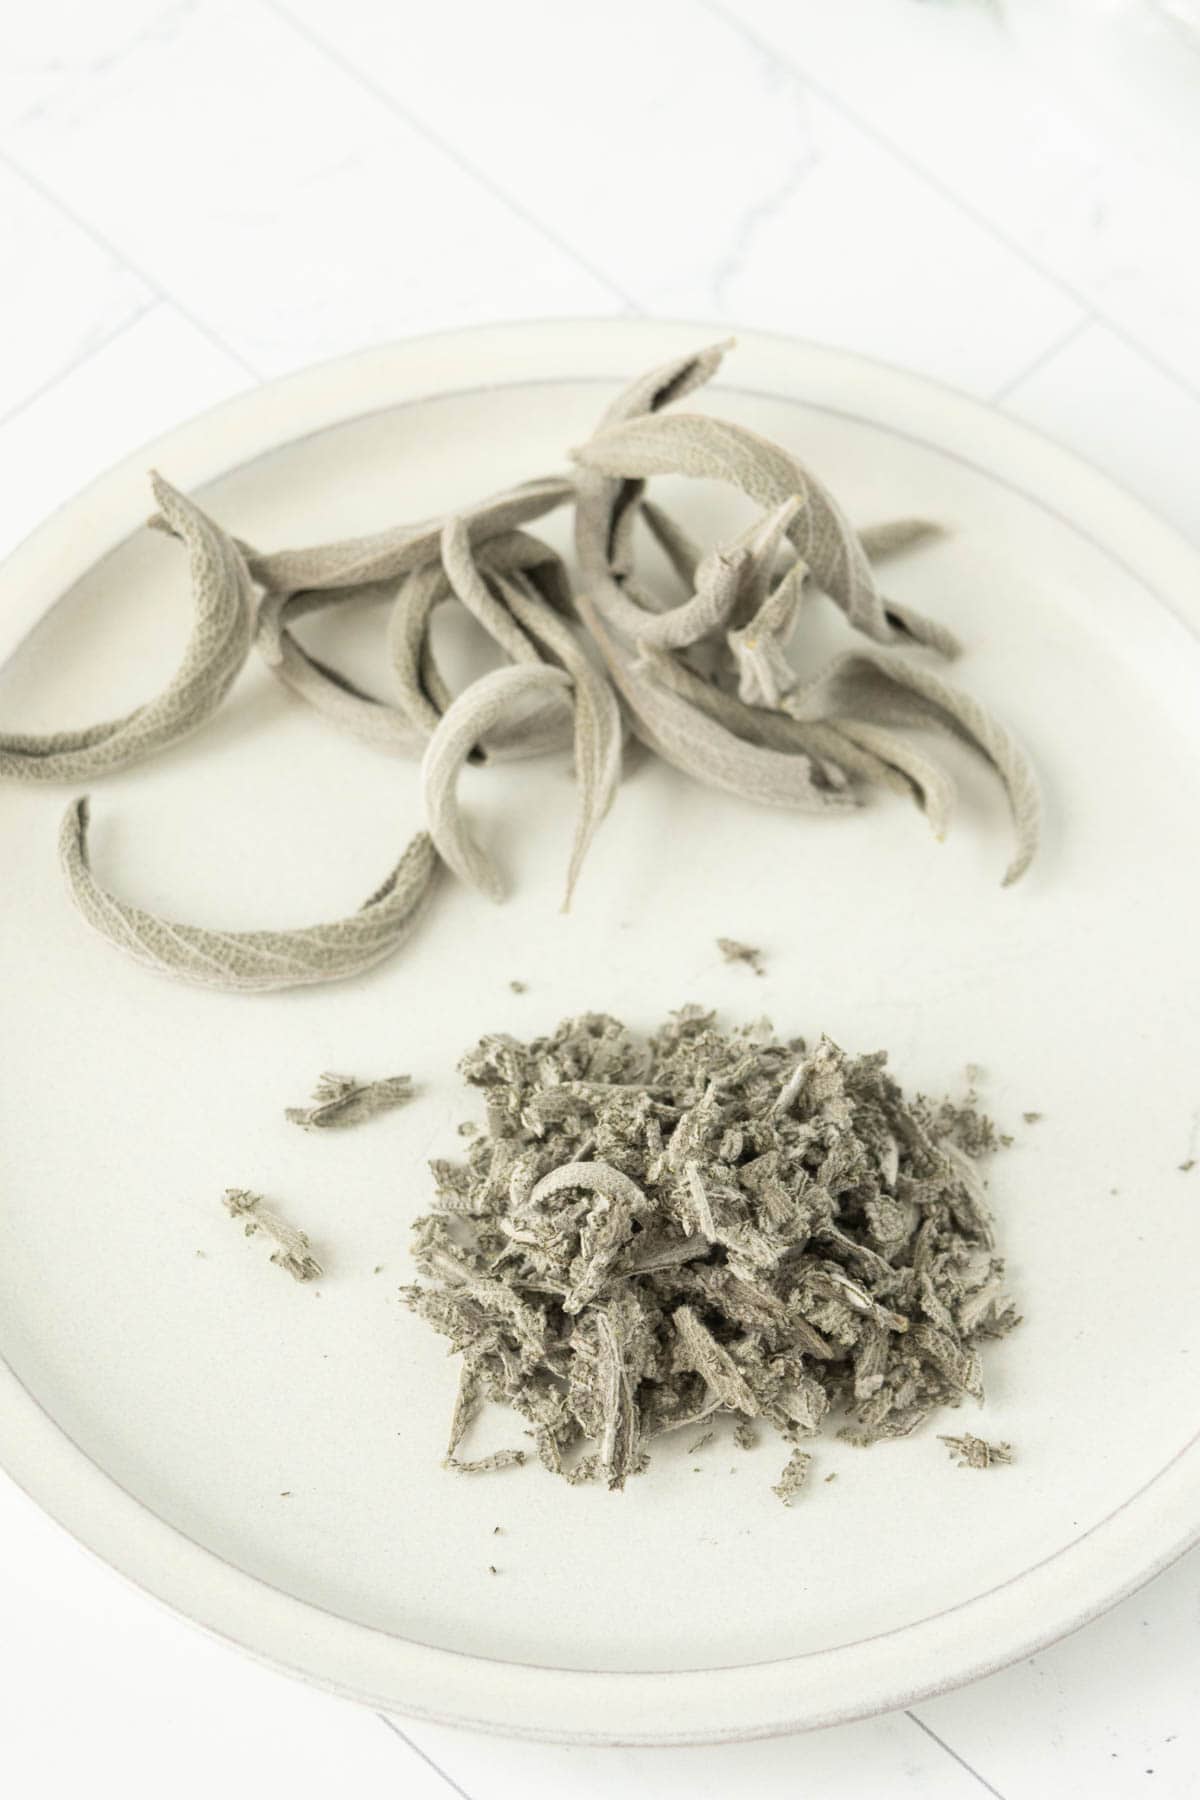
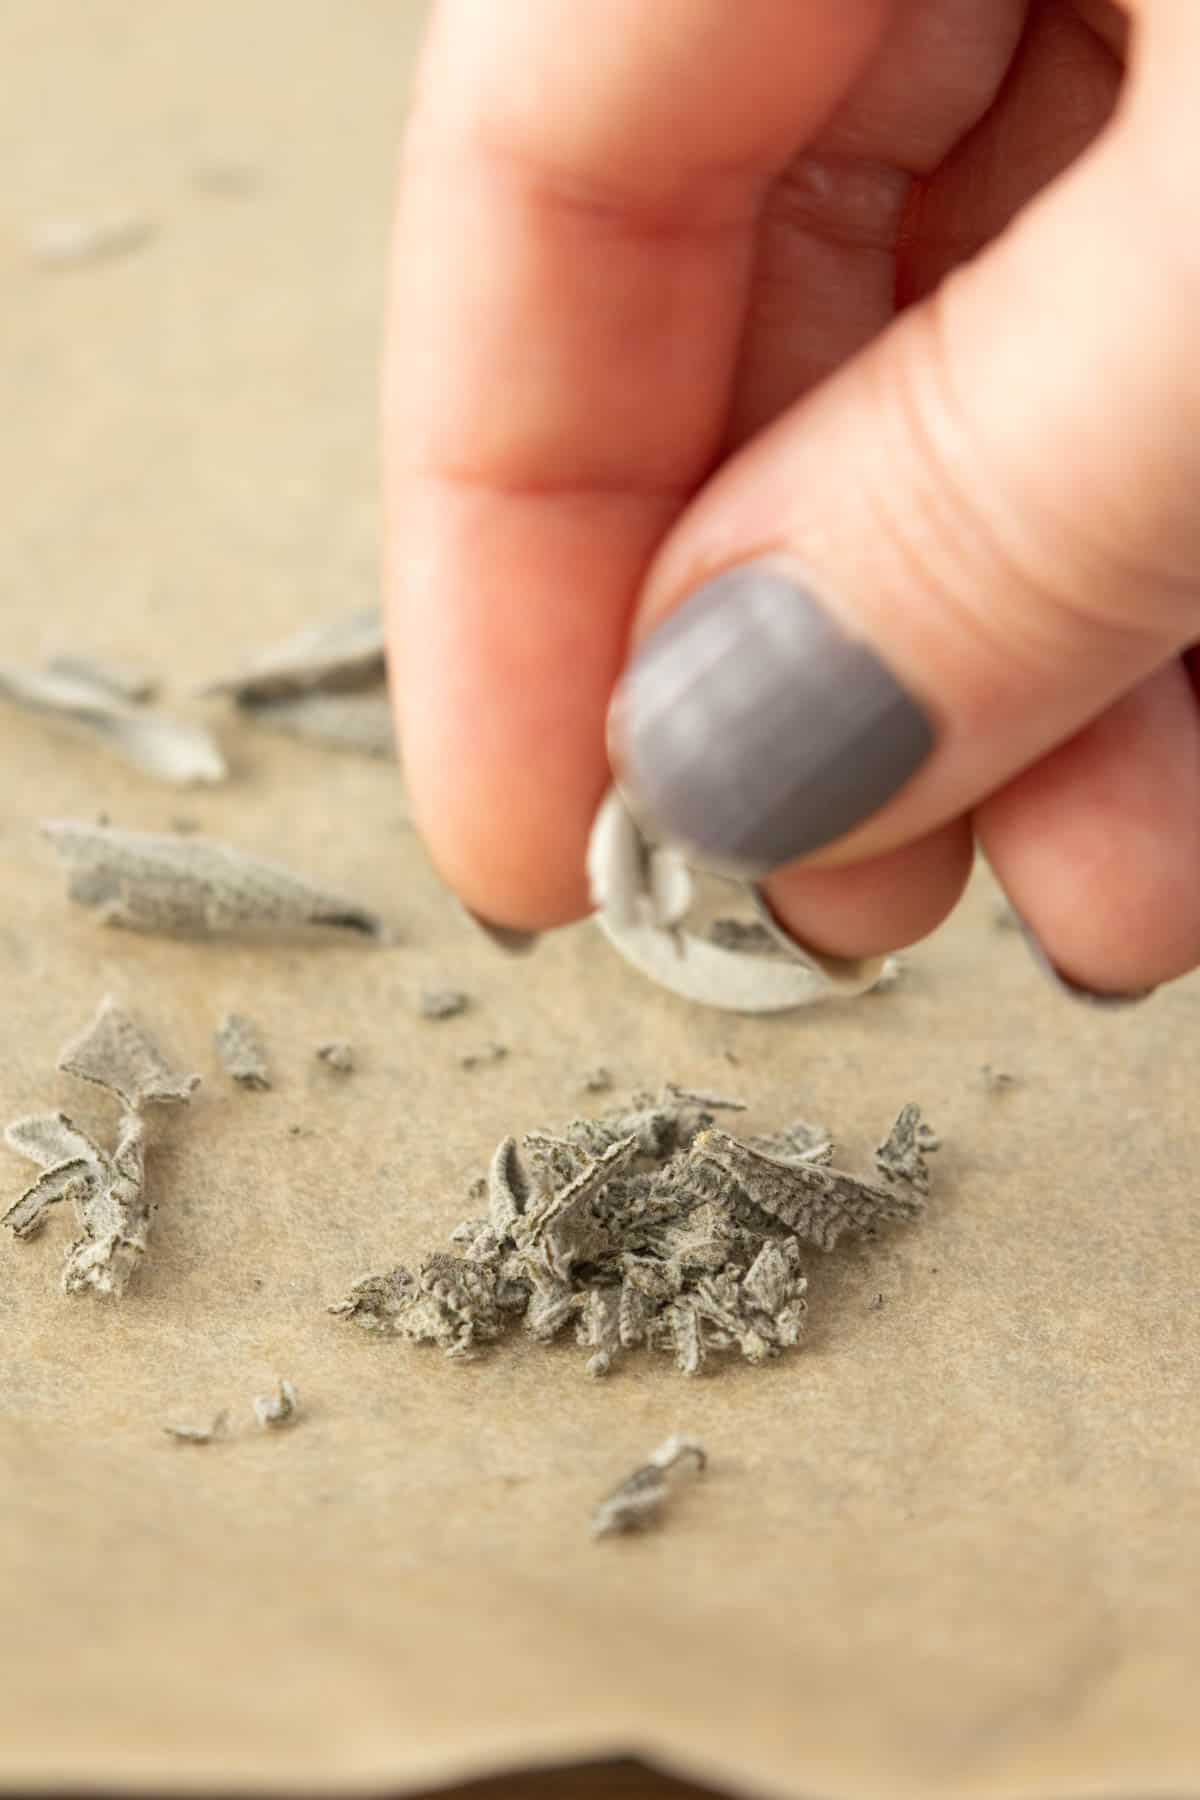
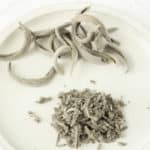
Store the dried leaves whole or crumbled into pieces. Whole leaves will keep their flavor longer, and you can crumble or grind them when ready to use.
Crumbling the sage leaves into pieces is what is called “rubbed sage.” This is different from ground sage, which is ground into a fine powder.
Ground sage makes it ideal for baking, while rubbed sage works well in savory applications. Choose your favorite version!
Dried sage will keep for 1 year when stored properly in a cool, dry location. Once your sage loses its strong aroma, it’s time for a new batch!
Ways to use dried sage
Use dried sage to make your own herb blends like Italian seasoning.
Add to savory soups such as white bean sausage soup, or add to butternut squash lasagna.
Make this fantastic sage and cornbread stuffing for the holidays, or try pumpkin sage biscuits.
Dried sage is a spice drawer must-have, so dry your own today!
How to Dry Sage
Ingredients
- 1 bunch fresh sage
Directions
- Rinse sage gently, removing any dirt or slimy leaves. Pat dry with a towel or spin in a salad spinner.
To hang dry
- Gather the sage together into a few small bundles. Cut a length of kitchen twine and tie a knot around one end of the basil. Tie a loop around the other end and hang in a cool, dry place.
- It will take 1-2 weeks for the sage to fully dry.
To oven dry
- Turn your oven as low as it can go. (For my oven this is 170°F.)
- Spread the sage in a single layer on a parchment-lined baking sheet. Place in the oven and leave the door ajar.
- Bake for 1 to 3 hours. Start checking the leaves at the 1 hour mark, then every 15 minutes for dryness, pinching a leaf or two between your fingers to see if it crumbles. Smaller leaves will dry faster than larger leaves, so consider two batches if your leaves vary wildly in size.
To dry in a dehydrator
- Turn your dehydrator to the lowest setting (95°F-110°F) or press the "herb" button if available.
- Arrange the sage leaves in a single layer on the dehydrator trays and place in side. It will take 2-6 hours for the sage to fully dry.
To dry in a microwave
- Place a paper towel on a microwave-safe plate. Arrange the sage in a single layer and place another paper towel on top.
- Microwave in 30 second increments, checking after each burst for dryness. The sage should be dry within 90 seconds.
Once dry
- When sage is dry, store leaves whole or crushed in a glass jar. Label and store in a cool, dry place. The dried sage will keep for about 1 year. Once the sage loses its aroma, it's time for a new batch.
Want to save this recipe for later?
Nutrition
Nutrition information is provided as a courtesy and is an estimate based on online calculators. Any nutritional information found on Stetted should be used as a general guideline only.
You might also like:


About Megan
I learned how to cook by exploring seasonal ingredients, and you can too! Meal time shouldn’t be stressful or complicated, and with fresh ingredients and easy methods, I’m here to help you enjoy the time spent in the kitchen. Read more…


Thanks for the simple instructions on how to dry and store sage in my oven. Turned out just like I expected and wanted.