This post contains affiliate links and may earn commissions on recommended products. As an Amazon Associate, I earn from qualifying purchases.


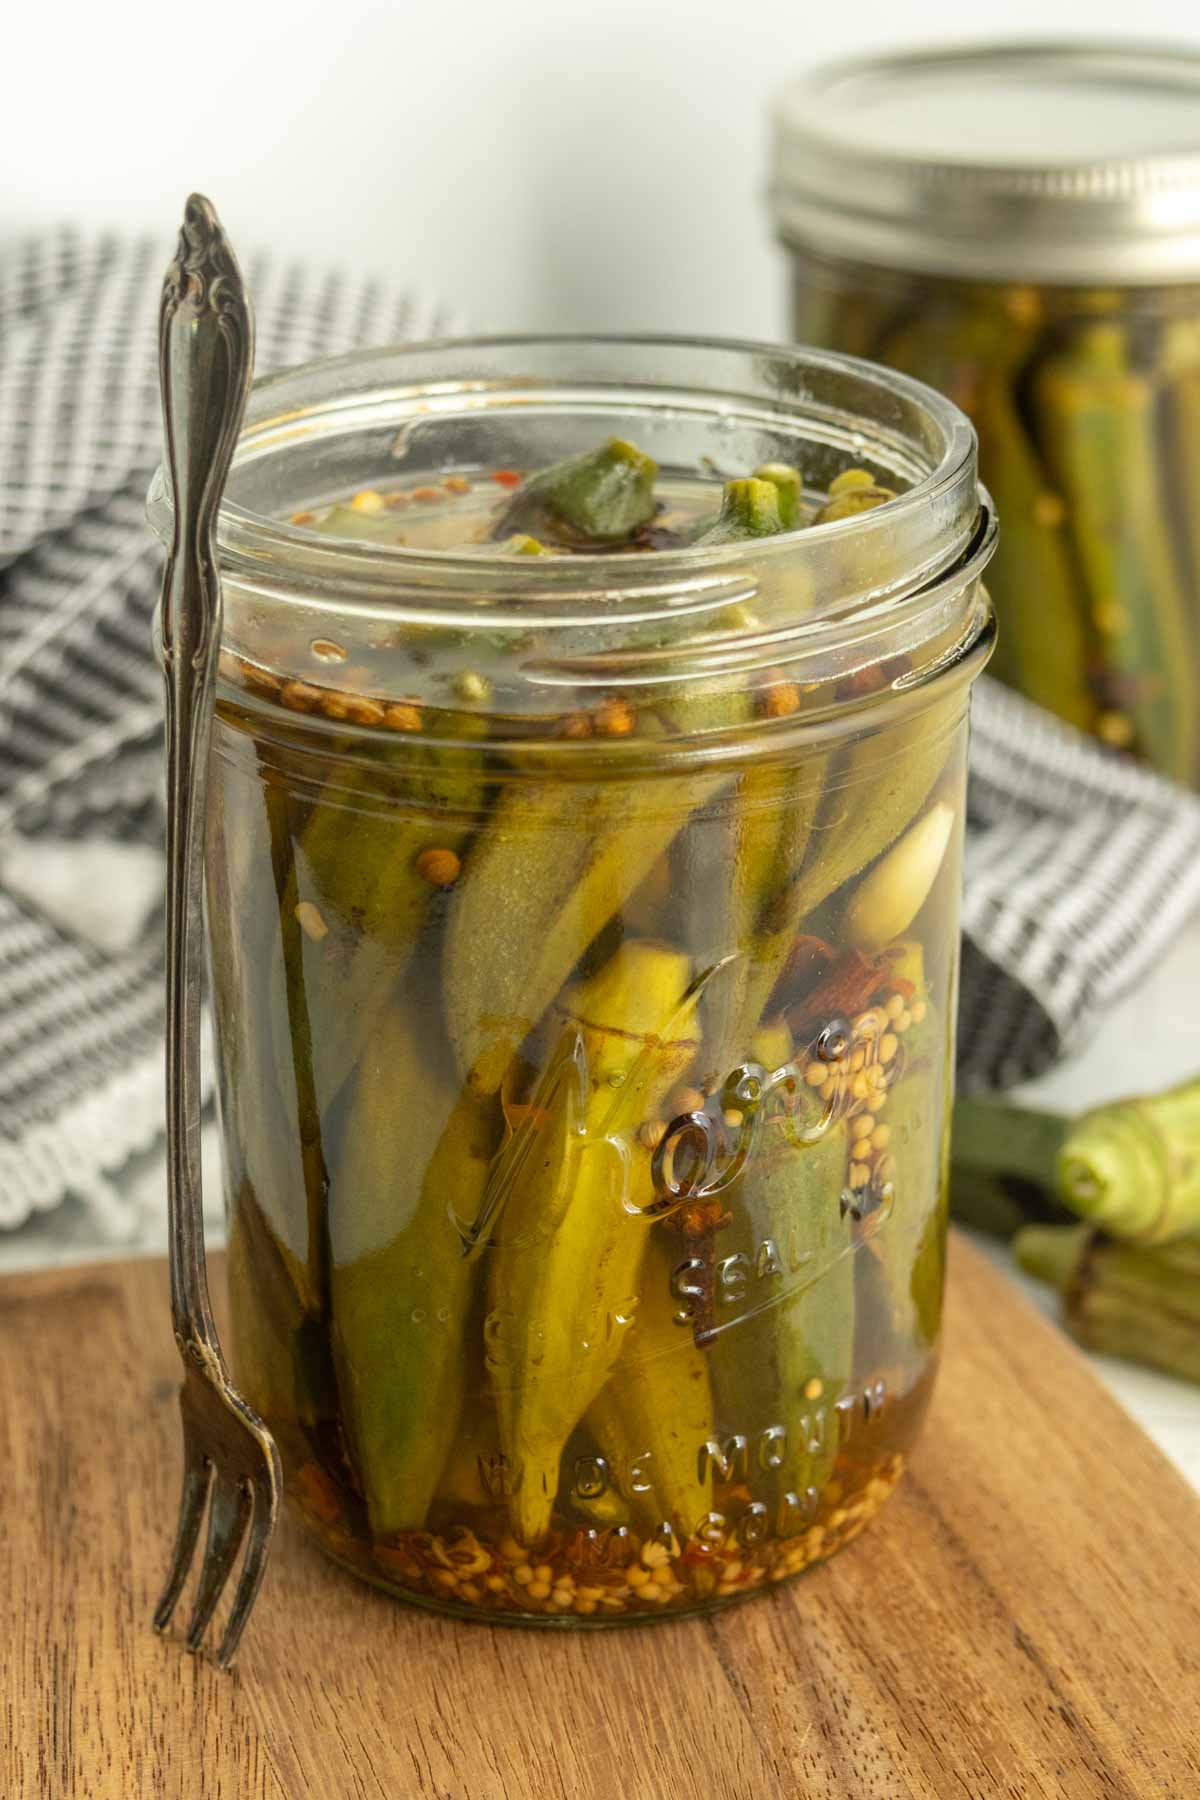
Make your own pickled okra with just a few ingredients. Store in the fridge or process in a water bath for pantry storage.
Even though we’re well into October, okra has been thriving here in Illinois. Every farmer at the market seems to have it, so it’s the perfect time to make pickled okra!
If you’ve never tried pickled okra before, you’re in for a treat. Crunchy, tangy, and just a little spicy, this easy recipe turns simple ingredients into something you’ll want to snack on straight from the jar.
I love making pickles like these because they require so few ingredients. All you need is a veggie, some spices, and vinegar for big flavor.
They’re perfect alongside sandwiches, on a charcuterie board, or even as a garnish for a Bloody Mary. Store it in the fridge or process in a canner for long-term storage. Once you see how easy pickled okra is to make your own, you’ll be making it every fall!
Ingredients for pickled okra
Full list of ingredients including quantities is located in the recipe card.
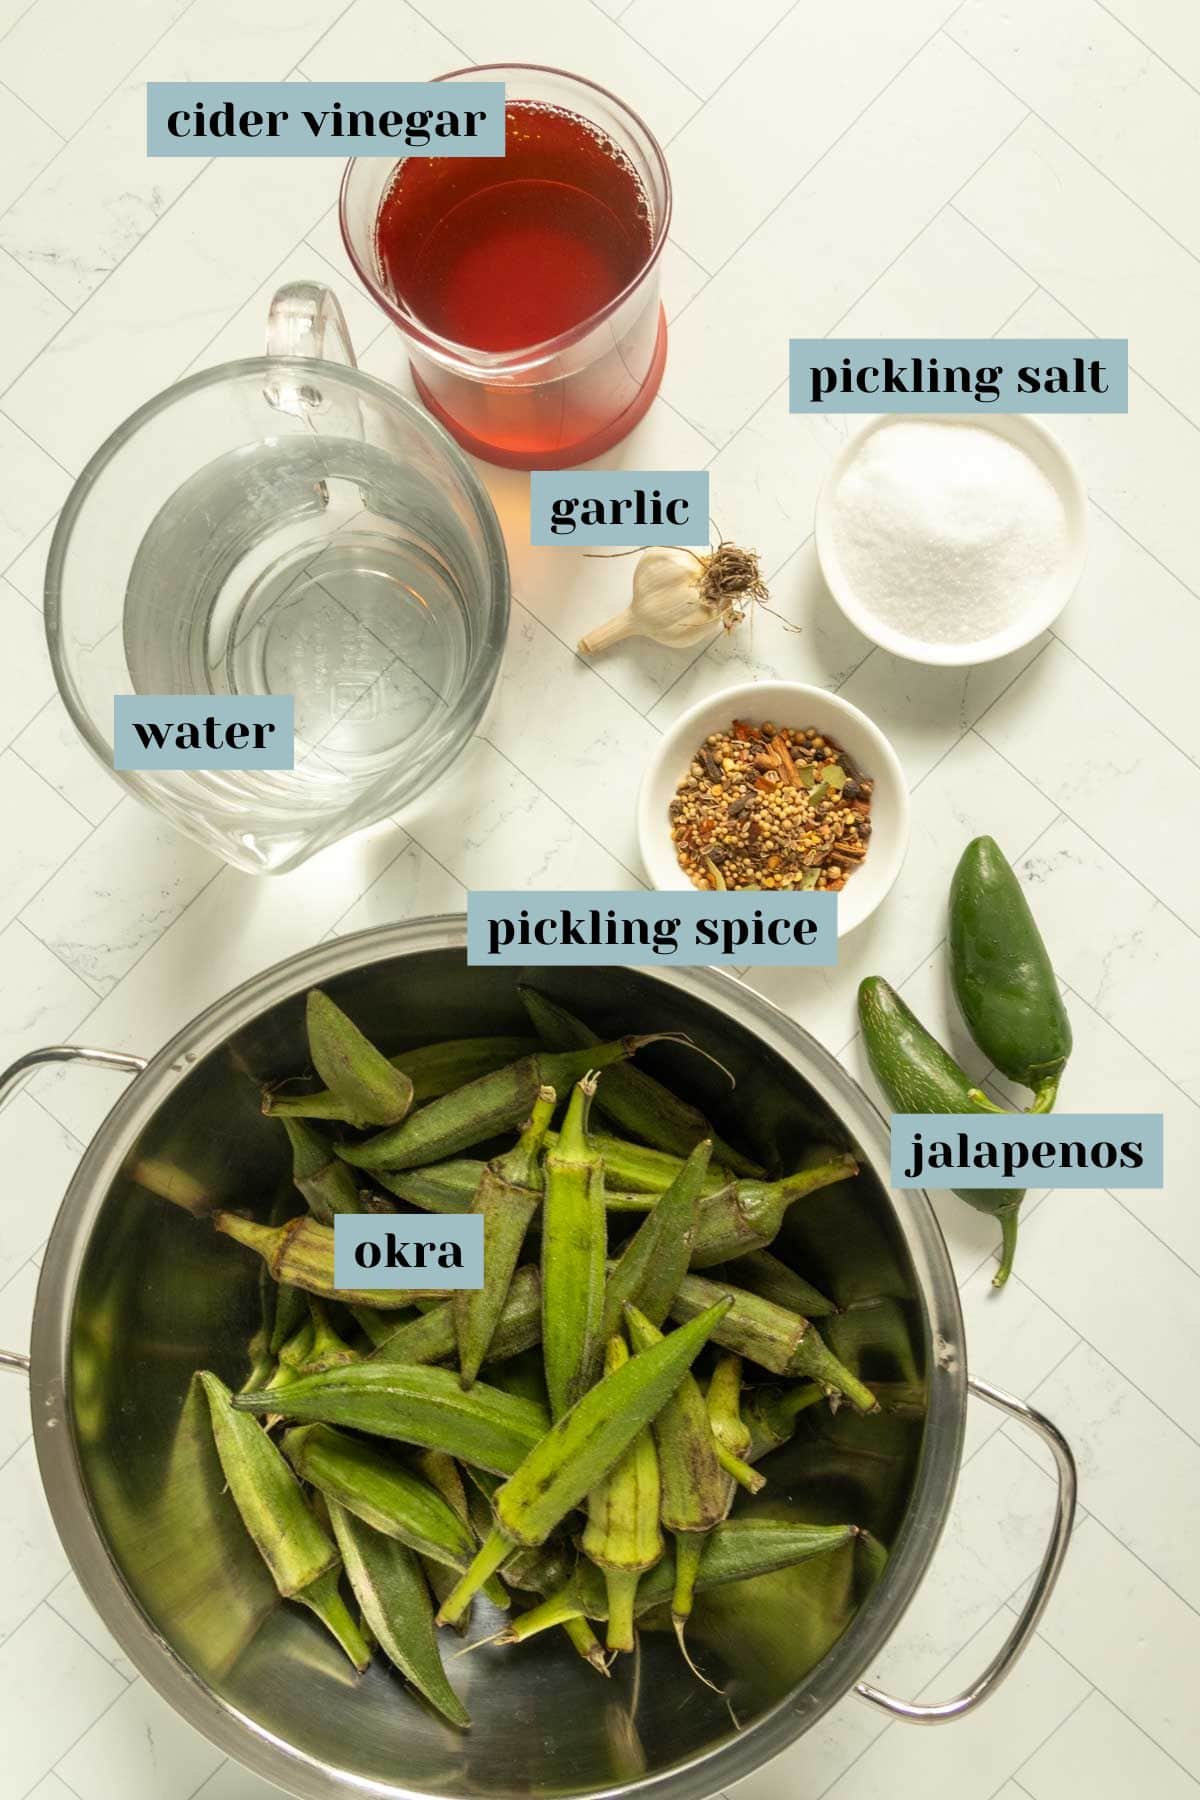
You’ll need:
- Fresh okra
- Jalapeño or serrano peppers
- Garlic
- Pickling spice
- Pickling salt, or fine sea salt
- Cider vinegar, or distilled white vinegar
- Water
seasonal spotlight: okra
Okra, having originated from East Africa, used to be only grown in warmer climates, but now it is grown all over the United States. Okra is known for having a slimy mucus on the inside. This is actually a soluble fiber with lots of health benefits, and it also help thicken classic okra dishes like gumbo.
I recommend using smaller okra for pickling, so that it fits within your jars easily. If you are getting your okra from the farmers market, you’ll likely find a wider variety of sizes than what’s available at the grocery store. If you can only find larger okra, simply use a quart jar rather than pints.
Pickling spice is a blend of peppercorns, cinnamon sticks, bay leaves, dill seed, and other whole spices that are used to flavor pickles. You can make your own pickling spice to keep on hand, or buy a blend from the grocery store or spice shop.

Equipment
You will need mason jars for this recipe. If you are storing the okra pickles in the refrigerator, you can also use other airtight containers, such as deli containers or lidded Pyrex storage.
If you are canning the pickles, you will need to use mason jars with new lids. Rings can be reused if they are clean and have no rust spots (I usually re-use my rings at least a few times for canning before they need to be recycled.)
You will also need a water bath canner or other large pot. It must be big enough that you will be able to fit the jars with enough water to completely cover by 2 inches. Make sure you have a jar lifter to transfer the jars.
canning tools
 Buy Now →
 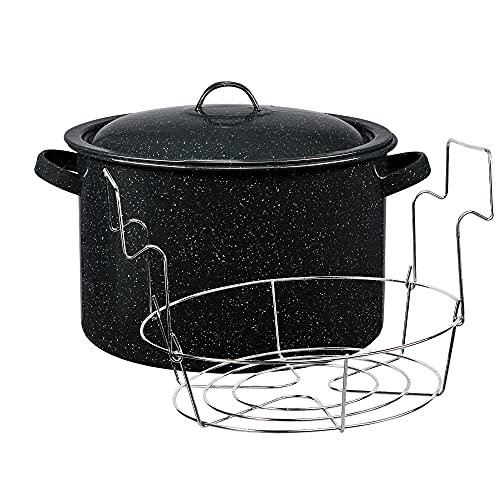 Buy Now →
  Buy Now →
 How to make this recipe
Rinse the okra and gently wipe dry with a kitchen towel or paper towel. Trim the stems, leaving about 1/4 inch. If you look at the tip of the stem, you should see only white. In the photo below, the pod on the left has been cut too far, exposing a bit of the mucus center.

Don’t worry if you’ve cut a little too far by accident. Your pickles will have a little more of the okra gel, but it is completely fine to eat!
Divide the peppers, garlic, and pickling spice between the jars. I usually will do only 3 out of 4 jars and save the rest of the spices in case I have more okra to fill a fourth jar.
Want to save this recipe for later?
Pack the okra vertically into the jars, alternating the ends so they fit more snugly. You want to pack them tightly, so you can fit as much okra as possible, and so it won’t float up out of the brine as much after filling.
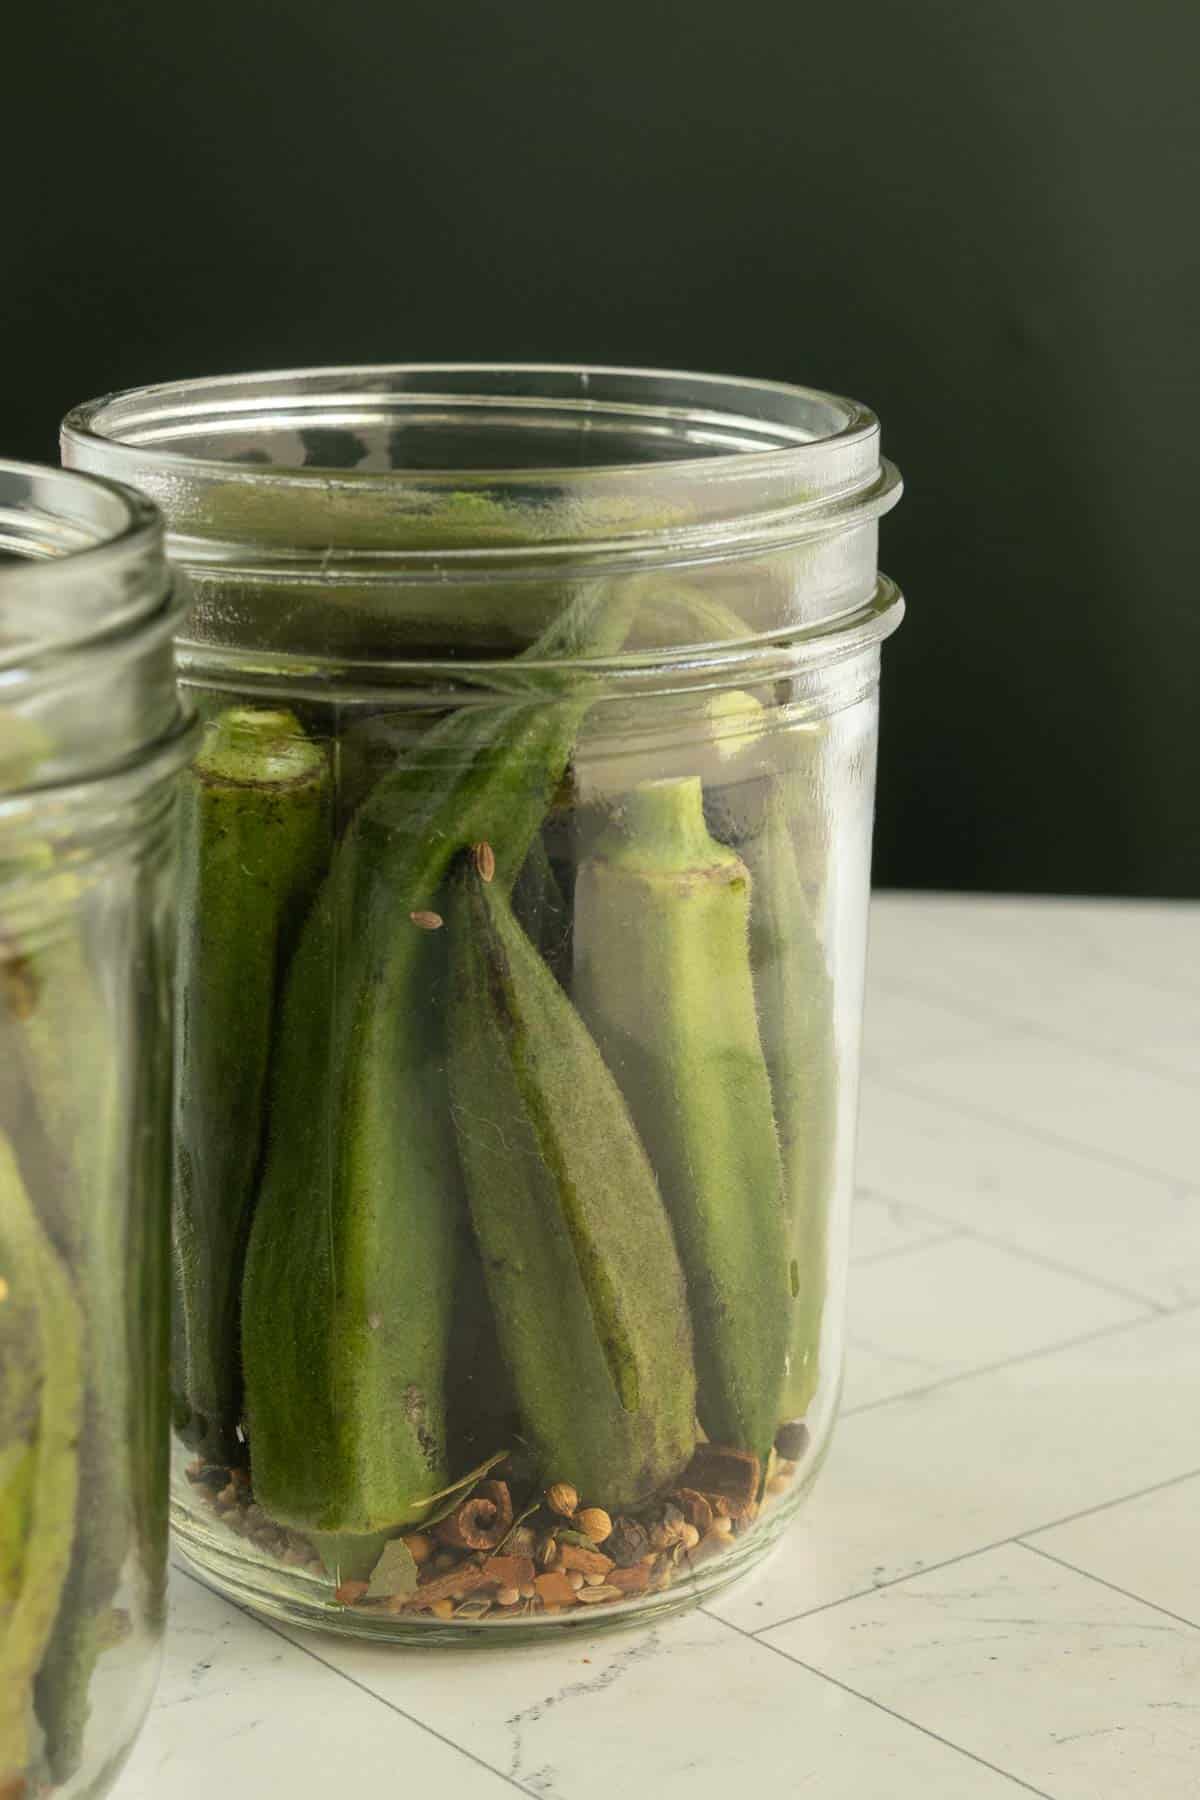
If you have small okra that are just a couple of inches long, you can add them on top of the vertical okra. Make sure to leave about 1/2 inch of space at the top.
In a saucepan, combine the vinegar, water, and pickling salt. Bring to a boil over high heat, whisking to dissolve the salt, then remove from the heat once fully dissolved.
Pickling salt is a very fine salt that dissolves easily in liquids. It’s usually sold in larger boxes, either with the other salts, or with the canning supplies. Fine sea salt will also work here.
Carefully pour the hot brine into the jars, going slowly to give it time to move down between the okra pods.
Use a wooden chopstick or dowel two remove air bubbles by moving it around the edges and between the okra. Do not use a knife, which can pierce the okra and can cause scratches on the insides of the glass jars. Add more brine as needed, or add more okra, leaving 1/4 inch of space at the top.

If you are storing in the refrigerator, add the lids, let cool to room temperature, and transfer to the refrigerator. If you are canning, read on!
Canning instructions
To can pickled okra, fill your canning pot (or other large pot) with water, cover, and set to boil. It can take a while for the water to boil because it’s such a large amount, so I recommend getting it on the stove before you start preparing the okra.
Once the water is boiling, you can crack the lid slightly to let some steam escape, but keep the heat at about medium-high so it stays bubbling.
After filling the jars, wipe rims clean and place lids, then screw on bands fingertip tight. Use a jar lifter to carefully transfer the jars to the canner. Make sure the water completely covers the jars by at least 1 inch. If it doesn’t, add more water, but don’t start the timer until the water is boiling again.
Place the lid and process the jars for 15 minutes. Remove the lid and turn off the burner, but let the jars rest for 5 minutes before transferring to a towel-lined countertop.
Let the jars rest, undisturbed, for 24 hours before checking the seal. The center of the lid should look just slightly concave, and would not bounce back if gently pressed.
Label jars and store in the pantry for up to 18 months. Unsealed jars must be stored in the refrigerator.

Serving ideas
Add this easy pickled okra to your next cheese or charcuterie board, or make it part of a relish tray along with pickled green beans, pickled radishes, and pickled cauliflower.
It’s a great Southern favorite to serve with other favorites like pimento cheese, buttermilk biscuits, or classic deviled eggs.

Grab some fresh okra and make homemade pickled okra today!
— did you make this recipe? —
Leave a comment or tap the stars below to leave a rating — it helps others and supports our work. We love hearing how it turned out!

Pickled Okra
Ingredients
- 1 1/2 pounds small okra
- 2 jalapeno or serrano peppers, stemmed, seeded, and halved lengthwise
- 3-4 garlic cloves, smashed
- 2 tablespoons pickling spice
- 1 ½ cups cider vinegar, or white vinegar
- 1 ½ cups water
- 3 tablespoons pickling salt, or fine sea salt
Directions
- Rinse the okra and gently wipe dry. Trim stems, leaving about ¼ inch. Take care to not cut into the pod as you trim.1 1/2 pounds small okra
- Divide the peppers, garlic, and pickling spice between 3-4 pint jars. The exact number of jars will depend on the size of your okra. Use 1 garlic clove per jar.2 jalapeno or serrano peppers, 3-4 garlic cloves, 2 tablespoons pickling spice
- Pack the okra vertically into the jars, alternating which end us up for best fit. Packing them tightly will help prevent floating and get more in the jars. Smaller okra can be piled on top if there is space. Make sure there is about ½ inch of space at the top.
- In a small saucepan, combine the vinegar, water, and pickling salt. Bring just to a boil, whisking to dissolve the salt. Pour the brine slowly over the okra, allowing it to settle in between the pods. Use a chopstick or canning bubbler to gently press out any bubbles, then add more brine as needed.1 ½ cups cider vinegar, 1 ½ cups water, 3 tablespoons pickling salt
- Wipe rims with a damp paper towel, place lids, and screw on rings. If not processing in a canner, let cool to room temperature, then store in the fridge.
- If canning, process in a boiling water bath, covered, for 15 minutes. Remove lid, turn off heat, and let jars rest for 5 minutes before transferring to a towel-lined countertop. After 24 hours, check for seals, then label in store in the pantry.
- The pickles are best if you let them cure for at least 2 weeks before eating, but longer is better.
Notes
- Makes 3 to 4 pints.
- The number of jars will depend on the size of your okra; the larger the okra, the more jars you will need.
- Use jars that are big enough to fit the okra without cutting into the pods. This might mean using quart jars rather than pints.
- Wide-mouth jars are easiest to pack and use.
Want to save this recipe for later?
Nutrition
Nutrition information is provided as a courtesy and is an estimate based on online calculators. Any nutritional information found on Stetted should be used as a general guideline only.
You might also like:


About Megan
I learned how to cook by exploring seasonal ingredients, and you can too! Meal time shouldn’t be stressful or complicated, and with fresh ingredients and easy methods, I’m here to help you enjoy the time spent in the kitchen. Read more…