*This post contains affiliate links and may earn commissions on recommended products. As an Amazon Associate, I earn from qualifying purchases.
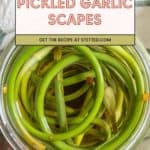
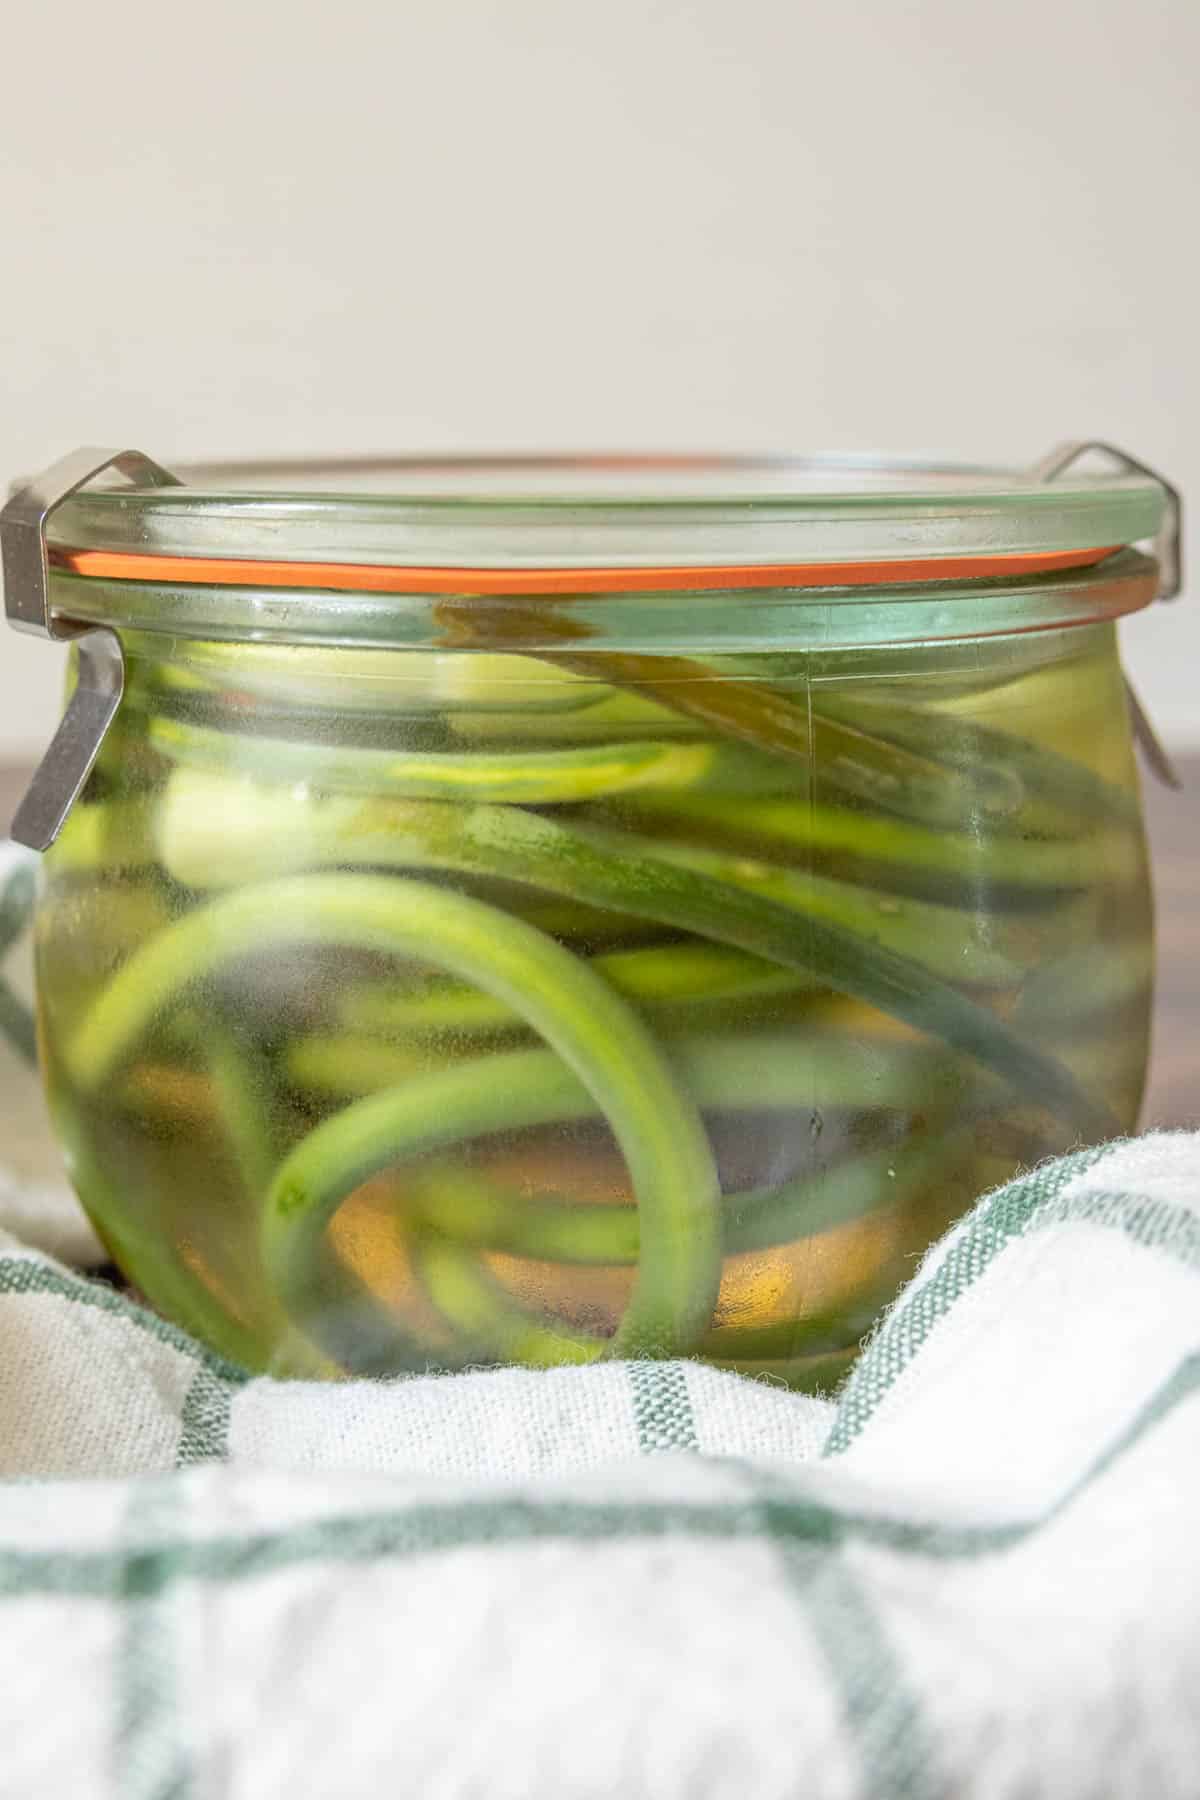
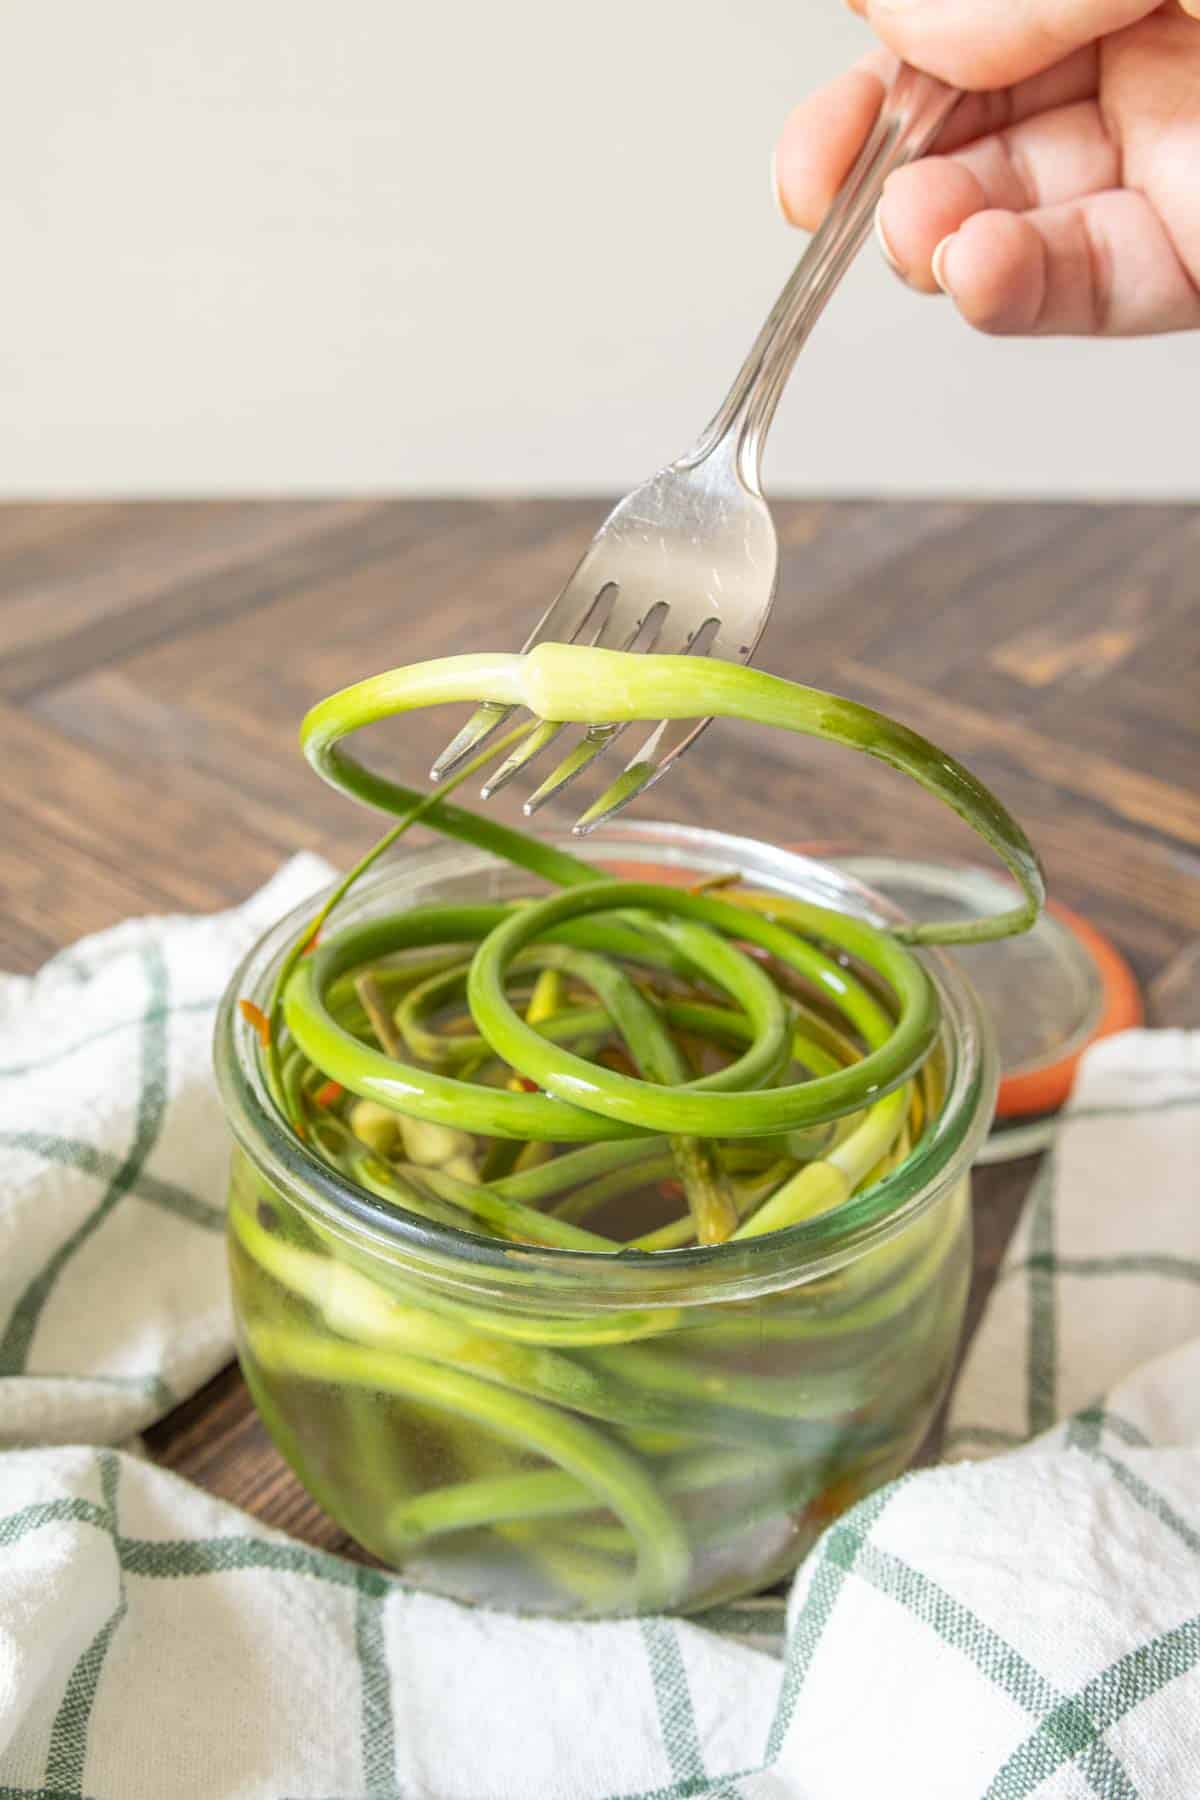
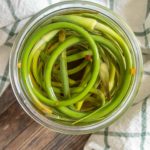
Take advantage of the short garlic scape season to make pickled garlic scapes! These crunchy, lightly garlicky pickles are a wonderful addition to snack boards or chopped and added to your favorite dishes.
One of the best parts of shopping at the farmers market is finding new-to-you ingredients. That’s actually how I ended up learning how to cook!
After years of shopping the markets, there are still some things that pop up that I haven’t fully explored, especially when a new farm joins the market.
One of my more recent discoveries was garlic scapes. I had heard about them for a while but had never seen them available.
As a garlic lover, you can imagine what happened next — I was hooked!
These pickled garlic scapes are a great, simple way to prepare them, especially if you’re trying them for the first time.
With just a few minutes of prep work, you’ll have a gorgeous jar of pickled scapes ready for snacking or cooking with!
What are garlic scapes?
Garlic scapes are actually part of the garlic plant that grows above ground. These stems naturally curl, and form a flower bud on the end.
If left to bloom, the garlic bulb will not develop fully, so scapes are cut in late spring or early summer. This allows the garlic to devote its energy into growing the cloves inside the bulb.
Because garlic scapes have a very short harvest season, you likely will only see them at the farmers market or a co-op grocery store.
You can store garlic scapes in the refrigerator for about a week before they will lose their crispness.
Scapes have a mild garlic flavor with a sweeter finish. They can be used in everything from stir fries to pestos to sautés, and of course, pickles!
Ingredients for pickled garlic scapes
You’ll need:

Garlic scapes – This recipe uses about half a pound of scapes. They should be firm and crisp. Any dry or withered ends should be trimmed off before using.
Cider vinegar – Apple cider vinegar, not to be confused with apple cider the drink, is great for pickling. It adds a little more flavor than distilled white vinegar.
Water – Make sure to not add more than 50% water to the brine, or your pickles won’t be very pickle-y.
Pickling salt – Pickling salt is a fine salt that dissolves quickly in liquids. It typically comes in a large box, but pickling salt does not expire, so you can use it for many recipes and years to come. I keep mine in a lidded glass jar.
If you don’t have pickling salt, you can swap in fine sea salt.
Sugar – To add a touch of sweetness, I use a small amount of granulated sugar in the brine. If you prefer, you can leave it out.
Spices – For more flavor, I add peppercorns, mustard seed, and crushed red pepper flakes. You can also use a pickling spice blend instead.
How to make this recipe
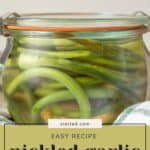
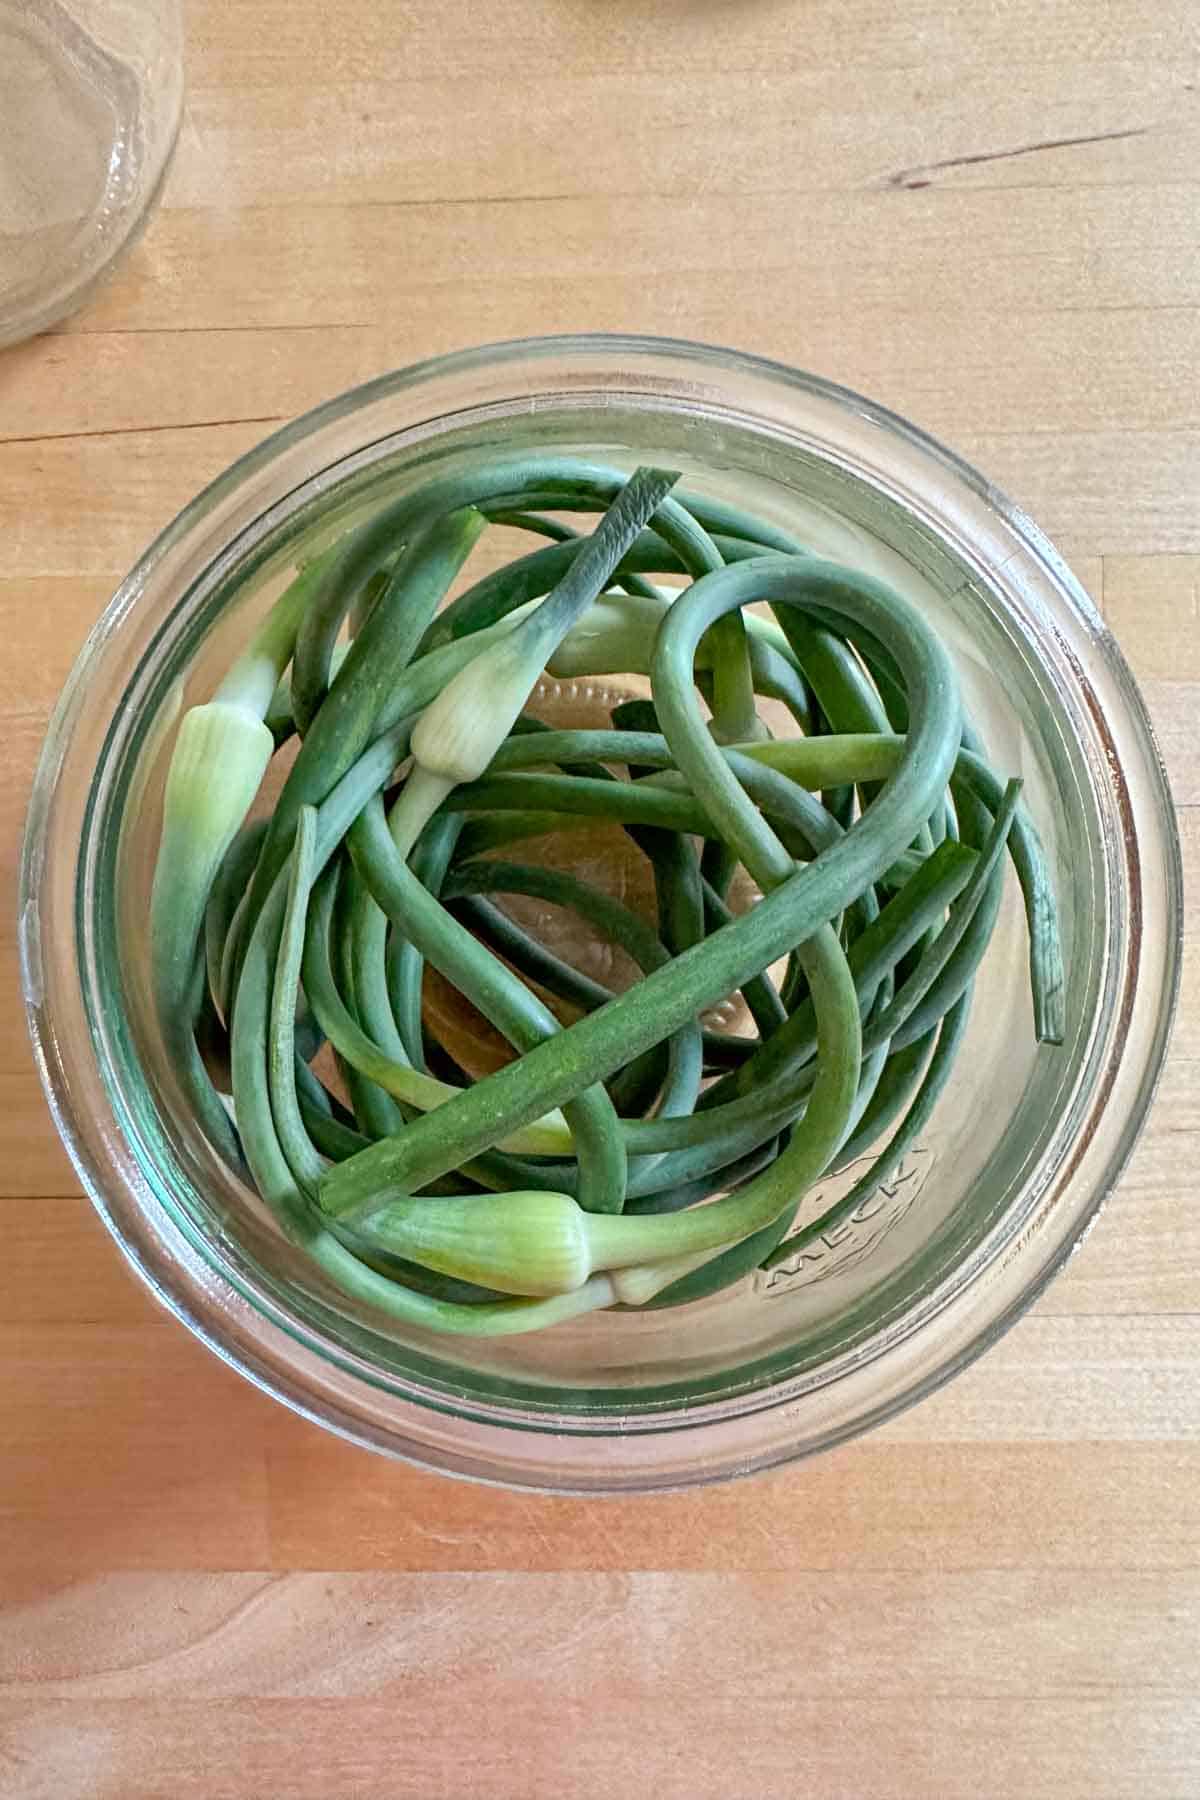
Gather your containers for the pickled scapes. I recommend using wider jars, which will make it easier to place the curled scapes without cutting.
You can also cut the curled scapes into straight lengths to fit a jar standing up. Depending on how many scapes I have and their size, I sometimes do both.
Pack the scapes into the jars, making sure they do not go over the top. Sometimes with the curled scapes you will need to push them down forcefully to fit.
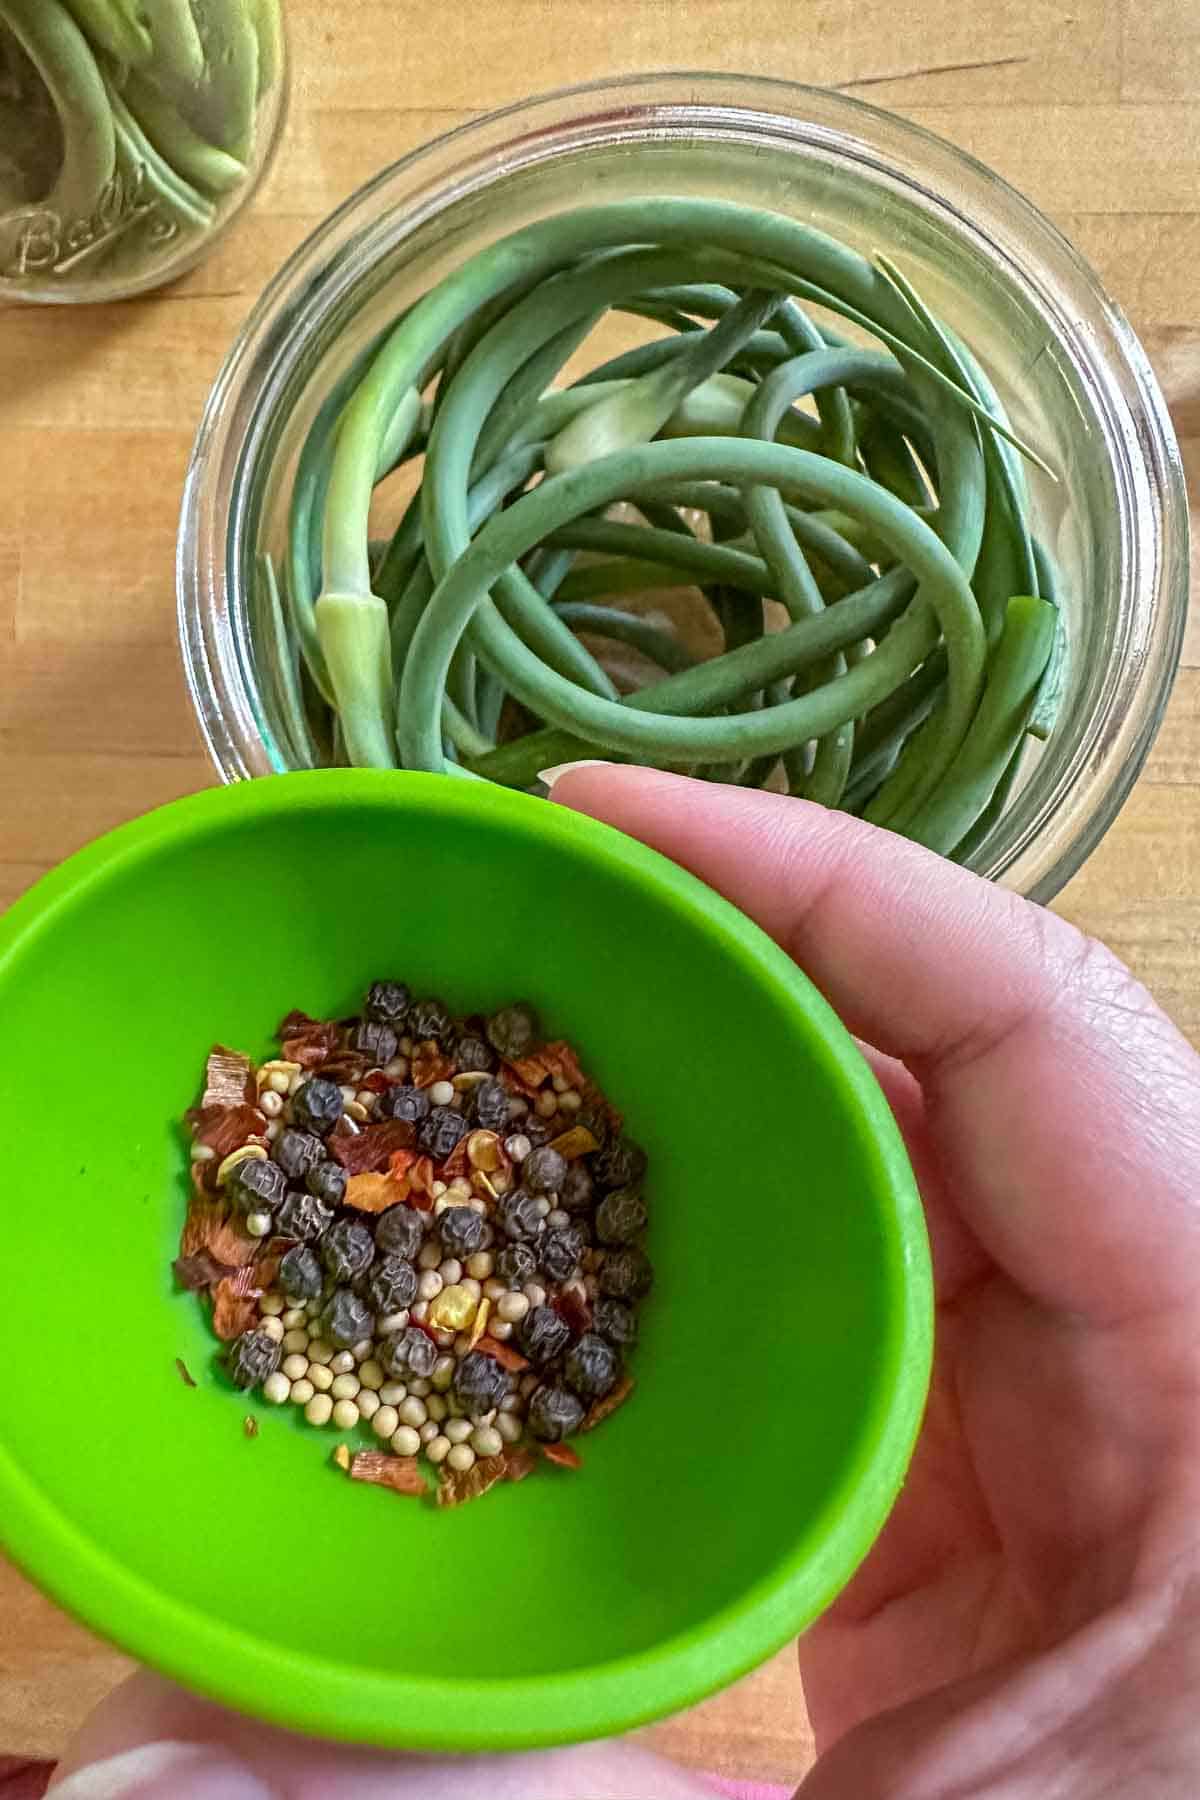
Combine the peppercorns, mustard seed, and crushed red chile flakes *. Divide the spices between your packed jars.
Lay a kitchen towel on the countertop and place the jars on top.
Want to save this recipe for later?
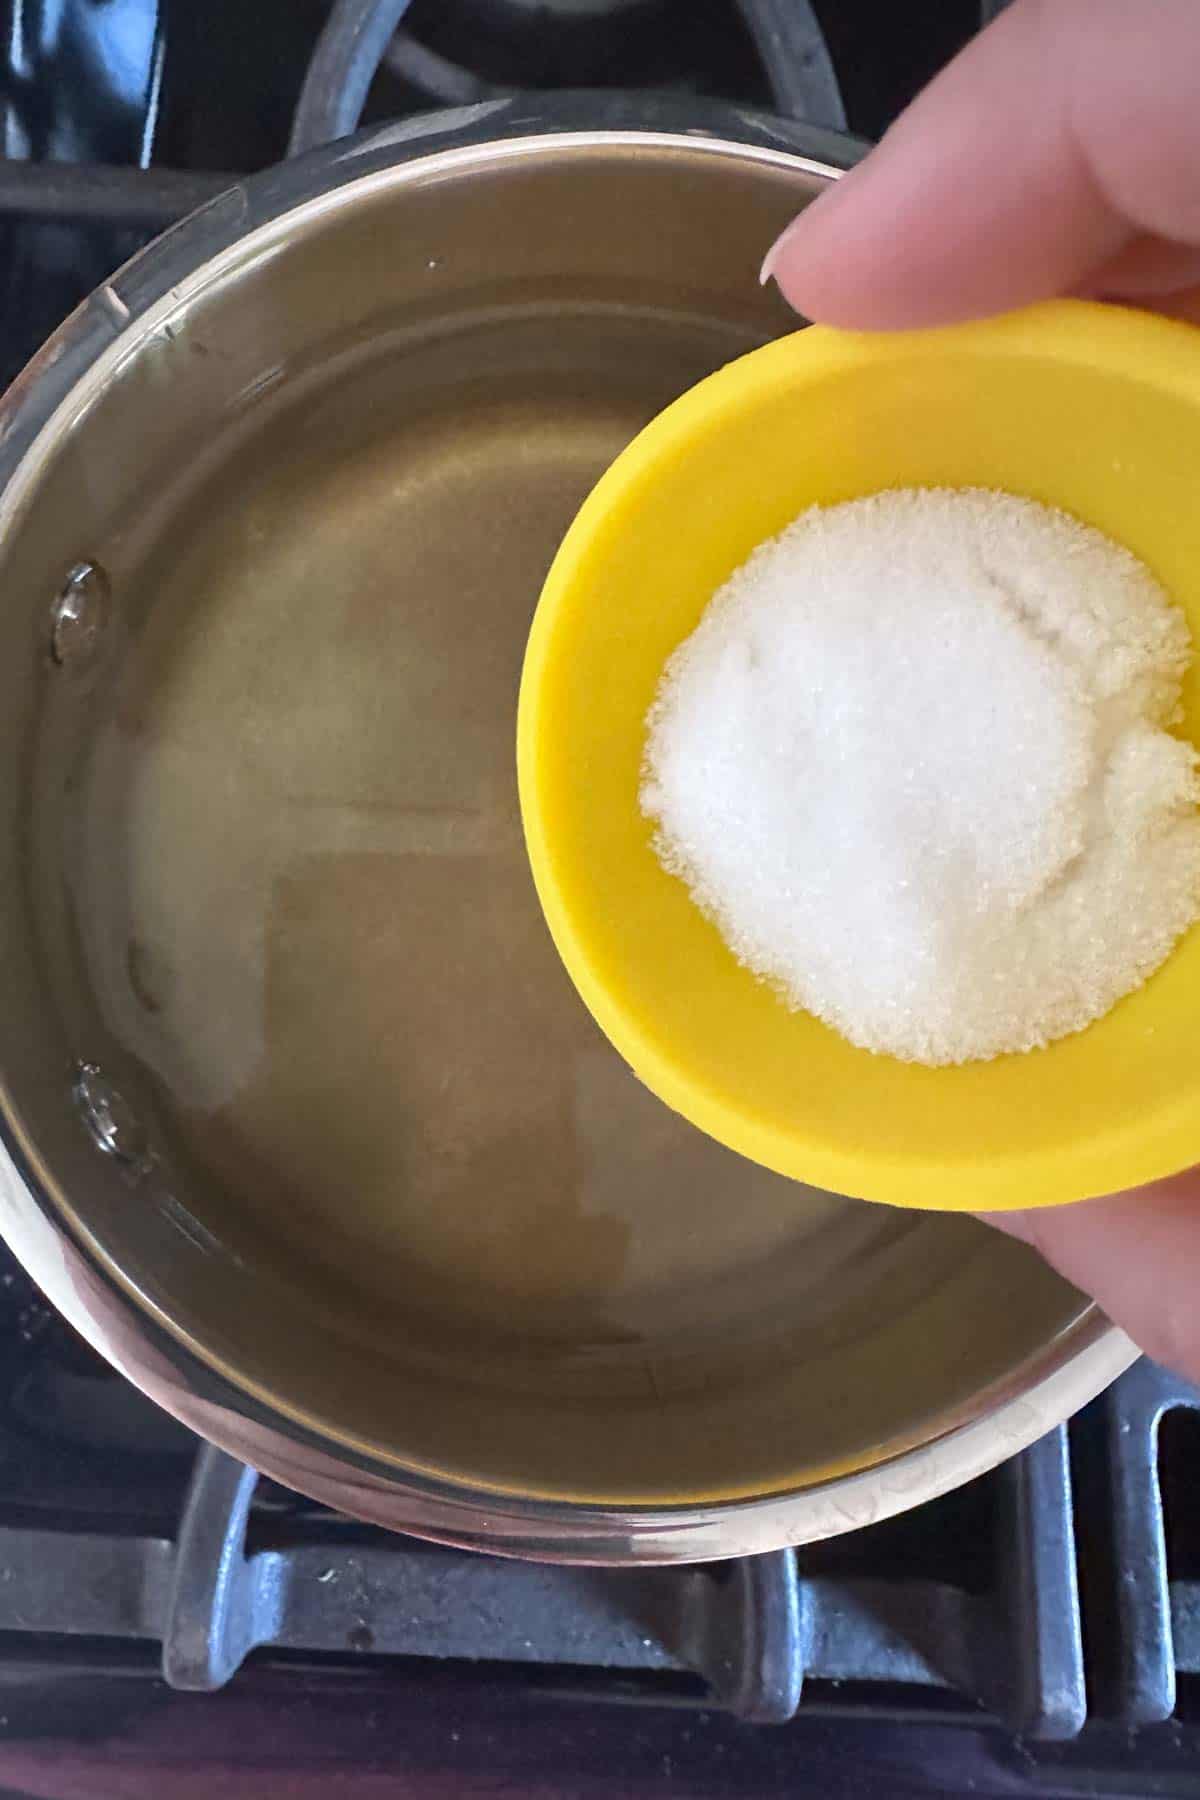
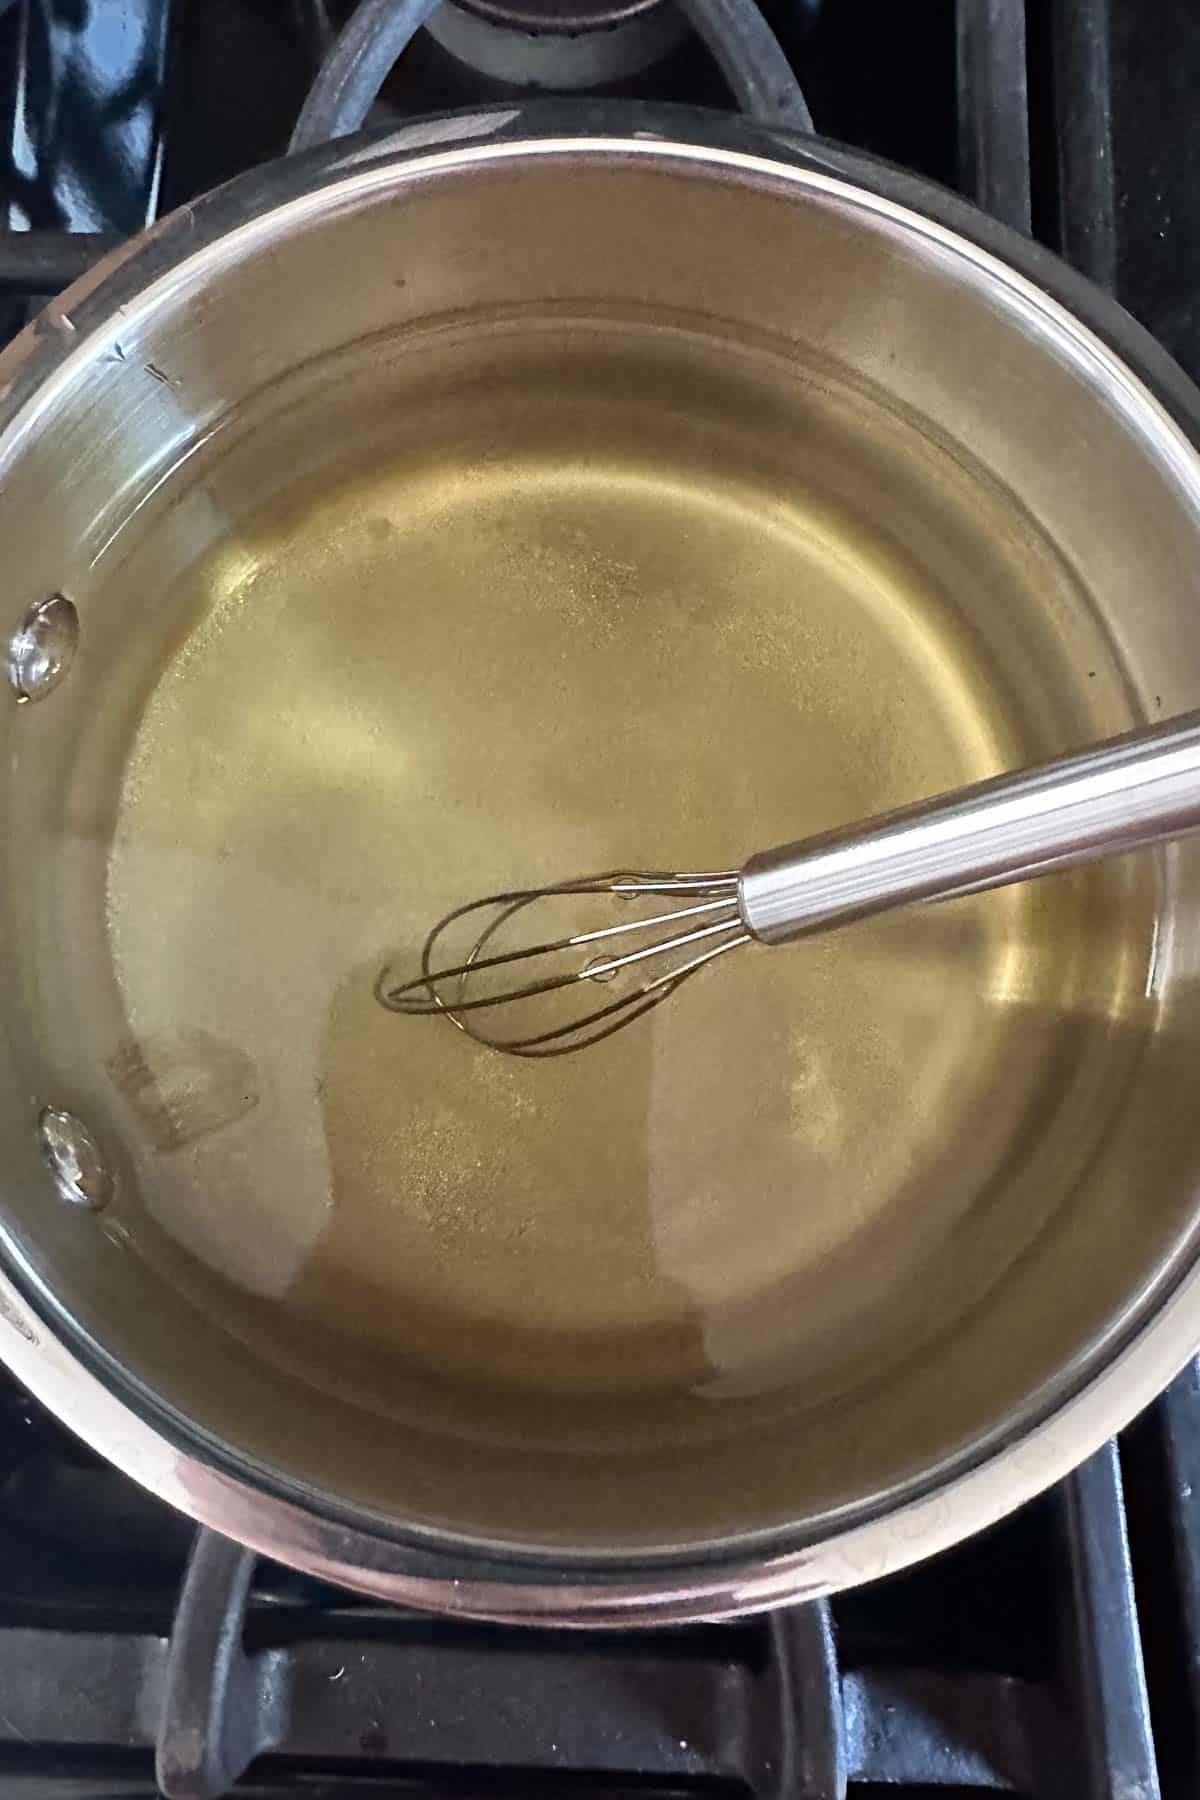
In a small saucepan *, combine the cider vinegar, water, pickling salt, and sugar. Bring to a boil, whisking to dissolve the salt and sugar.
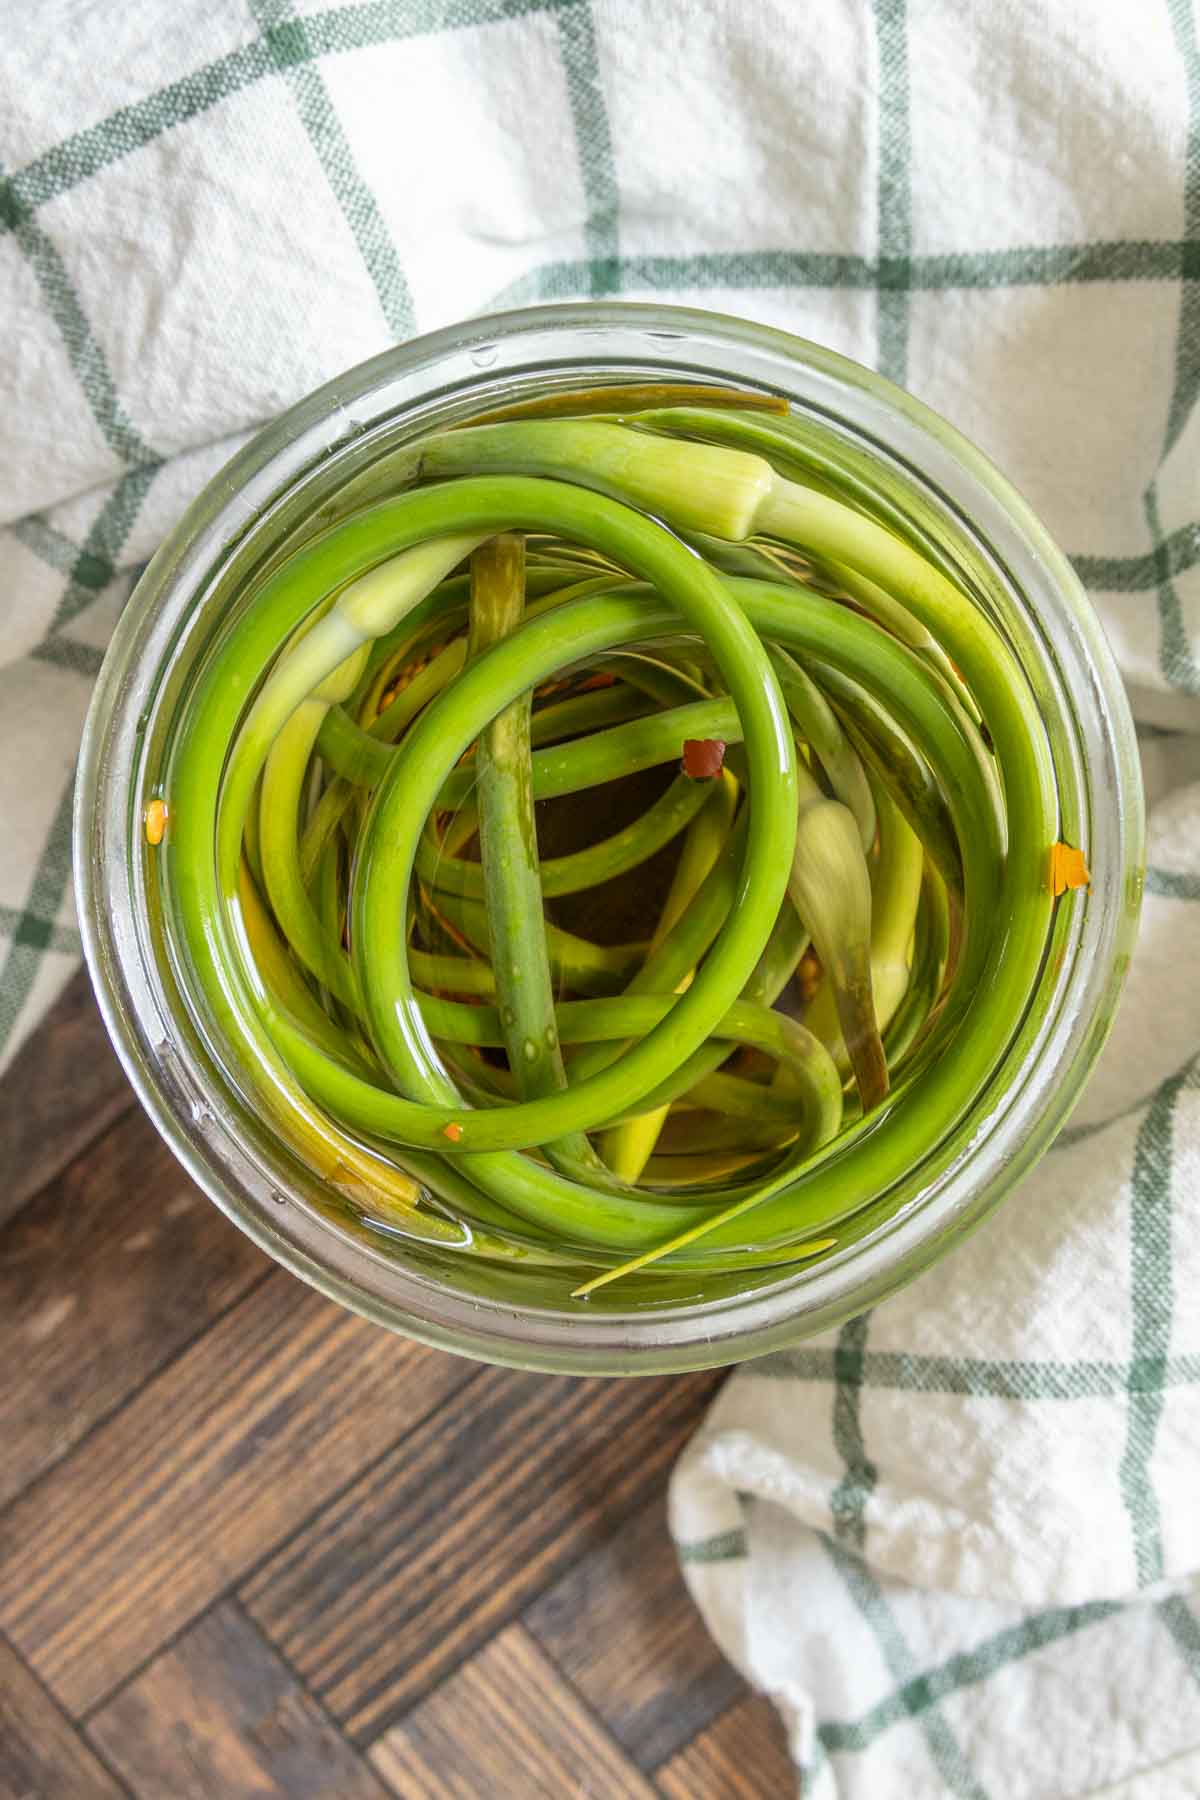
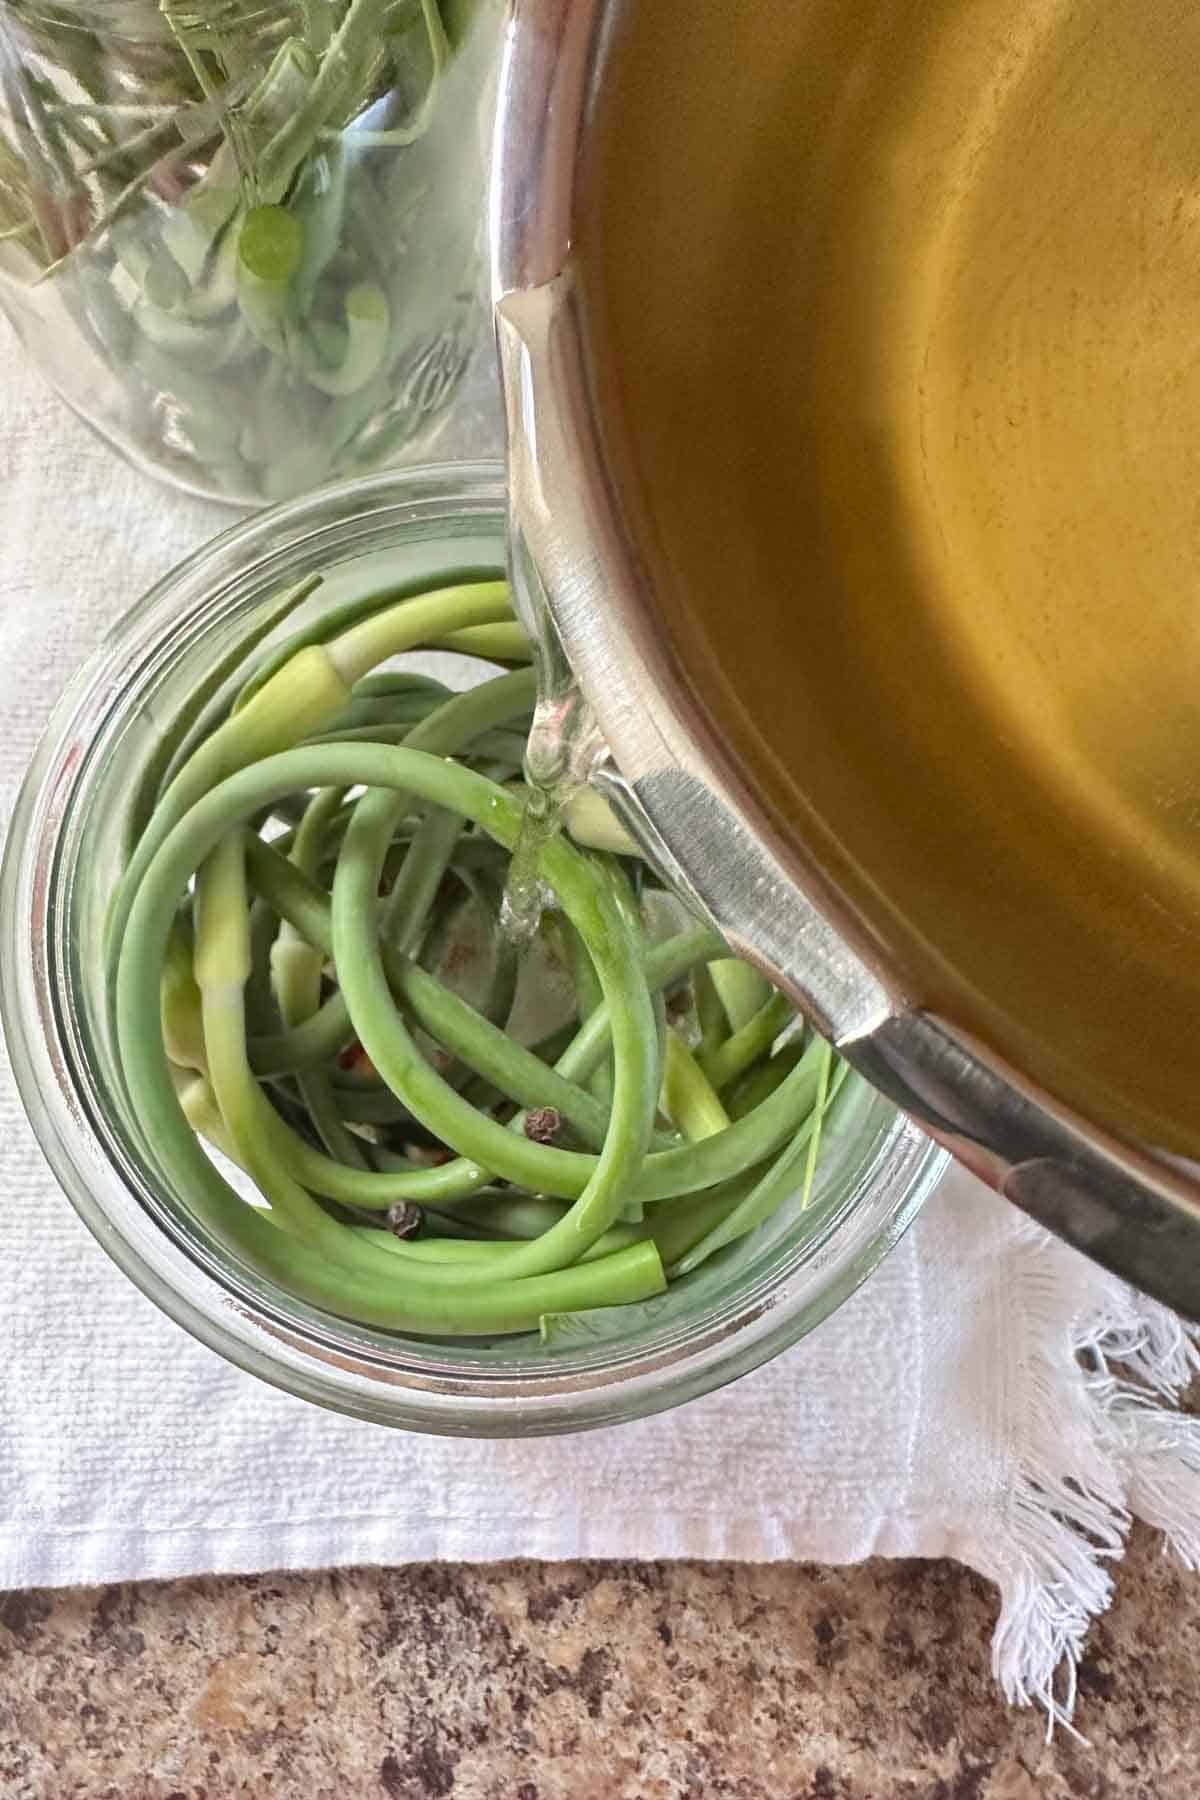
Once completely dissolved, carefully pour the brine into your jar(s). The scapes should be completely covered, with ¼ inch of space at the top.
Discard any extra brine. If you have run out of brine, make another batch to fill the jars.
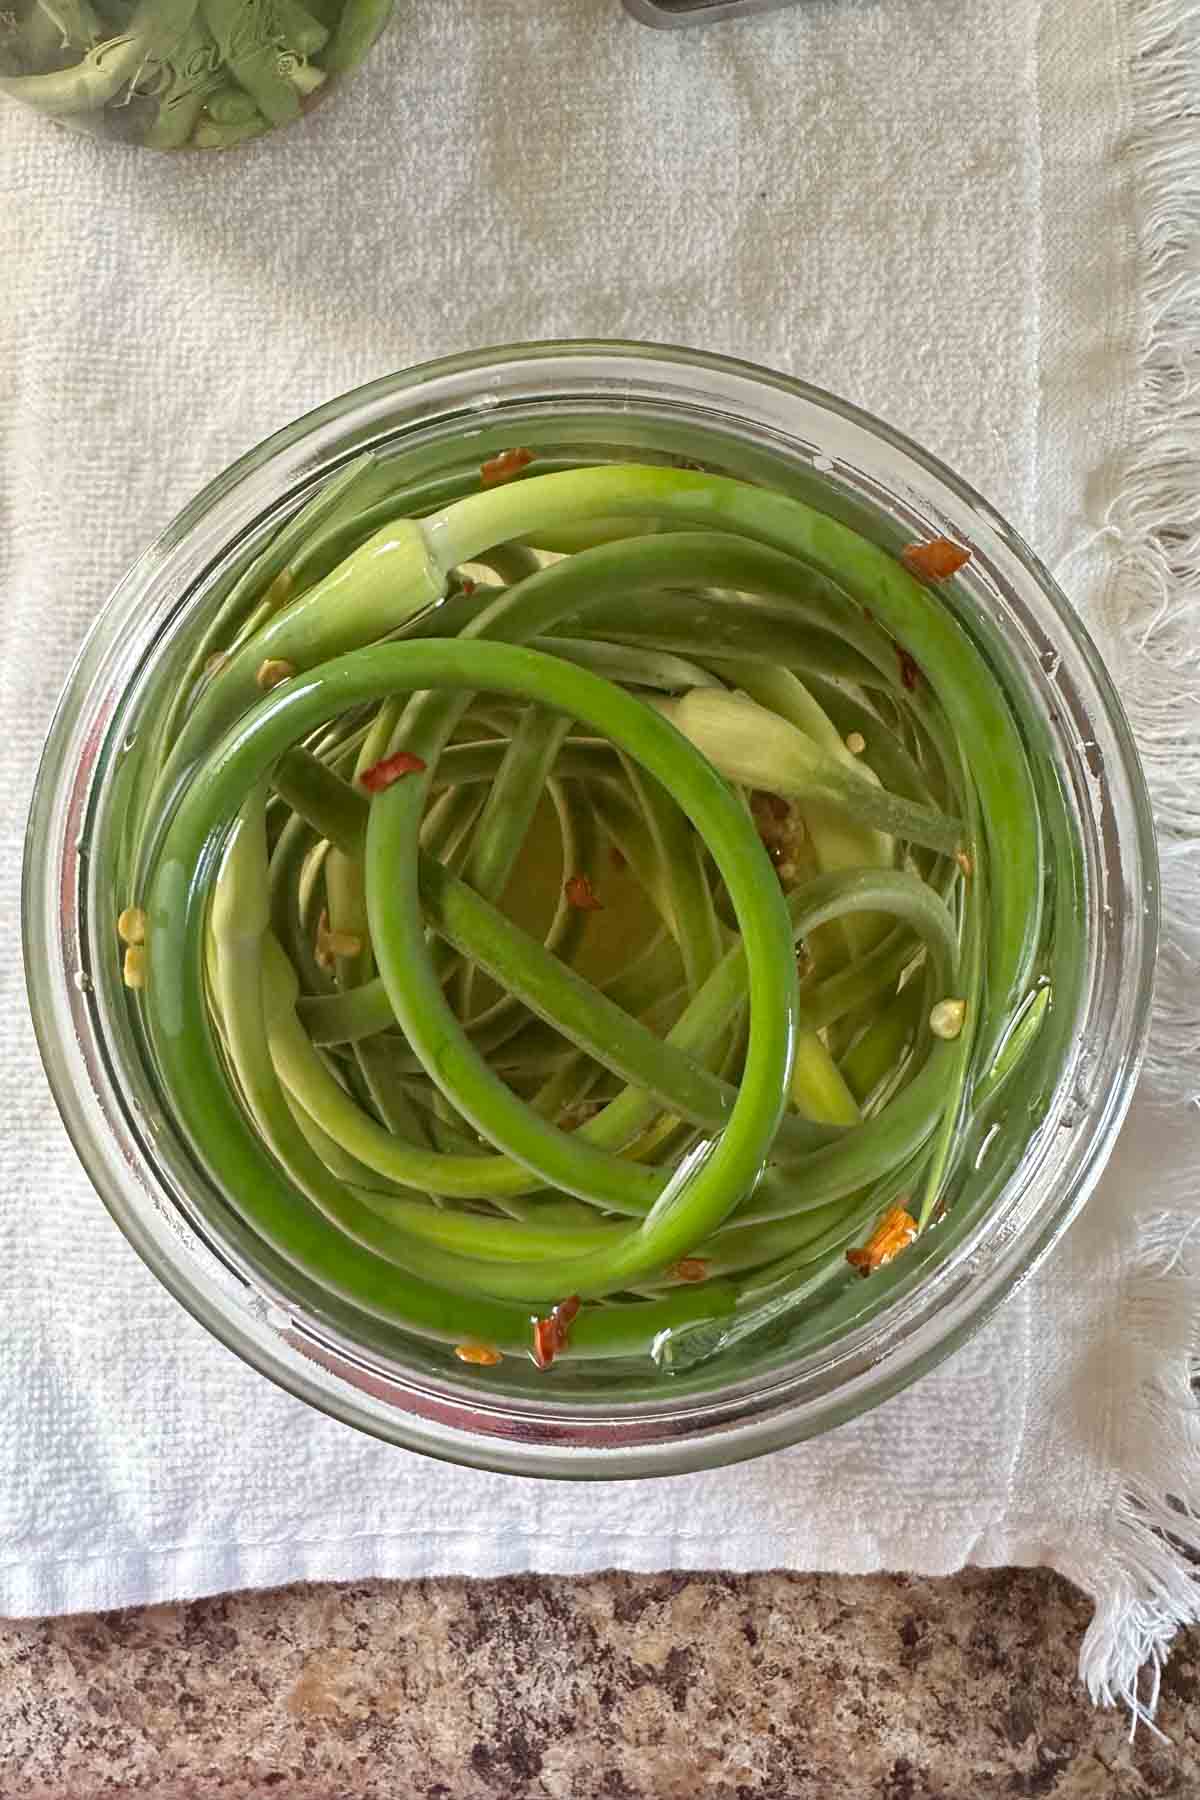
Place lids loosely on top and let cool to room temperature, then transfer to the refrigerator.
I recommend letting the scapes pickle for at least a week before enjoying.
Water bath canning garlic scapes
If you choose to process your jars for pantry storage, you do not need to cook the scapes first.
This is called cold pack canning, where you use raw or blanched vegetables with a hot brine and then process the jars in a water bath canner *.
To process, fill a large pot with water and set to boil before starting the recipe. The water level needs to be 1 inch above the tops of your filled jars.
Make the recipe as directed, placing on canning lids and screwing rings on just to fingertip tight.
Carefully lower the jars into the boiling water using a jar lifter. Place lid on the pot.
Let the jars boil (process) for 10 minutes, then remove from the water and set on a towel-lined surface.
Let rest for 24 hours before checking for seal. Sealed jars can be labeled and stored in the pantry. Any unsealed jars must be stored in the refrigerator.
Storage tips
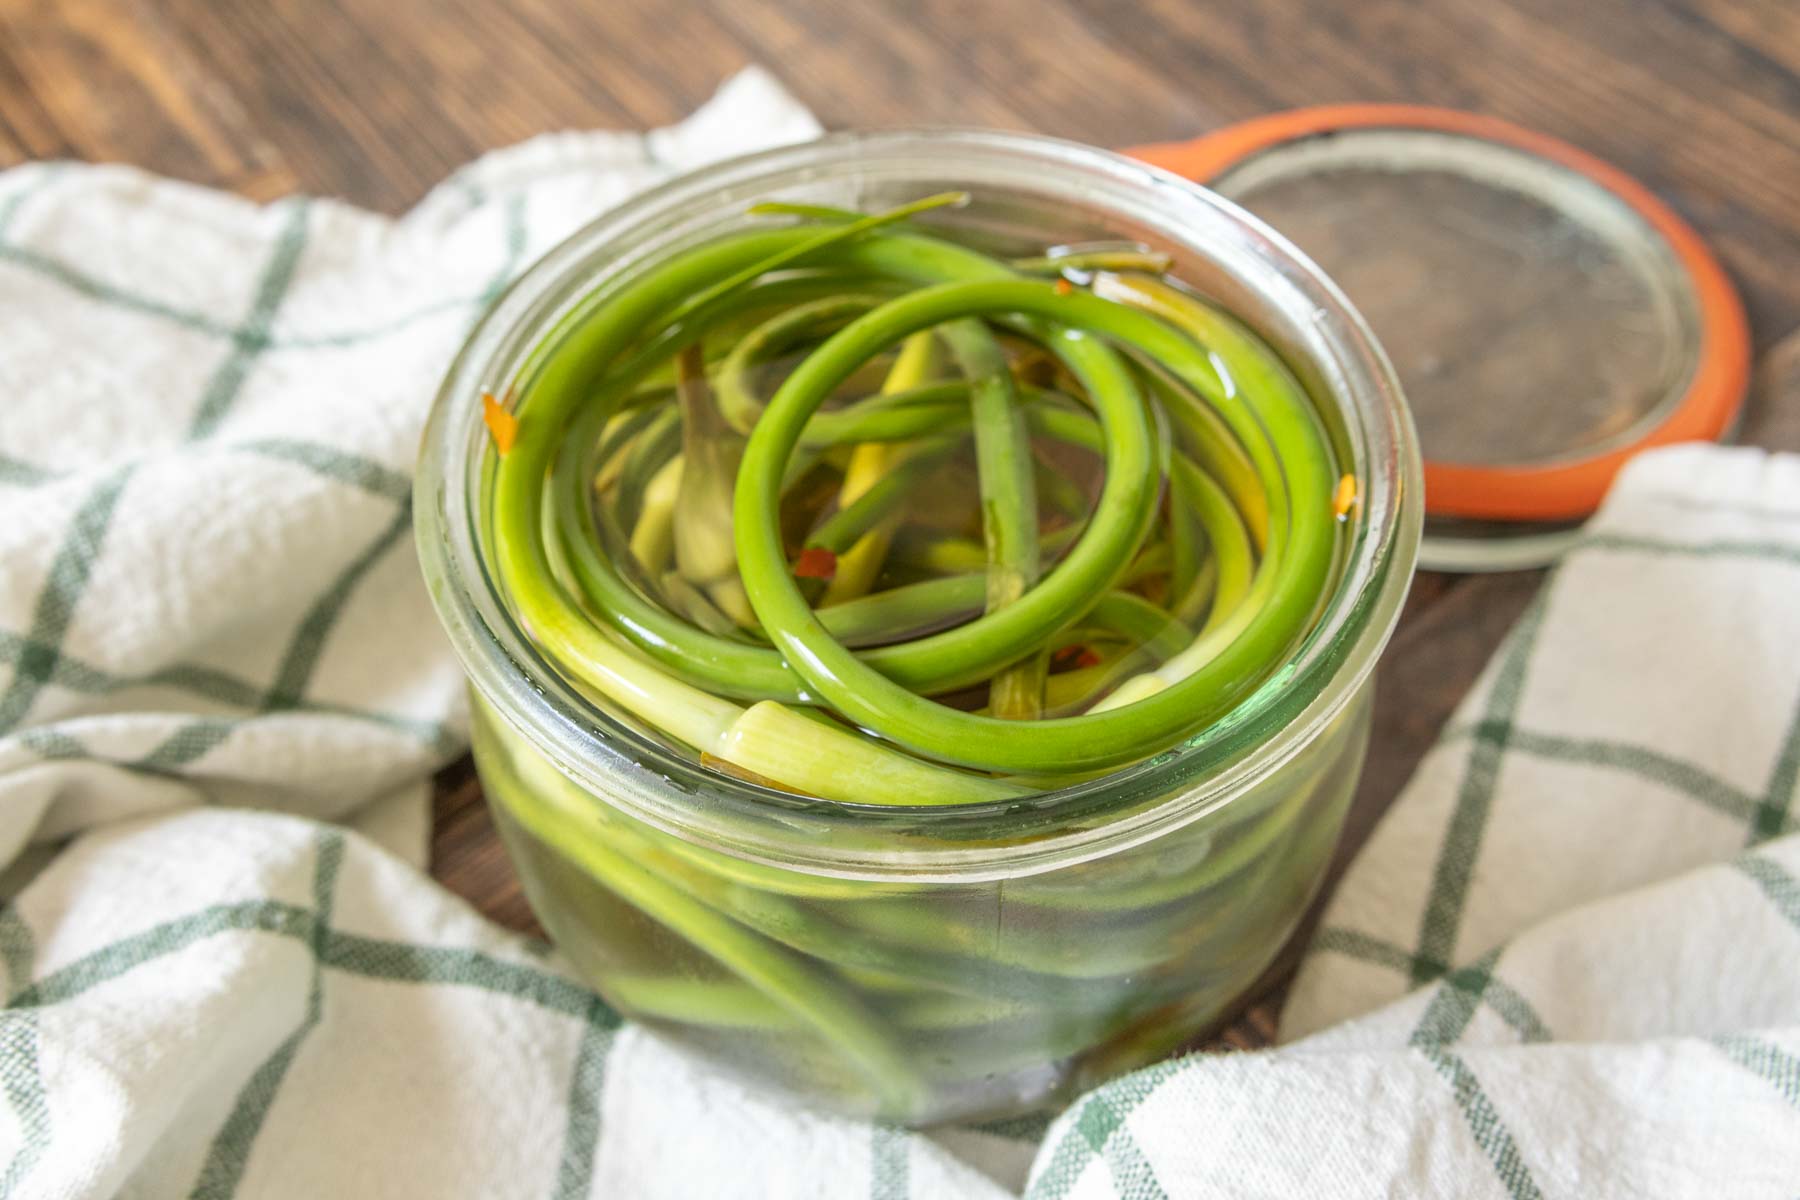
When it comes to pickles, the longer you let them cure, the better they taste, so you’ll want to let these rest for at least a week before diving in.
Unprocessed jars of pickled garlic scapes will keep in the refrigerator for 3-4 months.
Make sure to keep the jar lid closed, and store it in the colder part of your fridge to help them last longer.
Jars that have been processed and sealed in a canner will keep in a cool, dry place for up to 18 months.
Ways to use pickled garlic scapes
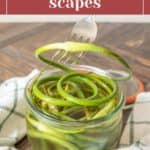
Use your pickled garlic scapes any way you’d use another pickle! You can eat them straight out of the jar for snacking like pickled green beans, or you can chop them to add to recipes.
I like to cut them into pieces and add on top of burgers and bratwurst.
Curled pickled garlic scapes also make a unique bloody mary garnish!
Chop them and add to soups as a garnish, or try on top of tacos.
Other pickle recipes to try
Want more pickles? Try these!
- How to Pickle Red Onions
- Pickled Cauliflower
- How to Pickle Carrots
- Pickled Jalapeños
- Pickled Radishes
- Pickled Beets
- Pickled Asparagus
- How to Make Pickles
Give garlic scapes a try during their short season!
Pickled Garlic Scapes
Ingredients
- 8 ounces garlic scapes
- 1/2 teaspoon black peppercorns
- 1/2 teaspoon mustard seed
- 1/4 teaspoon crushed red chile flakes
- 1 1/4 cup cider vinegar
- 1 cup water
- 1 tablespoon pickling salt
- 2 teaspoons granulated sugar
Directions
- Wash and trim garlic scapes, then pack into your jar(s). You can keep them curled or slice to fit standing up.
- Combine the peppercorns, mustard seeds, and crushed red chile flakes, then divide between jar(s).
- In a medium pot, combine vinegar, water, pickling salt, and sugar. Bring to a boil, stirring to dissolve.
- Once fully dissolved, carefully pour hot brine into the jar, leaving about 1/4-inch headspace. (You might not use all of the brine, or you might need extra.) Press a chopstick or wooden dowel against the inside of the jar to remove air bubbles. Place lid on loosely.
- Let cool to room temperature, then store in the fridge until ready to serve. For best flavor, wait at least 1 week before eating.
Notes
- This recipe will yield approximately 1 16-ounce (pint) jar.
- Cook time is for refrigerator pickle. If water bath canning, process for 10 minutes, then remove and let rest for 24 hours before testing seal and storing in the pantry.
Want to save this recipe for later?
Recommended Products
Nutrition
Nutrition information is provided as a courtesy and is an estimate based on online calculators. Any nutritional information found on Stetted should be used as a general guideline only.
You might also like:


About Megan
I learned how to cook by exploring seasonal ingredients, and you can too! Meal time shouldn’t be stressful or complicated, and with fresh ingredients and easy methods, I’m here to help you enjoy the time spent in the kitchen. Read more…


Question: I just pickled asparagus and I did not like the softness. I am thinking of pour the hot brine on scapes cool then keep in refrigerator. If I do this how long till flavors blend?
Hi Jean, the garlic scapes are best after about a week of curing. If you prefer, you can skip heating the brine and just whisk it together until it dissolves. It takes a little longer but should still work, provided you are using a fine salt. (I use that method for refrigerator pickles.)