*This post contains affiliate links and may earn commissions on recommended products. As an Amazon Associate, I earn from qualifying purchases.


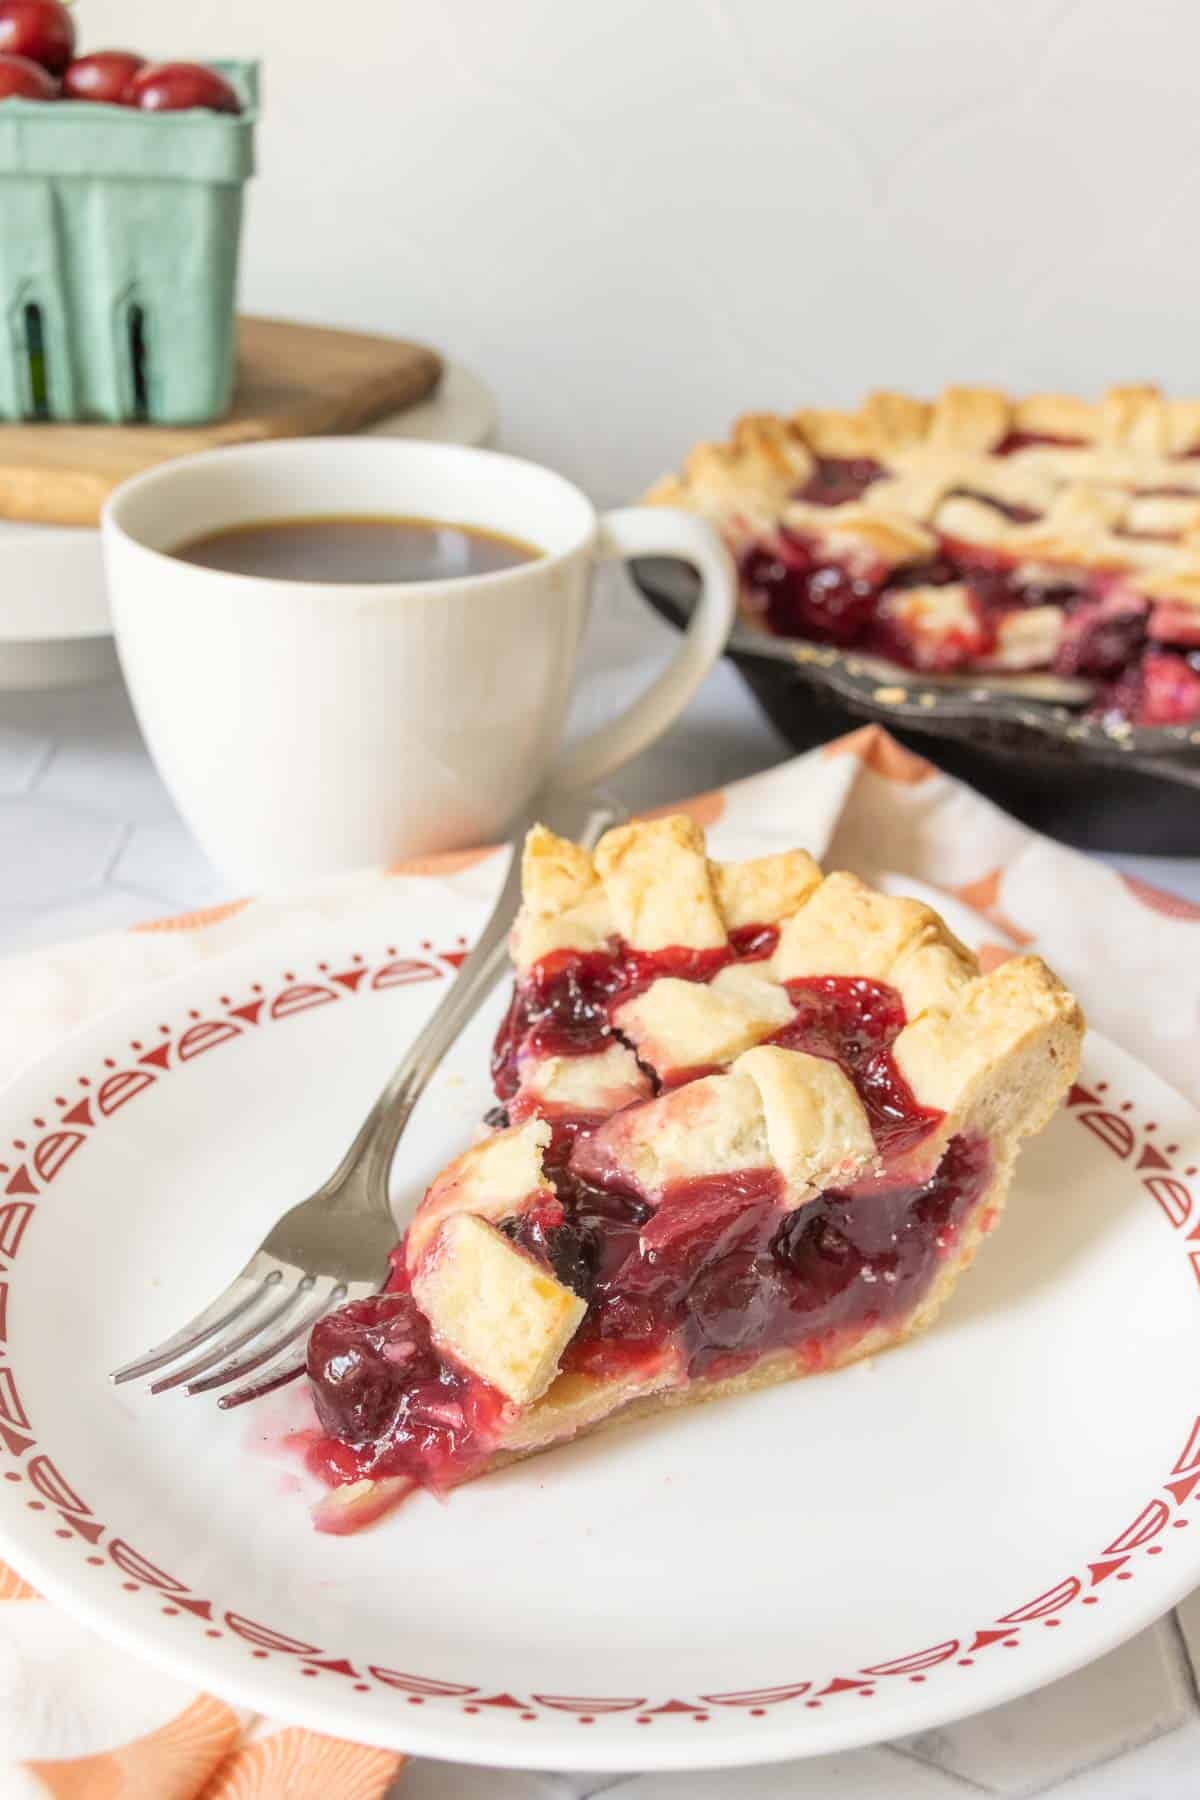
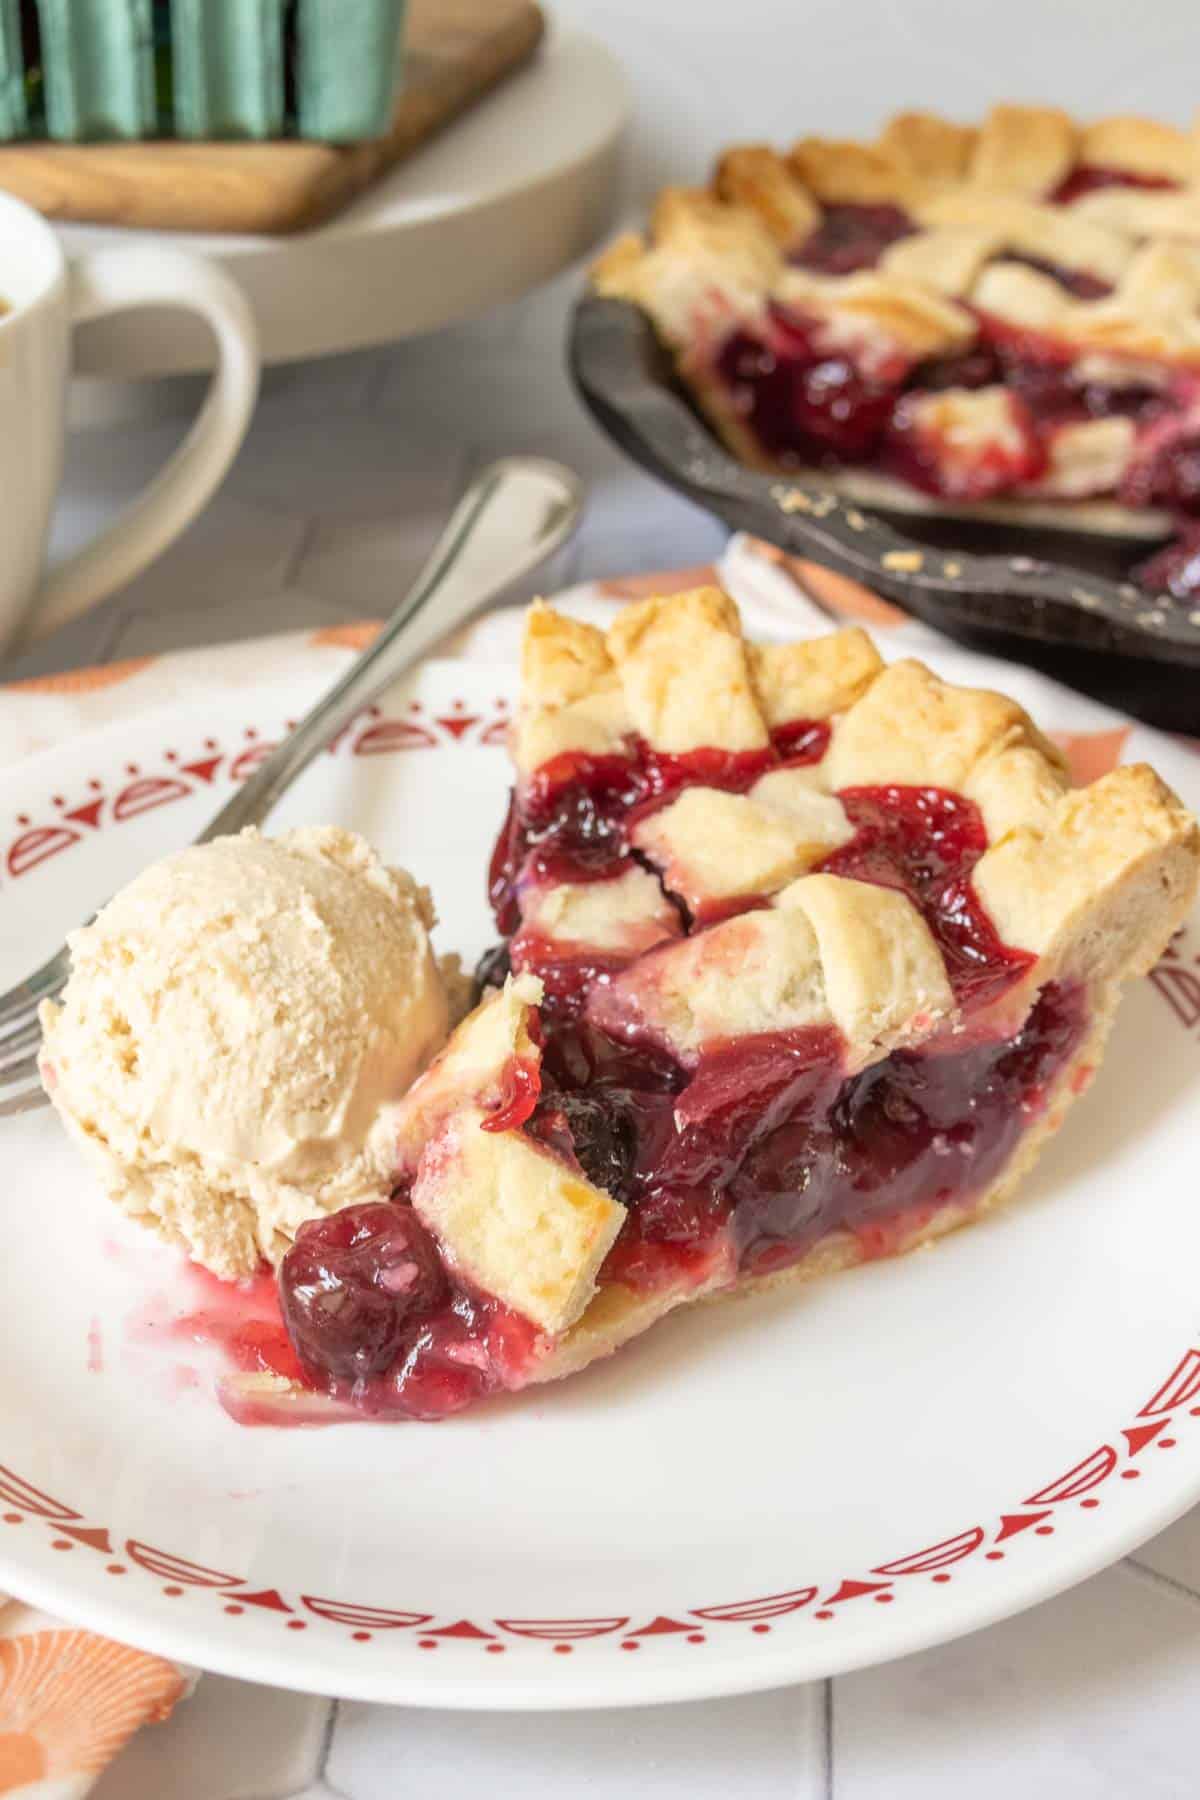
The quintessential summer dessert, cherry pie is filled with fresh juicy fruit using a homemade pie filling. Serve with ice cream and a cup of coffee and the best part of your day is on your plate.
Without fail, every time we’d have cherry pie when I was a kid, my dad would get a cherry pit in his slice.
I’m not sure how it managed to happen so often, but it’s still a running joke in my family all these years later. Plus, it taught me to be extremely vigilant when pitting my cherries.
As soon as cherry season hits I think about making pie, and I never regret giving in to that urge.
I make my own cherry pie filling using sweet cherries and a few additional ingredients. It doesn’t take much extra work to make your own pie filling, and the flavor is unbeatable.
I’ve also included my recipe for homemade pie crust if you need one!
Ingredients for cherry pie
Full list of ingredients including quantities is located in the recipe card.
You’ll need:
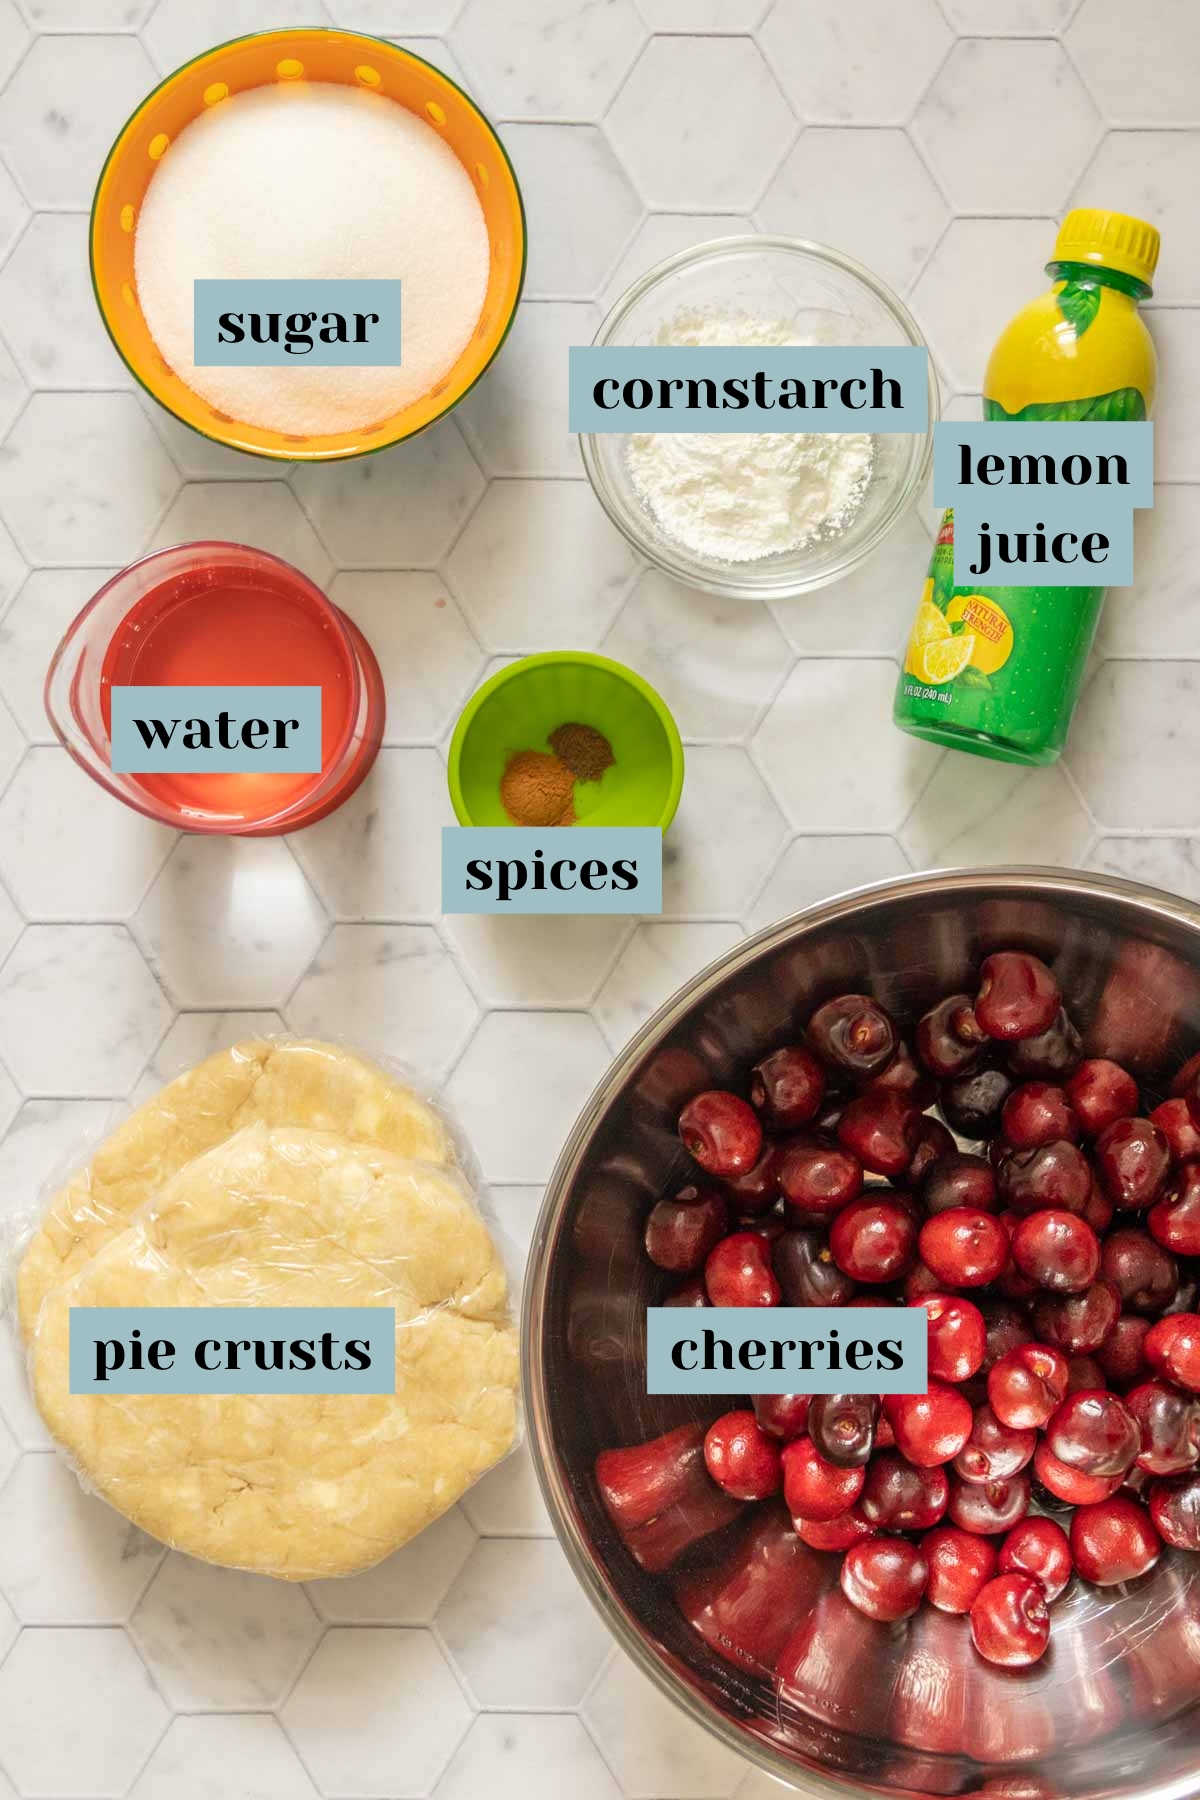
Cherries – This recipe uses sweet cherries, not tart cherries. The most common kind you’ll find are most likely Bing, Skeena, or Rainier.
Make sure to completely remove the pits from your cherries. I always watch for it to fall out, and run the pitter through a second time if needed.
If you use frozen instead of fresh cherries, make sure to thaw them completely and check for pits. Because frozen cherries are pitted by machine, some do not end up pitted.
Granulated sugar – I use granulated sugar in this pie.
Sugar substitutes may work, however, please note that I have not tried them myself!
Cornstarch – Cornstarch thickens the pie filling.
You can also use Clear Jel, but be sure to follow the package directions for mixing it into the pie filling.
Water – You’ll need a liquid to make a slurry for the cornstarch and sugar. I prefer to use water rather than cherry juice to keep the pie from being too sweet.
Cinnamon and allspice – These spices are optional, but I love to add them when making cherry pie. A small amount adds just a bit of warming spice to the cherries.
Lemon juice – Adding lemon juice helps brighten the flavors and offsets some of the sweetness in the filling.
If you’re making the crust from scratch, you’ll need:
- All-purpose flour *
- Granulated sugar
- Salt
- Cold butter
- Shortening
- Ice water
How to make this recipe
Make your pie crust first. (If you are using premade crust, fit the bottom crust to your pie plate and unroll the second crust. Chill both while you make the filling.)
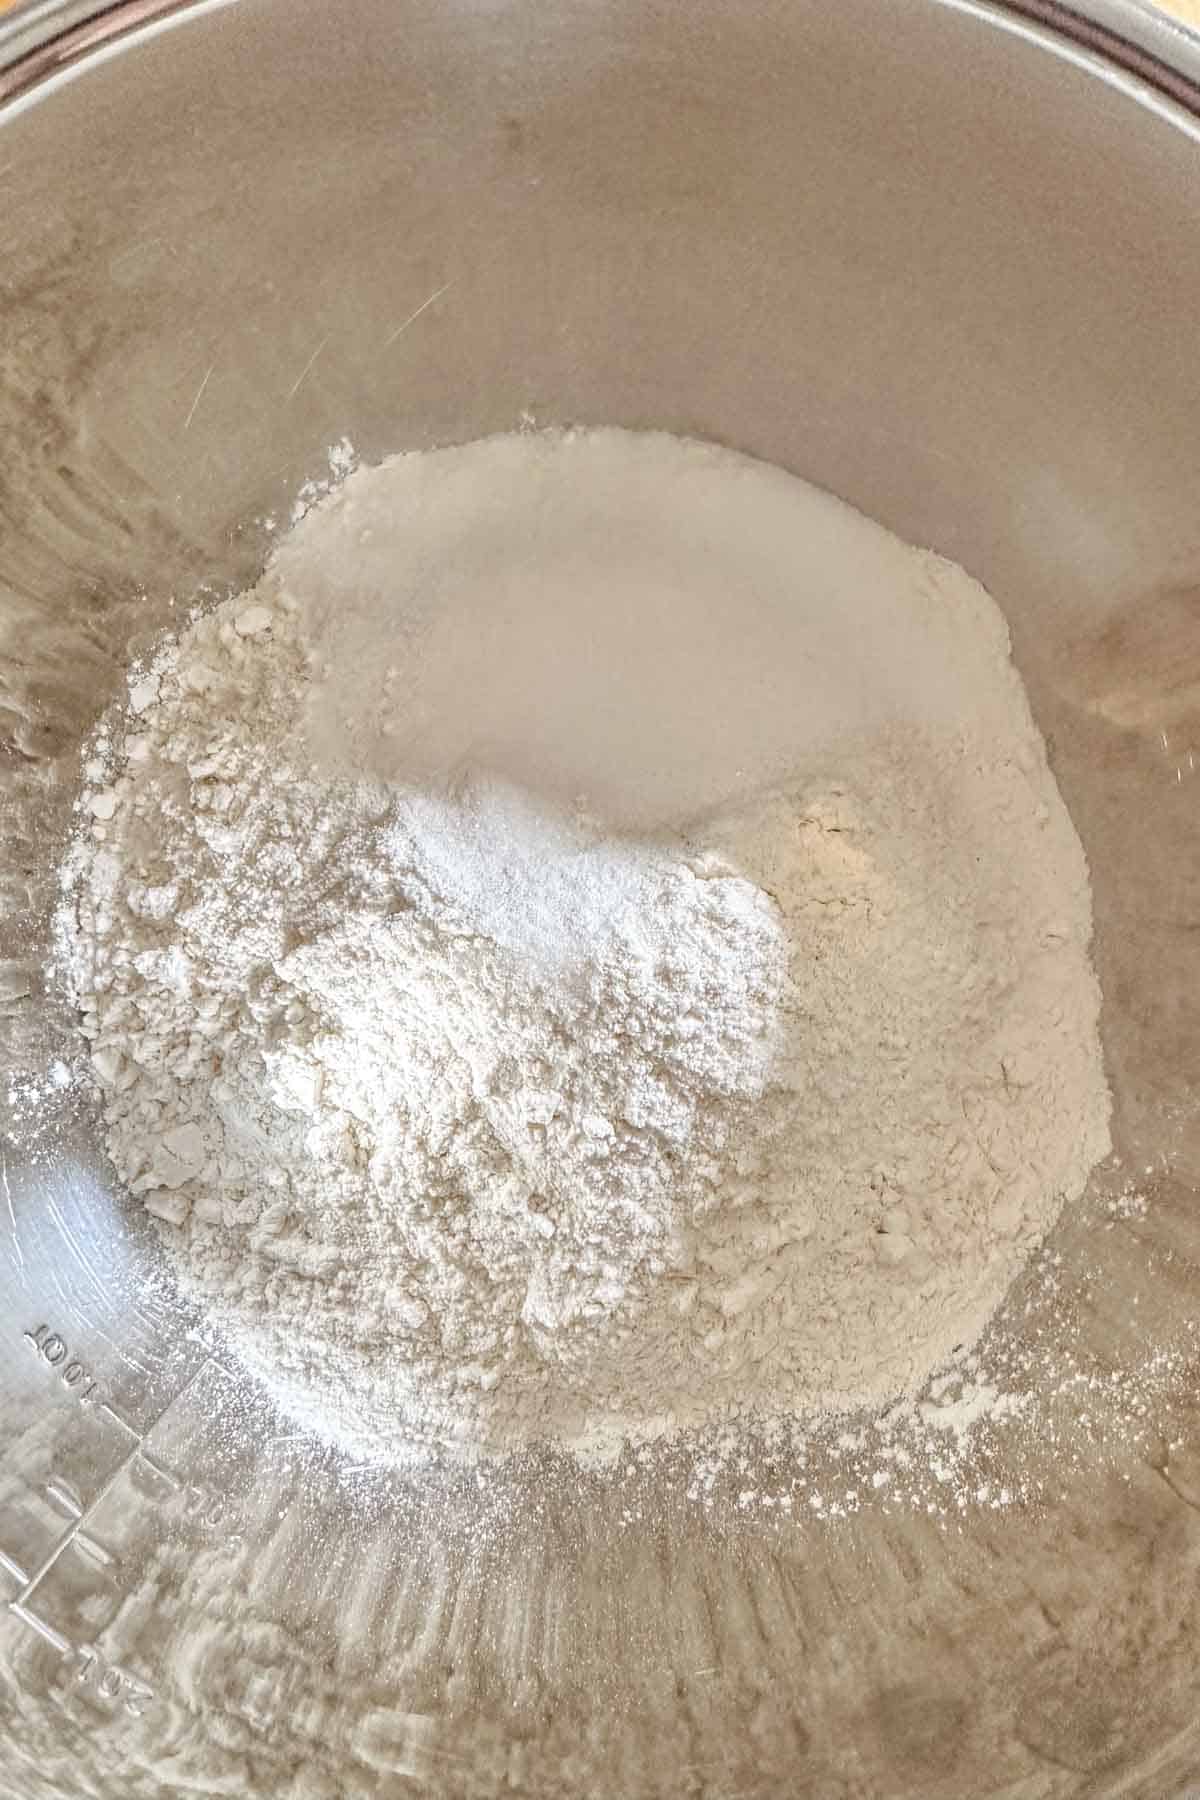
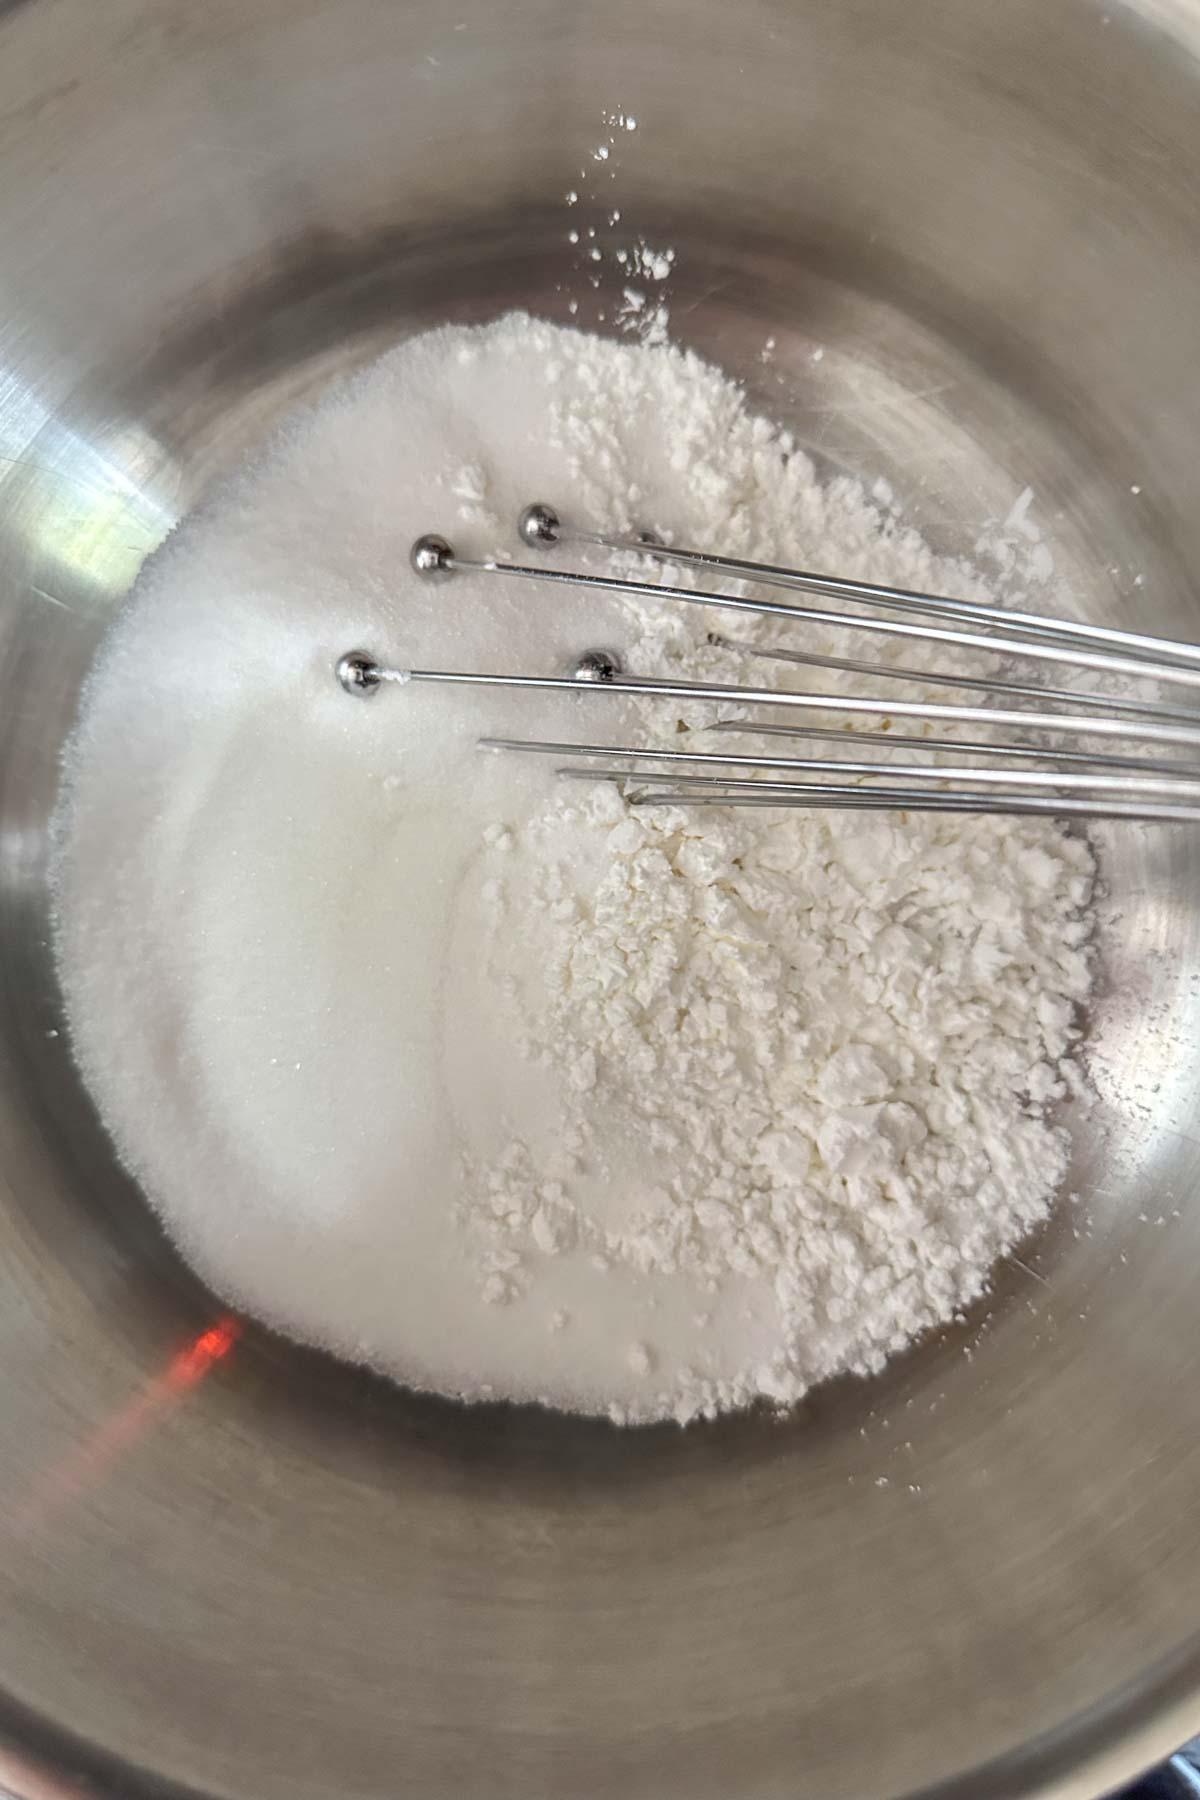
In a bowl, combine the flour, granulated sugar, and salt.
Cut in the cold butter and shortening using a pastry blender. The mixture should resemble wet sand, with some larger chunks of butter or shortening, but no pieces bigger than a pea.
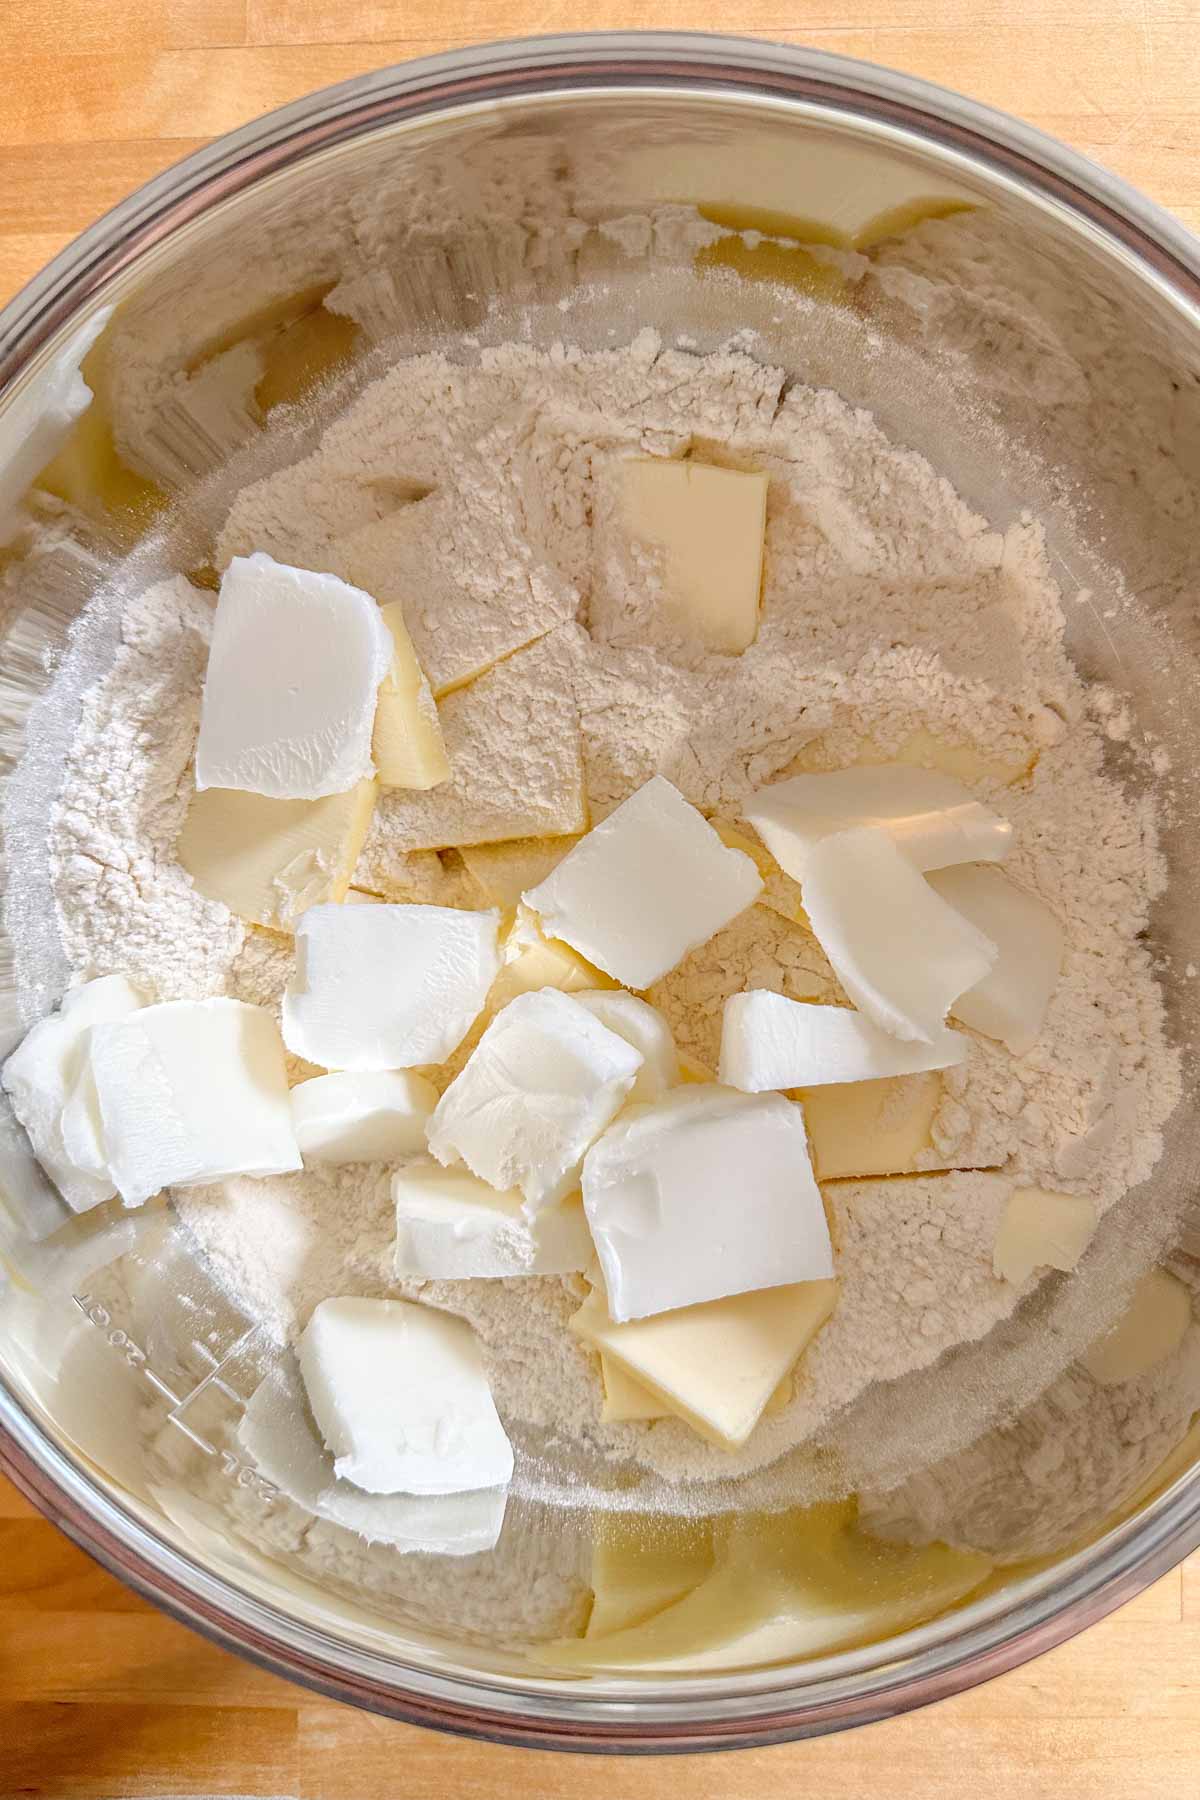
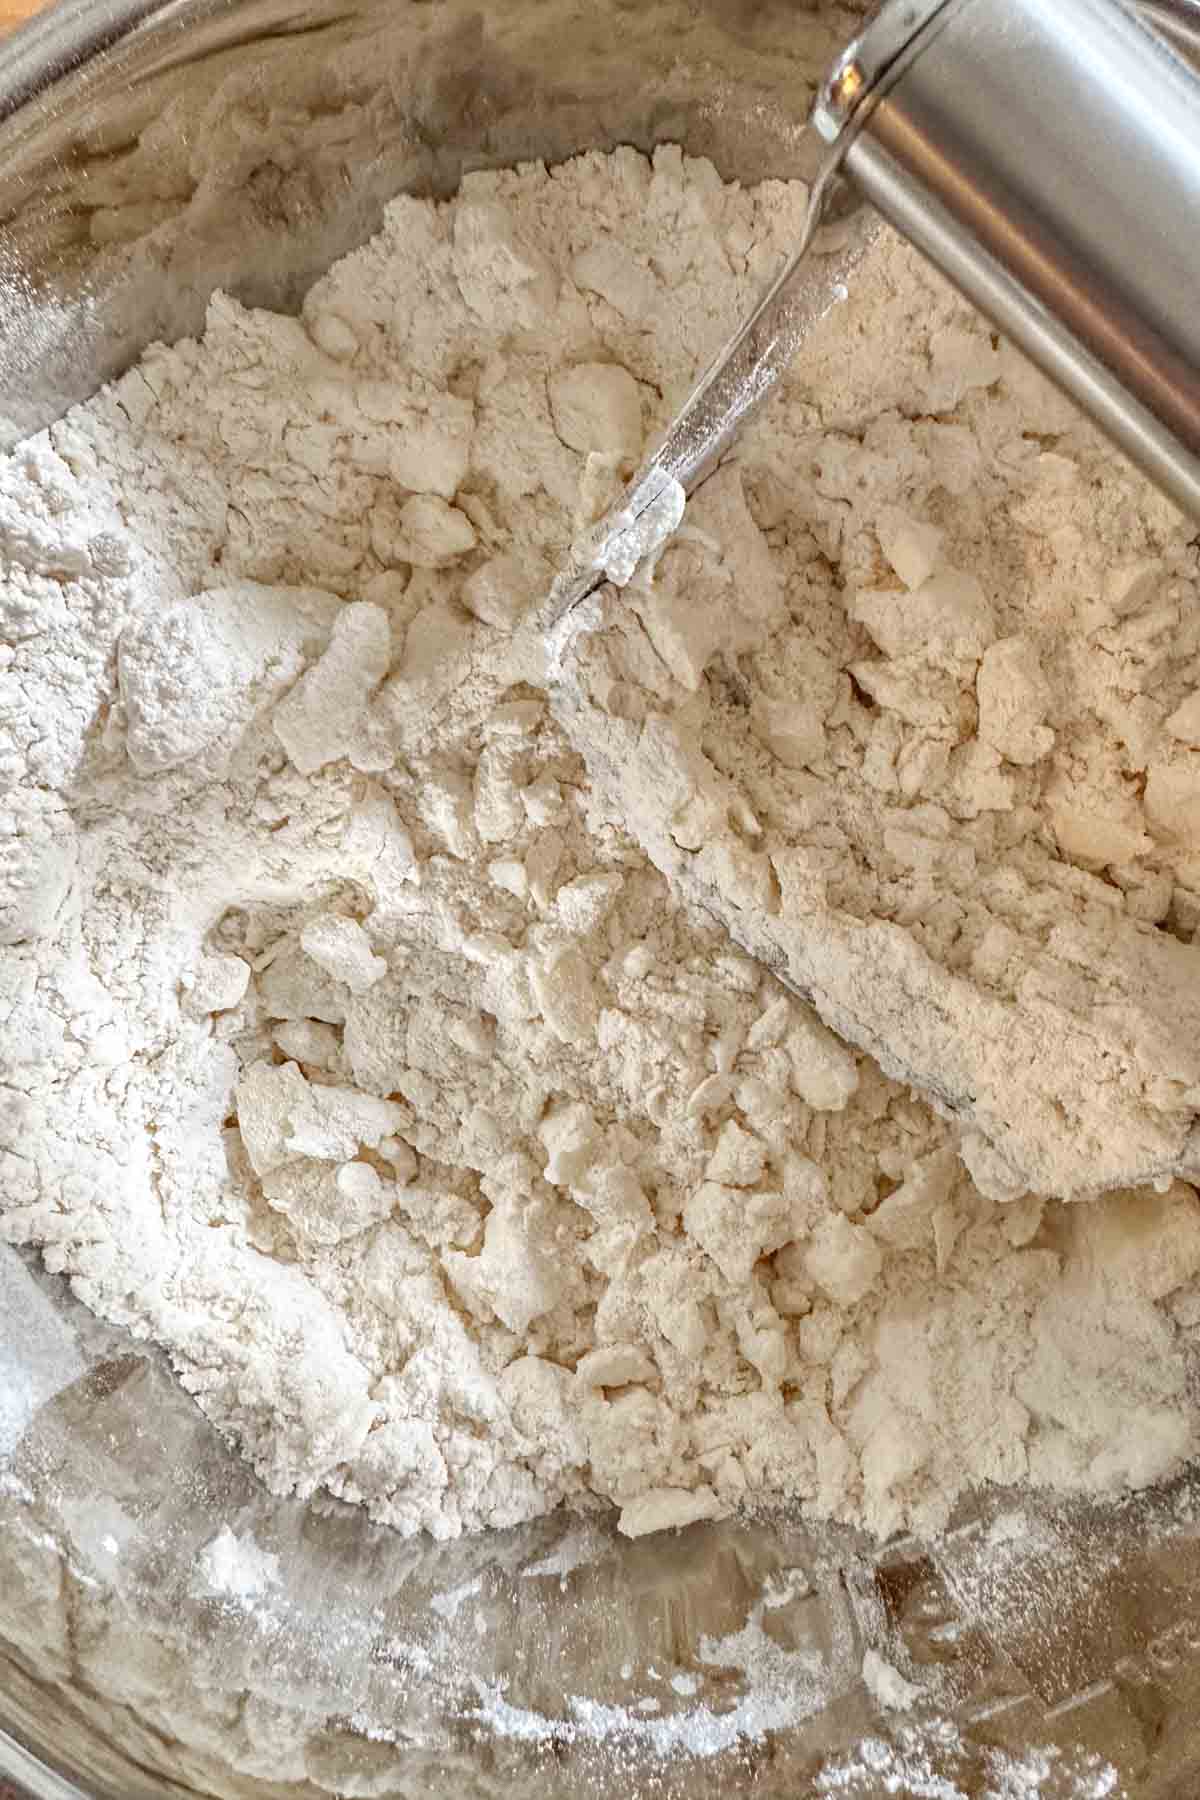
Pour in the cold water and mix until the dough comes together.
tip
You can use a food processor to make pie crust. Simply pulse the ingredients together, then pour in the water while pulsing until it comes together into a ball.
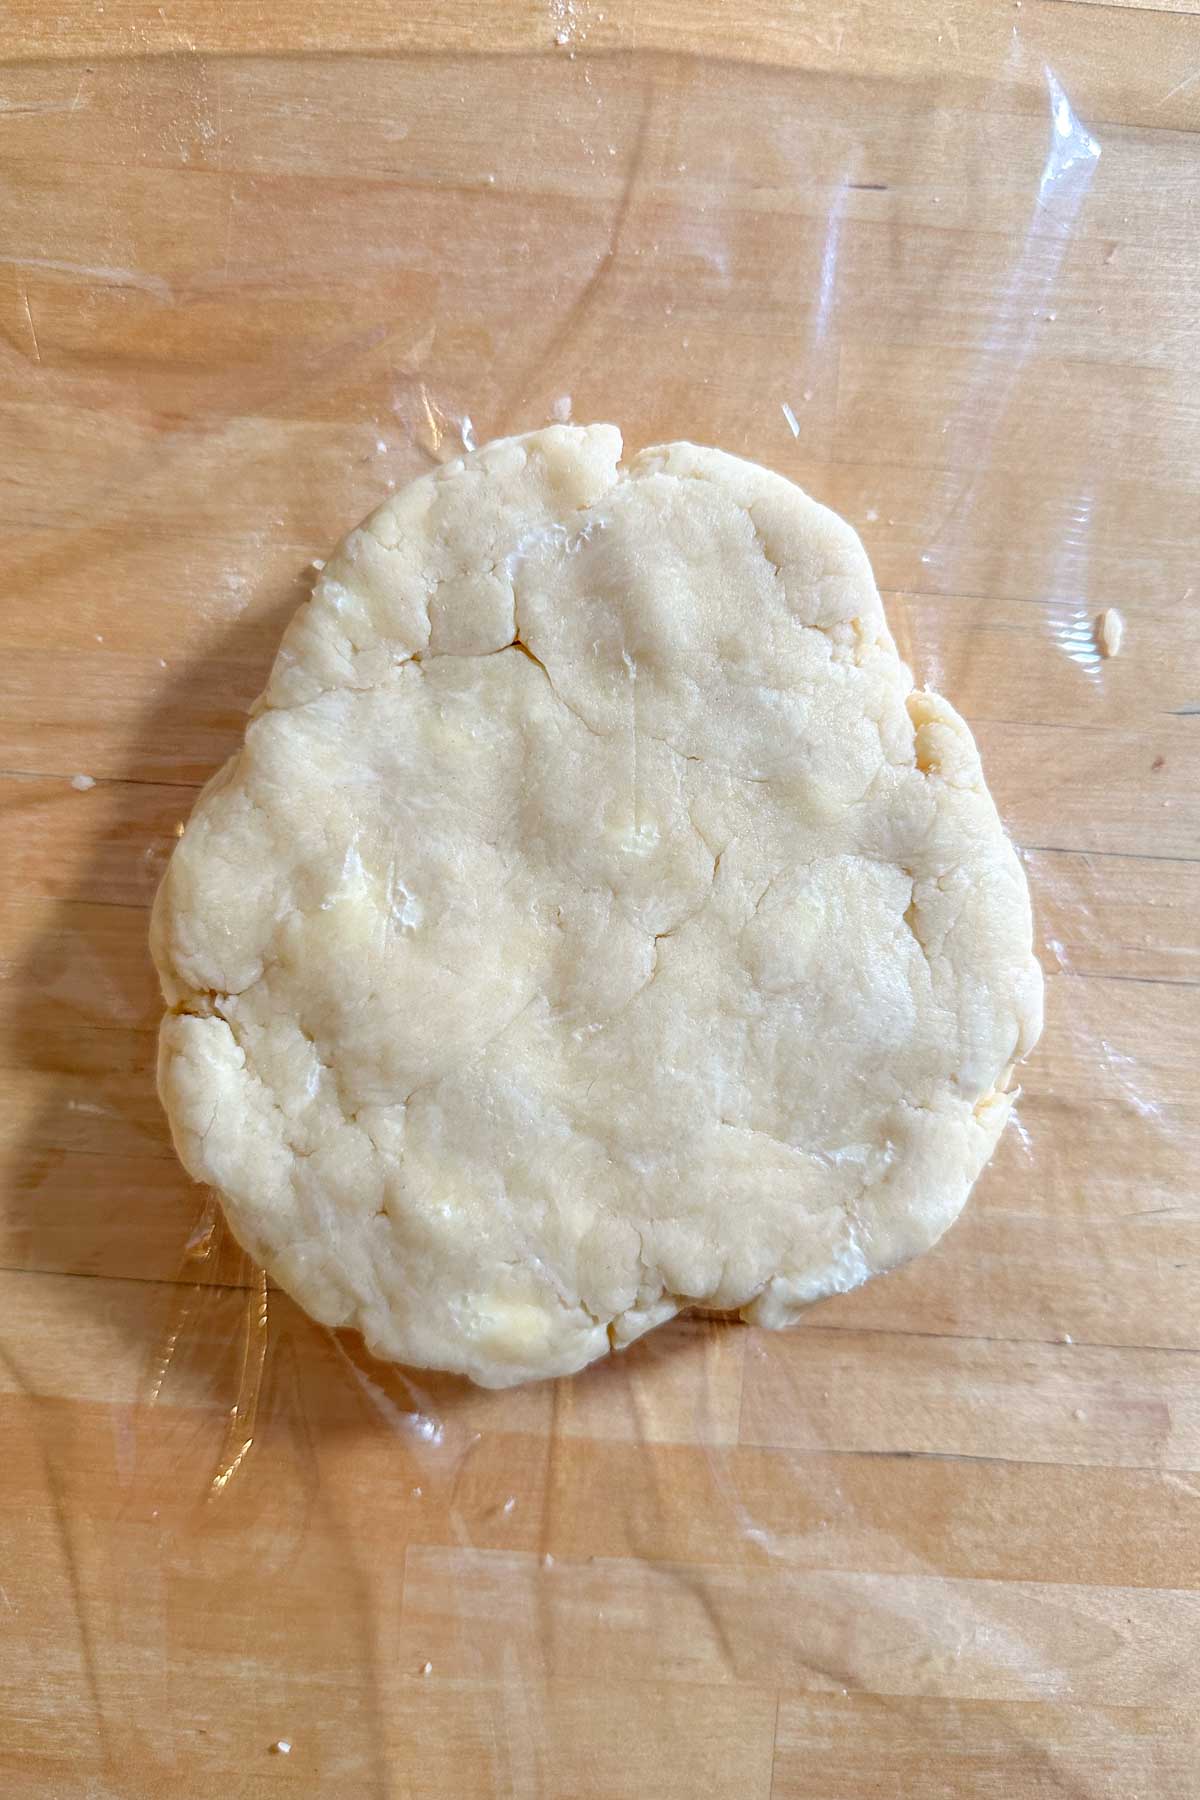
Divide the dough into two and shape each into a disc about 6 inches across. Wrap in plastic and place in the refrigerator to chill for 30 minutes.
After 30 minutes, remove 1 disc from the fridge and roll out on a flour-dusted surface until large enough to fit your pie plate * with some overhang.
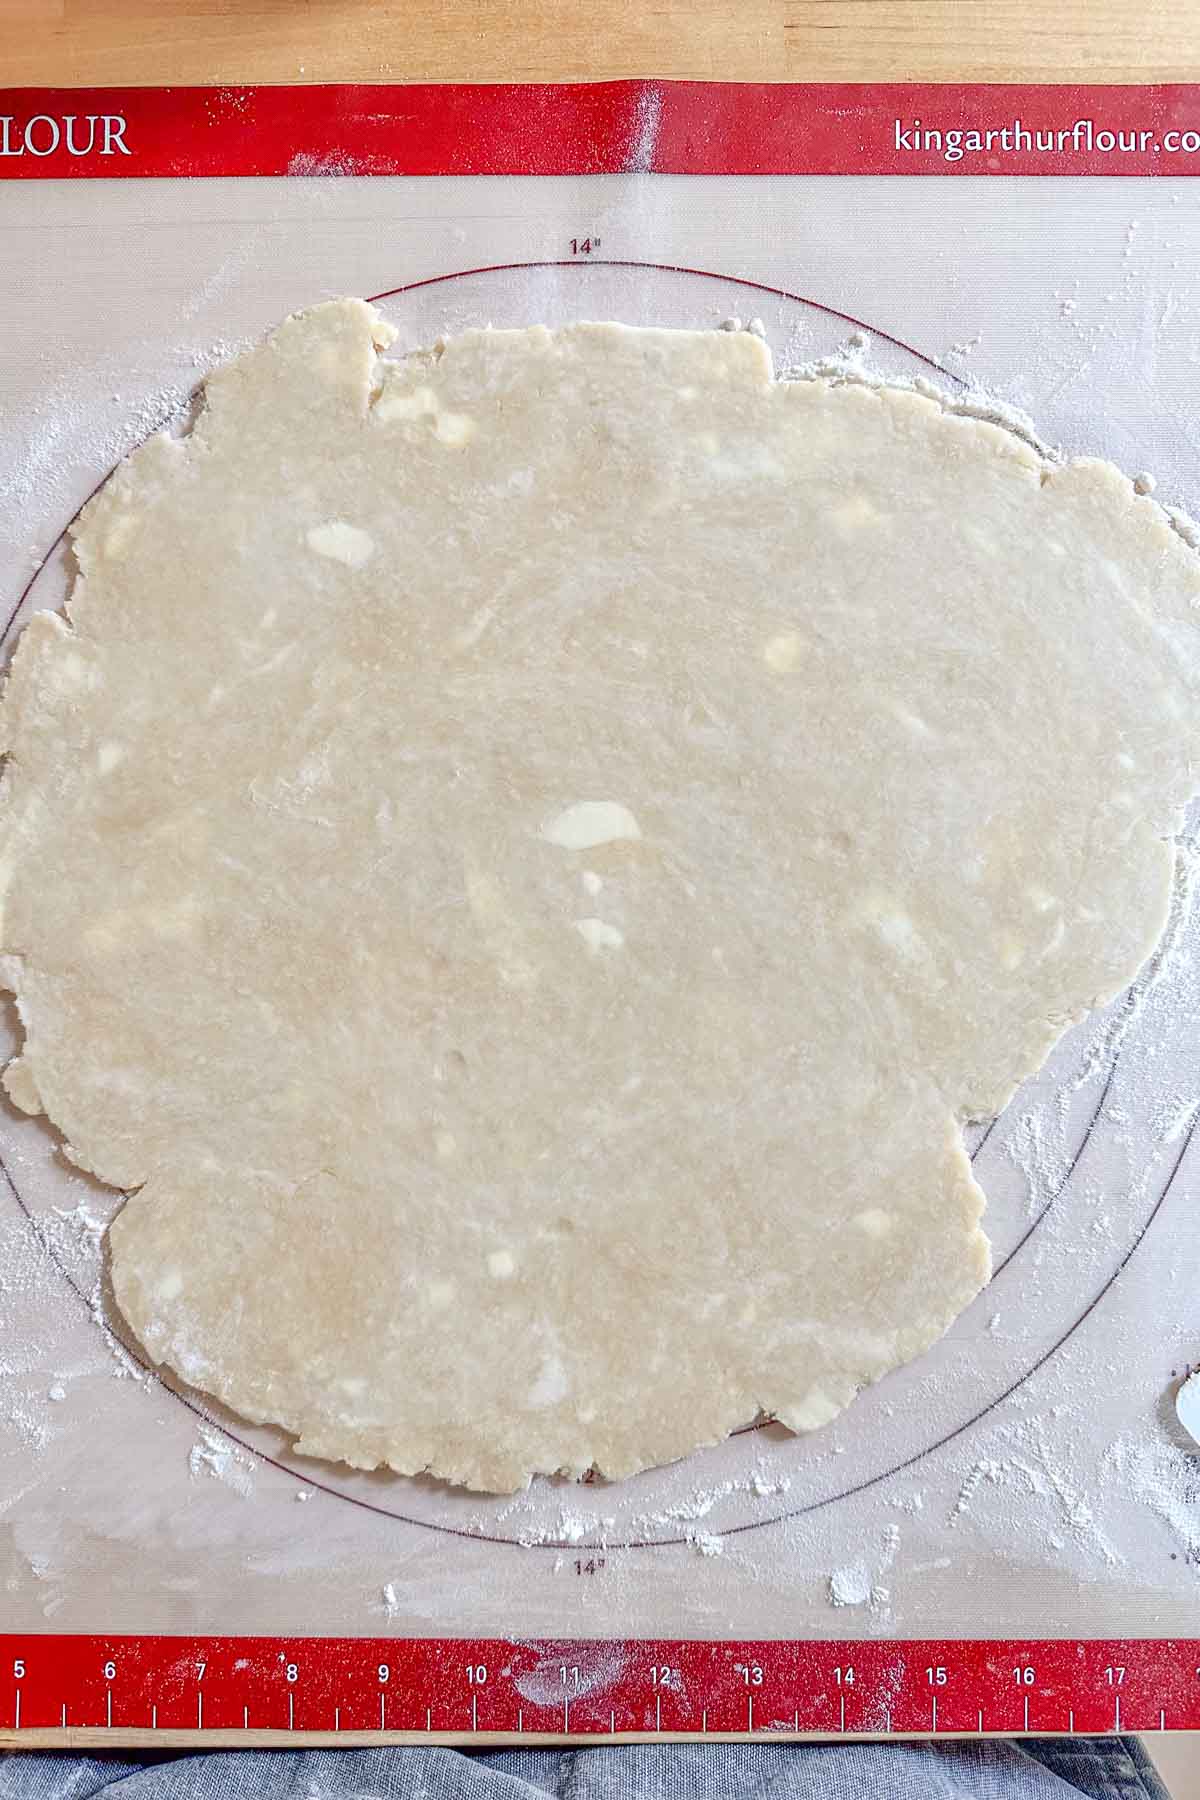
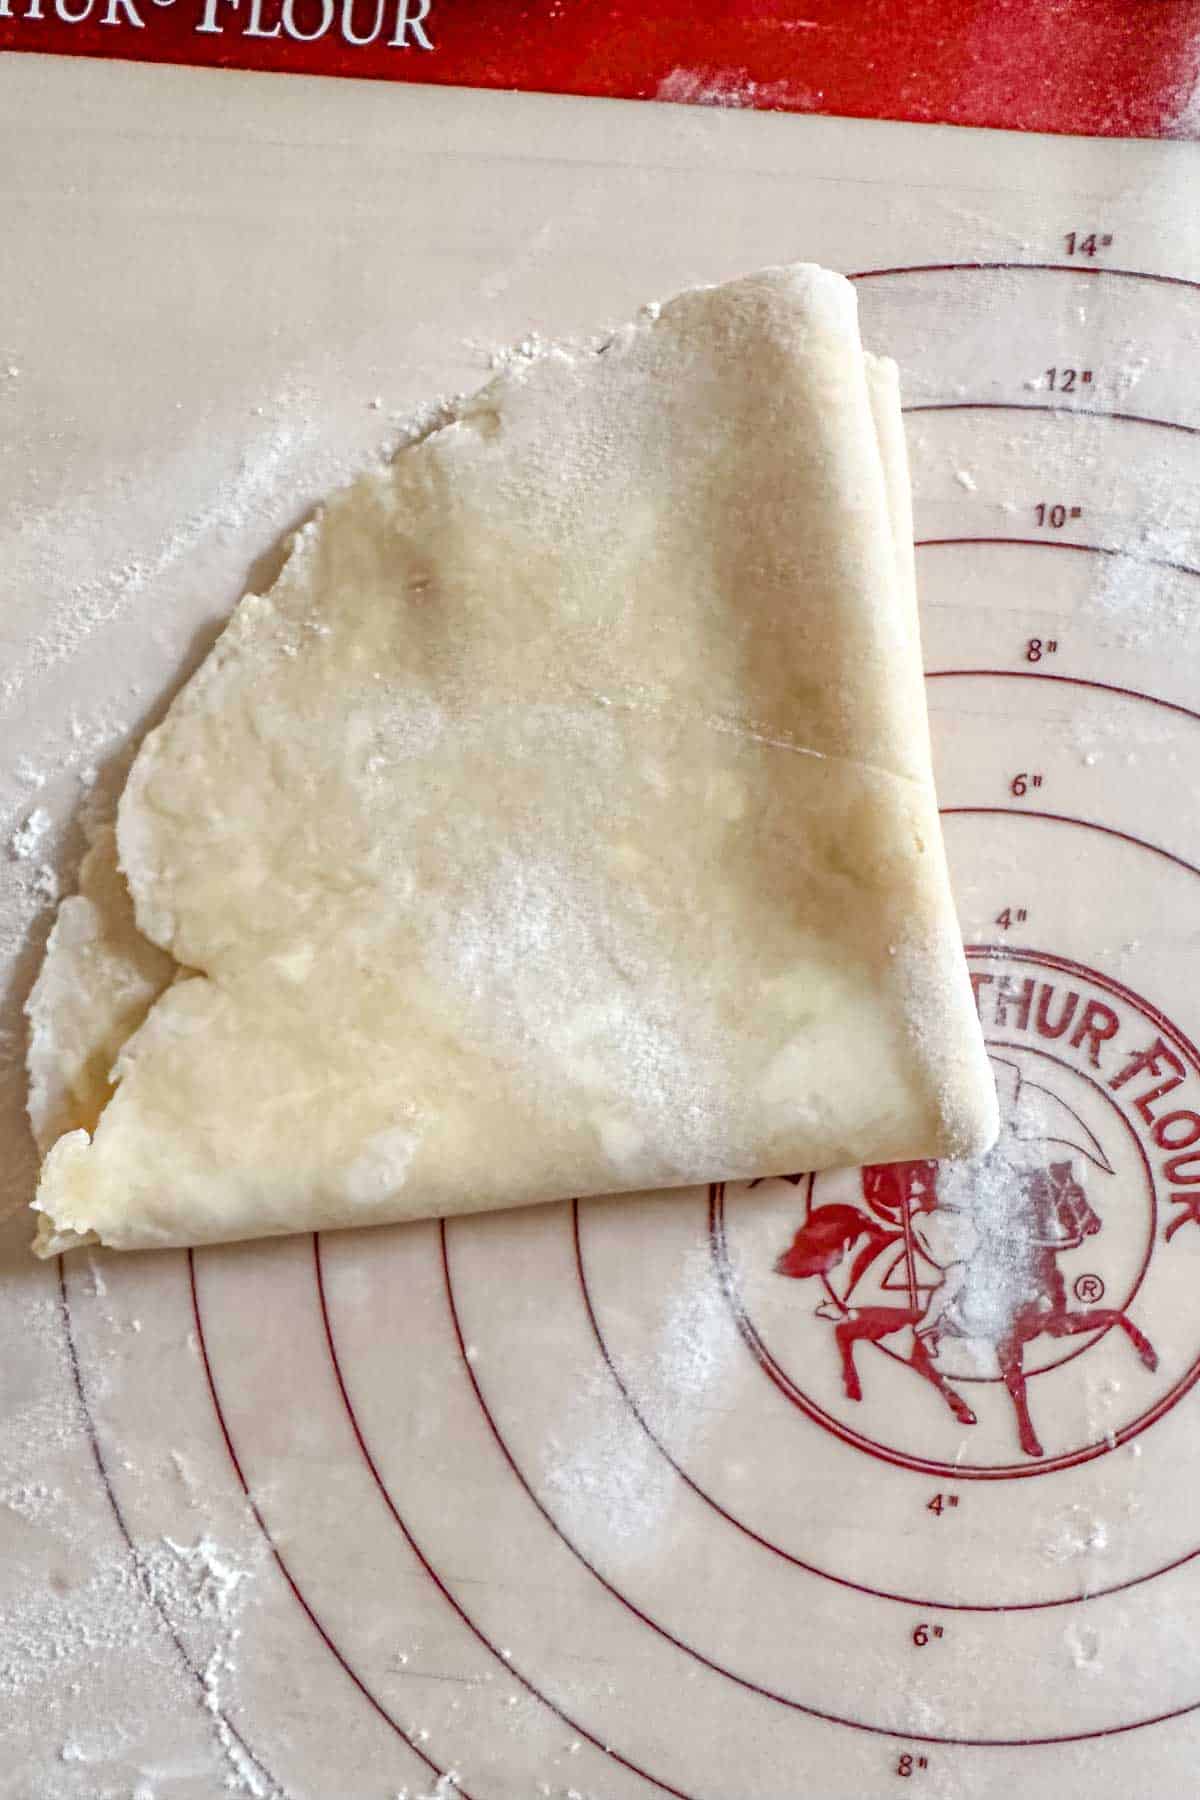
Fold the dough into a triangle and transfer to the pie plate, pressing gently to shape it to the pan. Place back in the fridge while you make the filling.
For the filling
Wash the cherries and remove stems and pits.
In a saucepan, whisk together sugar and cornstarch, breaking up any lumps in the cornstarch.
Want to save this recipe for later?
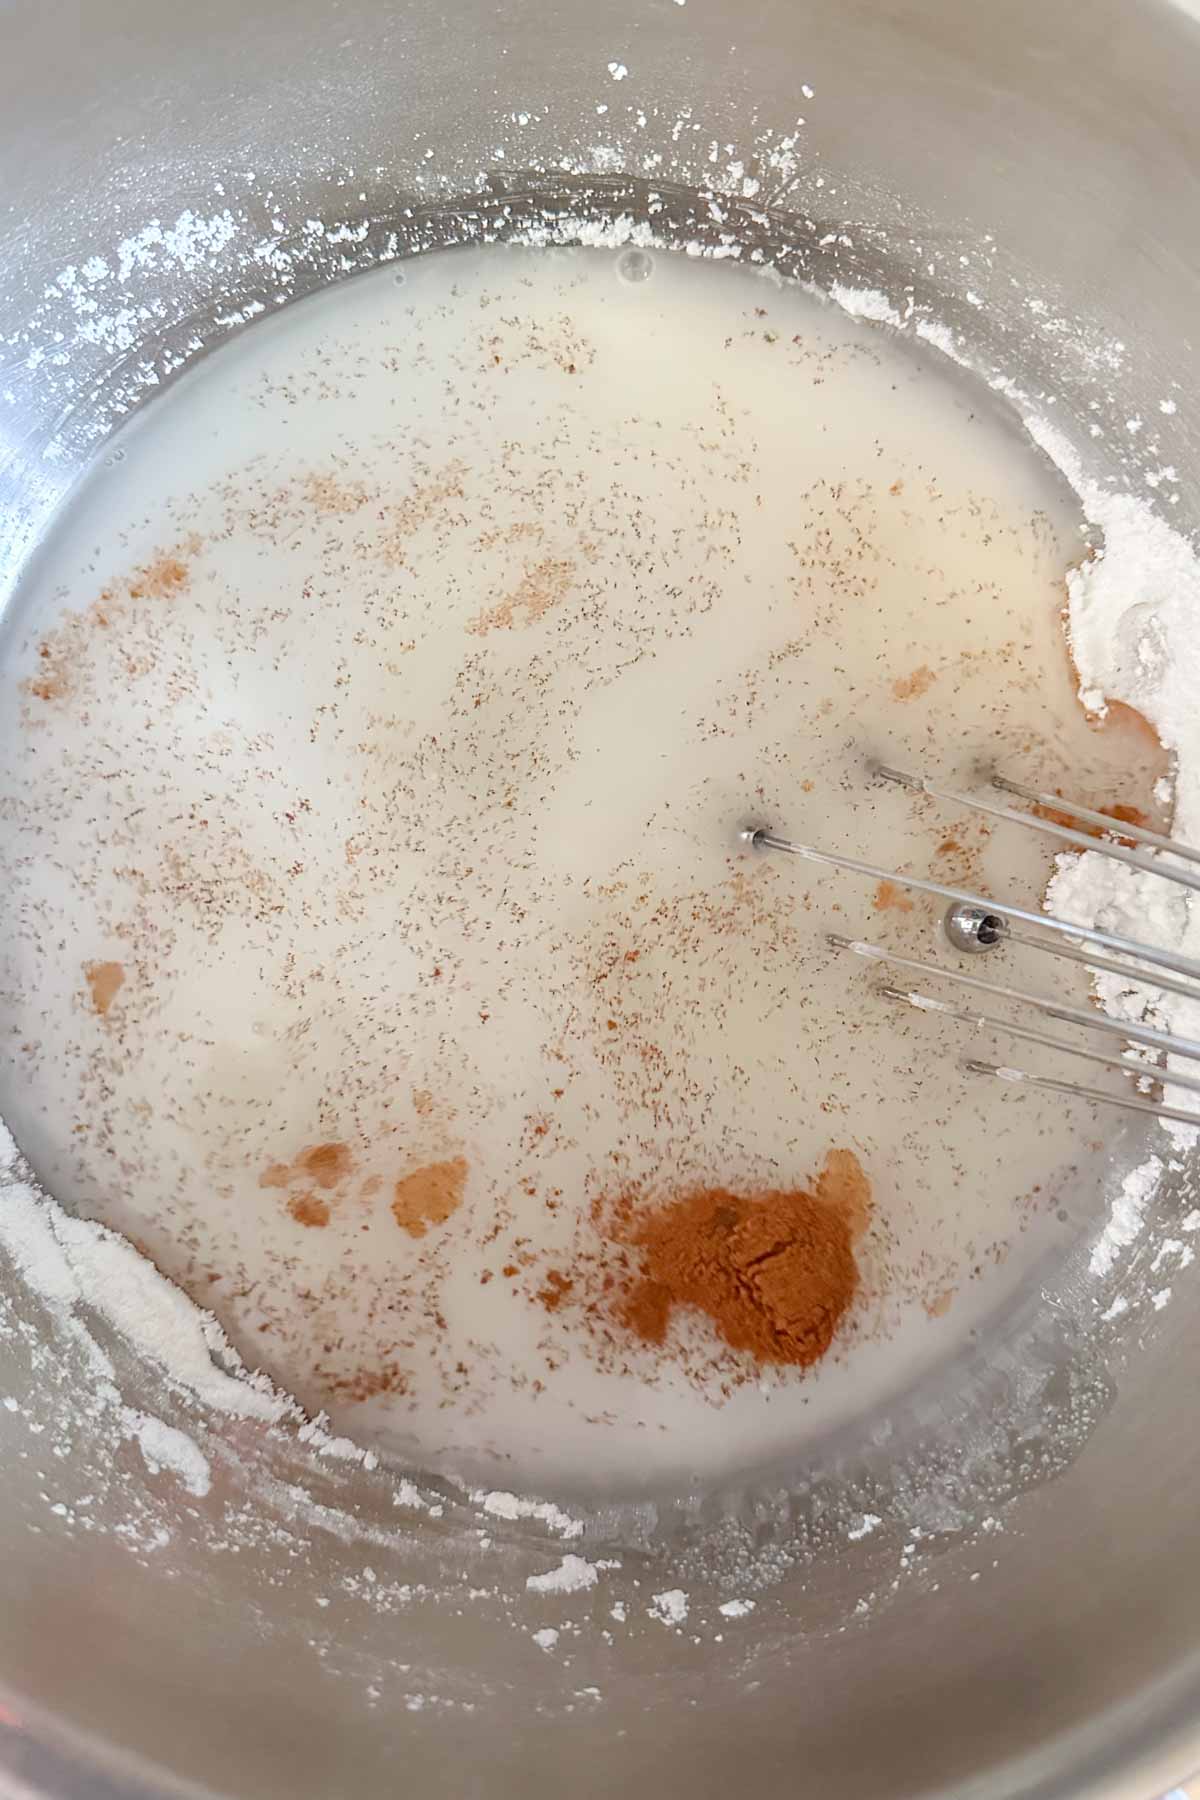
Place over medium heat. Whisk in the water, lemon juice, cinnamon, and allspice.
Once the sugar and cornstarch are completely dissolved, add the cherries.
Bring the mixture to a boil, then reduce to medium-low or low and cook 5-10 minutes, stirring often.
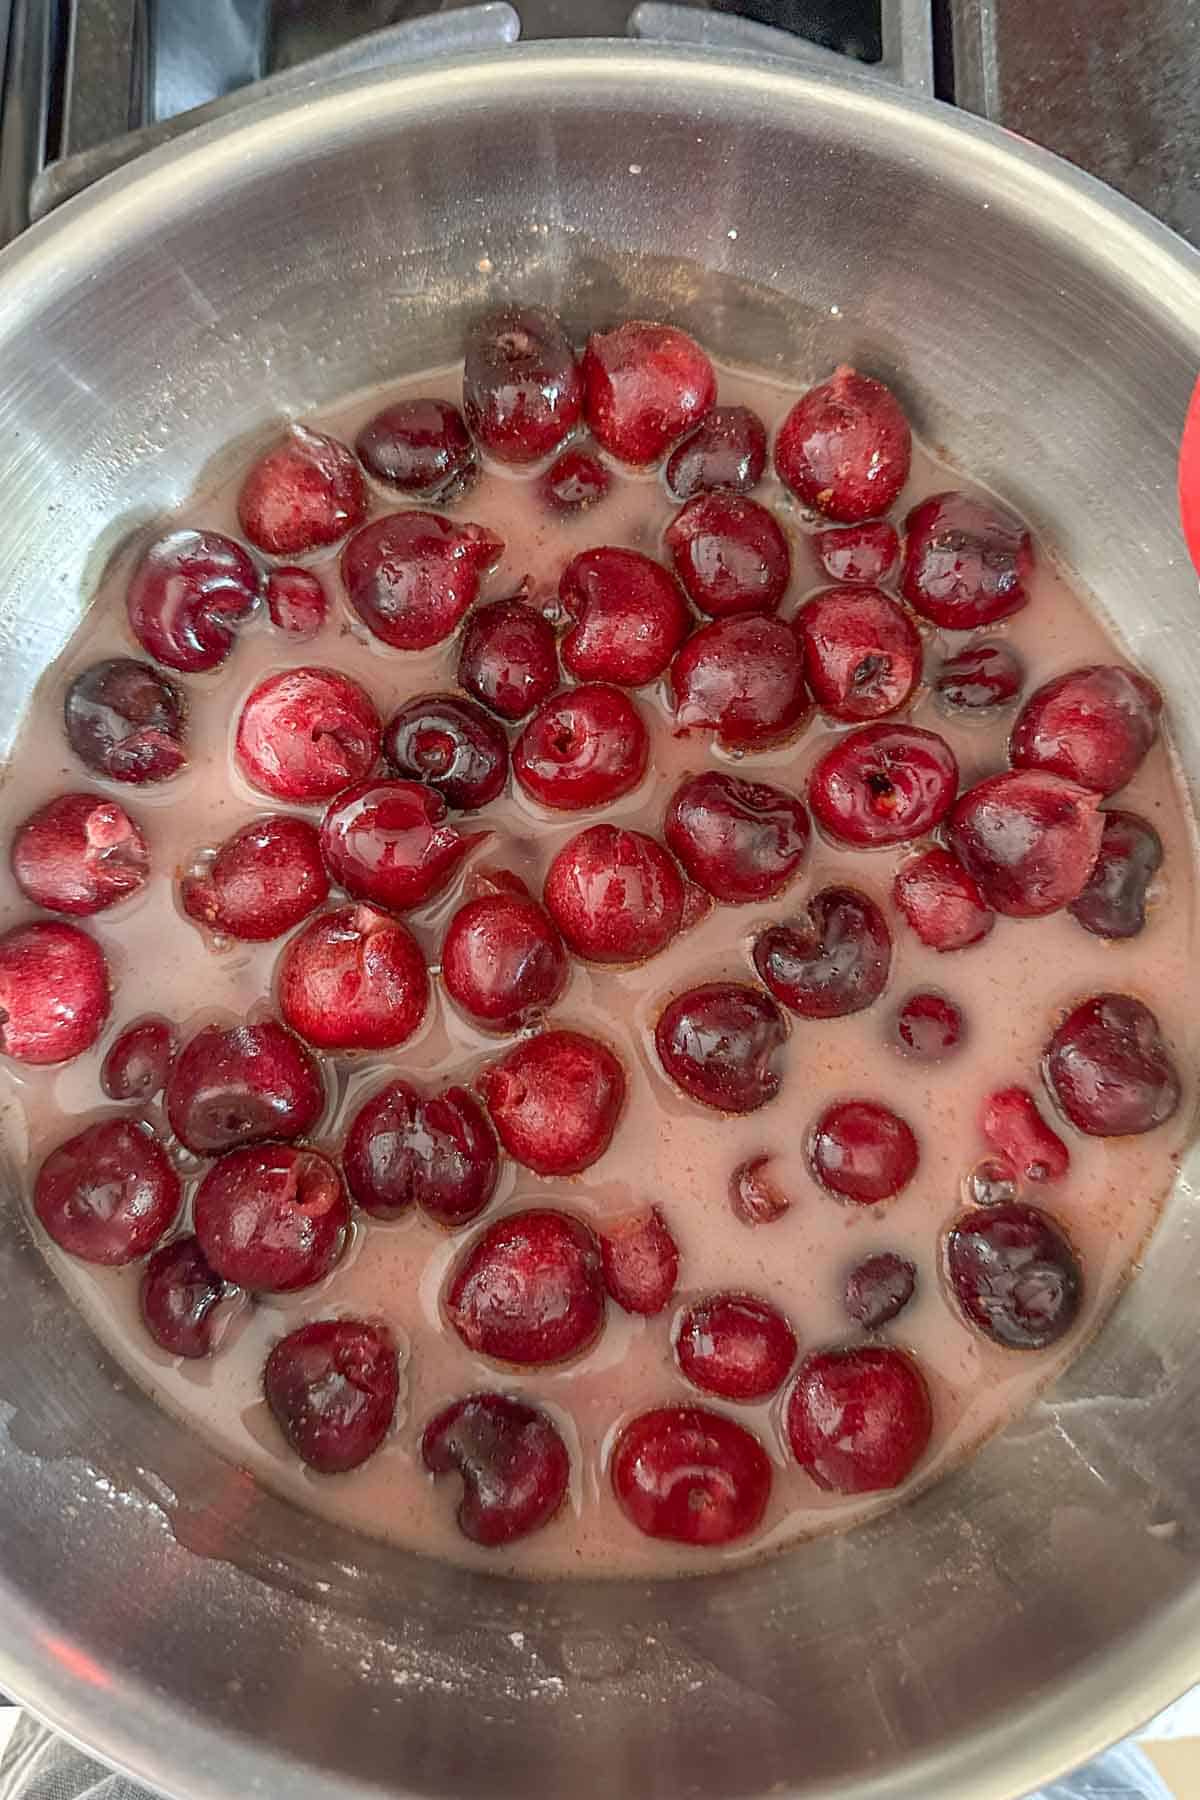
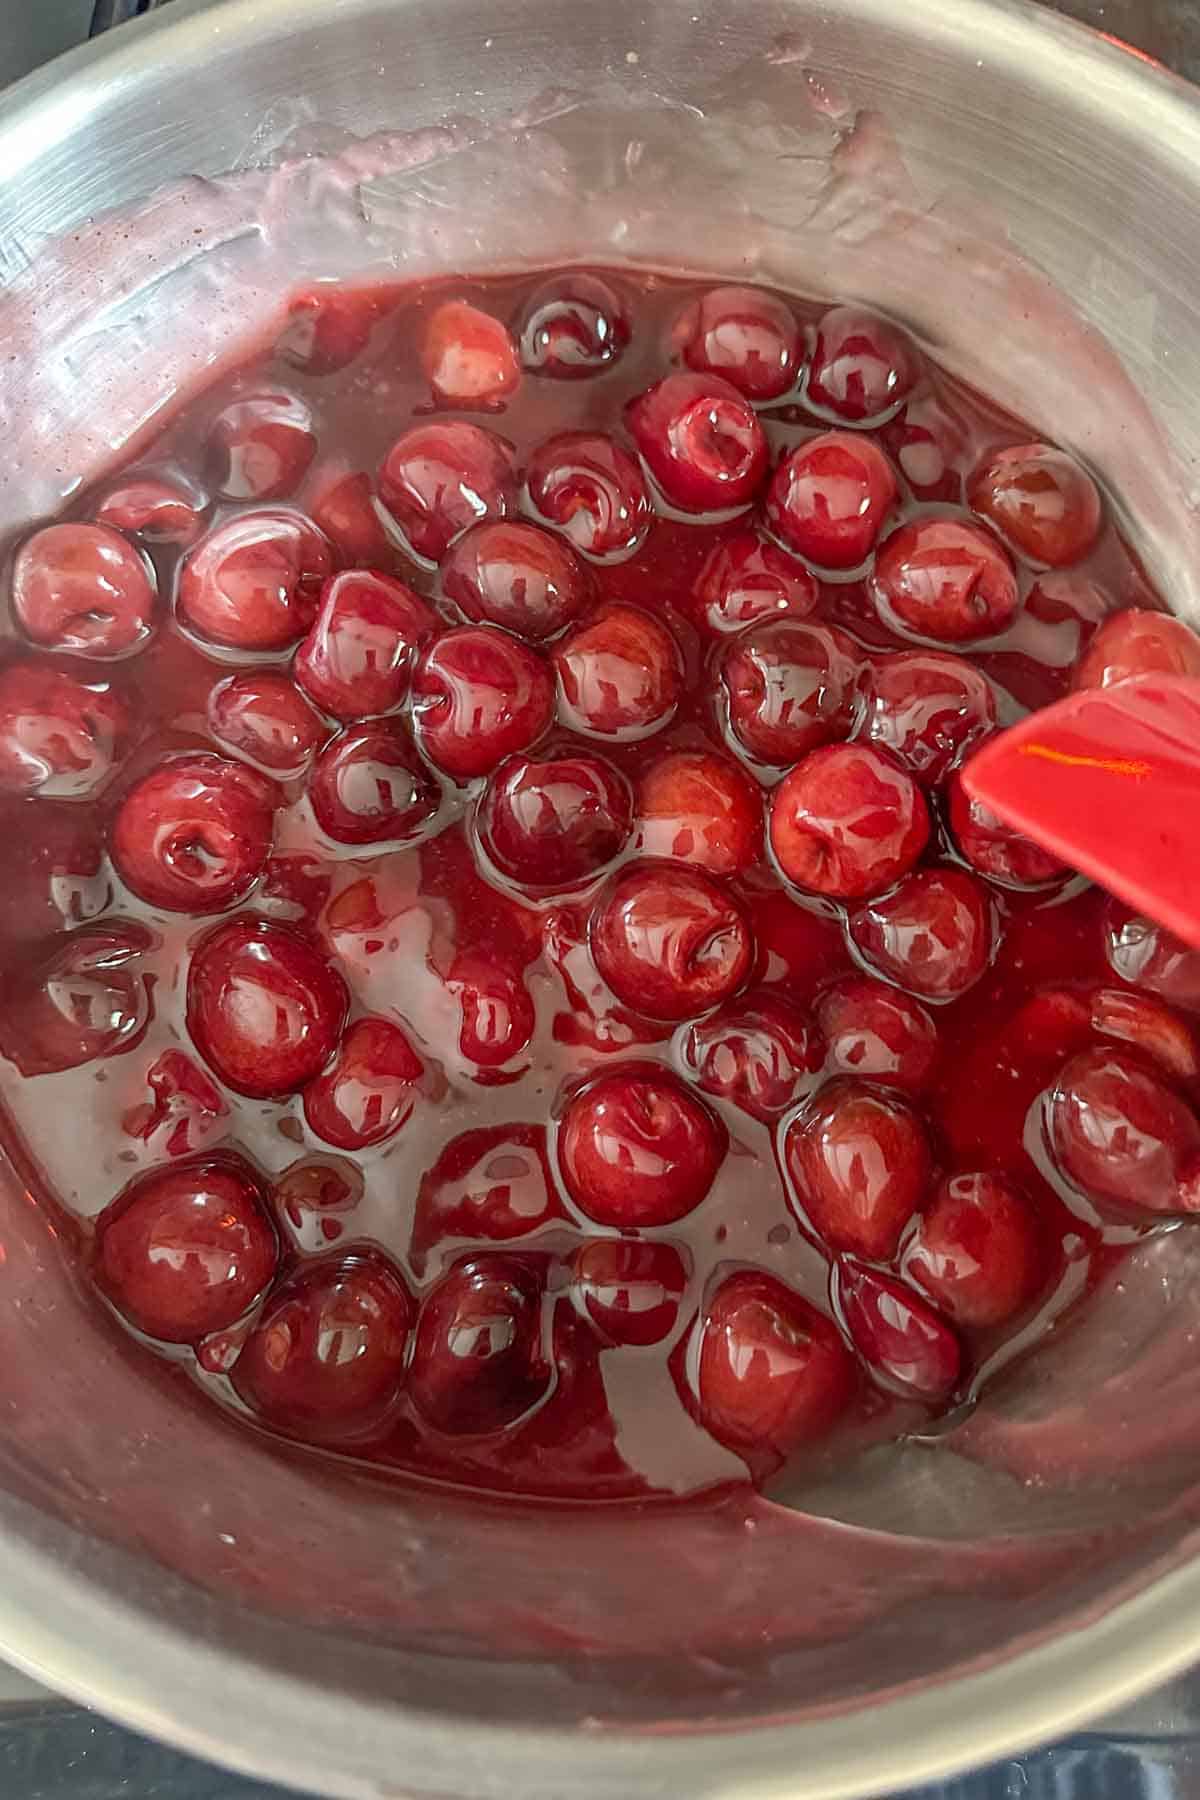
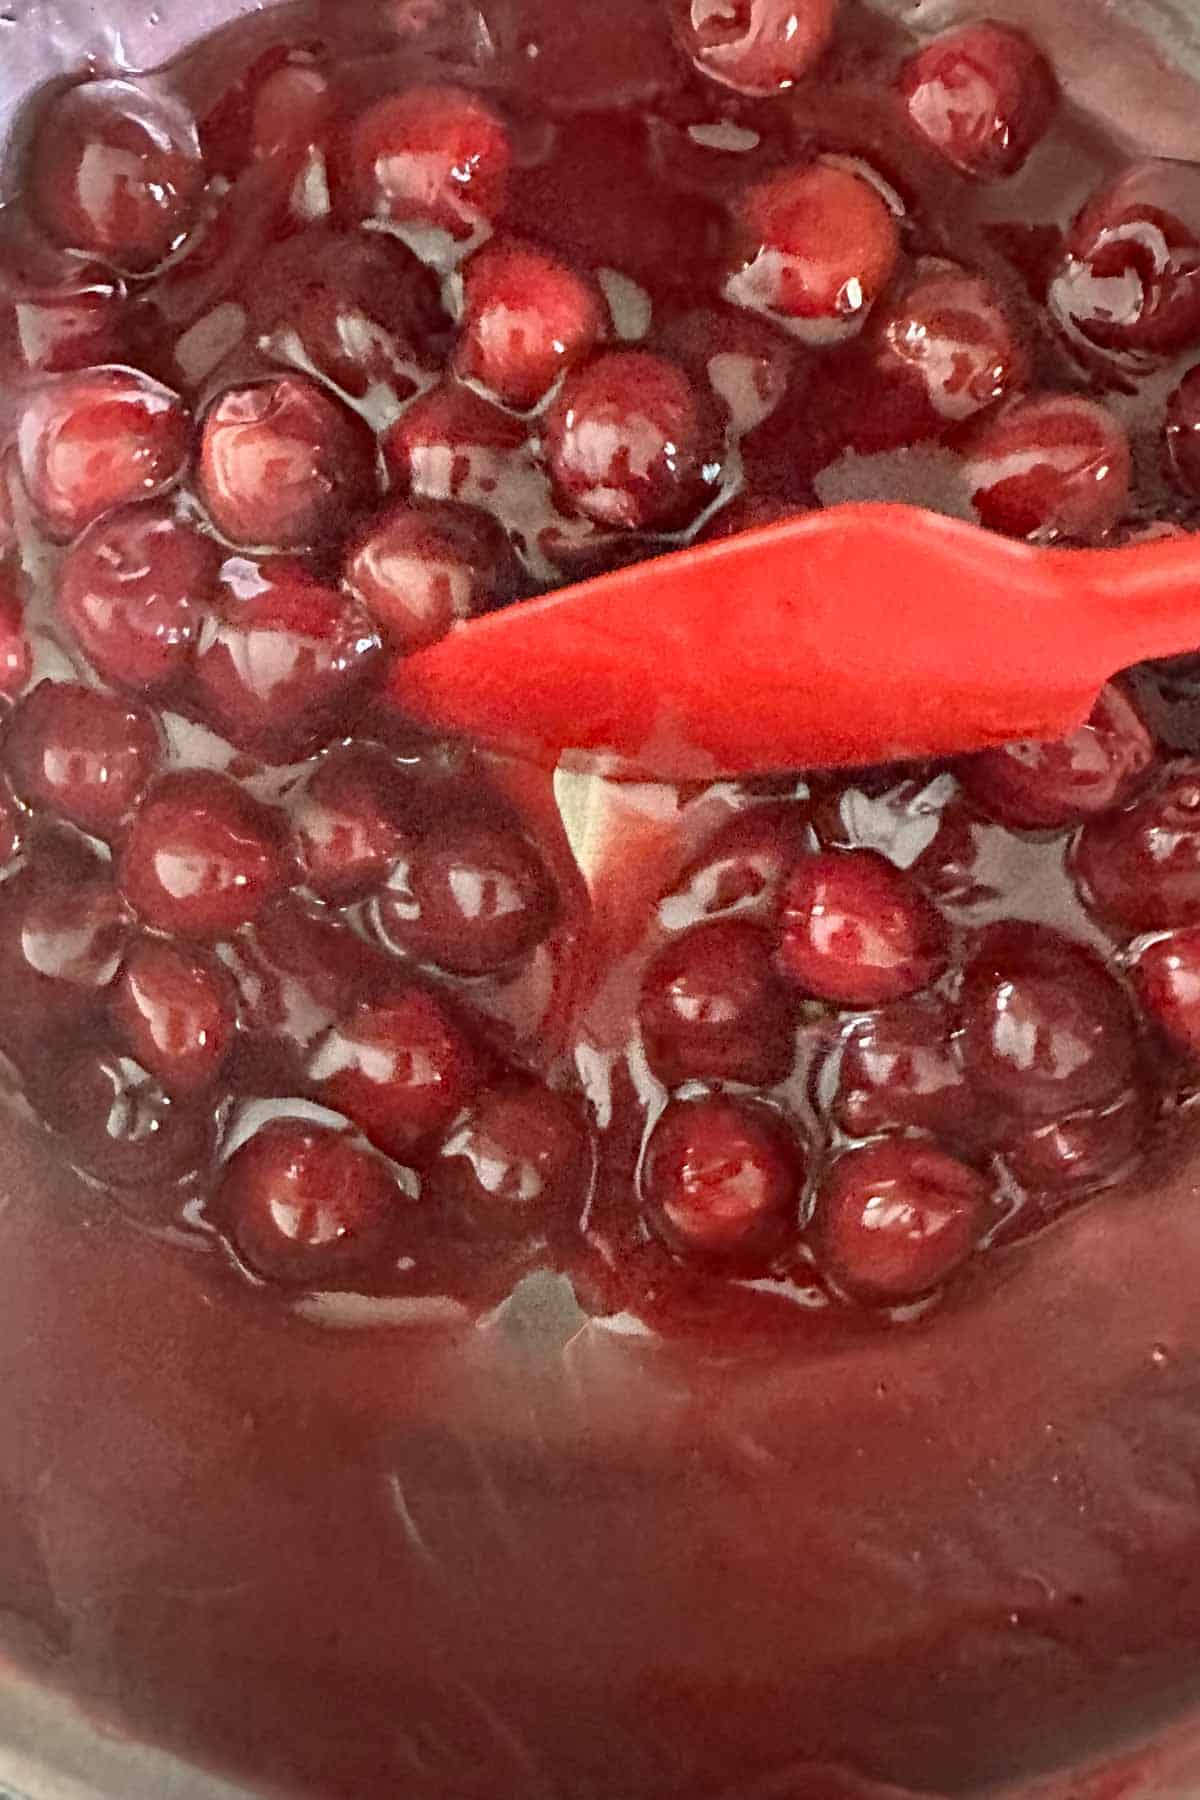
The liquid will reduce and go from cloudy to red and thick. You should be able to see the bottom of the pan for a moment when scraping the filling away.
Remove from heat. Let the filling cool slightly while you preheat the oven to 400°F.
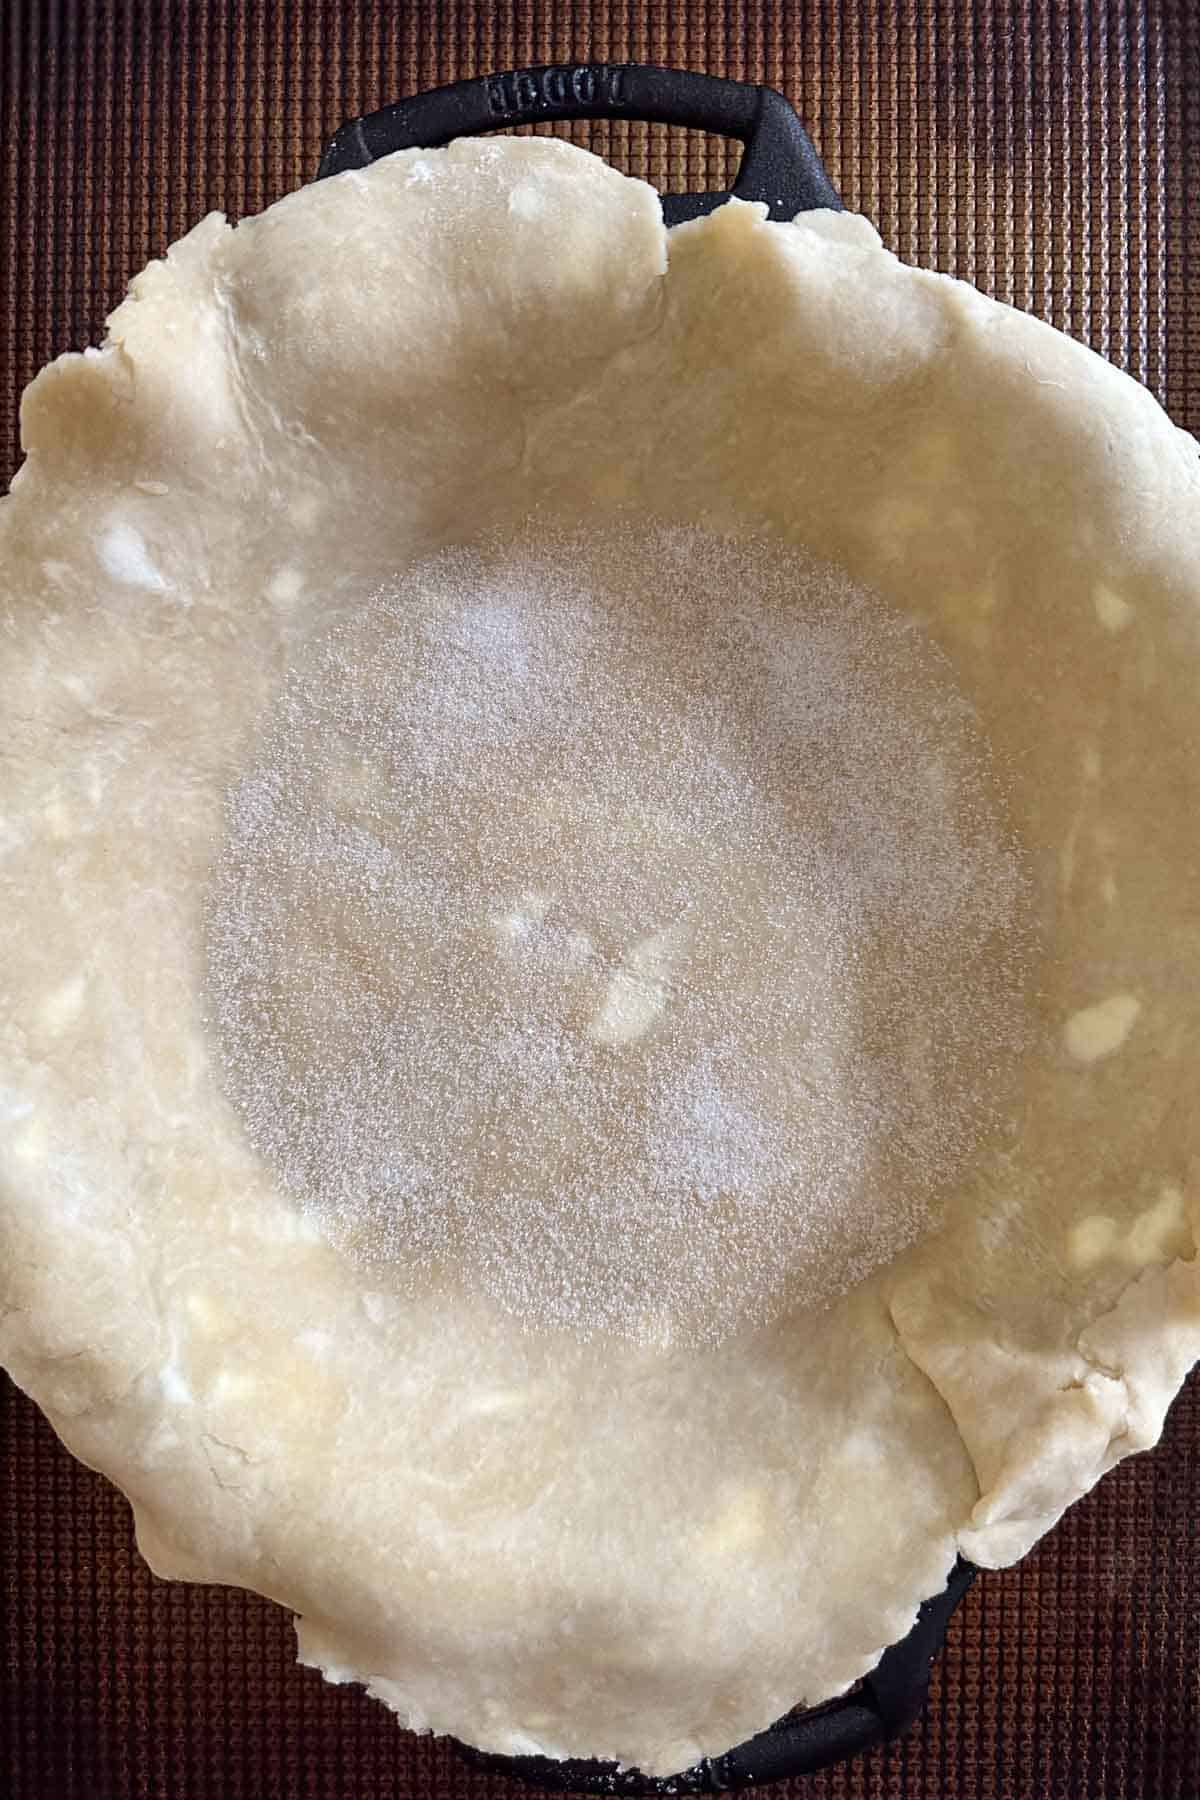
Remove the pie plate and the top crust from the refrigerator.
Sprinkle 1 teaspoon of sugar on the bottom of the pie plate and roll out the top crust.
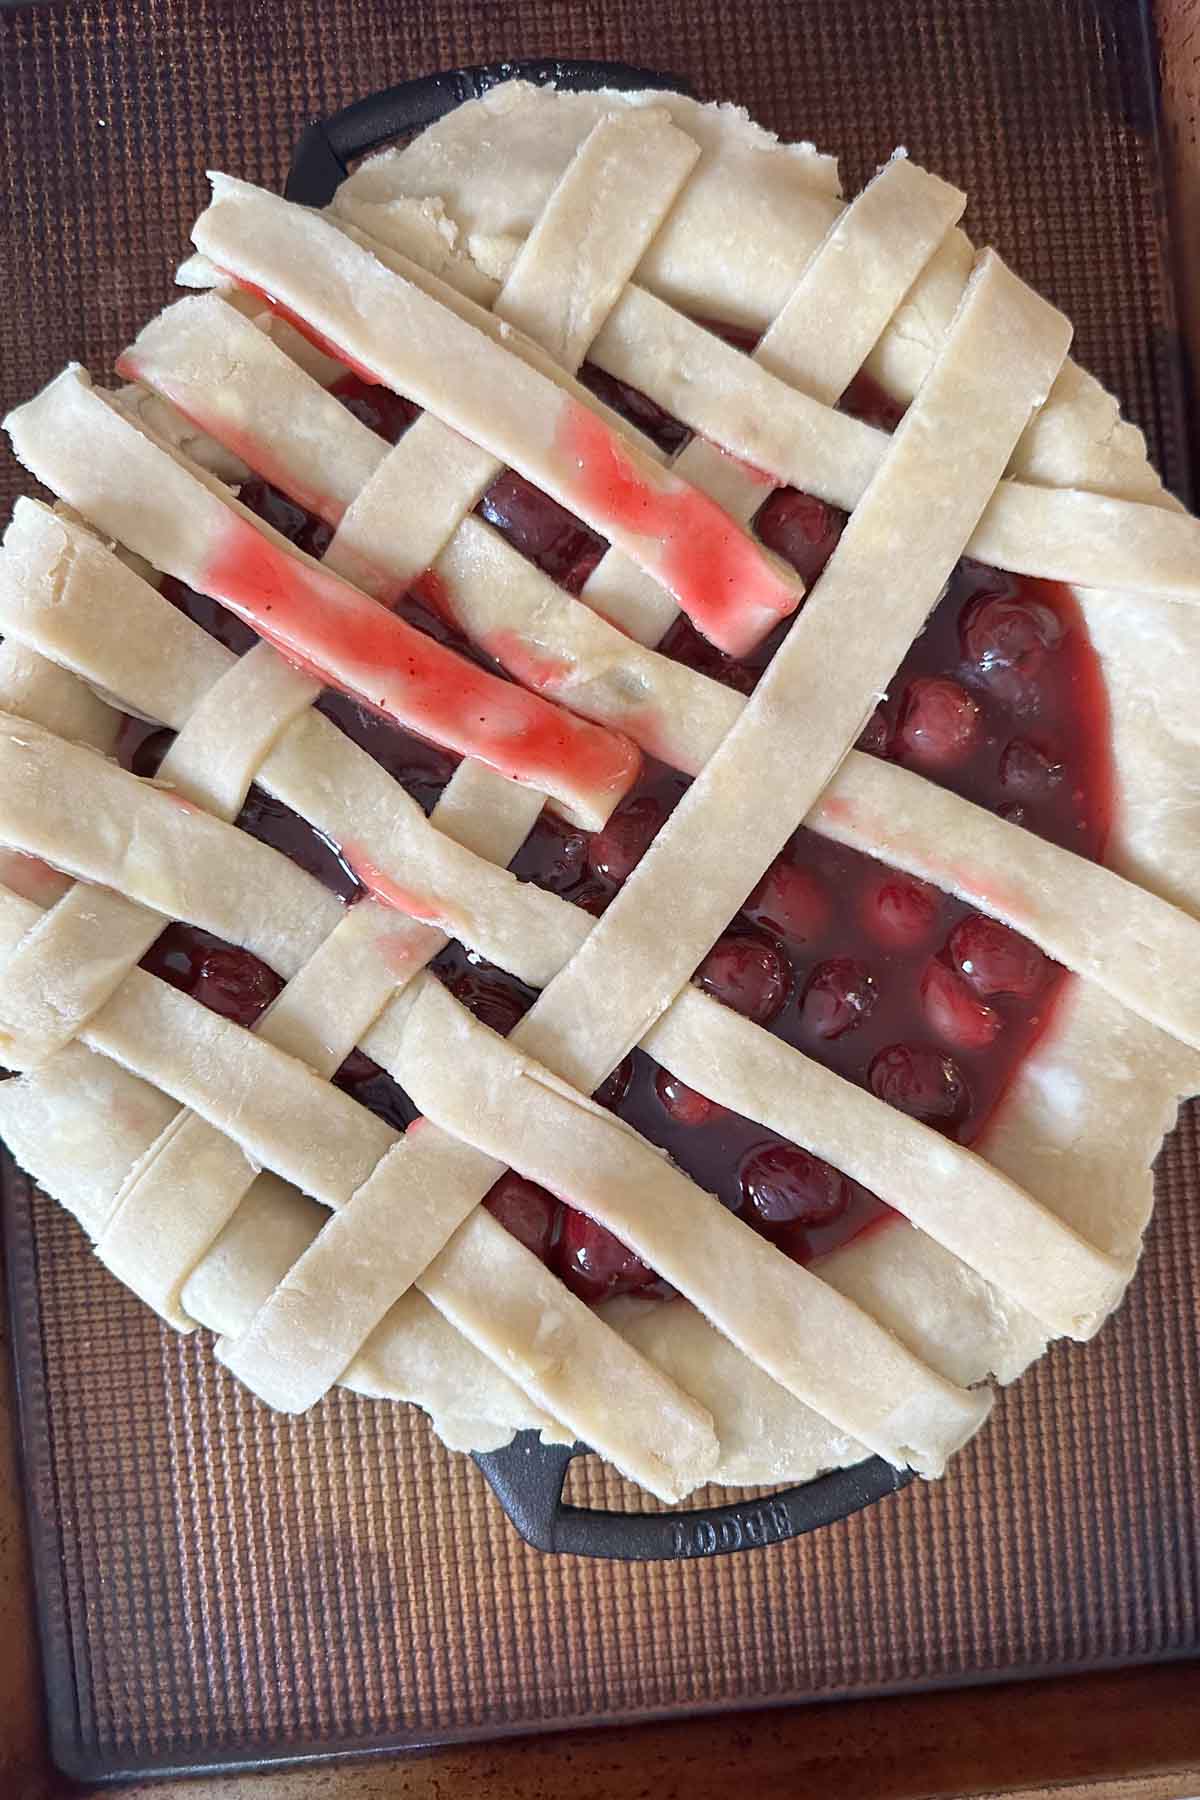
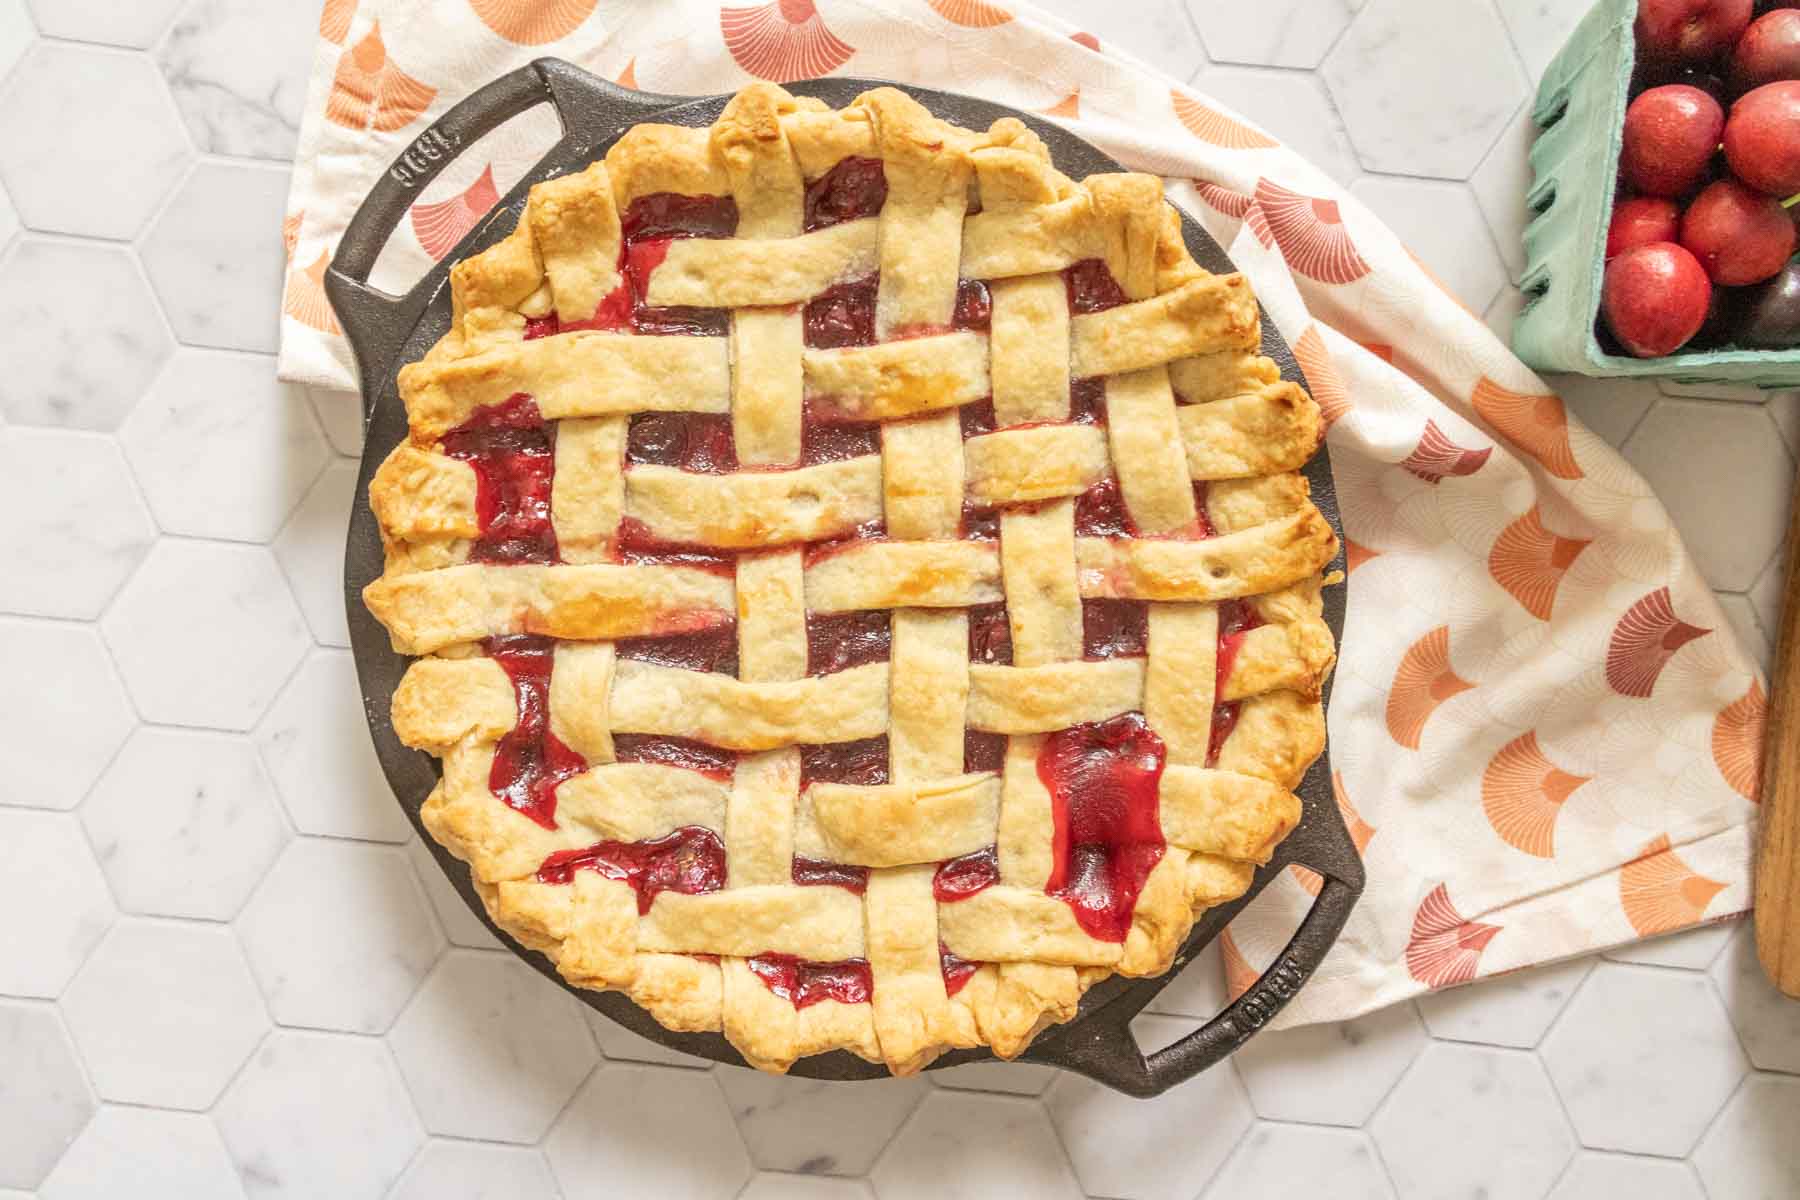
If you are making a lattice crust, cut the top crust into strips. The strips can be as thin or as thick as you like, but keep in mind thin strips are more delicate to work with.
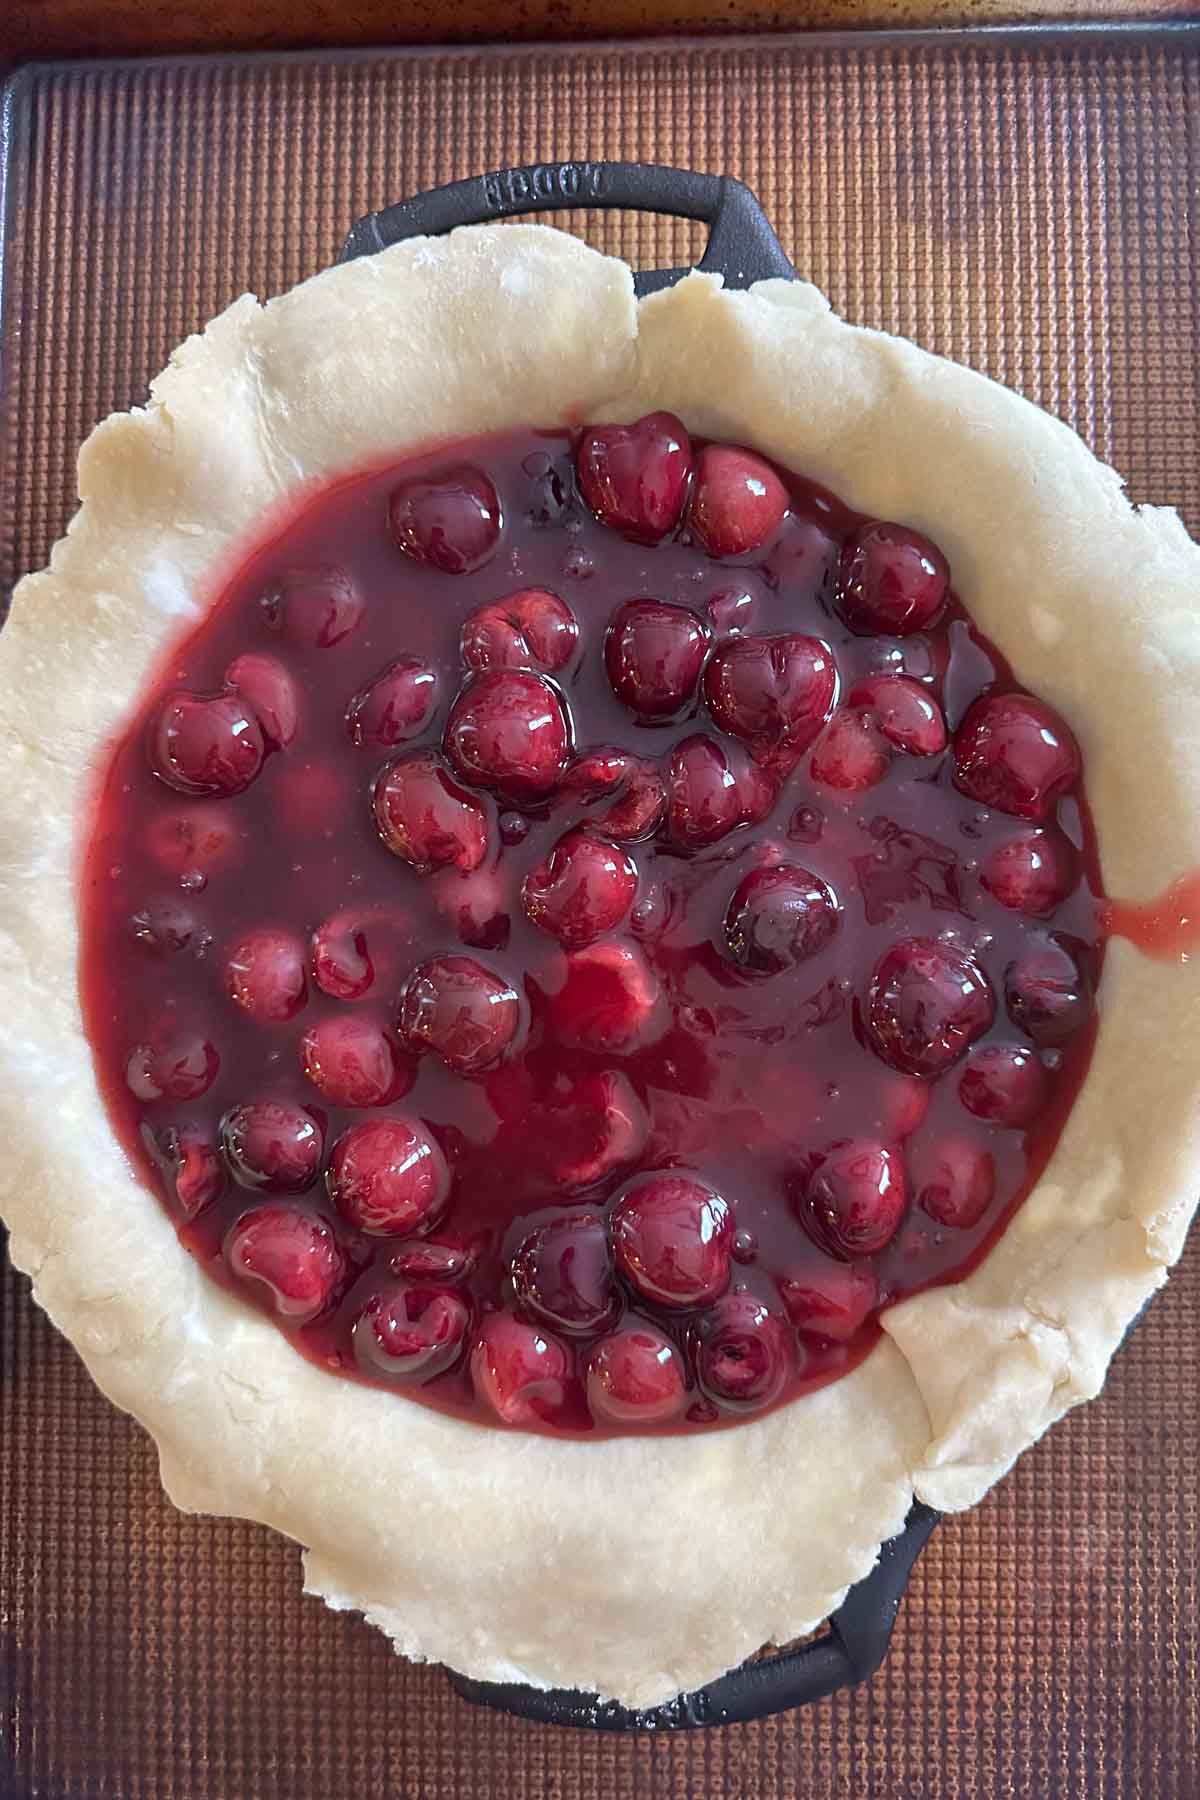
Pour the pie filling into the bottom crust, arranging cherries evenly if needed.
Place on the top crust. Remove excess overhang and crimp the crust edges together. If you are not using a lattice top, cut a few slits in the top crust for steam to escape.
finishing touches
If you like, brush the top crust with 1 beaten egg mixed with 1 tablespoon water. Sprinkle on coarse sugar for a professional look.
Place the pie on a rimmed baking sheet (this will help catch any juices) and put in the oven.
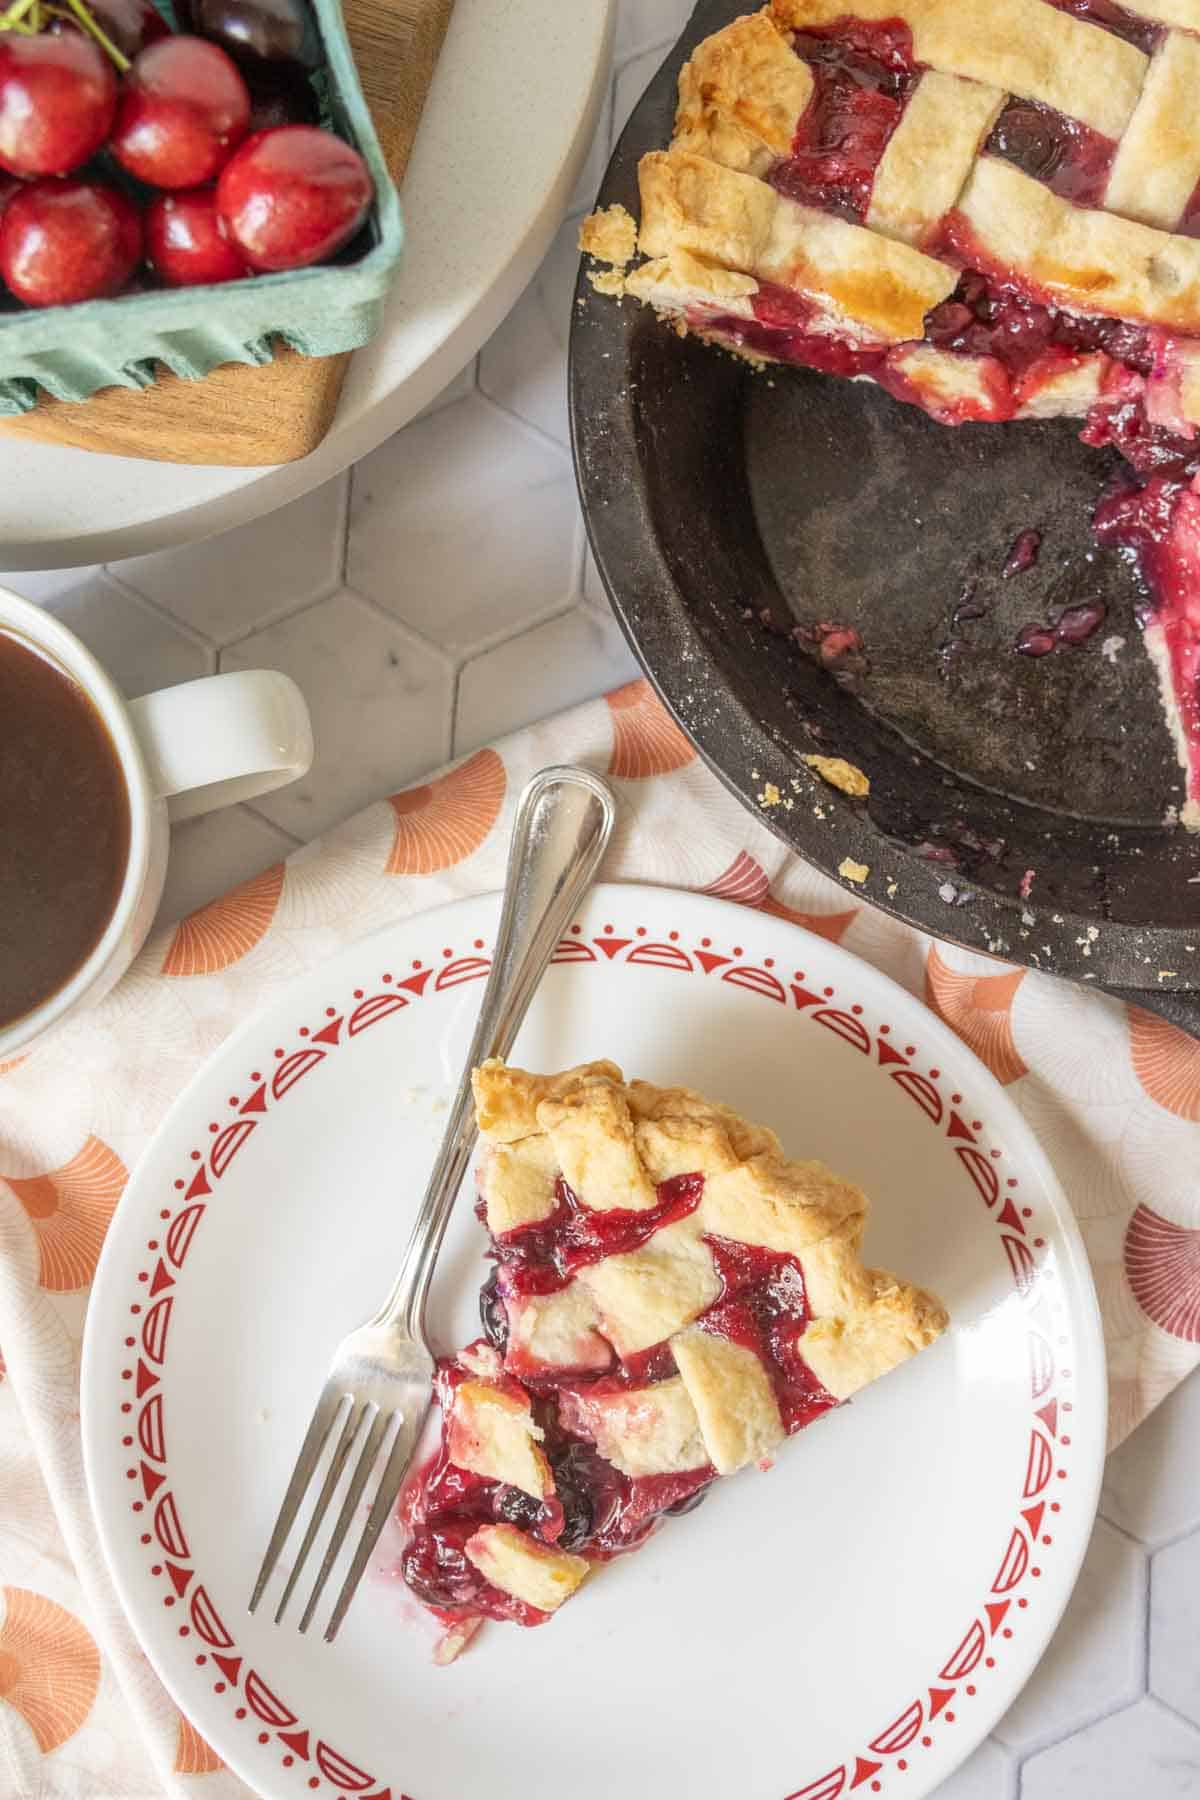
Bake at 400°F for 20 minutes, then lower the temperature to 350°F and bake an additional 25-30 minutes, until crust is browned and juices are bubble.
Let the pie cool for at least 4 hours before slicing to let the filling cool and thicken. This pie is at its best the next day.
Recipe suggestions
I do not use almond extract in my pie recipe, but you can add a teaspoon if you like.
Almonds and cherries are from the same botanical genus, so adding almond extract * enhances the cherry flavor. It can be quite strong, so don’t add too much!
Looking for other cherry pie additions? Try adding vanilla extract, orange zest, or a bit of grated ginger.
You can also add a small amount of alcohol such as brandy, kirsch, or port wine.
Or, make a mixed fruit pie by replacing some of the cherries with diced apricots or peaches.
Don’t want to make a whole pie? Use the filling to make easy cherry turnovers!
Storage tips
This pie can be kept out at room temperature for 2-3 days.
You can also store it in the refrigerator for longer. Refrigerator storage also helps keep the filling firm and easy to slice. If you live in a warmer climate, I recommend using the fridge rather than the counter.
Cherry pie can be frozen baked or unbaked.
If you choose to freeze it unbaked, I recommend freezing it until solid, then carefully removing it from the pie plate and wrapping well. That way you won’t have to worry about having a pie plate stuck in your freezer!
For baked pies, let cool completely before freezing.
Frozen pie will keep for about 4 months.
More pie recipes you’ll love
Try out some of my other favorite pie recipes:
- Shoofly Pie
- Raspberry Cream Pie
- Maple Pecan Pie
- Apple Pie Bars
- Caramel Apple Slab Pie
- Blueberry Pie Filling
Serve this delicious cherry pie with a scoop of no-churn ice cream for the best summer ever!

Cherry Pie
Ingredients
Pie Crust
- 2 2/3 cups all-purpose flour
- 1 tablespoon granulated sugar
- 1 teaspoon fine sea salt
- 8 tablespoons unsalted butter, cold, cut into pieces
- 8 tablespoons shortening, cut into pieces
- 1/2 cup ice water
Cherry Pie Filling
- 4 cups cherries
- 3/4 cup granulated sugar, plus 1 teaspoon
- 3 tablespoons cornstarch
- 1 cup water
- 2 tablespoons lemon juice
- 1/4 teaspoon ground cinnamon
- 1/8 teaspoon ground allspice
Directions
Pie Crust
- If using premade dough, skip to rolling step.
- In a mixing bowl, combine flour, sugar, and salt. Cut in butter and shortening until evenly blended and mixture looks like wet sand, with no pieces bigger than a pea.2 2/3 cups all-purpose flour, 1 tablespoon granulated sugar, 1 teaspoon fine sea salt, 8 tablespoons unsalted butter, 8 tablespoons shortening
- Pour in water a little at a time and mix well until dough comes together. You might not use all of the water.1/2 cup ice water
- Divide dough in half and pat each into a disk about 6 inches across. Wrap each in plastic and chill for 30 minutes.
- After 30 minutes, roll out bottom crust to fit pan, leaving some overhang. Return to refrigerator while you make the filling.
Cherry Pie
- Wash cherries and remove pits. Set aside.4 cups cherries
- In a saucepan, whisk together 3/4 cup sugar and cornstarch, breaking up any lumps. Set over medium heat and whisk in water, lemon juice, cinnamon, and allspice.3/4 cup granulated sugar, 3 tablespoons cornstarch, 1 cup water, 2 tablespoons lemon juice, 1/4 teaspoon ground cinnamon *, 1/8 teaspoon ground allspice
- Once the sugar and cornstarch are dissolved, add the cherries and bring to a boil, then reduce to medium or medium-low and cook 5-10 minutes, stirring often.
- The liquid will turn from cloudy to red and glossy. When the filling is thick enough that you can draw it away from the bottom of the pan without it immediately flowing back, remove from heat and let cool slightly.
- Preheat oven to 400°F.
- Remove pie crusts from the refrigerator. Scatter 1 teaspoon sugar on the bottom crust. Roll out top crust and if making a lattice, cut into even strips.
- Pour the pie filling into the bottom crust and add the top crust. Trim excess overhang and pinch edges together. Place pie on a rimmed baking sheet * to catch any spilled juices.
- Bake at 400°F for 20 minutes, then reduce heat to 350°F and bake another 25-30 minutes, until crust is golden and juices are bubbly.
- Let cool for at least 4 hours before serving, preferably longer, to help the filling thicken and set.
Notes
- Optional: Brush top pie crust with egg wash and sprinkle with sugar before baking.
Want to save this recipe for later?
Recommended Products
Nutrition
Nutrition information is provided as a courtesy and is an estimate based on online calculators. Any nutritional information found on Stetted should be used as a general guideline only.
You might also like:


About Megan
I learned how to cook by exploring seasonal ingredients, and you can too! Meal time shouldn’t be stressful or complicated, and with fresh ingredients and easy methods, I’m here to help you enjoy the time spent in the kitchen. Read more…