*This post contains affiliate links and may earn commissions on recommended products. As an Amazon Associate, I earn from qualifying purchases.

A staple in any kitchen, this homemade pie crust uses a combination of butter and shortening, giving it the best flaky, tender texture! Use for pies, tarts, quiches, and more.
Note: This recipe has been retested and was updated October 2025 to add 2 tablespoons butter, for a total of 6 tablespoons. This is a flakier crust with less shrinkage.
Pie is one of my absolute favorite things, and not just during the holidays. I’ll make pie for basically any occasion, from brunches to birthdays.
When making pies (and quiches), I prefer to make my own crust. It’s actually quite easy, and the flavor is worlds better than the premade kinds you can get at the store.
Over the years I have literally cried about making pie crust, so when I say this is the best recipe I’ve used, I’m not kidding!
My recipe uses a mixture of butter and shortening, which gives it a great texture and flavor while also being easy to work with.
It’s the perfect pie crust for any dish, from sweet to savory. If you’re intimidated by pie crust, I promise you can do it!
Why make your own pie dough?
I’ve been there: making homemade dough sounds hard, and store bought crust is totally tempting.
However, I’ve also been there when that “convenient” crust doesn’t unroll properly, shrinks in the pan, and frankly, doesn’t taste that great.
Making your own dough means you can whip up pies at a moment’s notice. Plus, you can customize it how you like, adding flavorings or swapping in other flours as you get more familiar with making dough.
If you love baking, making pies and pie crusts is an essential skill that will serve you for decades to come.
Ingredients for homemade pie crust
You’ll need:
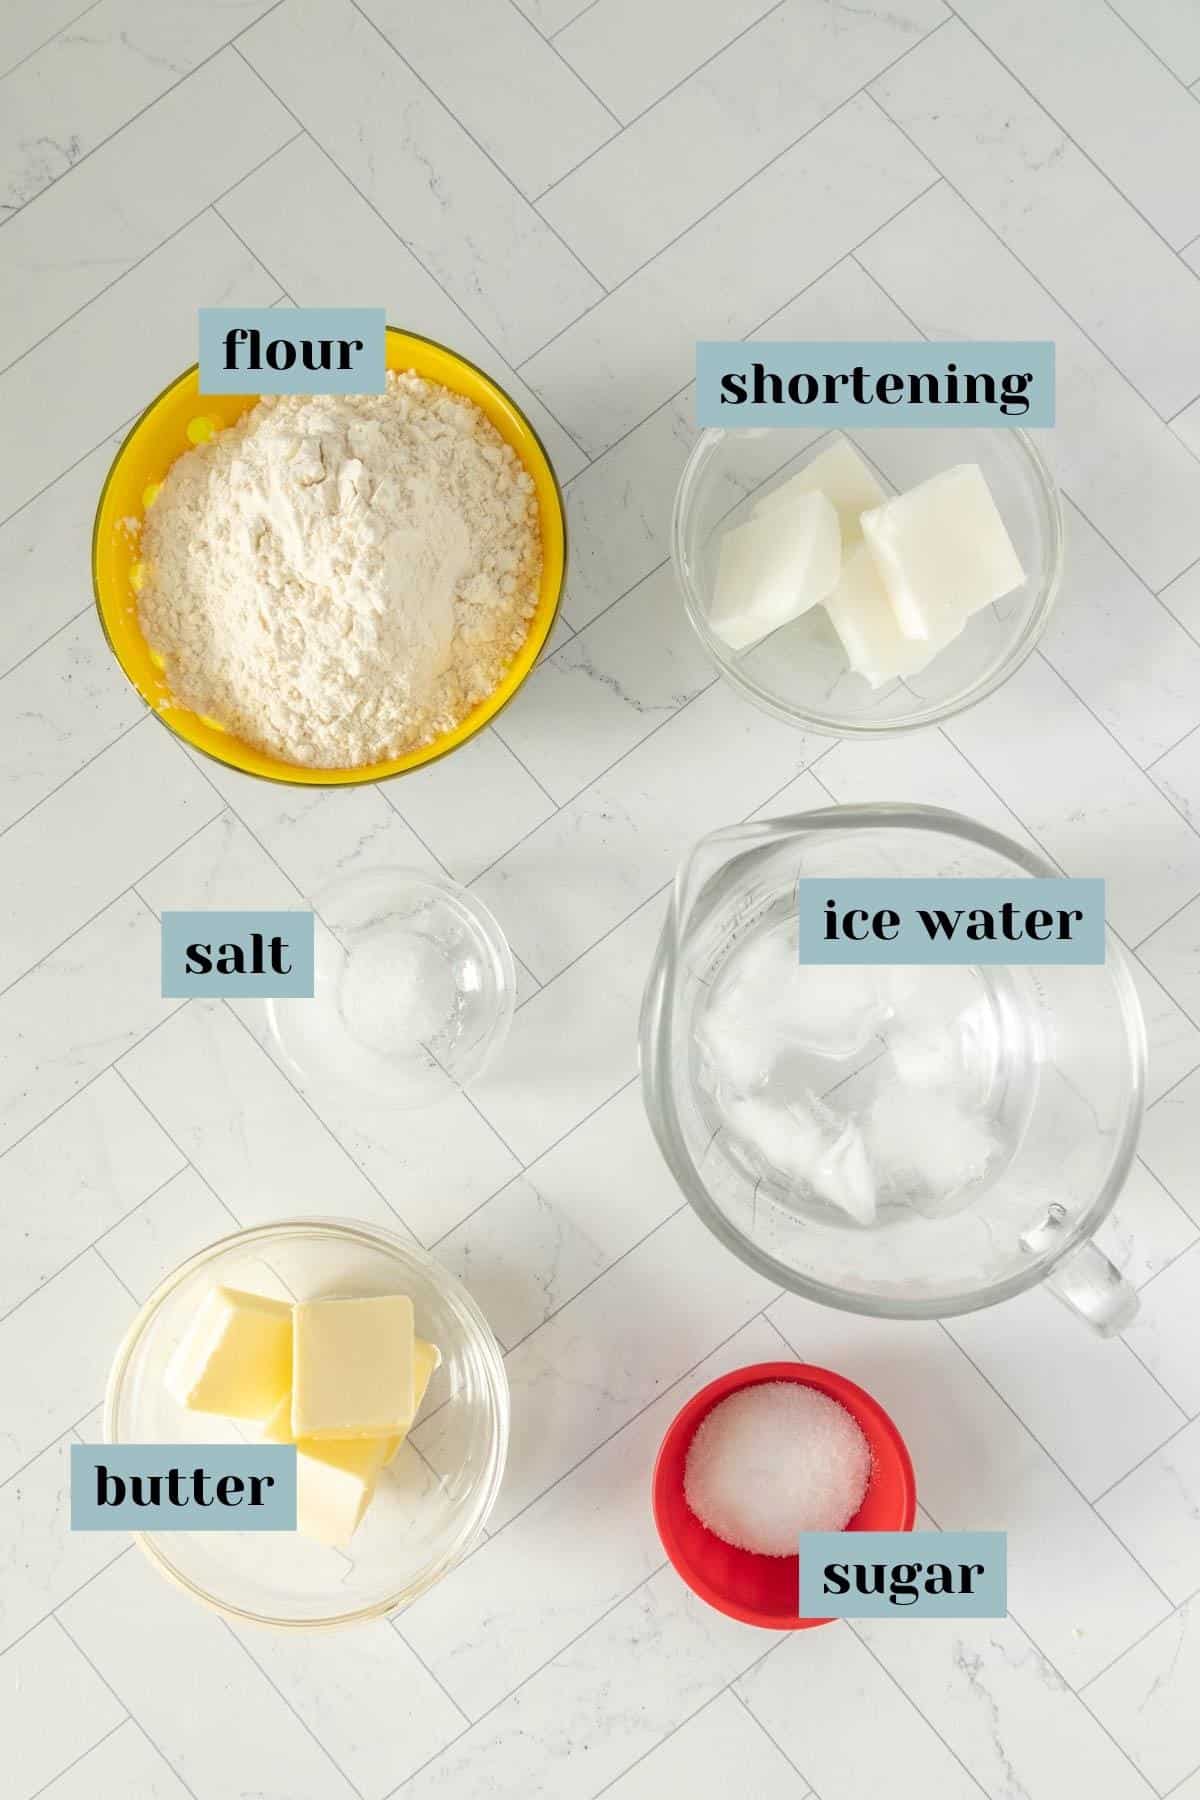
Flour – I recommend using all-purpose flour * for pie crust dough, at least until you have gotten the hang of making it. Switching out the flours can change all the other ratios as well, so stick with the basics here.
If you need a gluten free recipe, try this gluten free pie crust!
Salt – Even if you are making this for a sweet recipe, you want to add a bit of salt to the dough. I use fine sea salt.
Butter – Use unsalted butter. It needs to be COLD but not frozen.
Shortening – Use the unflavored shortening. The kind sold in sticks is easiest to measure and work with.
The shortening does not need to be cold (it can be stored at room temperature) but I personally do keep a stick in the fridge. It stays fairly soft even when chilled.
Sugar – This is optional. If you are making crust for a savory recipe like cheese quiche, omit the sugar.
Ice water – The water should be very cold. I usually fill a 2-cup liquid measuring cup with 1 cup of ice and ½ cup of water. Keeping the water cold will help the butter not melt and give you a better crust texture.
Using a scale for pie dough
If you don’t have a kitchen scale yet, put one on your holiday or birthday wish list!
While I don’t use a scale for every recipe, I highly recommend using one to make pie crust.
I’ve tested this recipe many times, and I’ve found that even a difference as small as 15 grams of flour can really affect how your crust turns out.
In case you don’t have a scale, I have also included the U.S. cup measurements in the recipe card. You can toggle between cup and metric measurement options within the card.
How to make this recipe
It’s time to roll up our sleeves and make this crust!
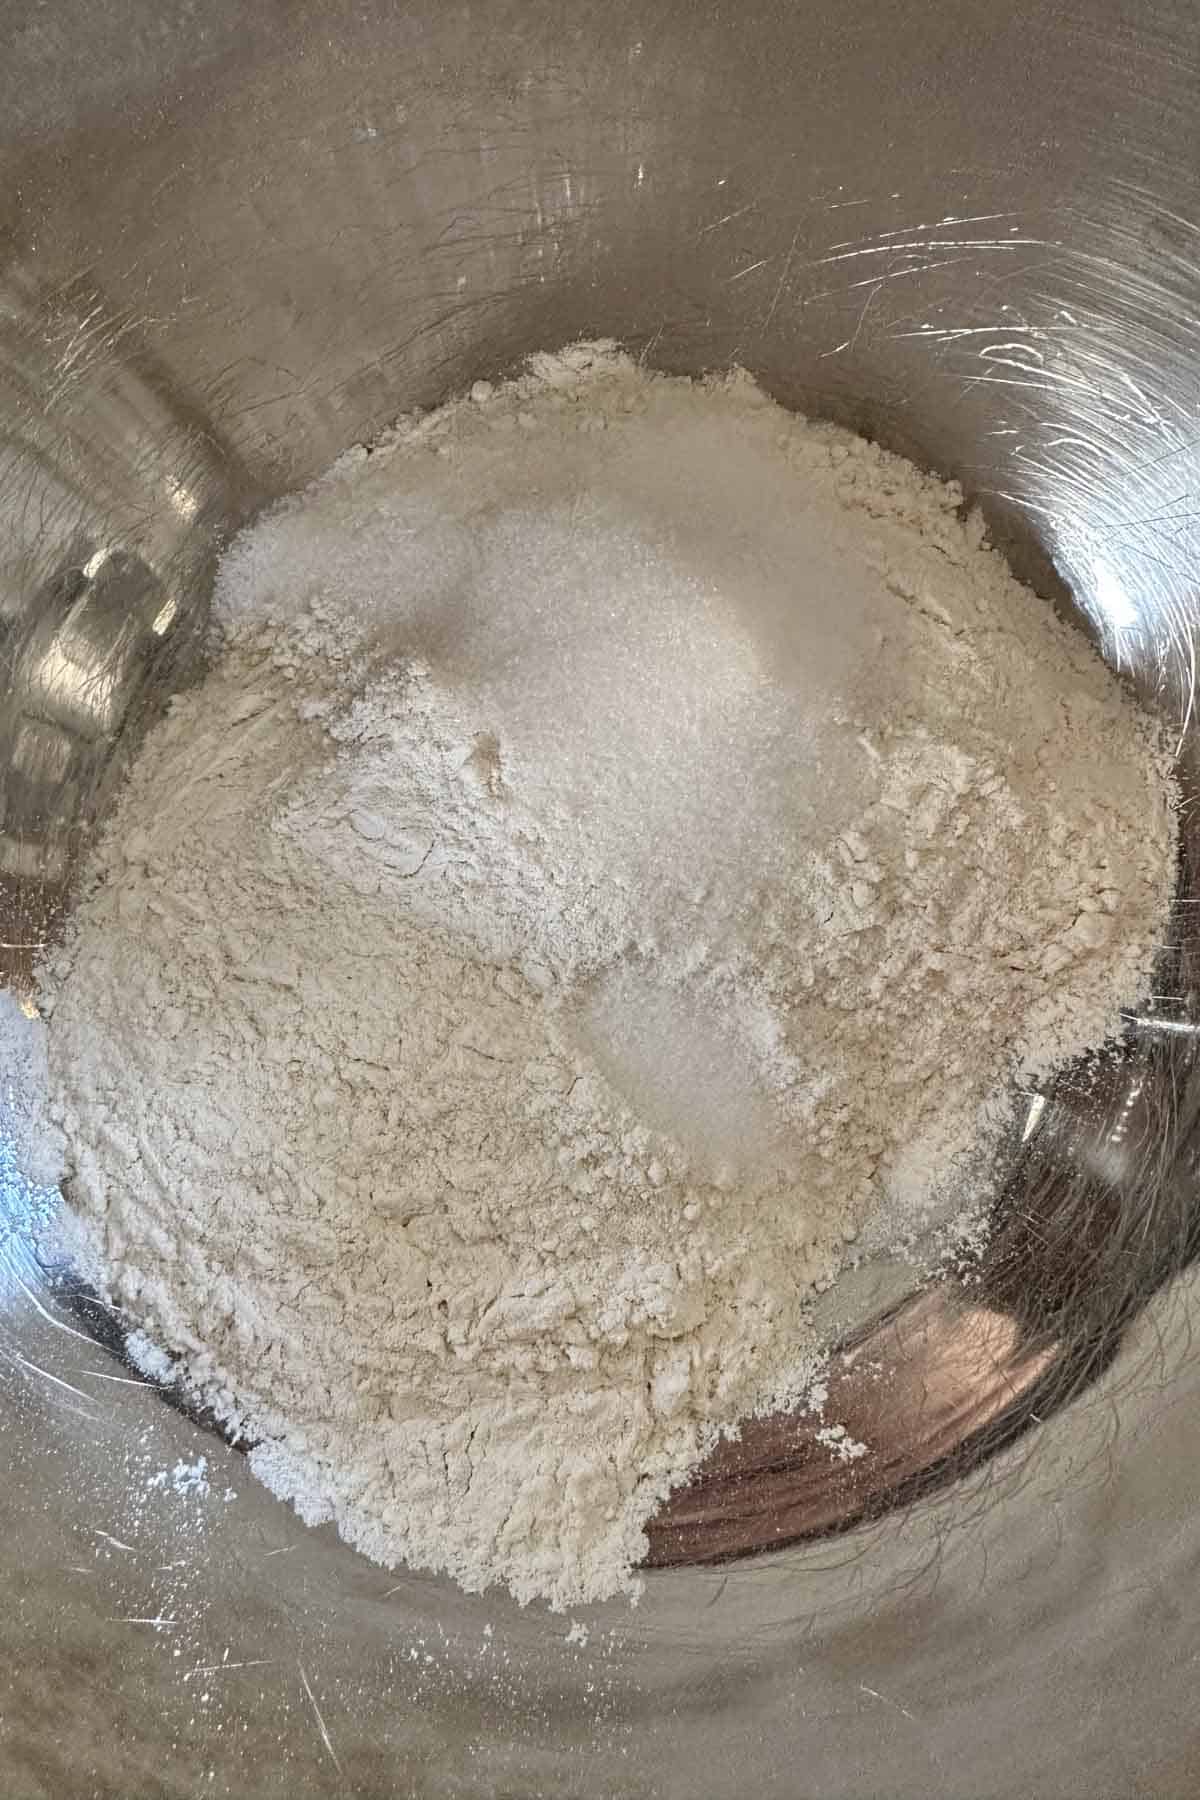
Use a scale to measure your flour into a medium bowl. Add the salt, and sugar if desired, and stir to combine.

Cut the shortening into chunks and then cut into the flour mixture until it looks a bit like wet sand. Adding the shortening separately from the butter gets it fully blended in so we can leave the butter pieces larger.
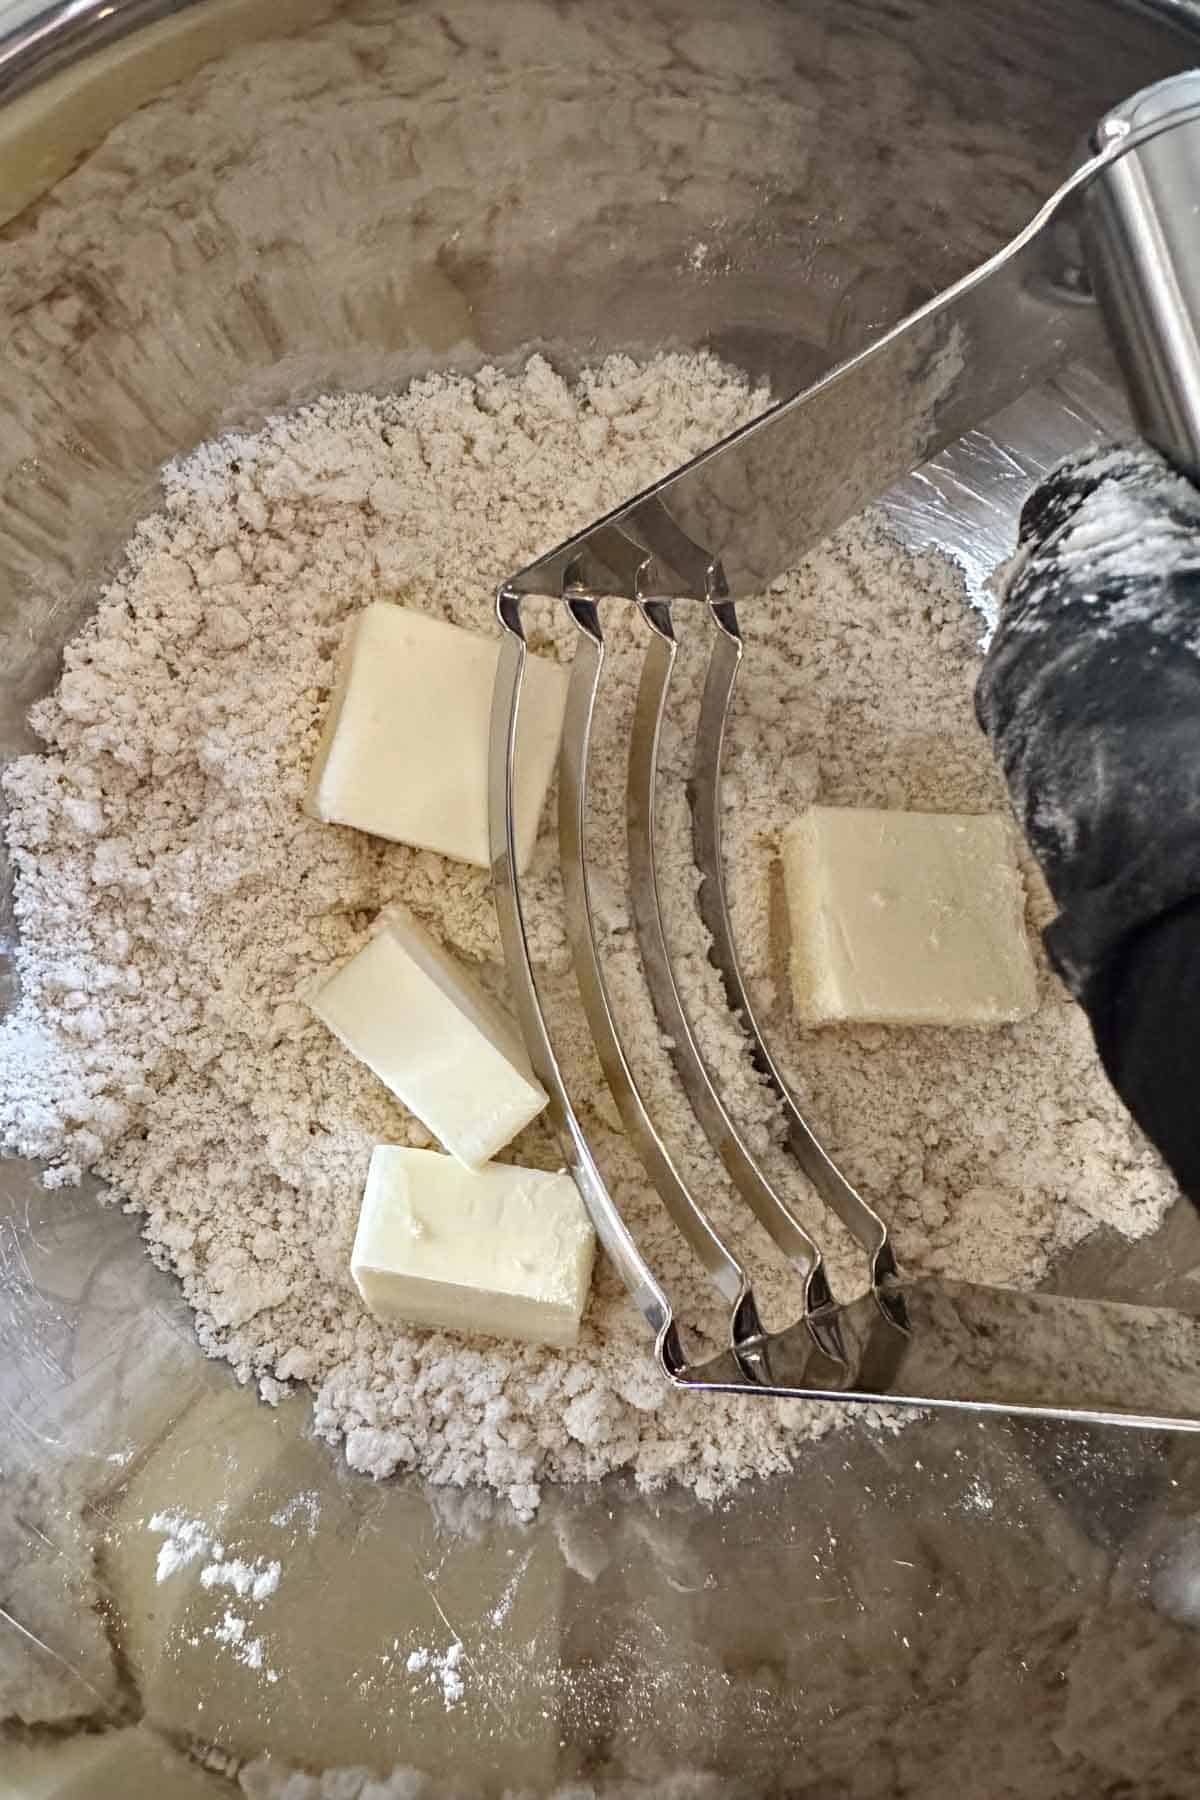
Cut the butter into the flour mixture using a pastry blender or two knives. The butter pieces can be larger, but I recommend no larger than a pea.
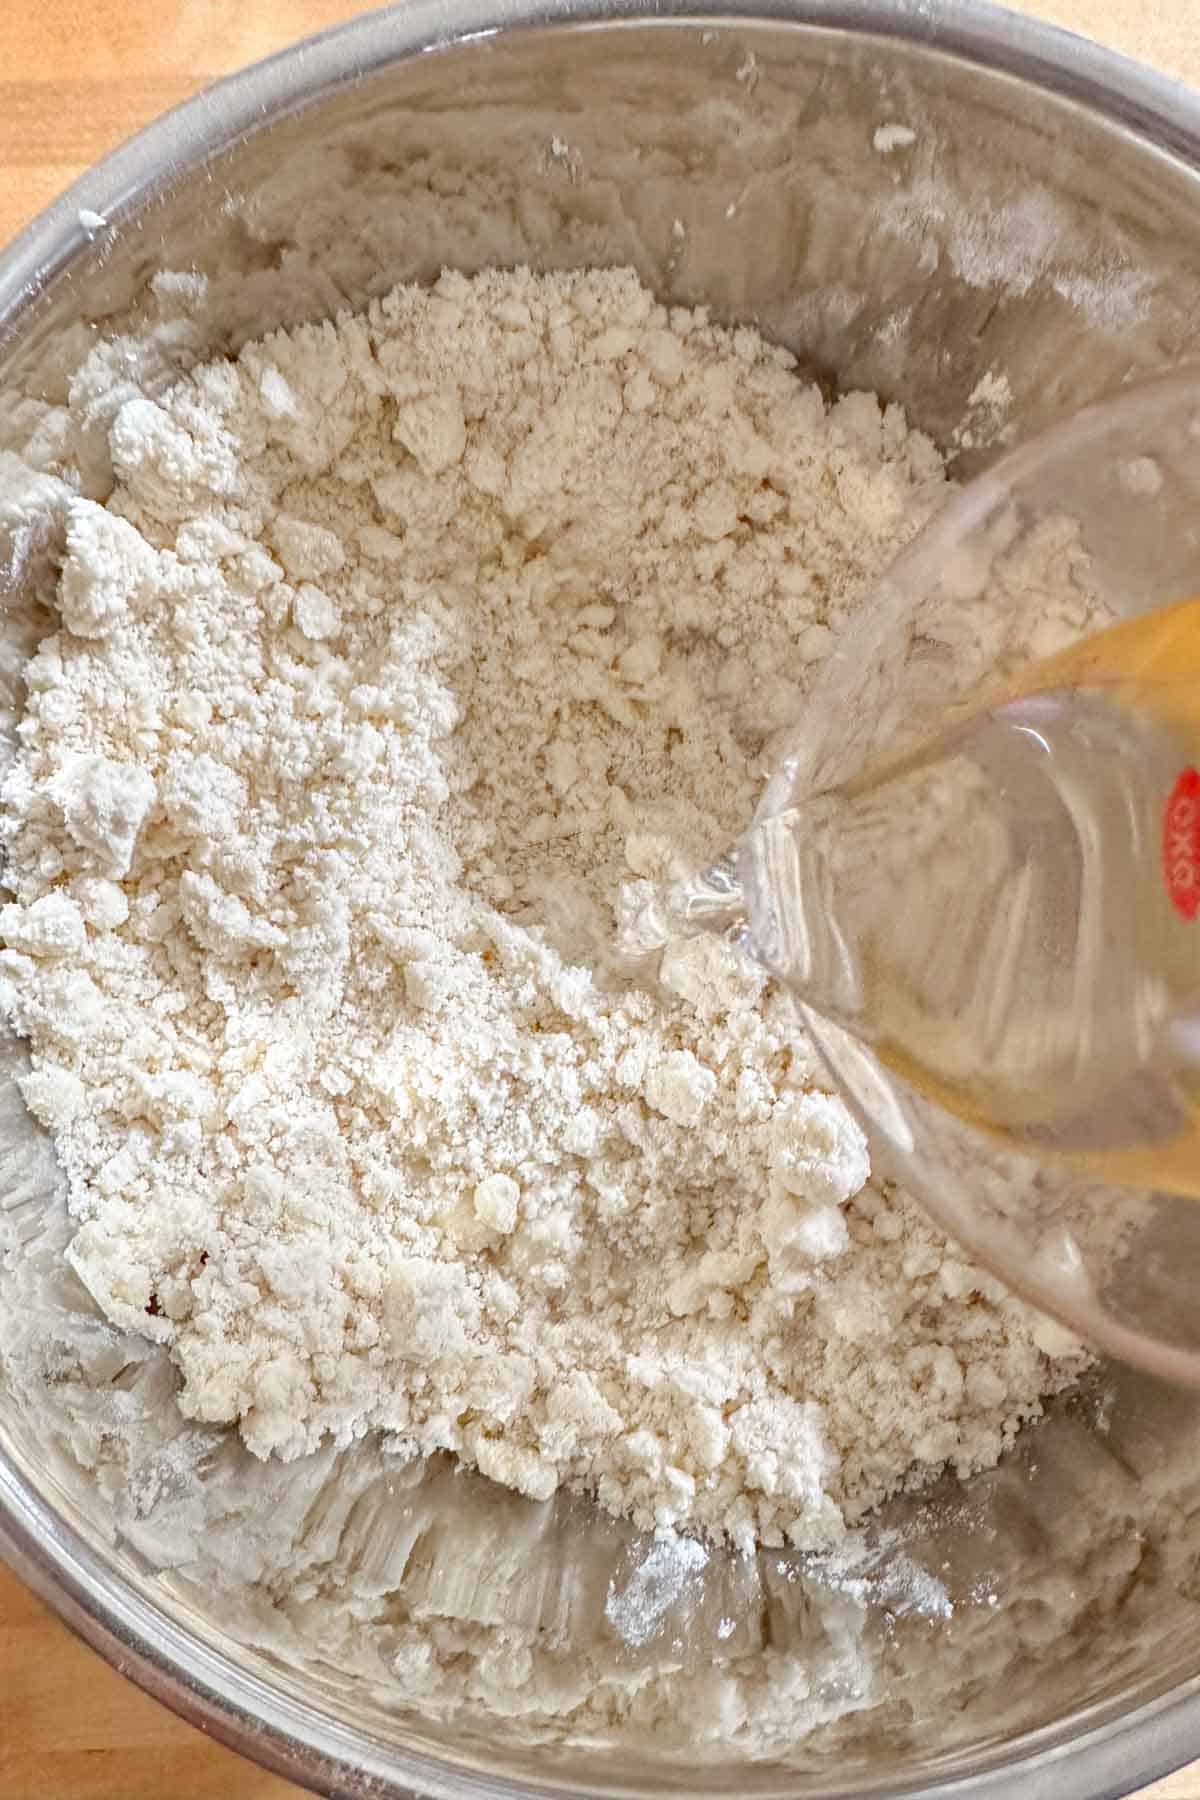
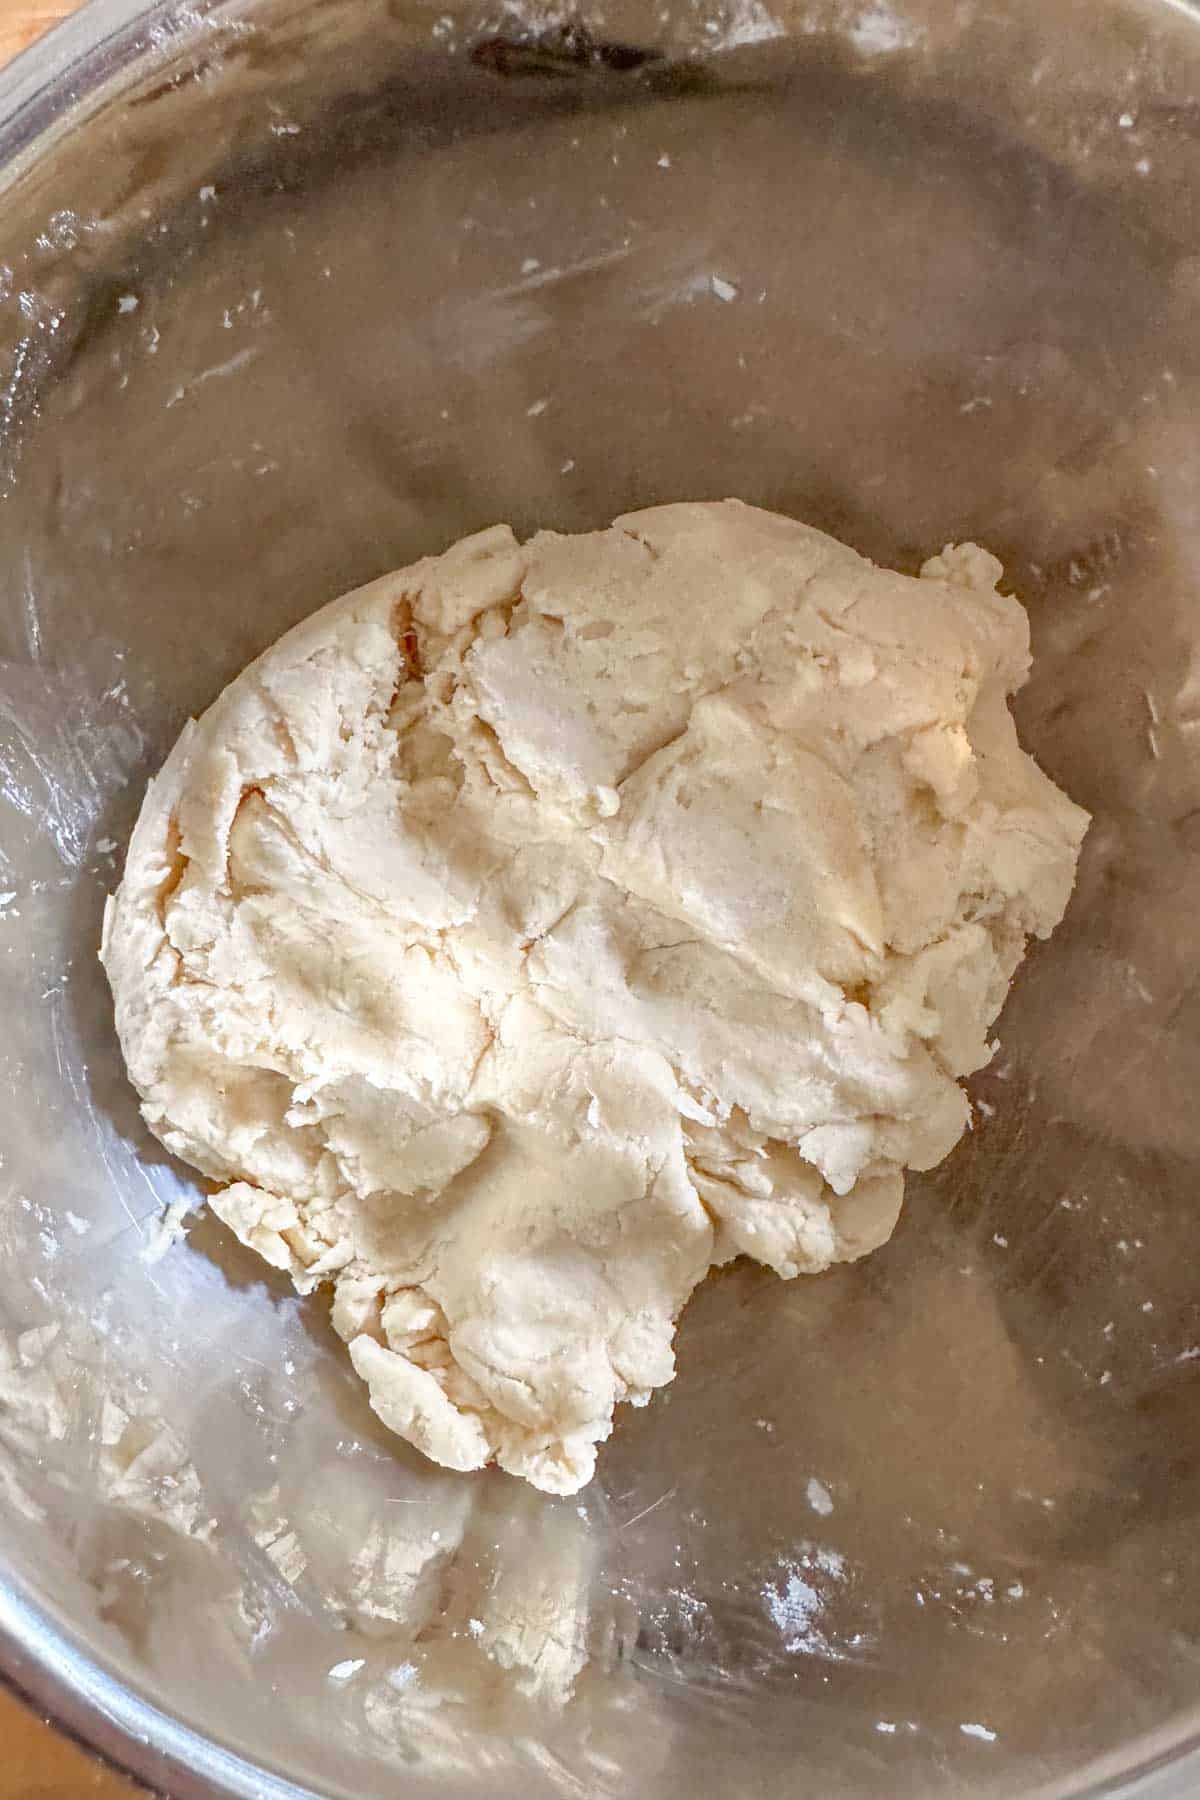
Sprinkle 3 tablespoons of the ice water over your dough. Stir to mix in the water until the dough clumps together and does not fall apart once squeezed.
If more water is needed, add only a little bit at a time until your dough comes together, to prevent from over-saturating it. Once mixed, knead just a couple of times to smooth out.
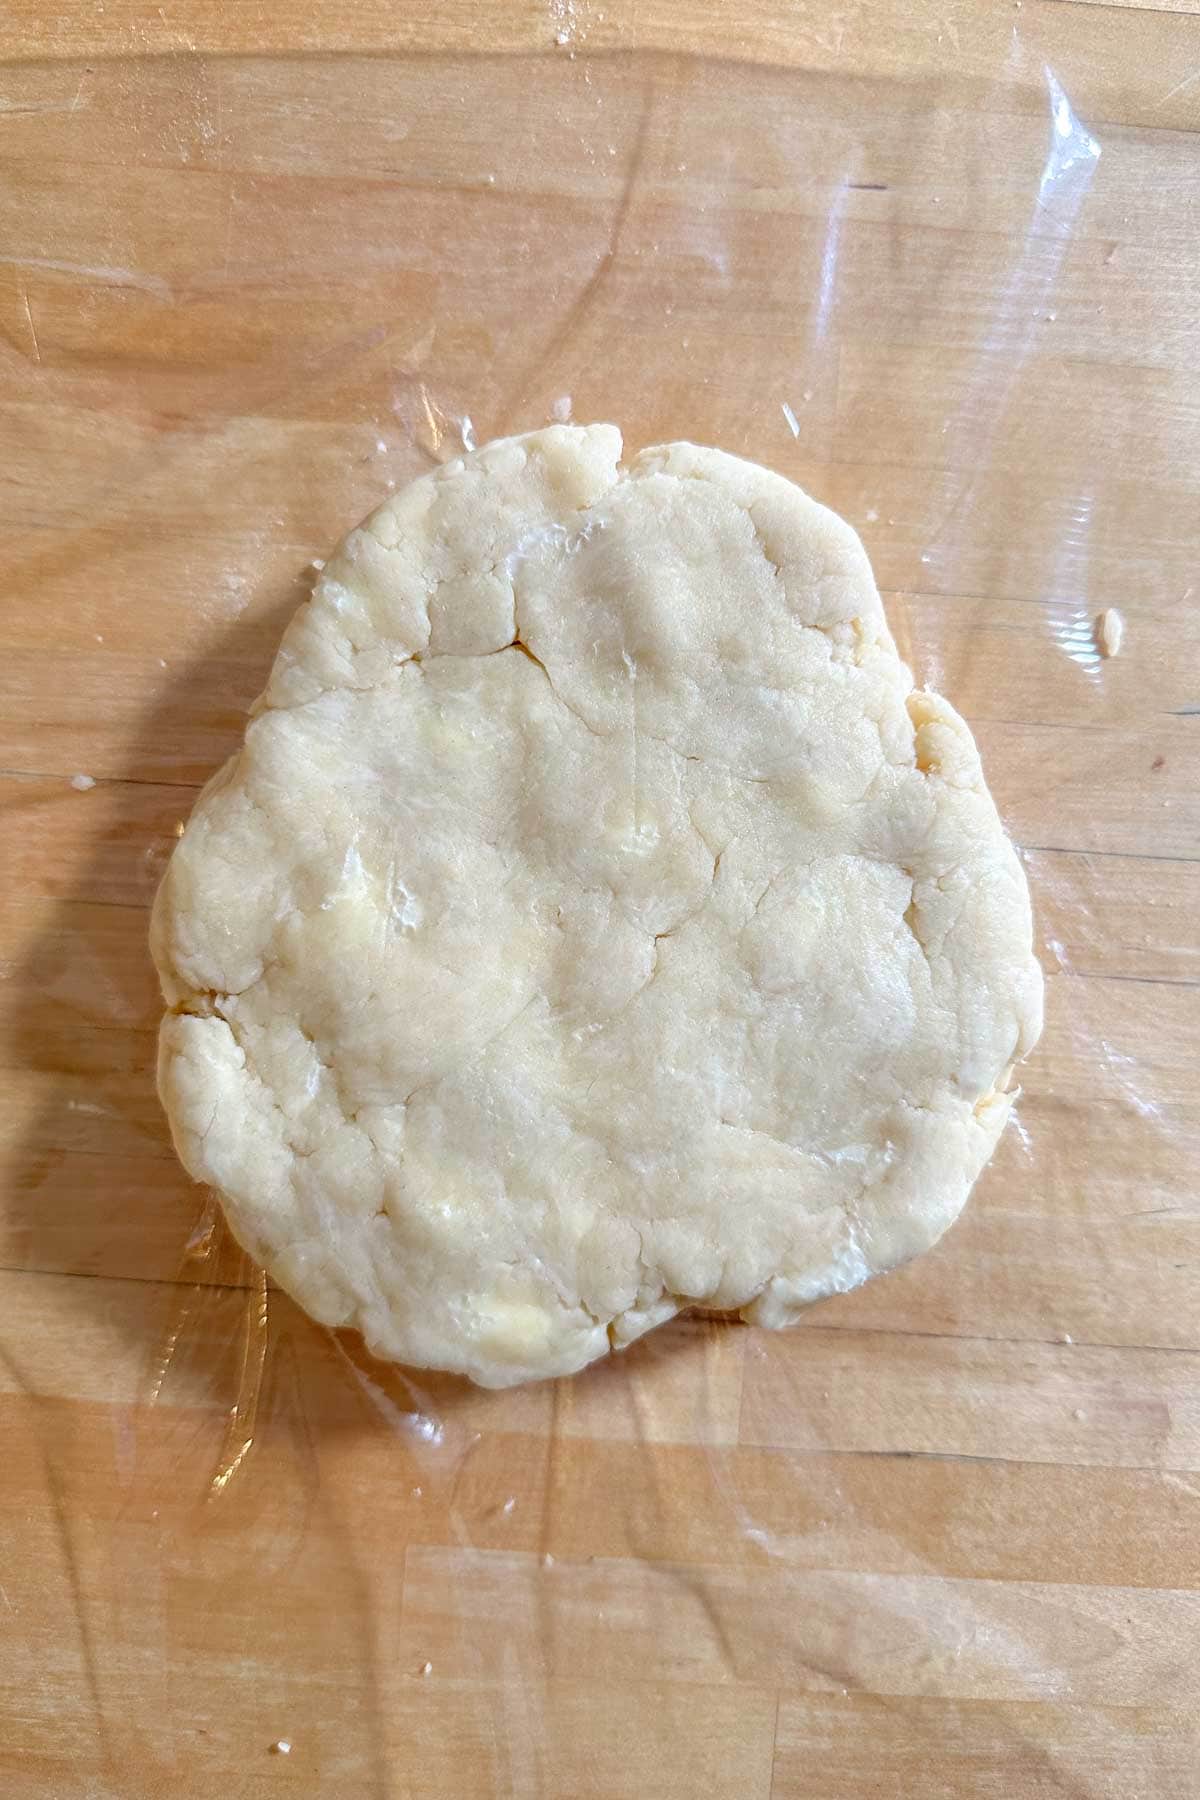
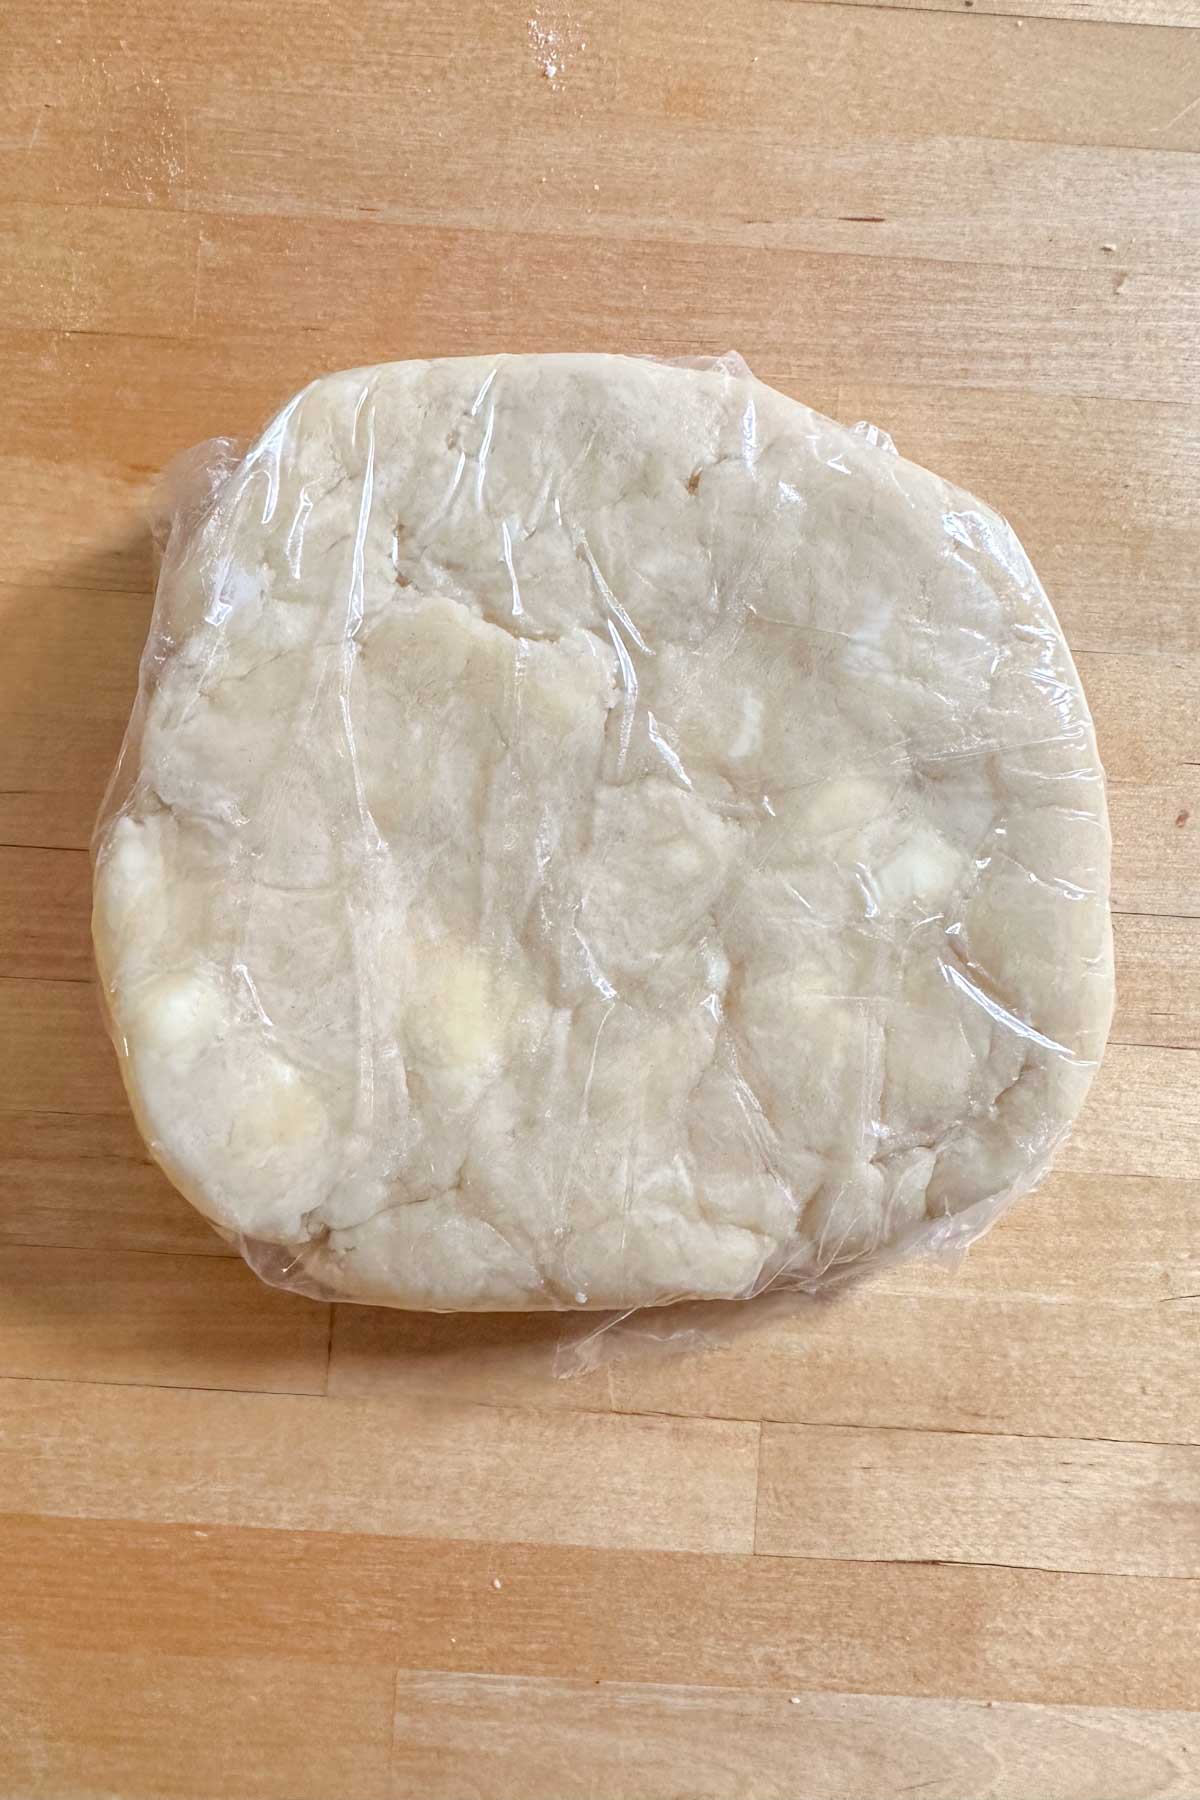
Shape into a 6-inch disc and wrap well in plastic. If you’ve doubled or tripled the recipe, make sure to divide the dough into equal portions before shaping and wrapping.
Chill in the refrigerator for 30 minutes.
When ready to use, lightly flour a work surface or pastry mat *. Remove the dough from the fridge and lightly dust with flour.
You can let the dough rest at room temperature a few minutes to warm up. You can also give it a few thwacks with your rolling pin to help it “wake up” and be easier to roll.
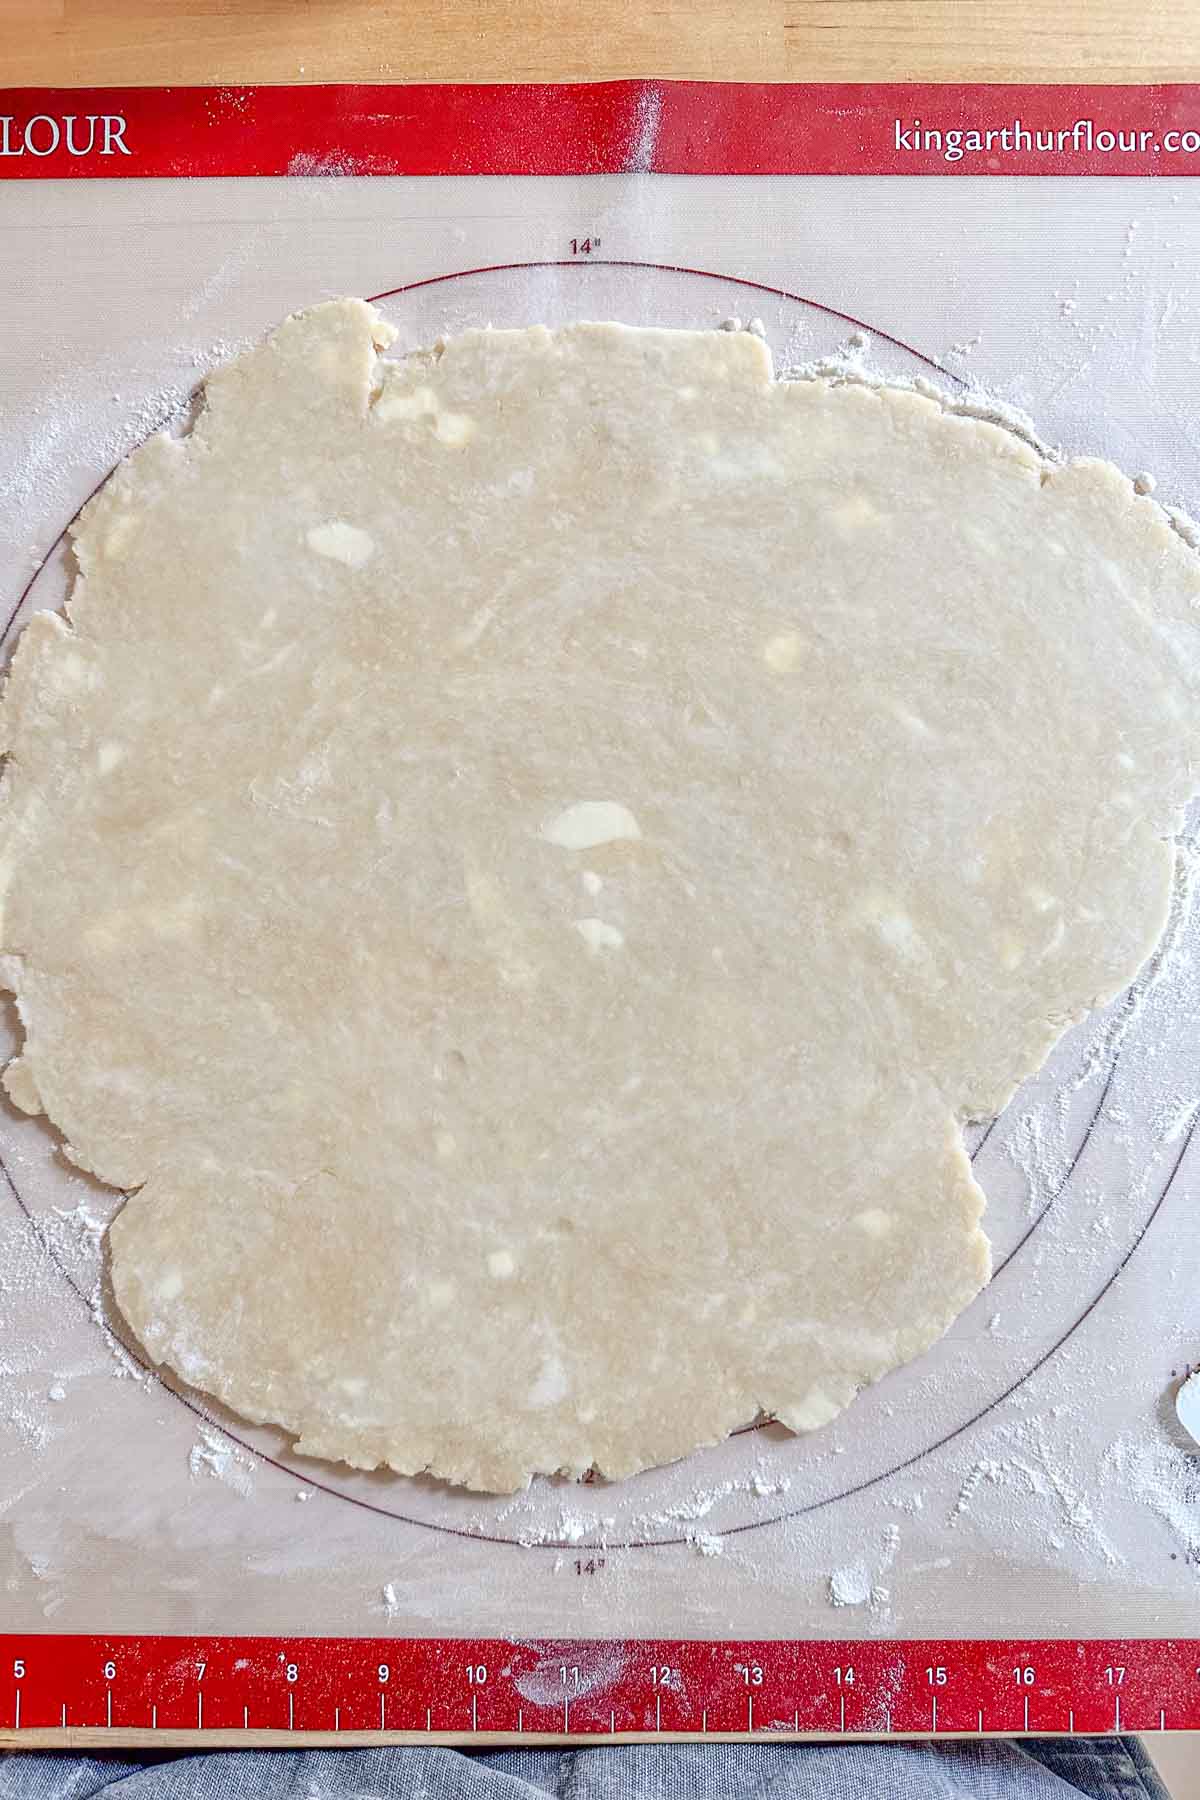
Roll out the pie crust to the desired size and shape. Make sure to roll only in one direction, turning the crust clockwise in between rolls, for even shaping.
For a standard 9-inch crust, you will want to roll it out to approximately 12 inches. You can use a marked pastry mat to help you, or place your pie plate on top of the rolled-out crust to measure.
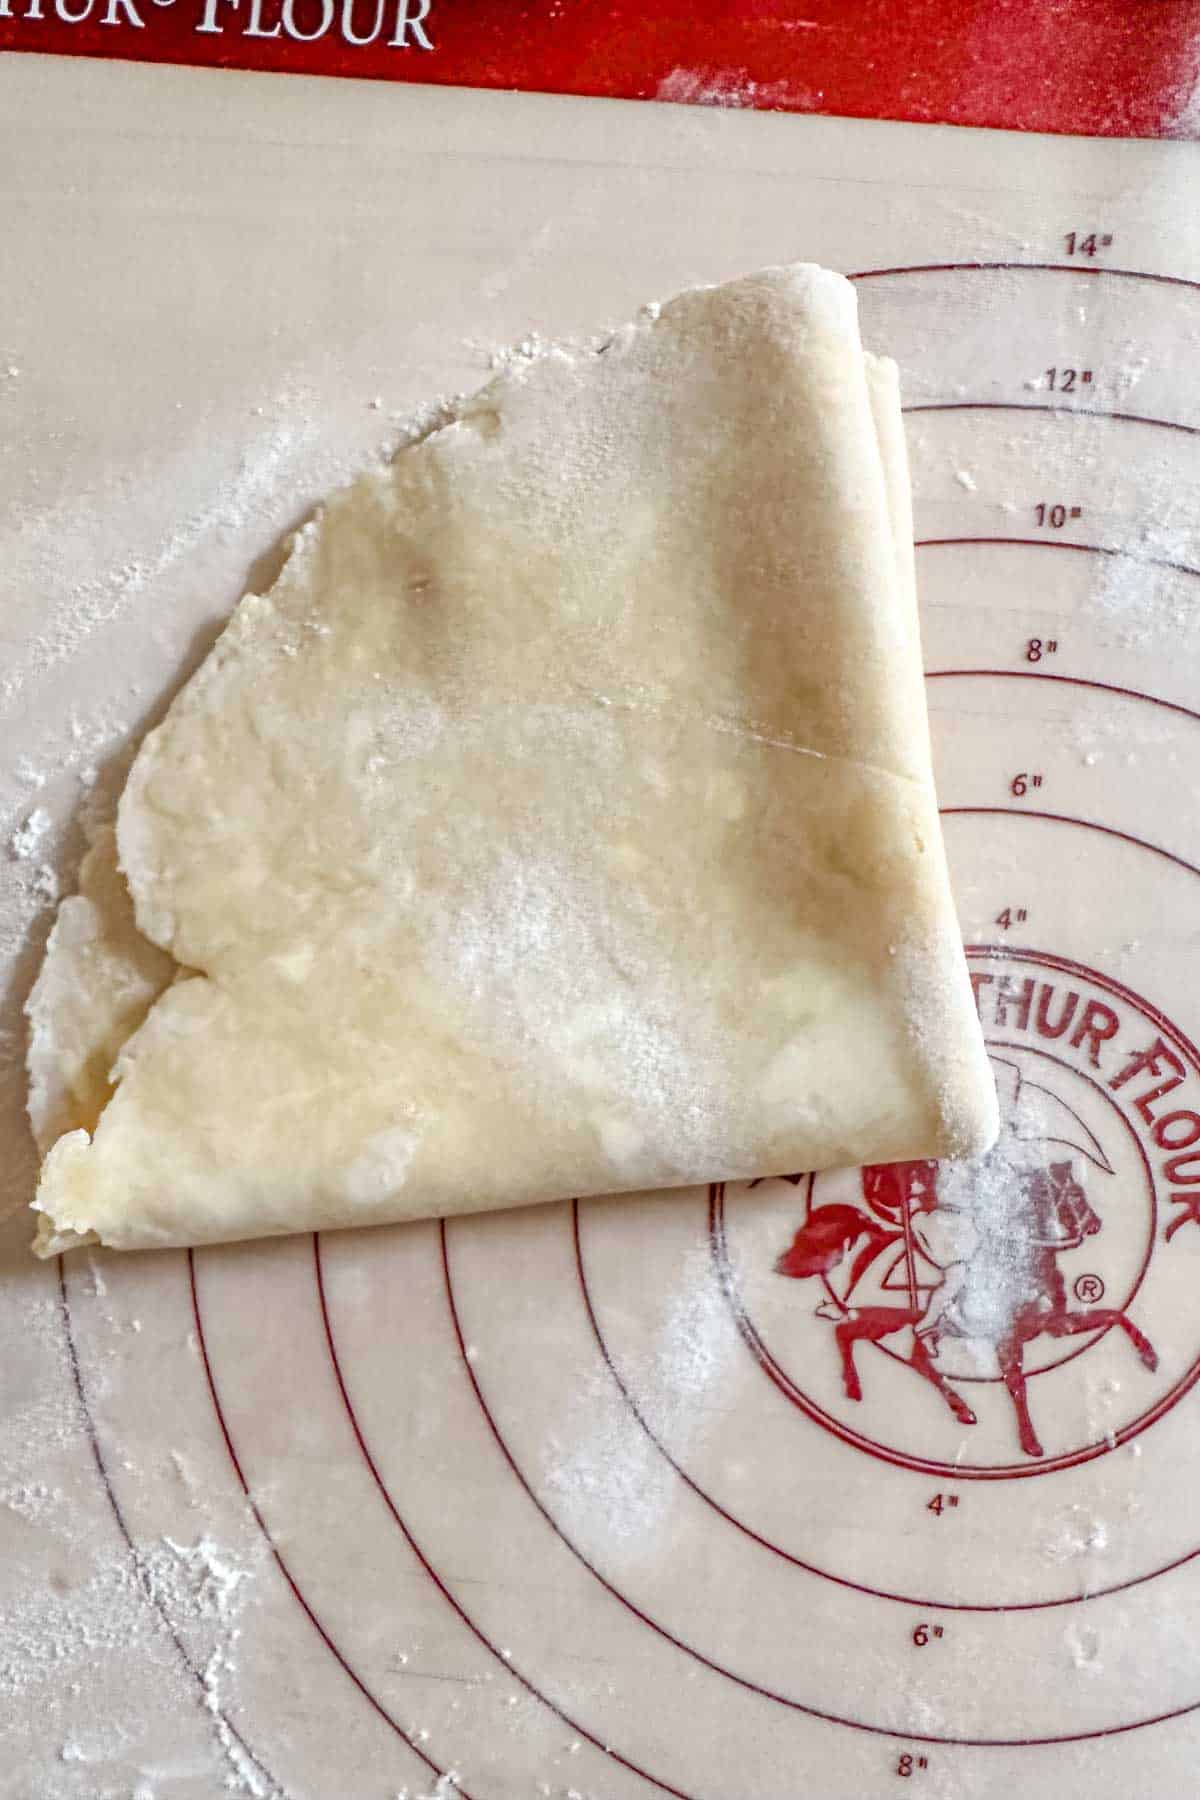
Once rolled out, carefully fold in half, then half again, to make a triangle. Transfer to the pie plate * and unfold, recentering as needed.
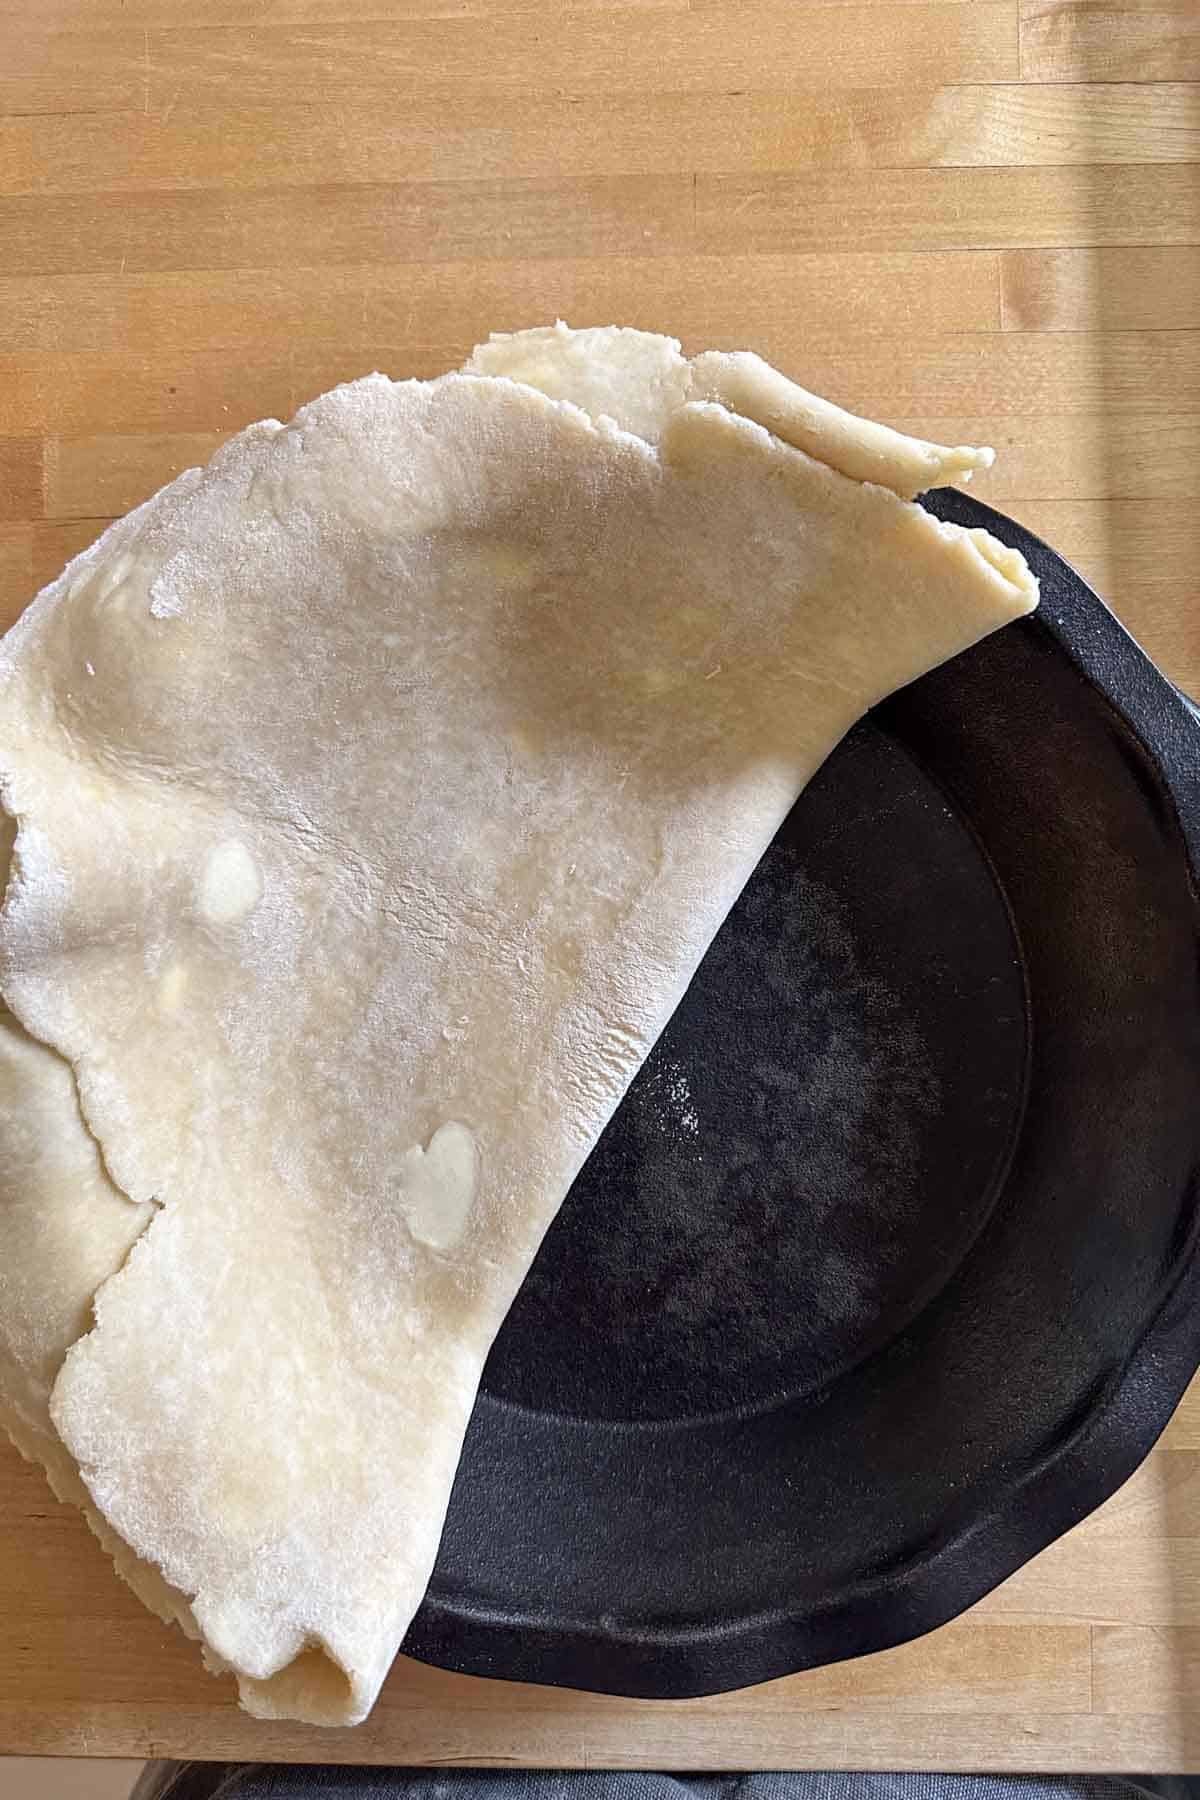
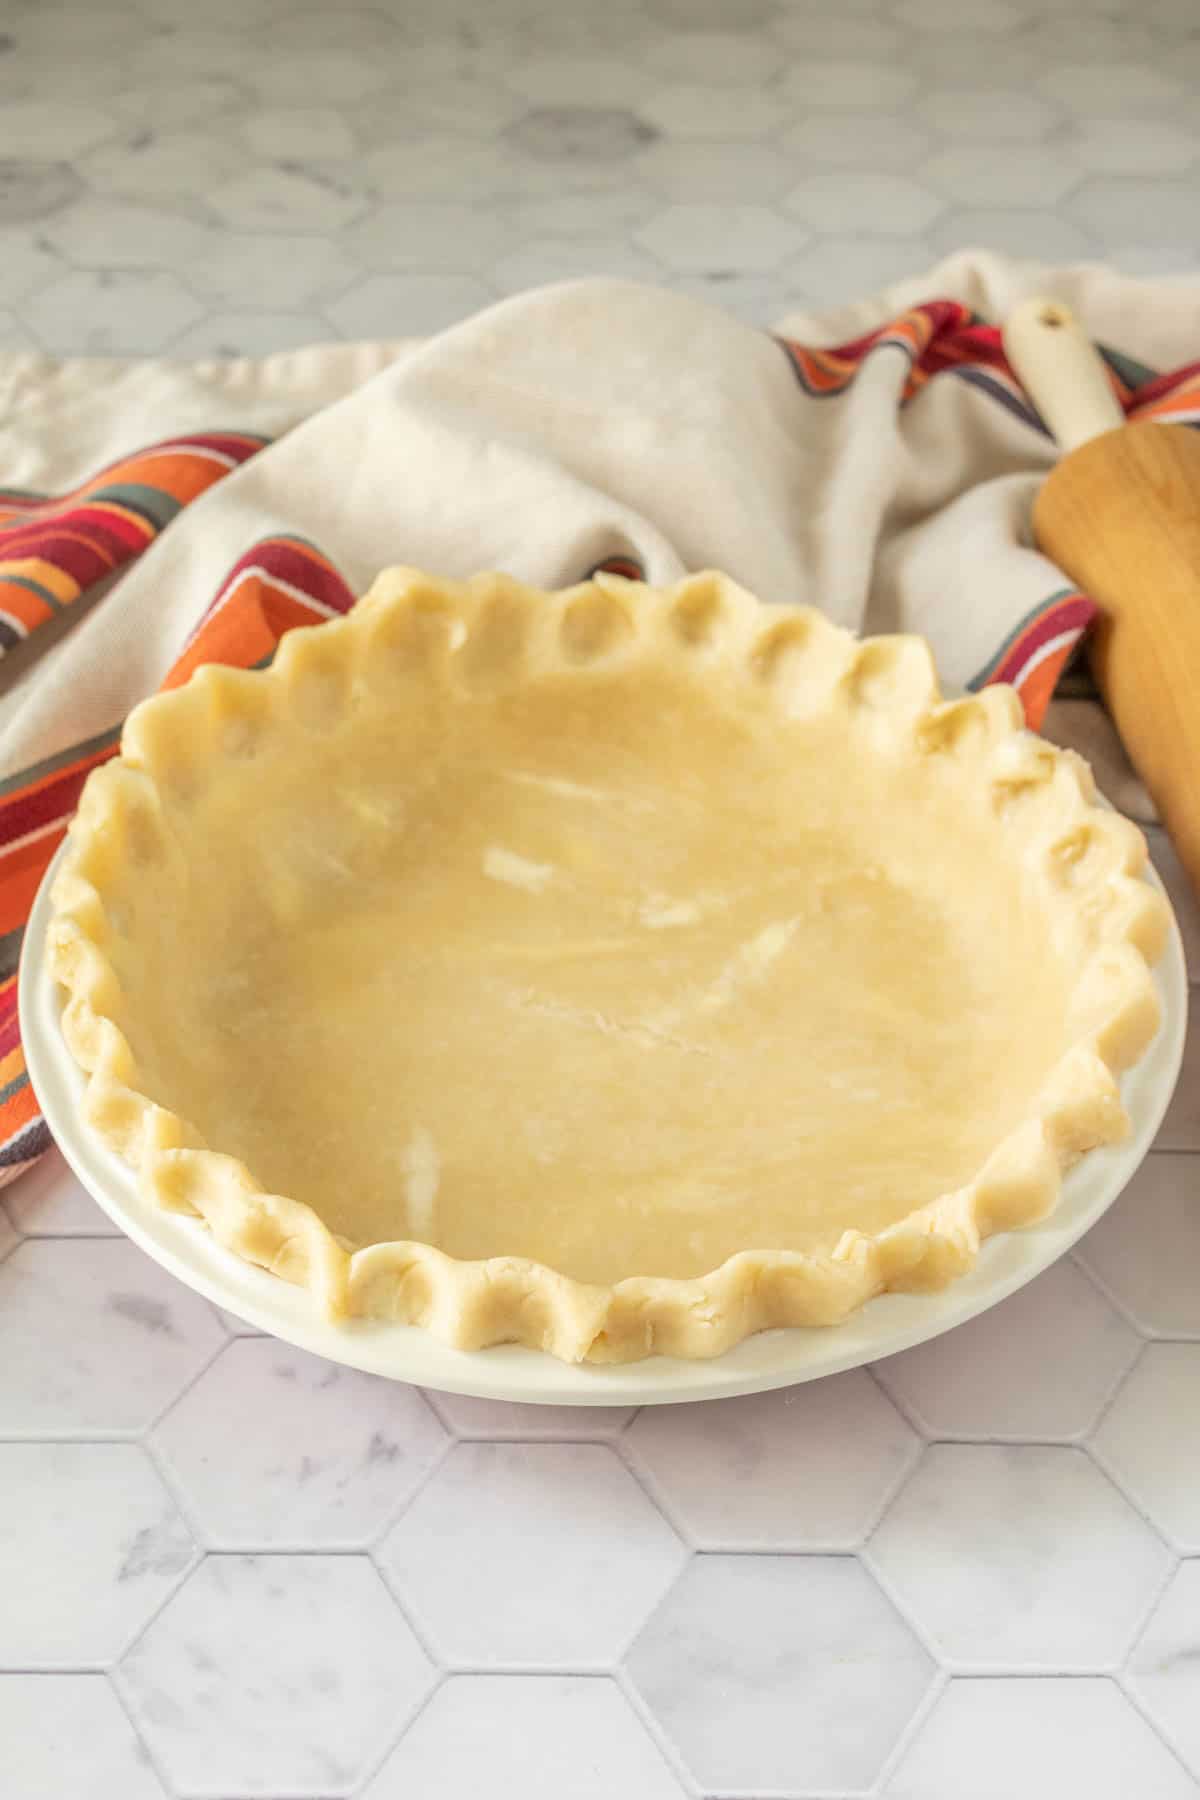
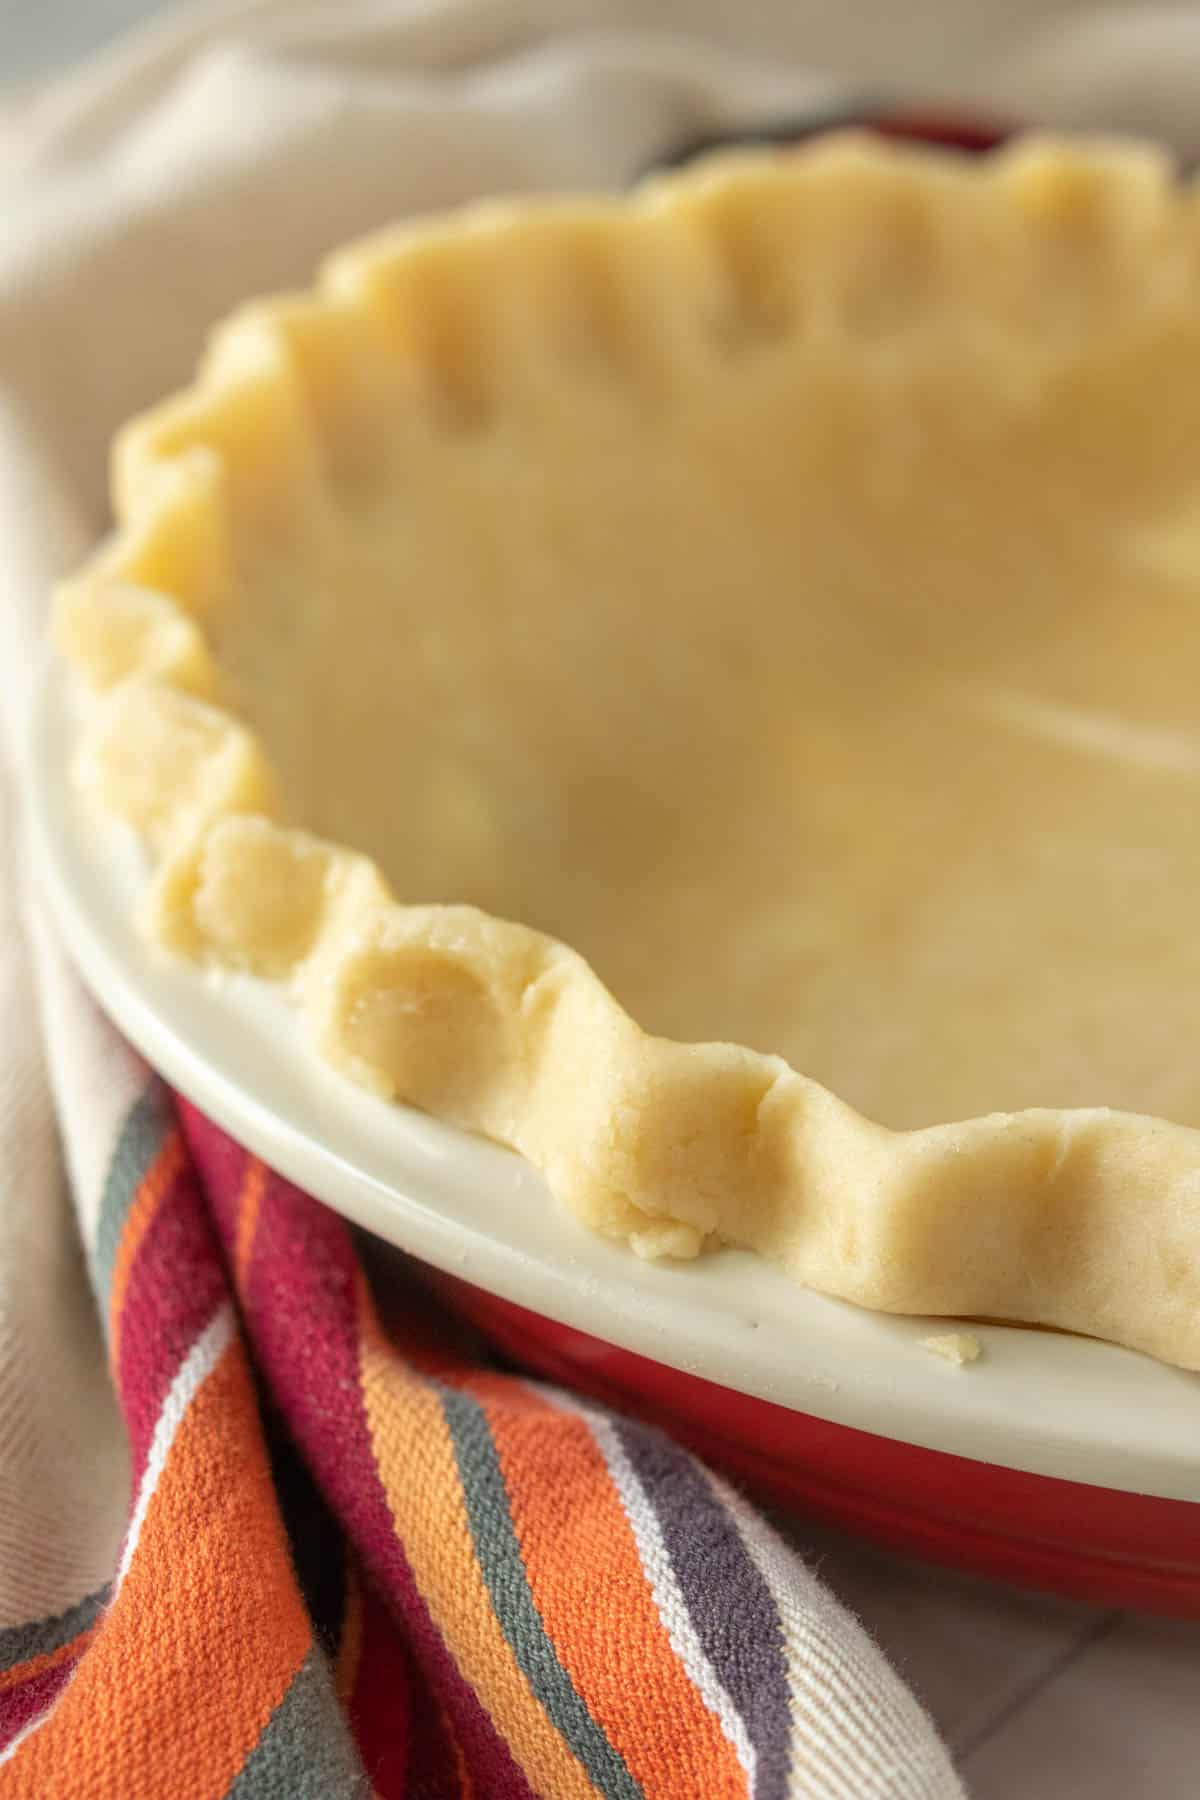
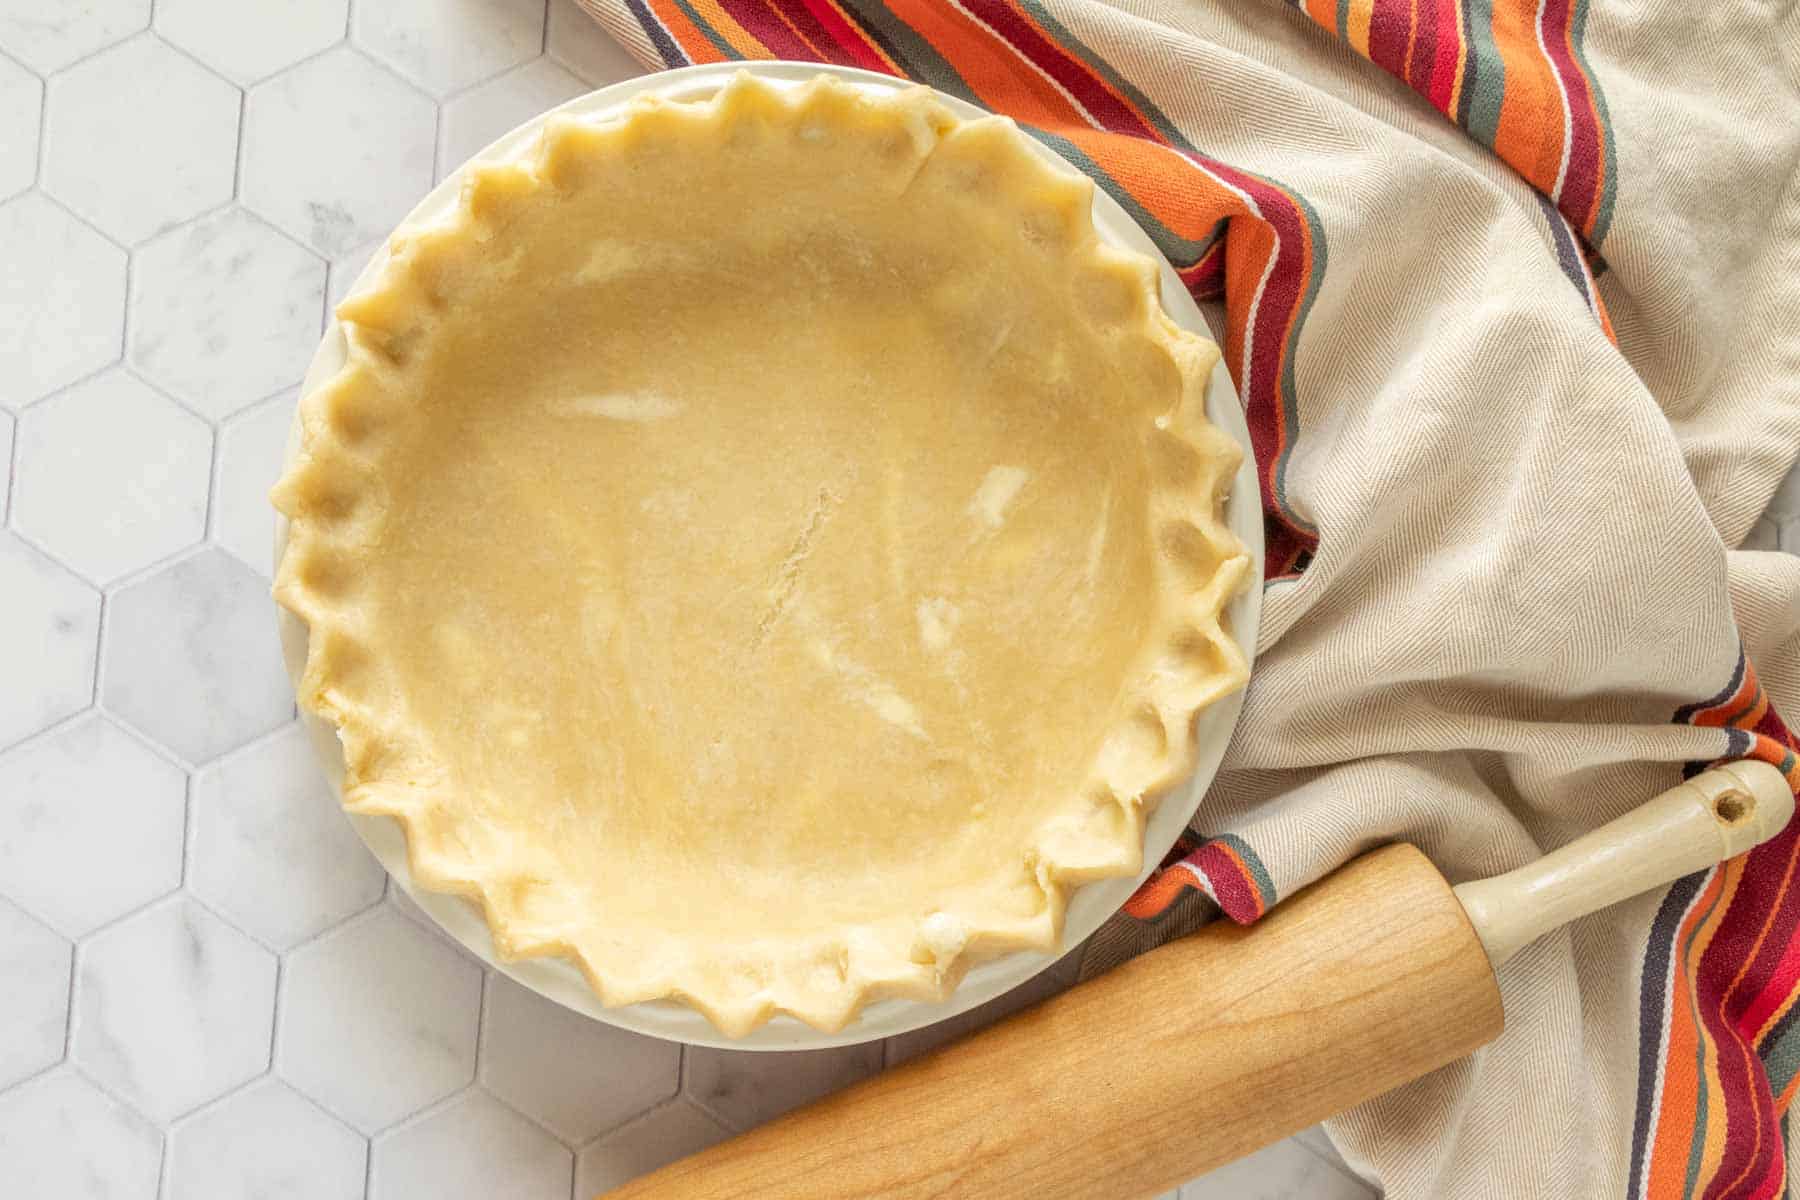
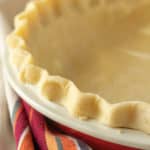
Shape into the pie plate. Trim and crimp edges as desired.
You’ve made a pie crust!
FAQ and tips
Recipes for using pie crust
This crust can be used for any pie, tart, or quiche recipe. Remember that if you’re making a savory dish to omit the sugar!
Try it for apple pie with cheese, shoofly pie, or buttermilk pie. Or double the crust and make a classic cherry pie.
For quiches, make bacon spinach quiche, asparagus quiche, broccoli cheddar quiche, or my favorite quiche lorraine!
Cut the dough into rectangles and fill with raspberry jam for homemade pop tarts, or make hand pies with blueberry pie filling.
Homemade Pie Crust
Ingredients
- 1 1/3 cups all-purpose flour
- 1 tablespoon granulated sugar, optional, for sweet crusts
- 1/2 teaspoon fine sea salt
- 4 tablespoons shortening
- 6 tablespoons cold unsalted butter
- 3 to 6 tablespoons ice cold water
Directions
- In a mixing bowl, combine flour, sugar (if using), and salt.1 1/3 cups all-purpose flour, 1 tablespoon granulated sugar, 1/2 teaspoon fine sea salt
- Cut in shortening, rubbing into the flour until the mixture looks like wet sand.4 tablespoons shortening
- Cut in the cold butter with a pastry blender * or two knives.6 tablespoons cold unsalted butter
- Sprinkle over 3 tablespoons of the ice water and mix well to bring the dough together. Add more water as needed, just a little bit at a time, to bring the dough together.3 to 6 tablespoons ice cold water
- Knead a couple of times to smooth out. Shape into a 6-inch disc and wrap in plastic wrap. Chill for 30 minutes.
- When ready to roll out, lightly flour a work surface. Let dough warm up for a couple of minutes, then lightly dust with flour.
- Roll out into a 12-inch circle, turning the dough clockwise as you work to roll out evenly.
- Shape into pie plate, trim edges, and crimp as desired. Fill and bake per your favorite pie recipe.
Notes
- Pie crust dough can be frozen for up to 3 months, double wrapped and stored in a freezer bag.
- This recipe was updated 10/29/25 to add 2 tablespoons of butter for better texture, for a total of 6 tablespoons.
Recommended Products
Nutrition
Nutrition information is provided as a courtesy and is an estimate based on online calculators. Any nutritional information found on Stetted should be used as a general guideline only.
You might also like:


About Megan
I learned how to cook by exploring seasonal ingredients, and you can too! Meal time shouldn’t be stressful or complicated, and with fresh ingredients and easy methods, I’m here to help you enjoy the time spent in the kitchen. Read more…


Why do I need a scale to measure the flour when your recipe calls for 1 1/3 cups.
Hi Mark, I have US standard measurements included along with metric for readers who don’t have a kitchen scale. Clicking Metric in the recipe card will give you the weight measurements.
I always wanted to, but never did/now I will. Thank you for the instructions! I will