*This post contains affiliate links and may earn commissions on recommended products. As an Amazon Associate, I earn from qualifying purchases.
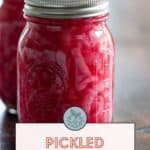
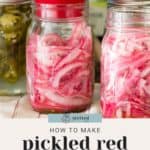

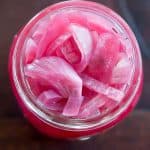
Pickled red onions are an essential topping for tacos, pulled pork, and hot dogs. They’re easy to make to keep on hand all year long.

Americans have a thing with condiments. No matter how much actual food we have in our refrigerators, the door shelves are always stuffed with ketchup, mustards, mayo, relish, pickles, sauces, dips, and dressings.
I’m fairly certain I was nearly 30 before I had pickled onions. But as soon as I experienced them, I wondered why they had been missing from my life. (Answer: I spent the first 25 years of my life in the Midwest.)
These days I make a lot of different pickles, from pickled green beans to pickled cauliflower, but no matter what, we always keep pickled red onions on hand. They’re so easy to make that there is really no excuse not to.
Even if you choose to not process these in a water bath canner, you can keep pickled red onions in the refrigerator for a long time.
This is my favorite pickled red onion recipe. It’s perfectly tangy and sweet, and great for topping just about anything.
If you love pickles but haven’t yet had pickled red onions, you’re in for a treat!
Ingredients for pickled red onions
Pickling is so much easier than people tend to think it is. All you need is some spices, salt, vinegar, water, and sometimes sugar.
To pickle red onions, you’ll need:
Red onions – Red (or purple) onions are known for their bite, which is perfectly tamed when pickled.
Red onions can vary in size but are often larger than their white or yellow counterparts.
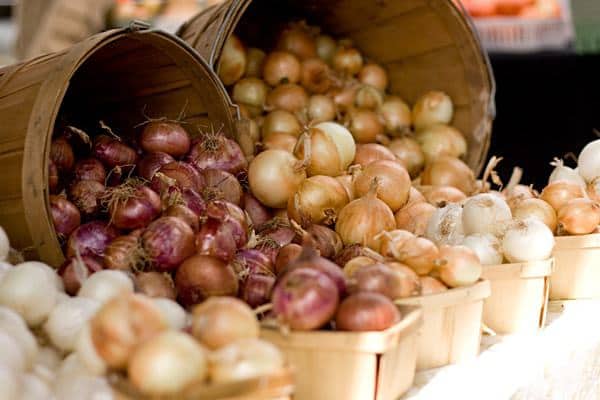
Choose red onions that are firm and heavy for their size, with no soft or molding spots.
Vinegar – This recipe uses distilled white vinegar, which you likely already have in the pantry. Cider vinegar is also a good option. Plain rice vinegar has a little bit of sweetness, which can work well with the onions.
Water – Water is added for balancing the vinegar. It’s important to not use more than 50% water in the brining liquid, or you won’t have a proper pickle. More than 50% water is also unsafe for water bath canning and pantry storage.
Sugar – Granulated sugar is added to sweeten the onions and give it the characteristic sweet-sour taste. I don’t recommend swapping the granulated sugar for honey or maple syrup as it can affect the taste of the onions.
Pickling salt – Pickling salt is a fine salt that dissolves easily in liquids like pickle brines. You can substitute fine sea salt.
Celery seed – Celery seed brings a bit of citrus taste. You might be familiar with it being in your favorite coleslaw recipes!
Crushed red chile flakes – Chile flakes (also known as red pepper flakes) add just a bit of heat to the pickled onions. You can also use a small whole chile if you like it extra spicy.
Black peppercorns – Whole peppercorns are used here, not ground black pepper.
How to pickle red onions
Grab 2 pint mason jars (wide mouth works great) or a large bowl with an airtight lid for your onions. If water bath canning, also prepare your canner and prepare lids and rings.
Trim the ends from your onions, peel off the outer layers, and slice thinly. You can use a mandoline to slice them, or cut carefully with a knife.
tip
Place the onions in the freezer for 10 minutes before slicing to help prevent tearing up while cutting.
Divide the celery seed, chile flakes, and black peppercorns among your jars.
You can either stuff the mason jar with the sliced onions, or soften the onions in the brine. I like to soften the onions in the hot vinegar mixture to allow for better packing of the jars, but if you’re in a hurry you don’t need to do this.
In a medium saucepan, combine the vinegar, water, sugar, and pickling salt. Bring to a boil, stirring to dissolve the sugar and pickling salt.
Once dissolved, add the sliced red onions and turn off the heat. Use a pair of tongs to mix the onions in the brine until they are just slightly softened.
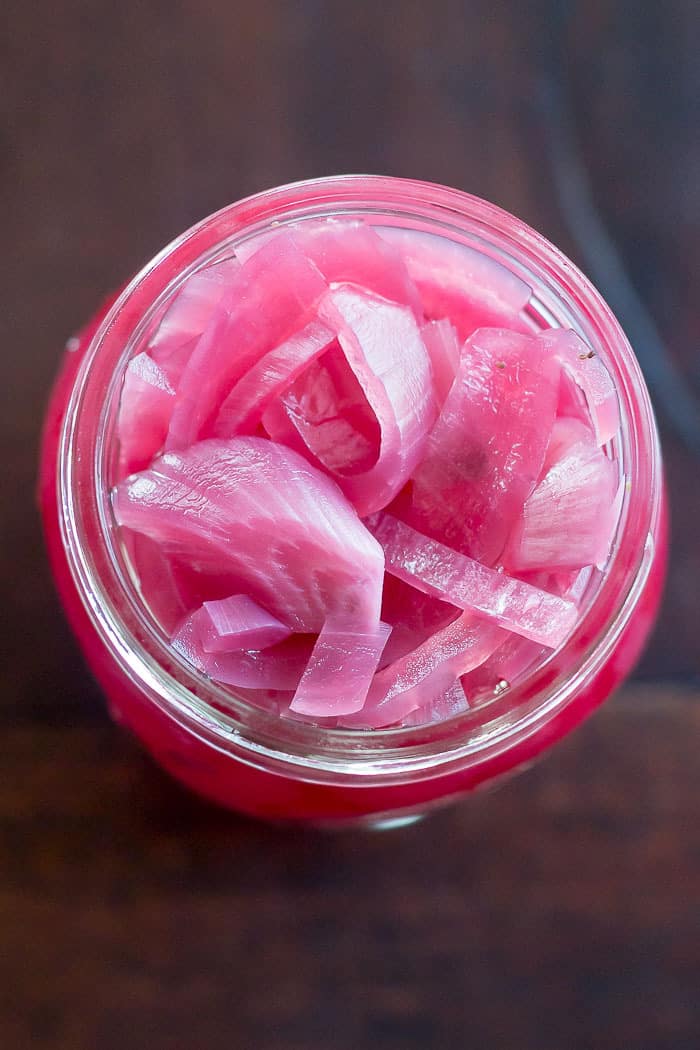
Stuff the jars with the softened onions, then carefully pour the pickling liquid over the onions.

Leave ½ inch of headspace at the top of the jar, even if you don’t use all of the brine. The onions should be completely covered.
Place on lids and let cool to room temperature before storing in the refrigerator, or process immediately in a water bath canner *.
Water bath canned pickled red onions
If you want to store your pickles long-term in the pantry, they need to be processed in a water bath canner.
Want to save this recipe for later?
Fill your water bath canner with enough water to cover the jars by 2 inches. Cover and bring to a boil.
Prepare the onions while the water heats.
Make sure your jars are fitted with canning lids and rings, not reusable plastic lids.
The canning lids should be new. Canning rings can be reused, but check the insides for any signs of rust and discard if rusted.
When ready to can, carefully lower the filled jars into the boiling water.
Place the lid on the pot and bring back to a boil.
Process (boil) the jars for 10 minutes, then turn off heat. Remove jars carefully and set on a towel-lined countertop and let rest for 24 hours before moving.
The jar lids should “ping” when sealing. This can happen while in the water bath, or after. After the jars have rested, check for the seal.
To check for a seal, look for a divot in the center of the lid. You can also very gently press in the middle; if it bounces back it has not sealed.
Any jars that have not sealed should be stored in the refrigerator.
Label sealed jars with the contents and date, and store in the pantry for up to 18 months. Make sure to check that the lids did not pop up during storage before eating.
This recipe makes two full pint jars * of pickled onions, which lasts our family three to six months, depending on how many times we make tacos!
I like making multiple jars so I can have one in the fridge and one in the pantry, but you can also combine these into one large quart jar and just keep it in the fridge from the start.
Tips for making pickled red onions
If you have especially large red onions, cut them into quarter-moons rather than half moons before slicing. Making smaller slices will help for packing them into jars.
Use a chopstick or small wooden dowel to help press down onions and remove any air bubbles after you add the first pour of the vinegar mixture.
This will allow you to either add more onions or more vinegar as needed. You want the jars to be full to 1/2 inch of the top for safe canning.
If your jars are not filled to the recommended level, store them in the refrigerator. Jars that are under-filled might not get a good seal and be unsafe for pantry storage.
These quick pickled onions will be ready to eat in a few hours. However, for the very best flavor, let pickled red onions cure for a few days before eating. The longer the better for optimum pickle flavor!
If you want to change up the flavors in your onions, you can add garlic cloves, coriander seeds, cumin seeds, or even oregano to your spice mix.
FAQ
How long do pickled red onions last?
Stored in the refrigerator, pickled red onions will keep for 1-2 months.
I keep mine toward the back, in the coldest part of the fridge.
If processing in a water bath canner, pickled red onions will last for 18 months. Be sure to check the jar for any leakage or breaking of the seal before opening.
Can you use any vinegar for pickling?
This recipe uses distilled white vinegar, but you can use other vinegars for pickles as well.
Cider vinegar (also known as apple cider vinegar, not to be confused with apple cider the beverage) is one great option. White wine vinegar or red wine vinegar will also do, but keep in mind red wine vinegar will affect the color of the pickle.
Make sure your vinegar is at least 5% acidity when using for pickles.
Serving suggestions
If you’re wondering what goes with pickled red onions, the answer is: just about anything!
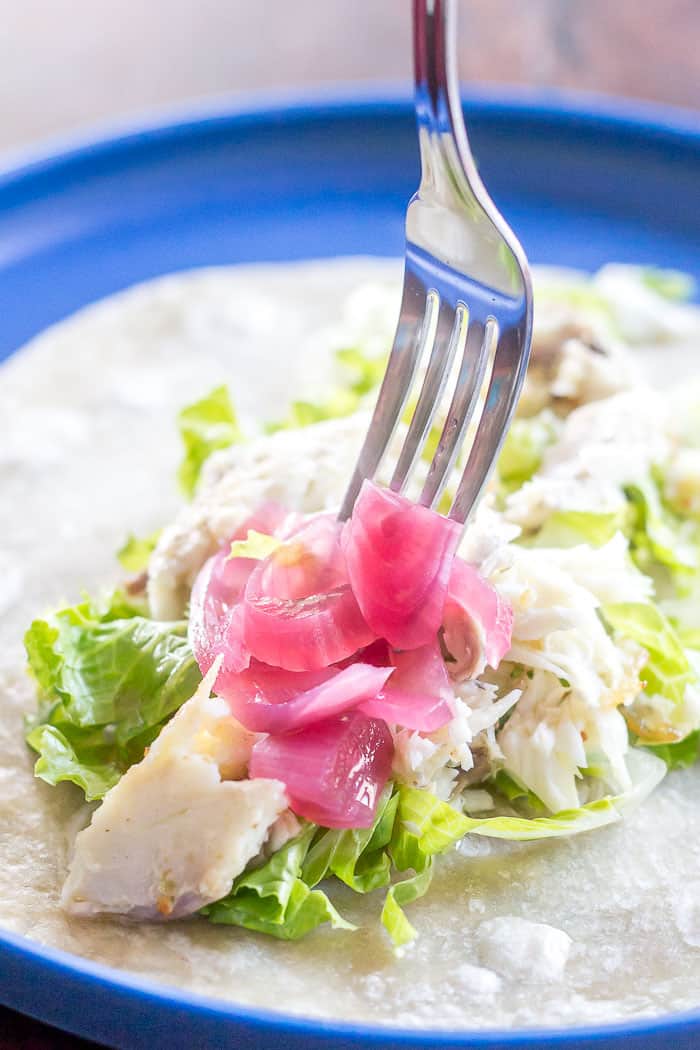
We love them on top of slow cooker chicken tacos, pulled pork pizza, enchiladas, and bison burgers.
You can also add them to salads, homemade dips, sandwiches, or quesadillas.
Use them on top of hot dogs, butternut squash chili, or a bowl of ramen.
Or, simply enjoy them with cheese and crackers! Pickled red onions are great anywhere you want a bite of tangy sweetness.
Pickled Red Onions
Ingredients
- 1 1/3 cup white vinegar
- 1 cup water
- 1/2 cup granulated sugar
- 1 tablespoon pickling salt, plus 1 teaspoon
- 2 pounds red onions
- 1 teaspoon celery seed
- 1/2 teaspoon crushed red chile flakes *
- 1/4 teaspoon black peppercorns
Directions
- If making recipe to preserve, heat a large pot of water or canning pot to boiling. Set 2 pint jars inside pot to sterilize and heat. Set lids and rings aside.
- Trim ends from onions. Cut into half or quarter moons, then slice thinly.
- In a large pot, combine vinegar, water, sugar, and salt. Bring to a boil.
- Once vinegar mixture is boiling, add onions and stir to combine. Reduce heat and simmer briefly.
- In a small bowl, combine celery seed, red chile flakes, and peppercorns. Remove jars from hot water bath and divide spice mixture between them.
- Pack hot onions into the jars. Pour brine into each jar, leaving 1/2 inch of space at the top of the jar. Using a chopstick, remove any bubbles in the jar by running it around the outside. Add more brine if necessary.
- Wipe jar rims clean and apply lids and rings. If canning, lower into boiling water bath. Process for 10 minutes, then remove carefully and let rest for 24 hours before moving. If jars are not sealed, store in the fridge.
Notes
- Adapted slightly from Food in Jars.
- Makes 2 pints.
- You can skip the water bath by just putting the onions into jars and moving to the fridge once cooled. Be sure to rinse the jars with hot water first, since you are putting a hot liquid into them.
Want to save this recipe for later?
Recommended Products
Nutrition
Nutrition information is provided as a courtesy and is an estimate based on online calculators. Any nutritional information found on Stetted should be used as a general guideline only.
You might also like:


About Megan
I learned how to cook by exploring seasonal ingredients, and you can too! Meal time shouldn’t be stressful or complicated, and with fresh ingredients and easy methods, I’m here to help you enjoy the time spent in the kitchen. Read more…


No matter how much actual food we have in our refrigerators, the door shelves are always stuffed with ketchup, mustards, mayo, relish, pickles, sauces, dips, and dressings. Considering my 5-year-old loves to combine the two for his broccoli, condiments are ingrained in us.
Great, Just a little too sweet. I’m going to cut the sugar in half next time.
please add water to the ingredient list
its the 2nd ingredient
If you use 2 cups water to 1 cup white vinegar 3 tbsp canning salt 1/3 cup sugar for the brine and process in water bath, can you store in pantry?
Hi Dave, changing the ratio of vinegar to water will change the acid and pH levels, which affects bacterial growth. I would at most make the vinegar and water equal, but not have the water amount higher than the vinegar. With the changes you’ve noted, I’d recommend storing in the fridge.
Are you sure the acidity level is okay for long term storage? Why do other recipes have 3:1 water abs vinegar? Have you tested the acid levels in this brine?
Hi Carlee, this recipe is based off one from Food in Jars, with the same vinegar:water ratio of 4:3. A brine that has 3 cups water to 1 cup vinegar would not be acidic enough for canning; you need at least a 1:1 ratio for water bath canning pickles.
How many onions do you use? kind of shocked this isn’t listed anywhere.
Onions vary greatly in size, so the amount needed is listed by weight. This recipe uses 2 pounds of onions.
kind of shocked that you would expect her to know how many onions it takes to make 2 pounds lol
Would doubling this recipe cause any problems?
Hi LB, I double this recipe all the time! Just make sure you double all the ingredients to keep the vinegar/water ratio the same.
Hi there! Are you measuring your onions before or after you have sliced them for canning?
Hi Jenna, I weigh the onions before I slice them.
I also added 1 teaspoon of Sumac. It adds more of a lemony flavor and nice color. I LOVE Megan’s tips and canning notes.
I love sumac, Dianne! I will have to add that to my next batch. Thanks for your kind comment!
I’m new to canning but excited to try this out. If I use 4 half pint jars instead of 2 pint jars, do I need to adjust the time for processing?
Hi Tiff, you don’t need to adjust the processing time. Pint and half pint jars use the same amount of time!
This is a great recipe. I have made it twice now.