This post contains affiliate links and may earn commissions on recommended products. As an Amazon Associate, I earn from qualifying purchases.
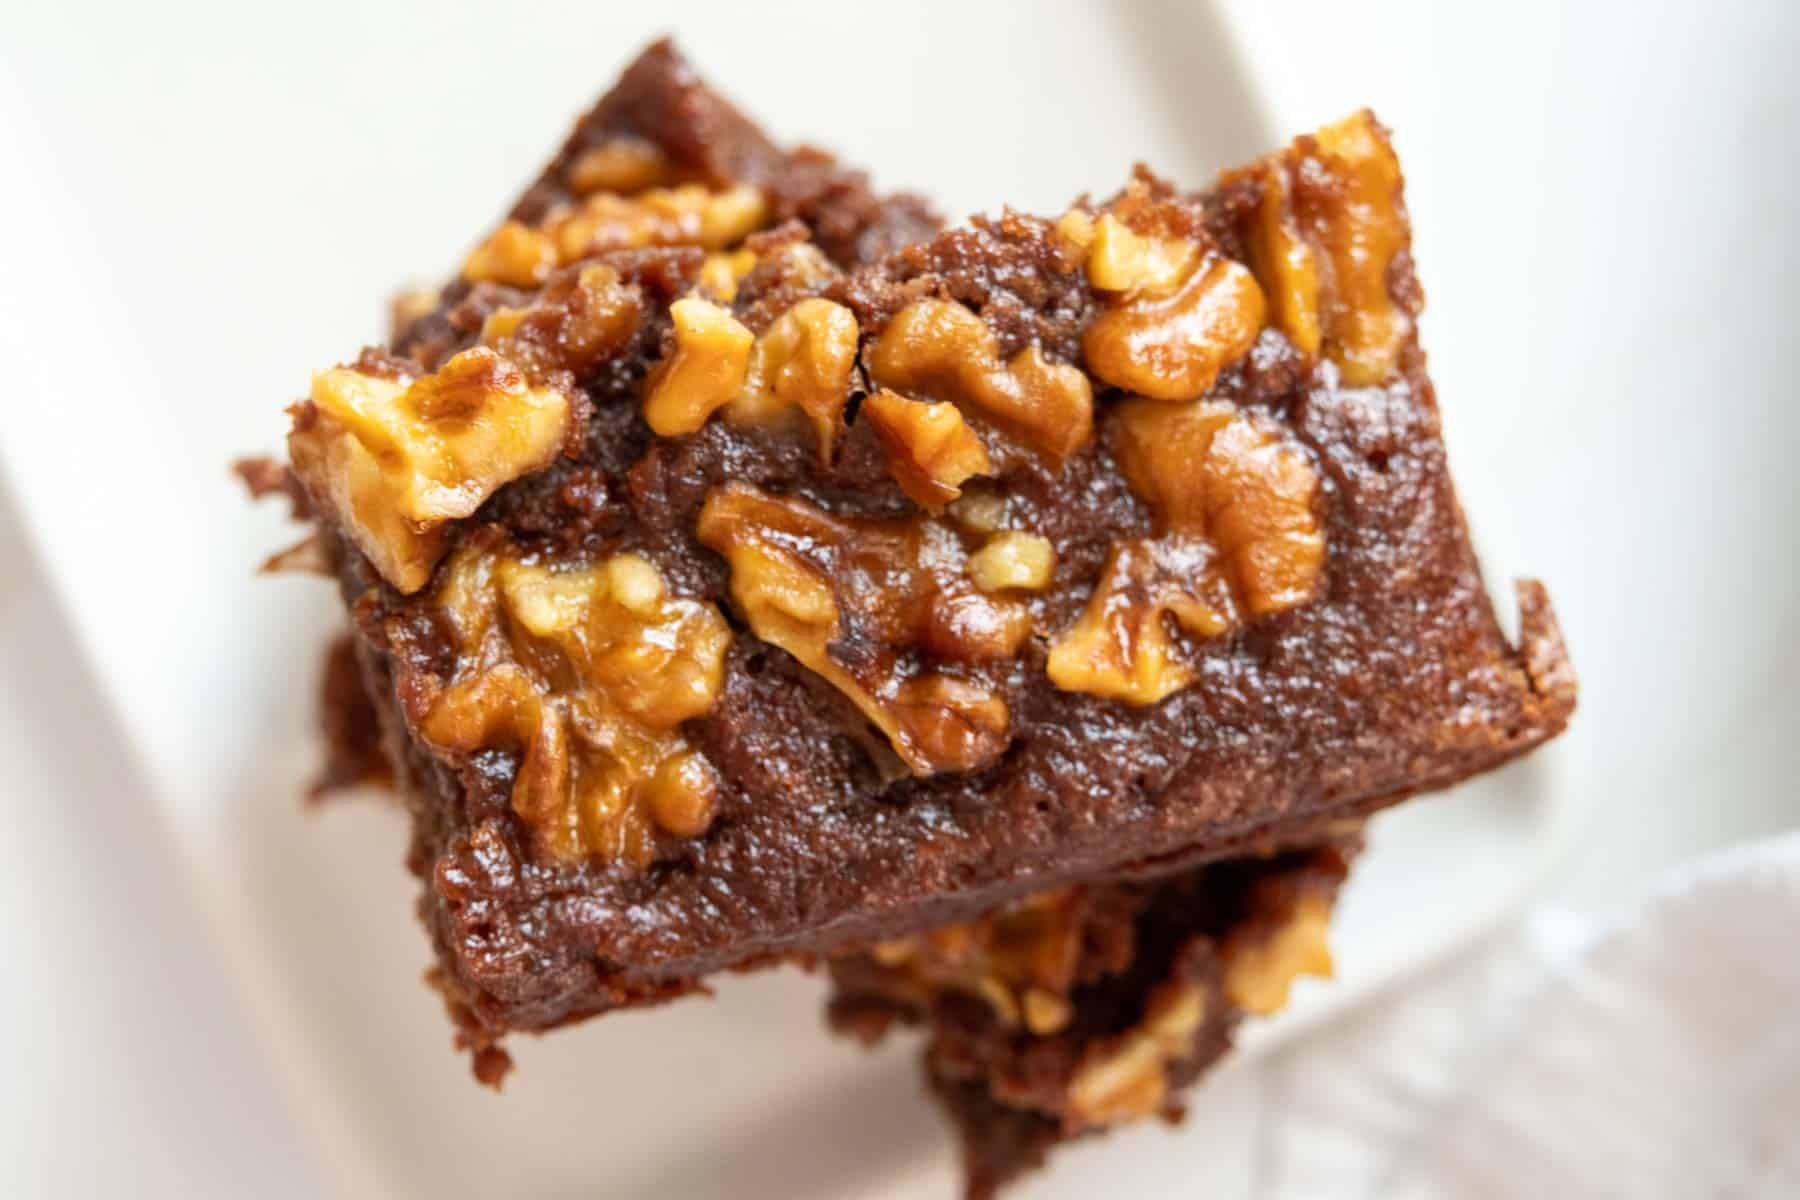
Based on the original brownie recipe, these walnut brownies are rich and fudgy. Serve them chilled for a wonderful treat!
Brownies are probably the second thing I learned how to make, right after blueberry muffins.
When I was a kid we would make the recipe on the back of the cocoa container, but these days I love to make different brownies recipes to suit my mood!
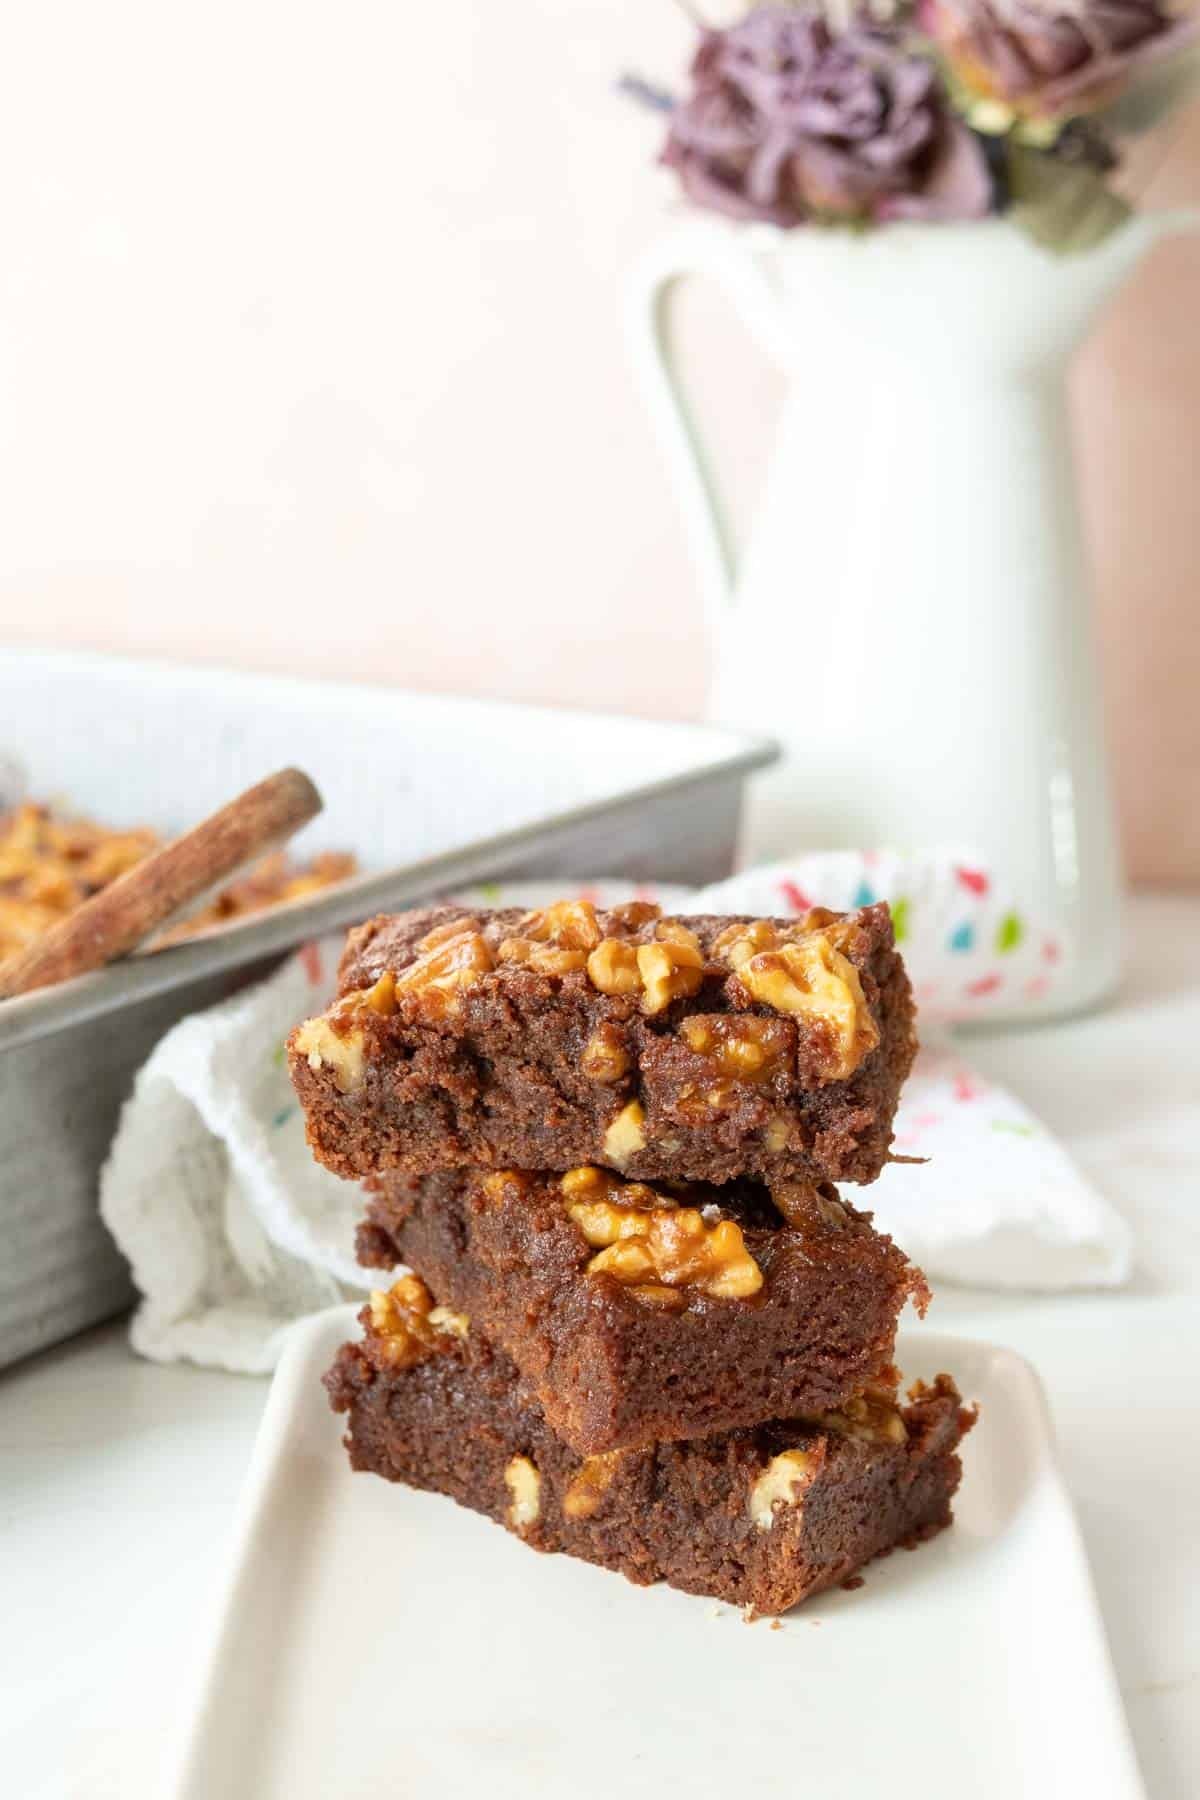
One version I love is walnut brownies. Creamy, nutty walnuts pair up perfectly with dark chocolate. They help offset any bitterness and temper the rich texture.
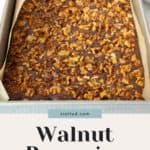
This recipe for walnut brownies is based on the original brownie recipe from the late 19th century. They’re absolutely chock full of walnuts, so if you’re a nut fan, this one’s for you!
Brownie recipe origins
Did you know brownies were invented in Chicago for the 1893 World’s Fair?
Bertha Palmer, owner of the Palmer House Hotel, asked the kitchen staff to create a new confection for people to enjoy with boxed lunches at the fair. They created an ultra rich, ultra nutty bar dessert that has evolved into a quintessential American treat.
The Palmer House is still making these brownies today, and I was able to try them during my stay back in 2019. I’ve been thinking about those rich, dense brownies ever since.
While the hotel’s officially printed recipe changed in 2023, you can still find the original Palmer House brownie recipe online if you’re interested!
Ingredients for walnut brownies
Full list of ingredients with quantities is located in the recipe card.
You’ll need:
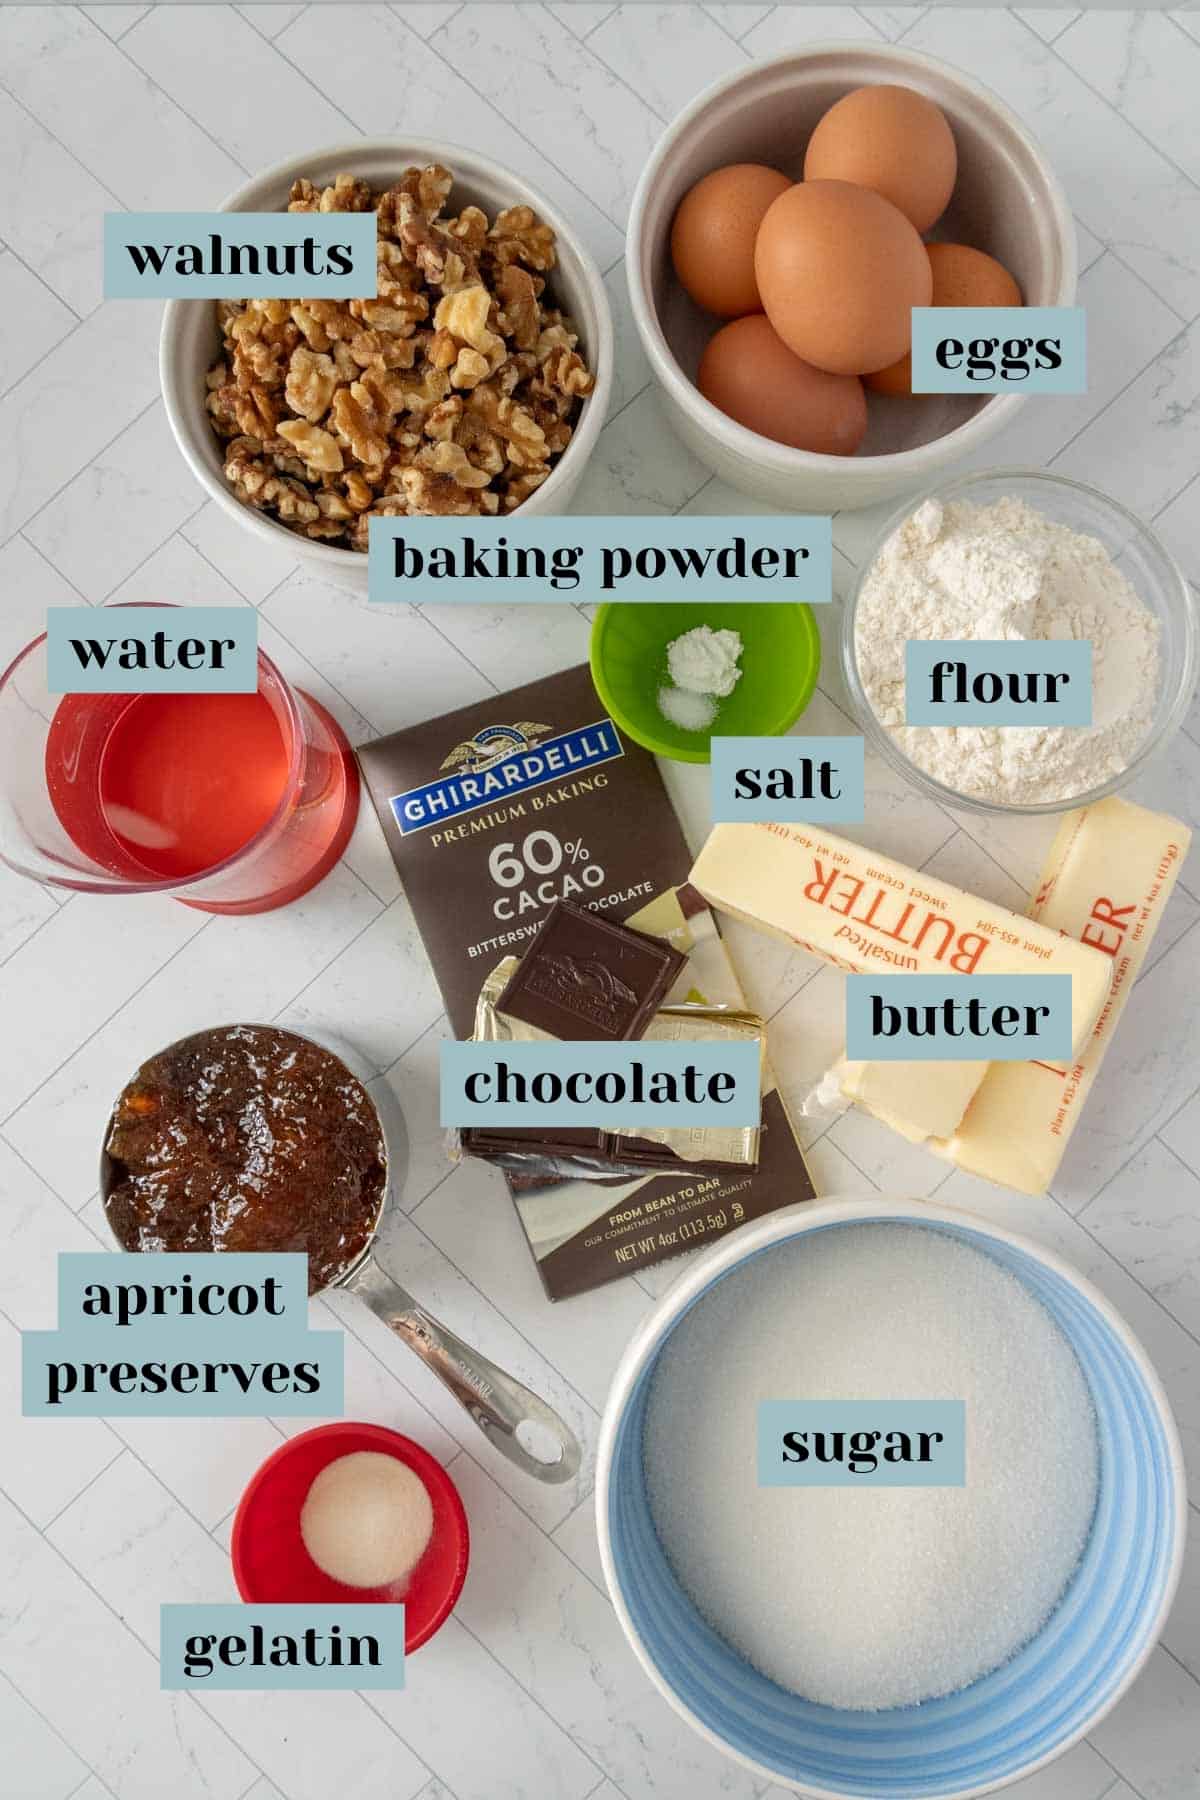
Bittersweet chocolate – Look for chocolate that is 60% cocoa (I use Ghirardelli). You can use a higher percentage if you really love dark chocolate!
Butter – I used unsalted butter for this recipe, as there is quite a lot of butter!
Sugar – Use granulated sugar.
Flour – Just a bit of all-purpose flour is in this recipe. You can also swap in cake flour.
Baking powder – We don’t want these brownies to rise a lot, so only a small amount of baking powder is needed.
Salt – Add a pinch of salt to balance the flavors. I use fine sea salt.
Eggs – You’ll need 5 eggs for this recipe.
Walnuts – You can use walnut halves or chopped walnuts. I like to keep the walnut pieces slightly larger, so I just chop them a little bit.
Apricot preserves – To make a glaze, we’ll thin out some apricot jam.
Water – Needed for the glaze.
Unflavored gelatin – A small amount of gelatin helps to thicken the glaze. You’ll need less than a single packet.
How to make this recipe
First, preheat the oven to 350°F. Lightly coat a 9×13-inch baking pan with nonstick spray, or line with parchment paper. I like to use the parchment paper because a slight overhang helps you remove the brownies for slicing.
Create a double boiler for melting the chocolate. Grab a saucepan and a metal bowl that will sit on the pan without the bottom touching the inside of the saucepan.
Add a small amount of water to the saucepan and set over high heat. Bring to a boil and reduce to a simmer.
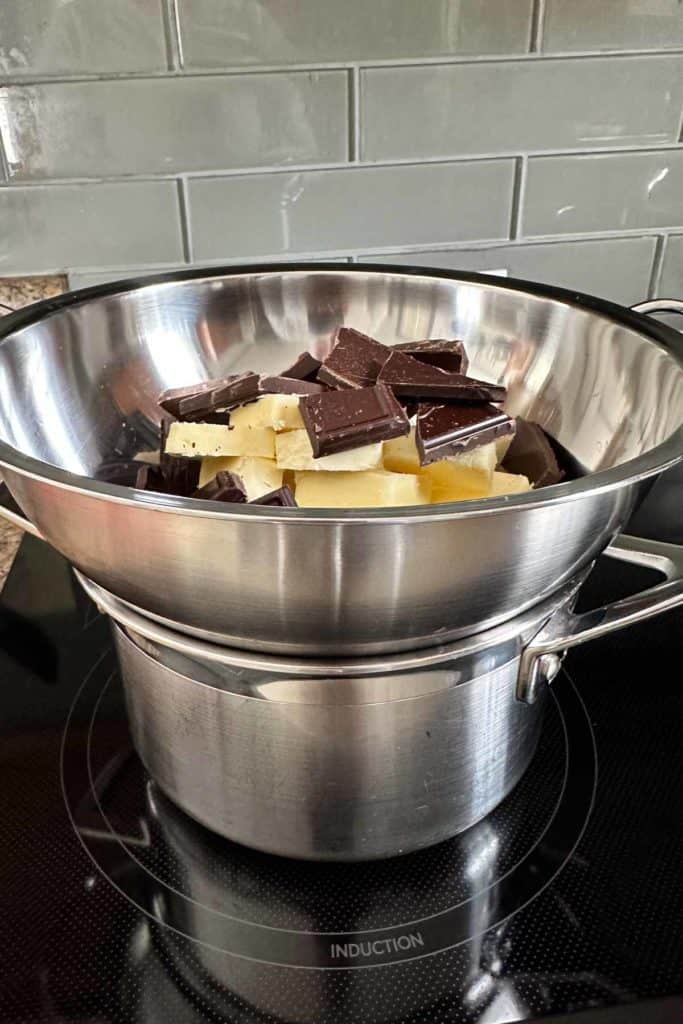
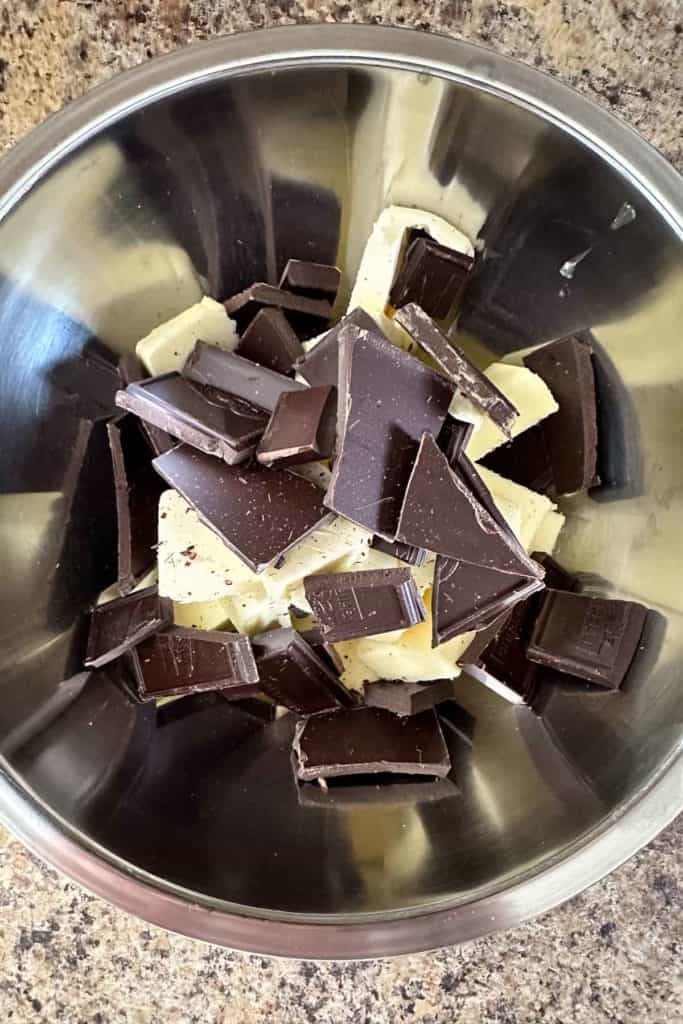
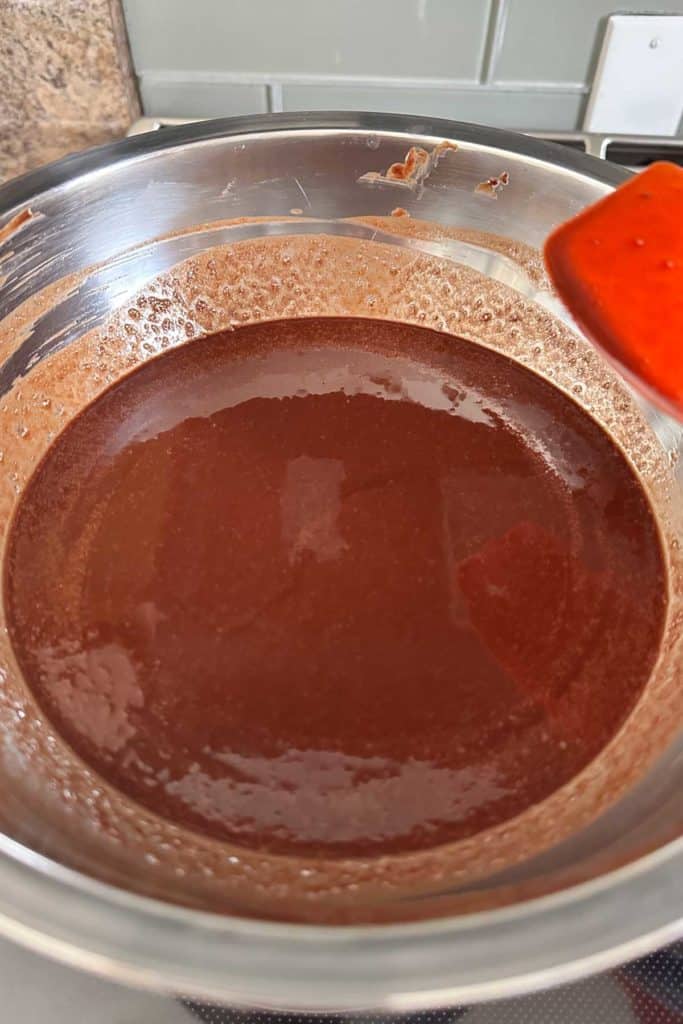
Set the bowl on top. Cut the butter and chocolate into pieces and add to the bowl. Heat, stirring often, until completely melted and smooth.
Once the chocolate and butter are fully melted, remove the bowl and set aside.
In a large bowl, stir together the sugar, flour, baking powder, and salt. Pour in the melted chocolate mixture and stir to combine.
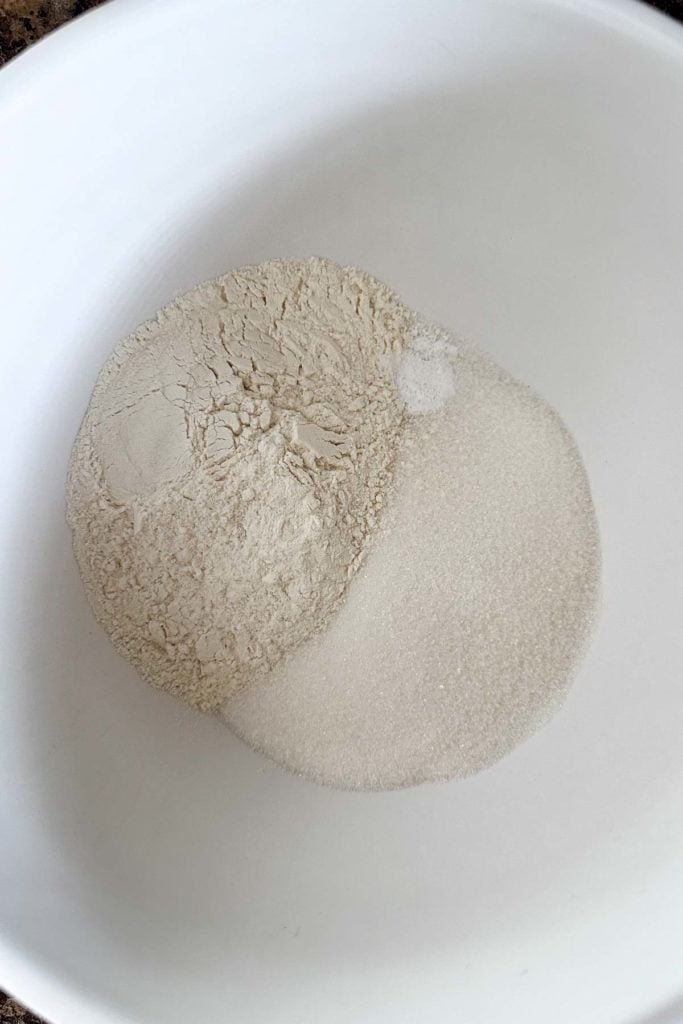
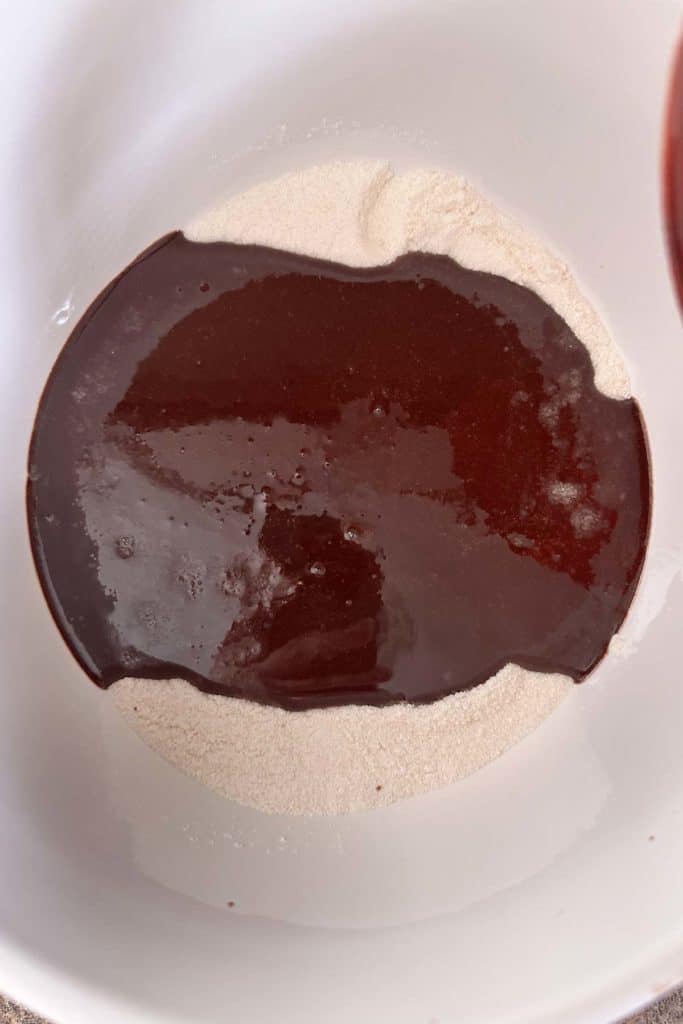
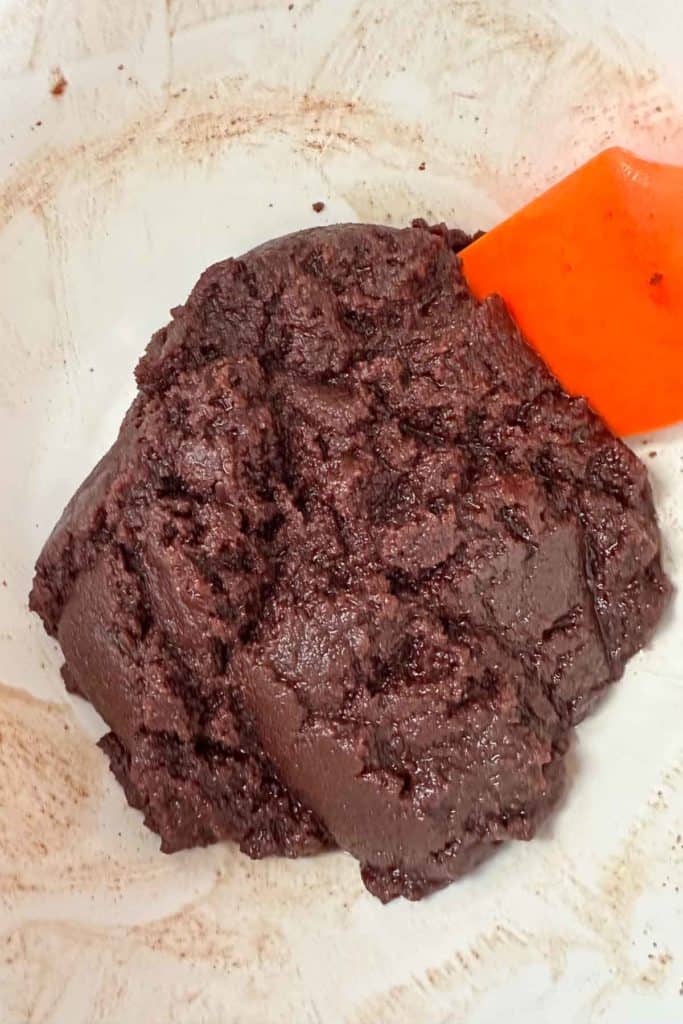
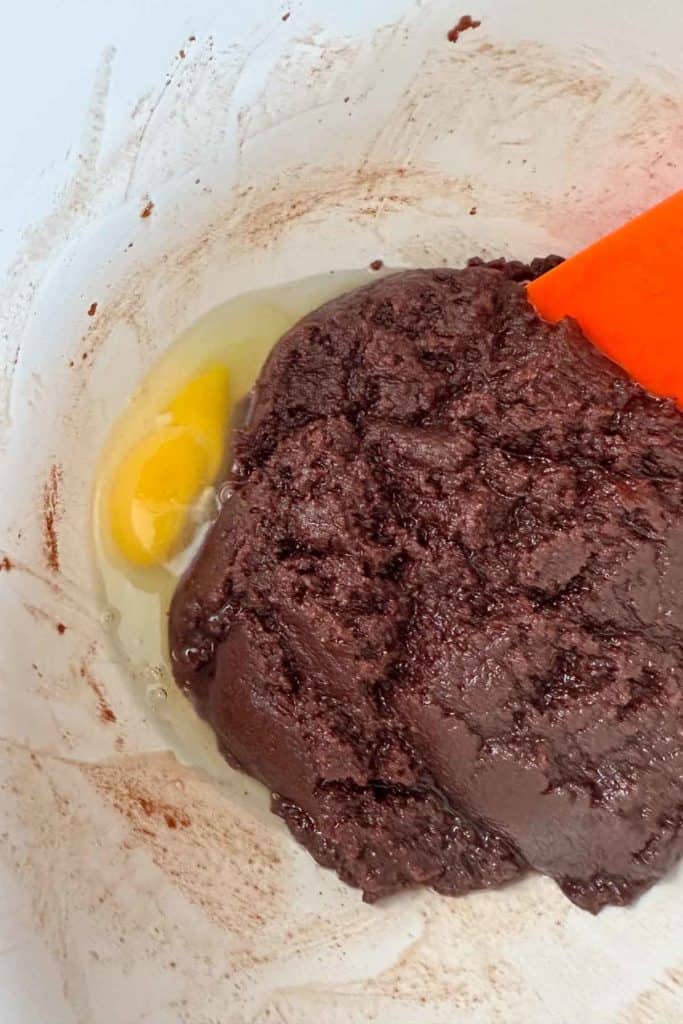
Continue to stir for about 5 minutes, scraping the sides and bottom of the bowl as you mix. This will help blend the sugar into the chocolate completely, as well as cool down the chocolate so the eggs you’ll add later won’t scramble. The batter will look thick at this point.
After about 5 minutes, add the eggs one at a time, making sure each is completely mixed in before adding the next. Once they are all added, the brownie batter will be pourable and should look shiny and silky.
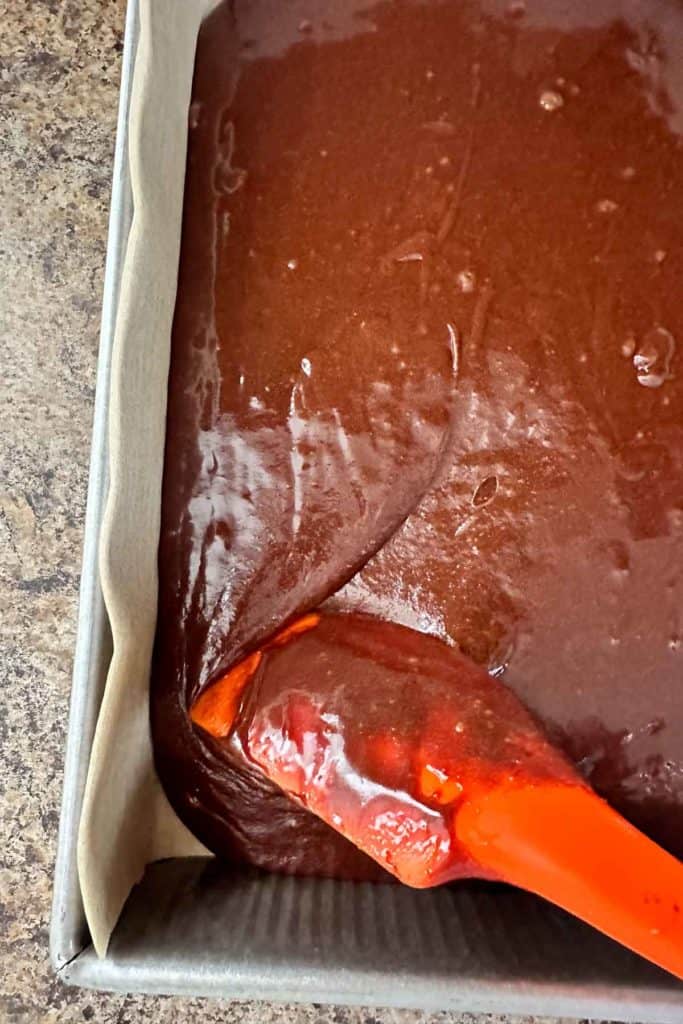
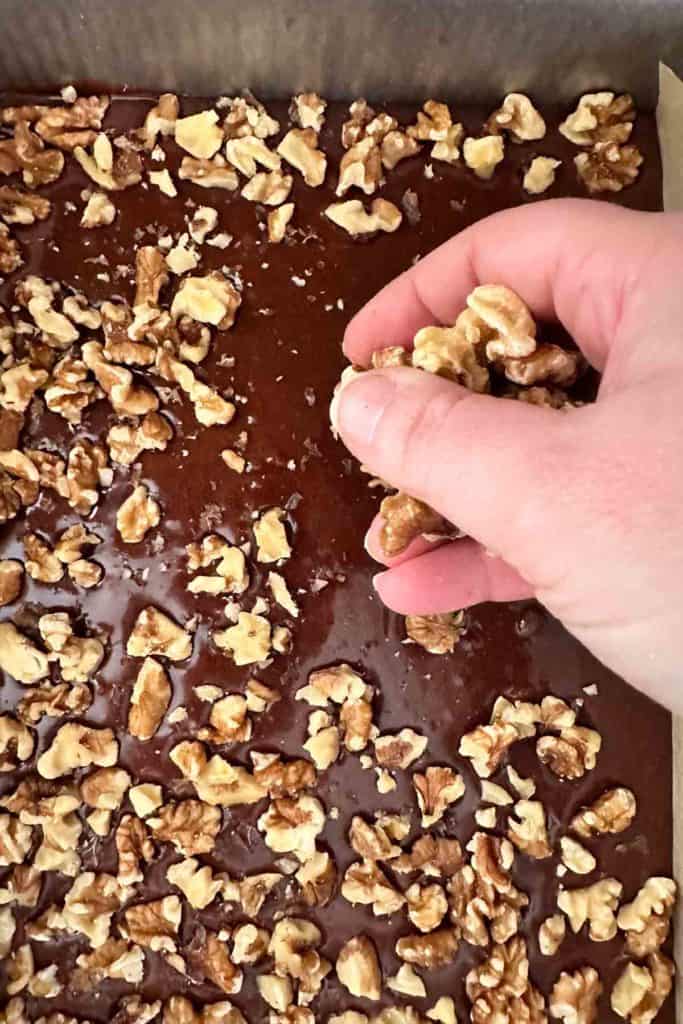
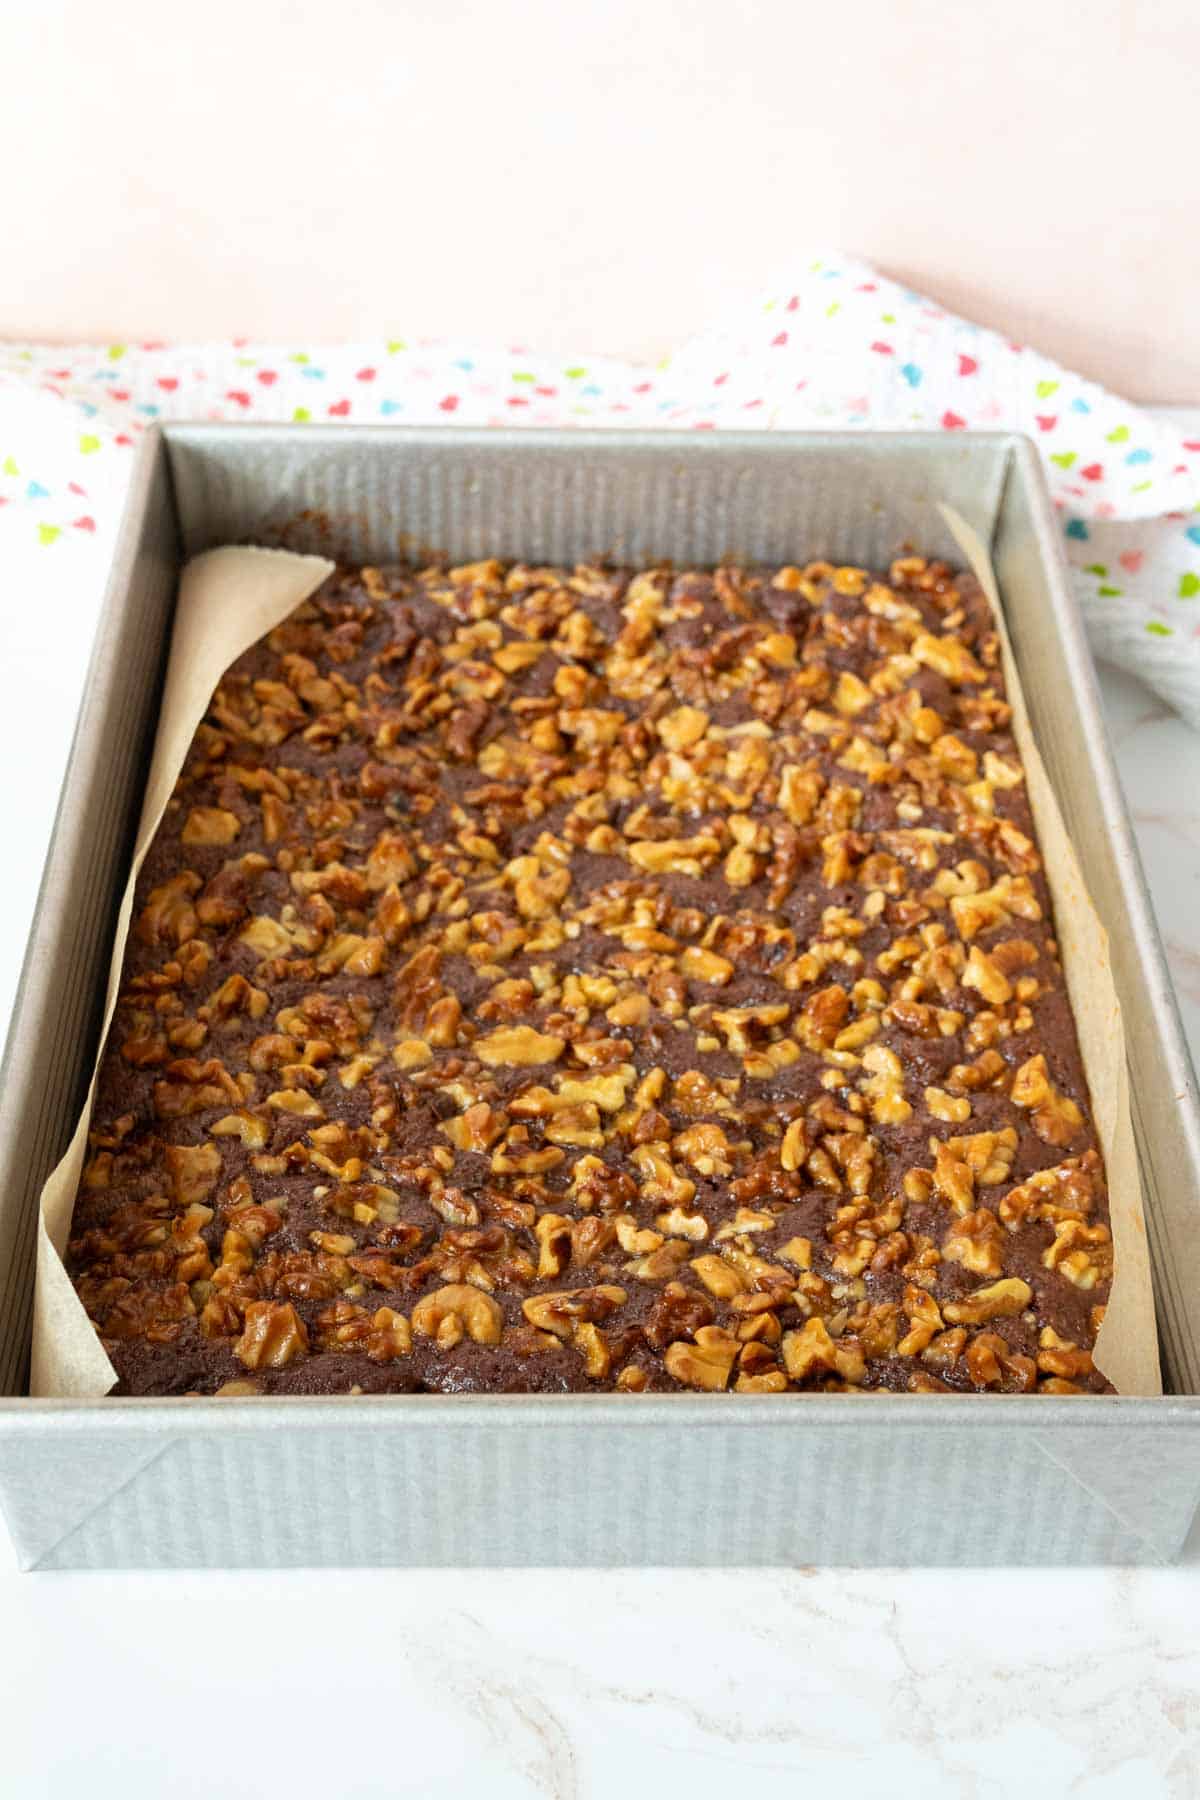
Spread the batter into the prepared baking pan, making sure it reaches into the corners. Add the walnuts on top evenly across the batter in a single layer, gently pressing in.
Bake the brownies for about 30 minute. They should have risen slightly with the edges are starting to pull away from the pan. Do not overbake because we want these brownies fudgy!
Set the brownie pan on a rack to cool and make the optional glaze.
for the optional glaze
In a saucepan, combine the apricot preserves, water, and gelatin and heat to a boil. Boil for 2 minutes, stirring constantly, until blended and the mixture is somewhat thickened.
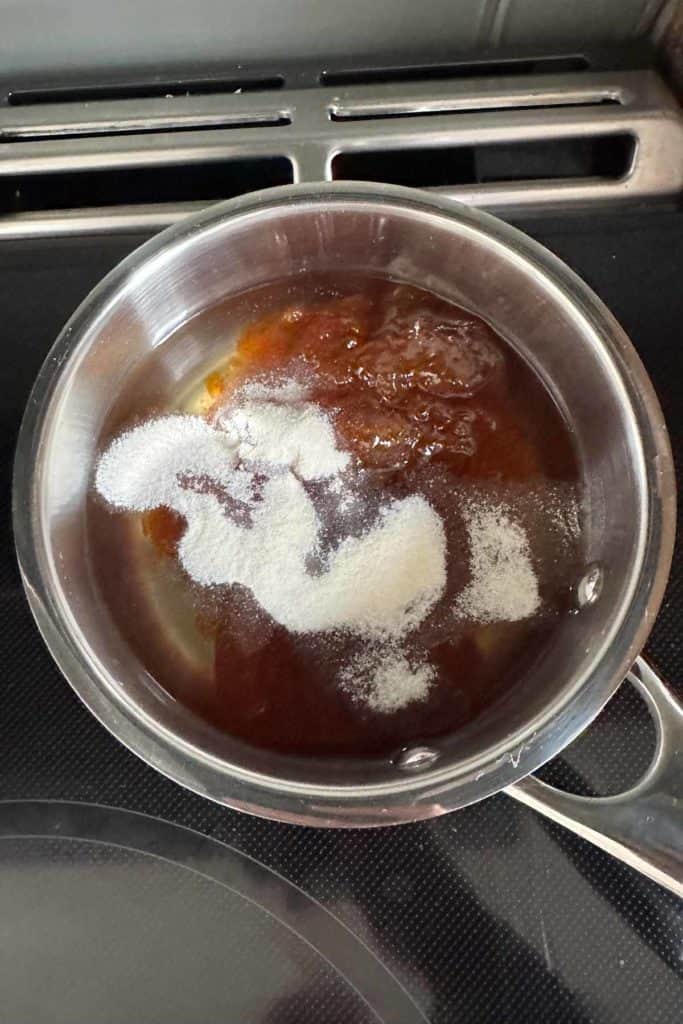
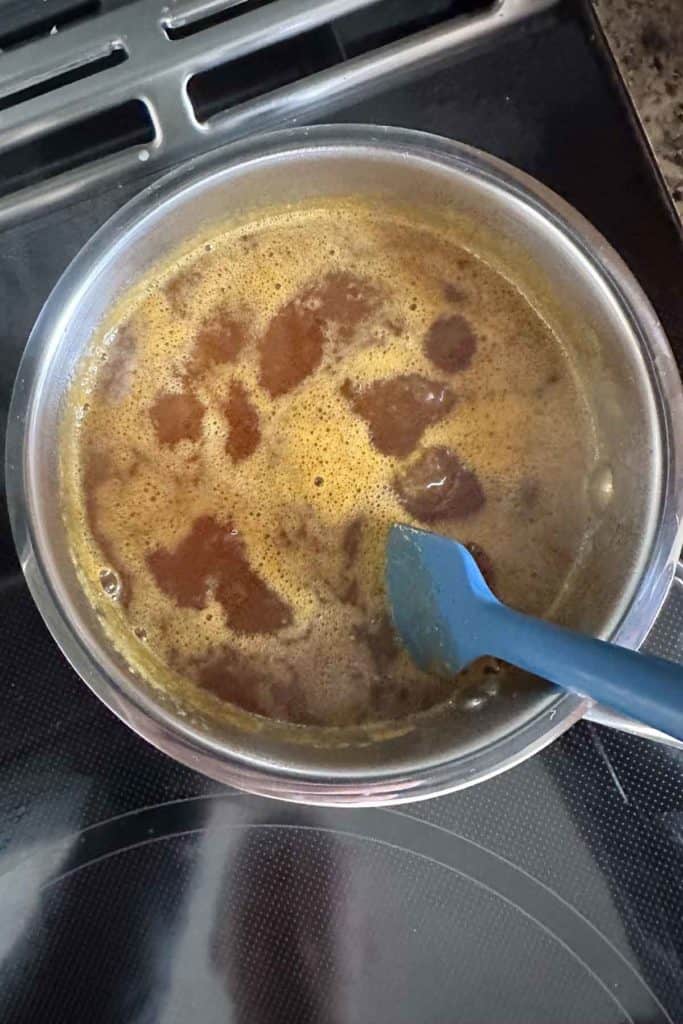
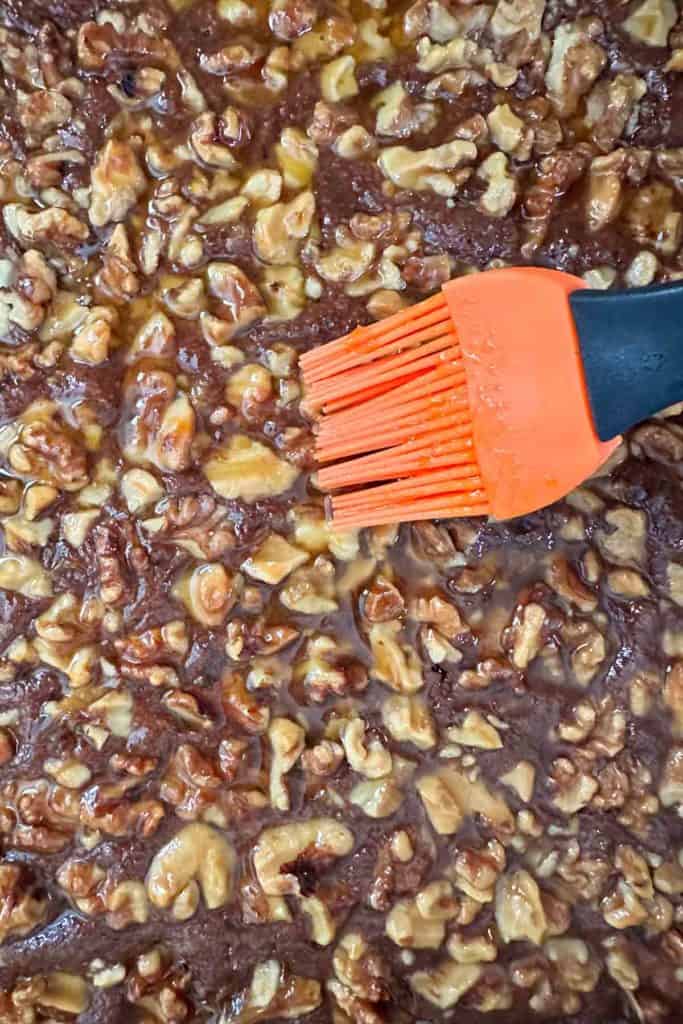
Brush the glaze onto the brownies while they are still warm. You might not use all of the glaze.
Let the brownies cool completely before slicing and serving. After about 30 minutes of cooling, I like to pop them into the fridge to cool and firm up the chocolate.
Storage tips
Because these brownies are best when they are chilled, they’ll keep in the fridge, stored in an airtight container, for about a week.
You can pop them into the microwave for about 10 seconds to warm, or enjoy them cold!
Walnut brownies also freeze really well. I recommend slicing them into individual portions, then wrapping tightly in plastic and foil. Don’t forget to label them!
The frozen walnut brownies will keep for 3 months or longer. They can be thawed in the fridge overnight or quickly warmed in the microwave.
More brownie recipes
I bet you’re totally craving brownies now!
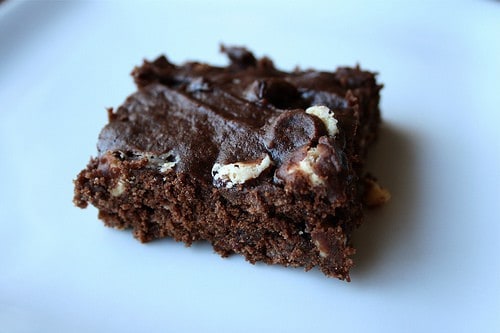
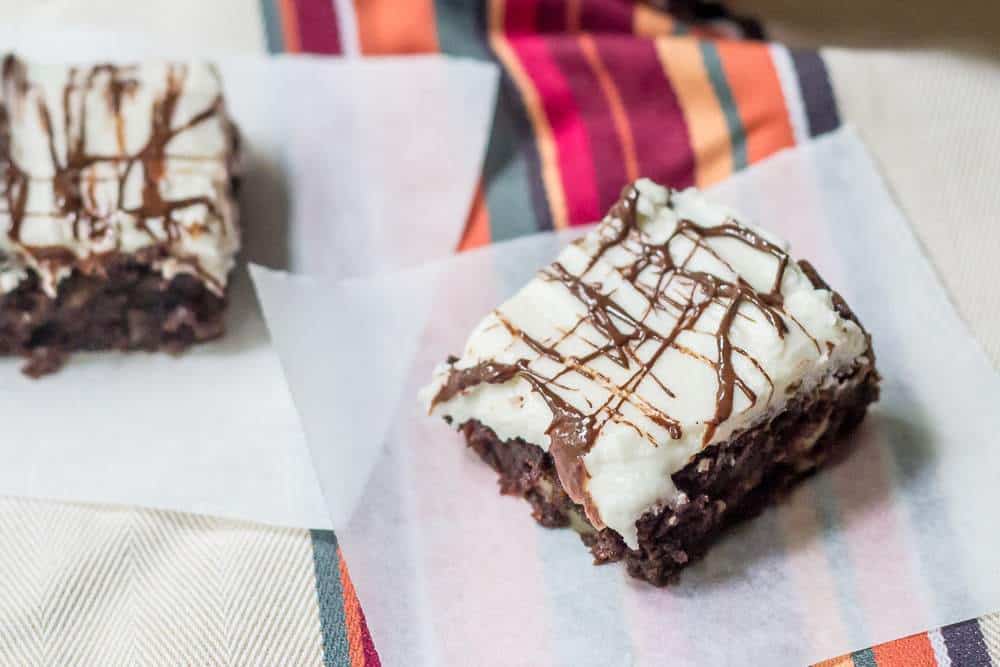
For another nutty option, go with pecan turtle brownies. Love a pretty swirl? Strawberry cheesecake brownies add some fruit flavor without being too sweet.
My fudgy brownie recipe is wonderfully gooey while being a bit lighter.
Are you craving blondies instead? Try this one-bowl blondie recipe or chocolate chip blondies.
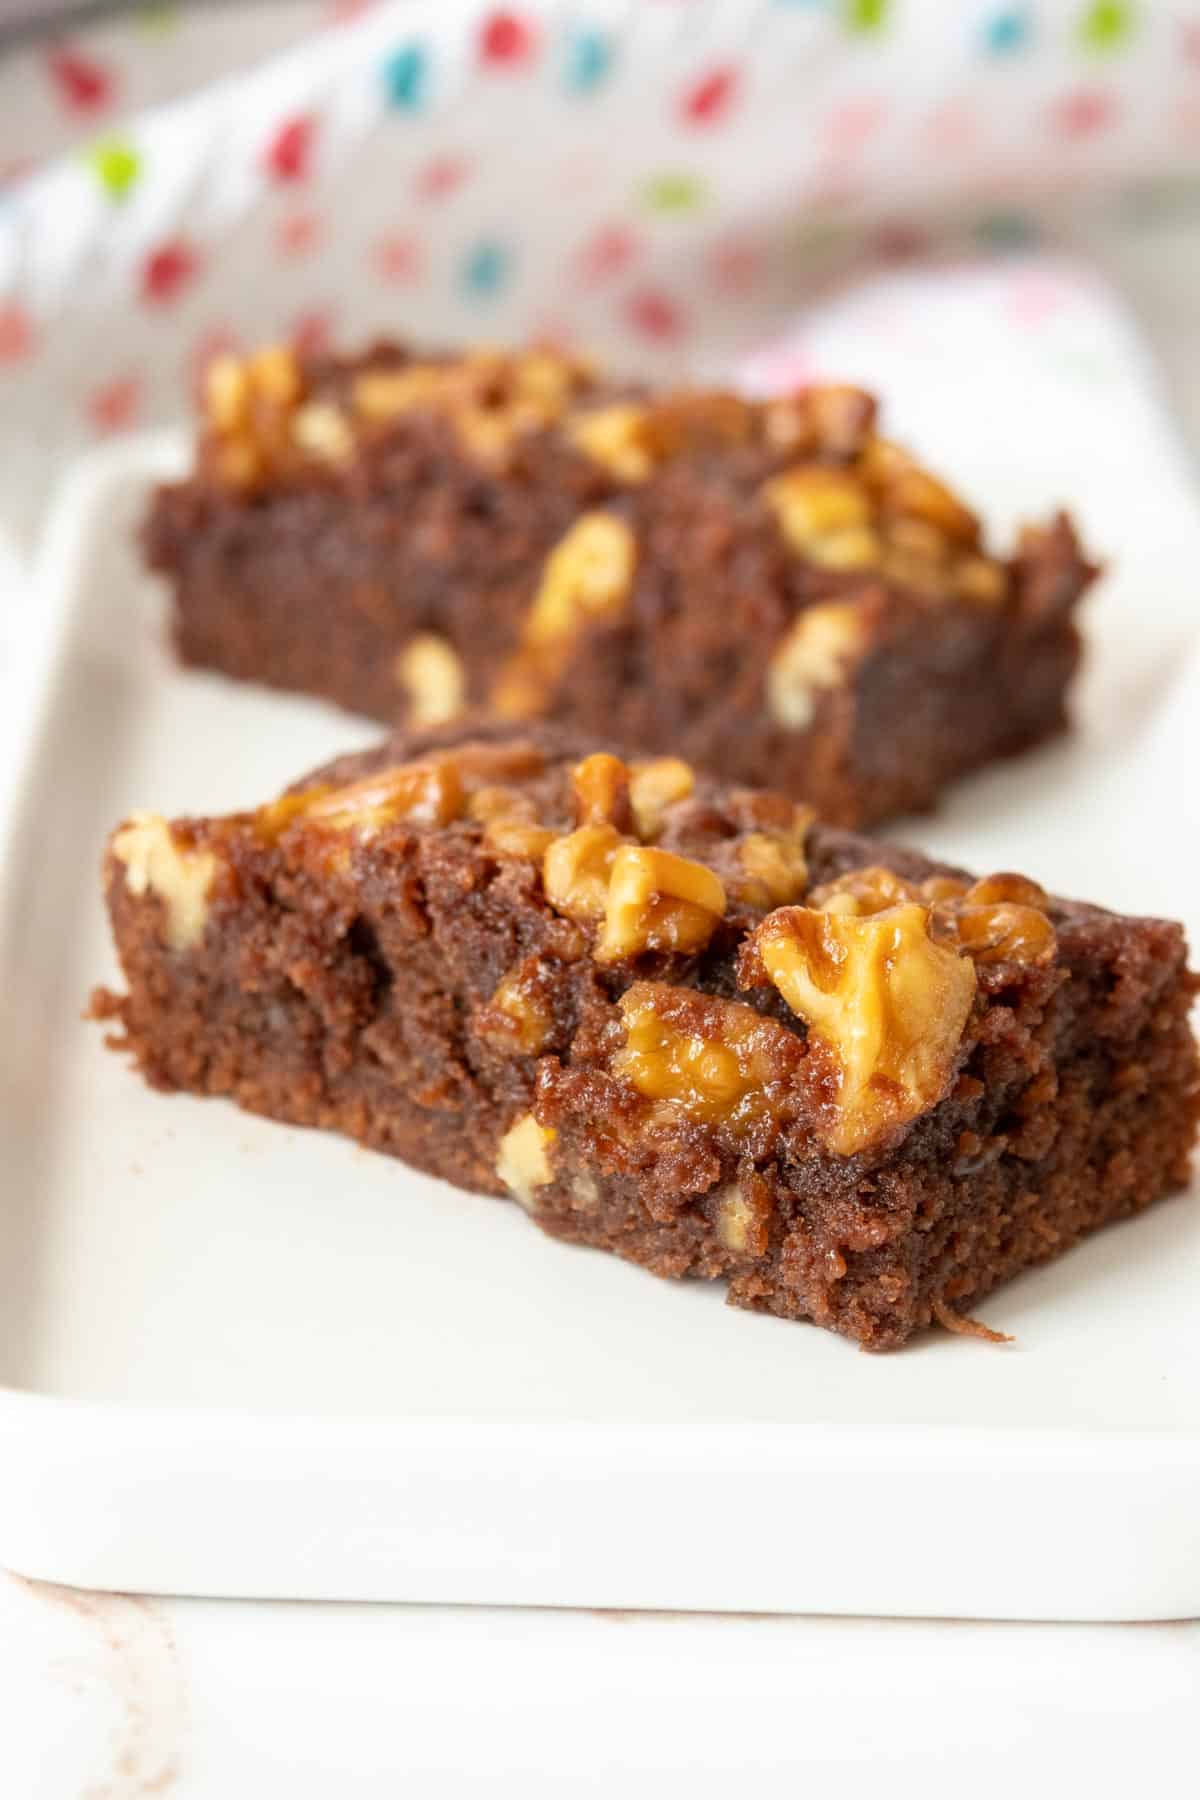
Whip up a batch of these walnut brownies for your nut-loving guests!
Love this recipe? Please leave a 5-star review below!
It means so much when you enjoy my recipes, so let me know how it goes and leave a comment if you have any questions.
Walnut Brownies
Ingredients
- 9 1/2 ounces unsalted butter, (1 cup plus 3 tablespoons)
- 5 1/2 ounces 60% bittersweet chocolate
- 1 1/2 cups granulated sugar
- 3/4 cup all-purpose flour
- 1/8 teaspoon baking powder
- Pinch fine sea salt
- 5 large eggs
- 1 1/2 cups chopped walnuts
For the optional glaze
- 1/2 cup apricot preserves
- 1/2 cup water
- 1/2 teaspoon unflavored gelatin
Instructions
- Preheat the oven to 350°F. Lightly coat a 9×13-inch pan with nonstick spray or line with parchment paper. Set aside.
- Create a double boiler by adding a small amount of water to a small saucepan, then setting a metal bowl over the top. Heat to boiling, then reduce to a simmer. Cut the butter into pieces and break apart the chocolate and add both to the bowl. Melt, stirring often, until completely smooth. Remove from heat and set aside.
- In a large mixing bowl, stir together sugar, flour, baking powder, and salt. Pour in the melted chocolate mixture and stir to mix. Continue to stir for about 5 minutes; the mixture will become thick, almost like a dough. This will help blend everything well and cool the chocolate.
- Stir in the eggs one at a time, making sure they are fully mixed before adding the next. The batter should now look smooth and silky.
- Pour into the prepared pan and spread to the edges and corners. Scatter the chopped walnuts over the top in a single layer, pressing gently into the batter.
- Bake for 30 minutes, until slightly risen and edges are starting to pull away from the pan. Do not overbake. Let cool on a wire rack.
For the glaze
- If you want to add the glaze, combine the preserves, water, and gelatin in a small saucepan. Heat to boiling, then continue to boil, stirring, for 2 minutes, until uniformly mixed and slightly thickened. Brush on the brownies while they are still warm.
- Let the brownies cool completely before slicing and serving. You can speed this up by placing them in the refrigerator for 2 hours.
Nutrition
Nutrition information is provided as a courtesy and is an estimate based on online calculators. Any nutritional information found on Stetted should be used as a general guideline only.

About Megan
I learned how to cook by exploring seasonal ingredients, and you can too! Meal time shouldn’t be stressful or complicated, and with fresh ingredients and easy methods, I’m here to help you enjoy the time spent in the kitchen. Read more…


