*This post contains affiliate links and may earn commissions on recommended products. As an Amazon Associate, I earn from qualifying purchases.
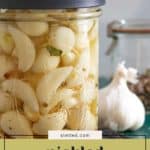
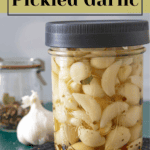
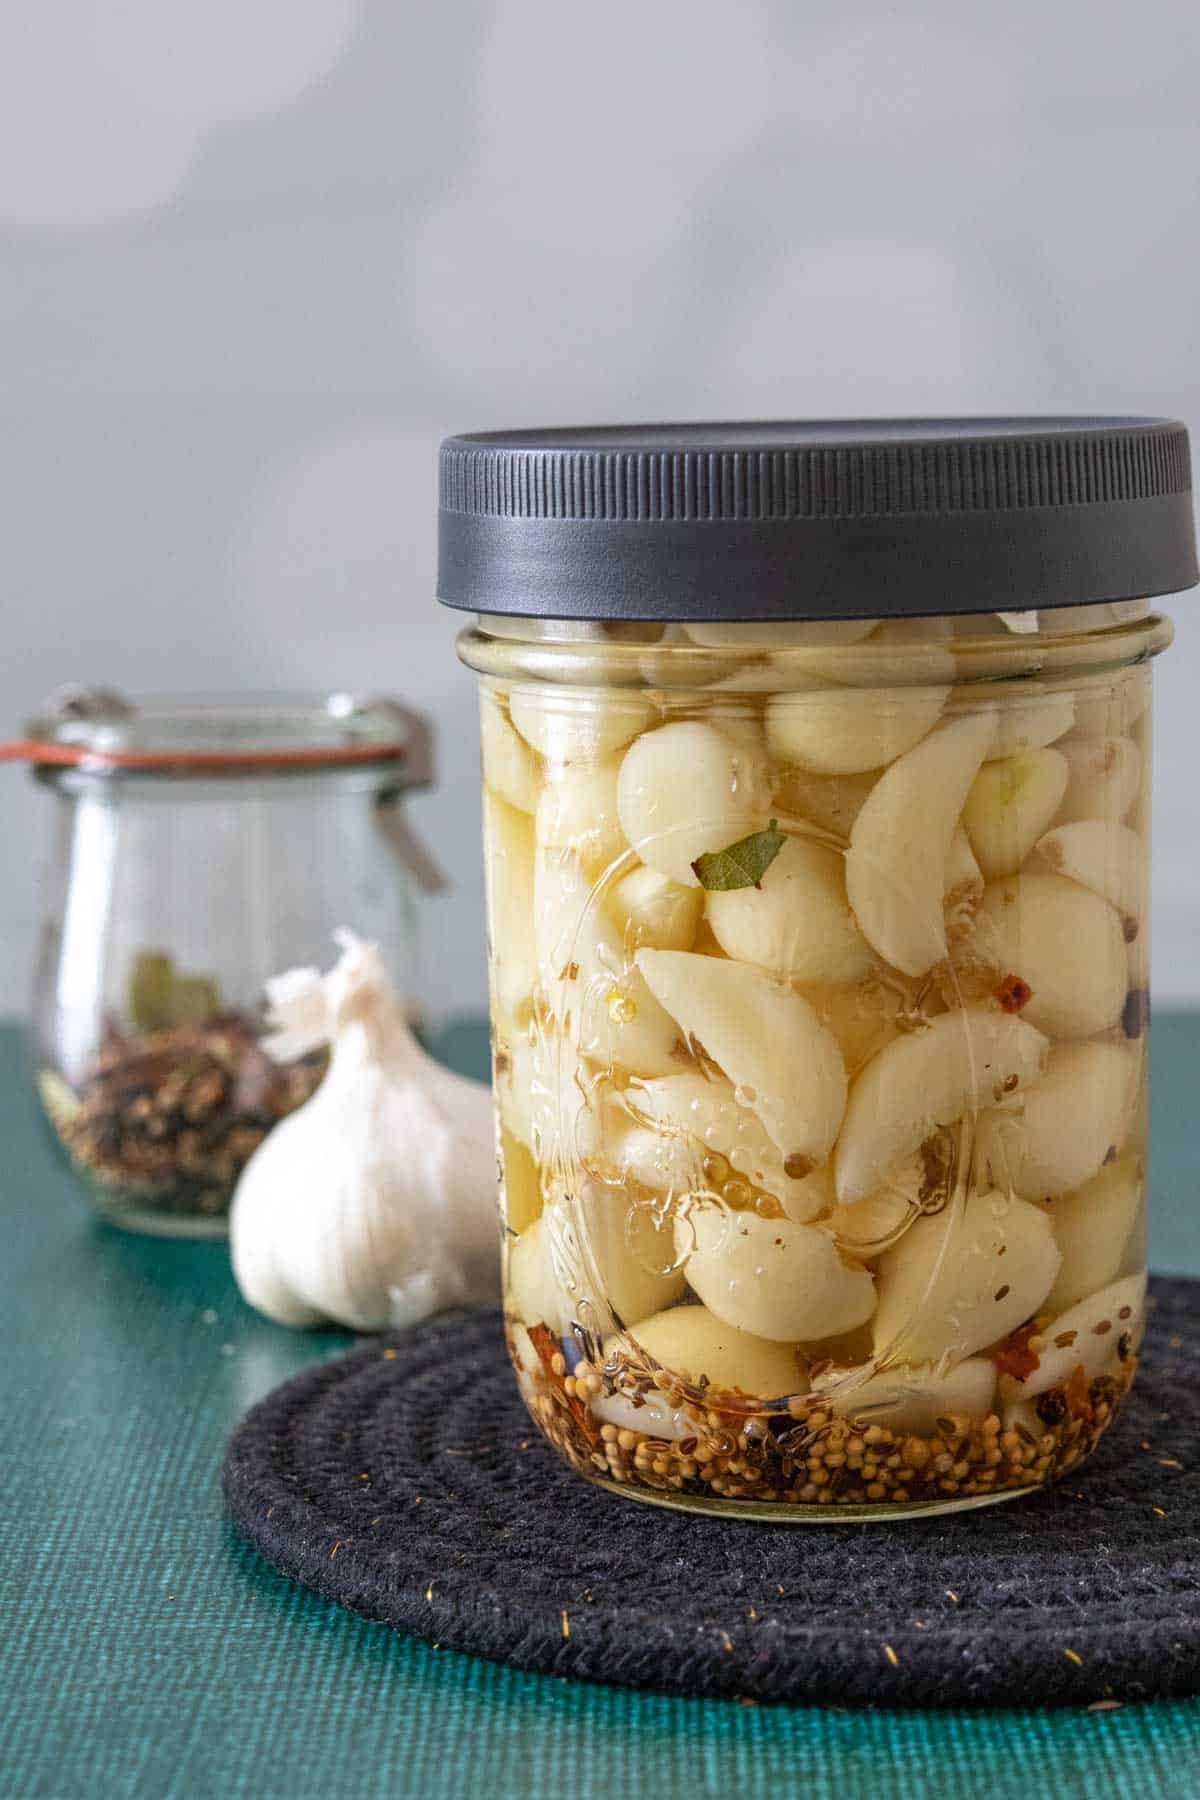
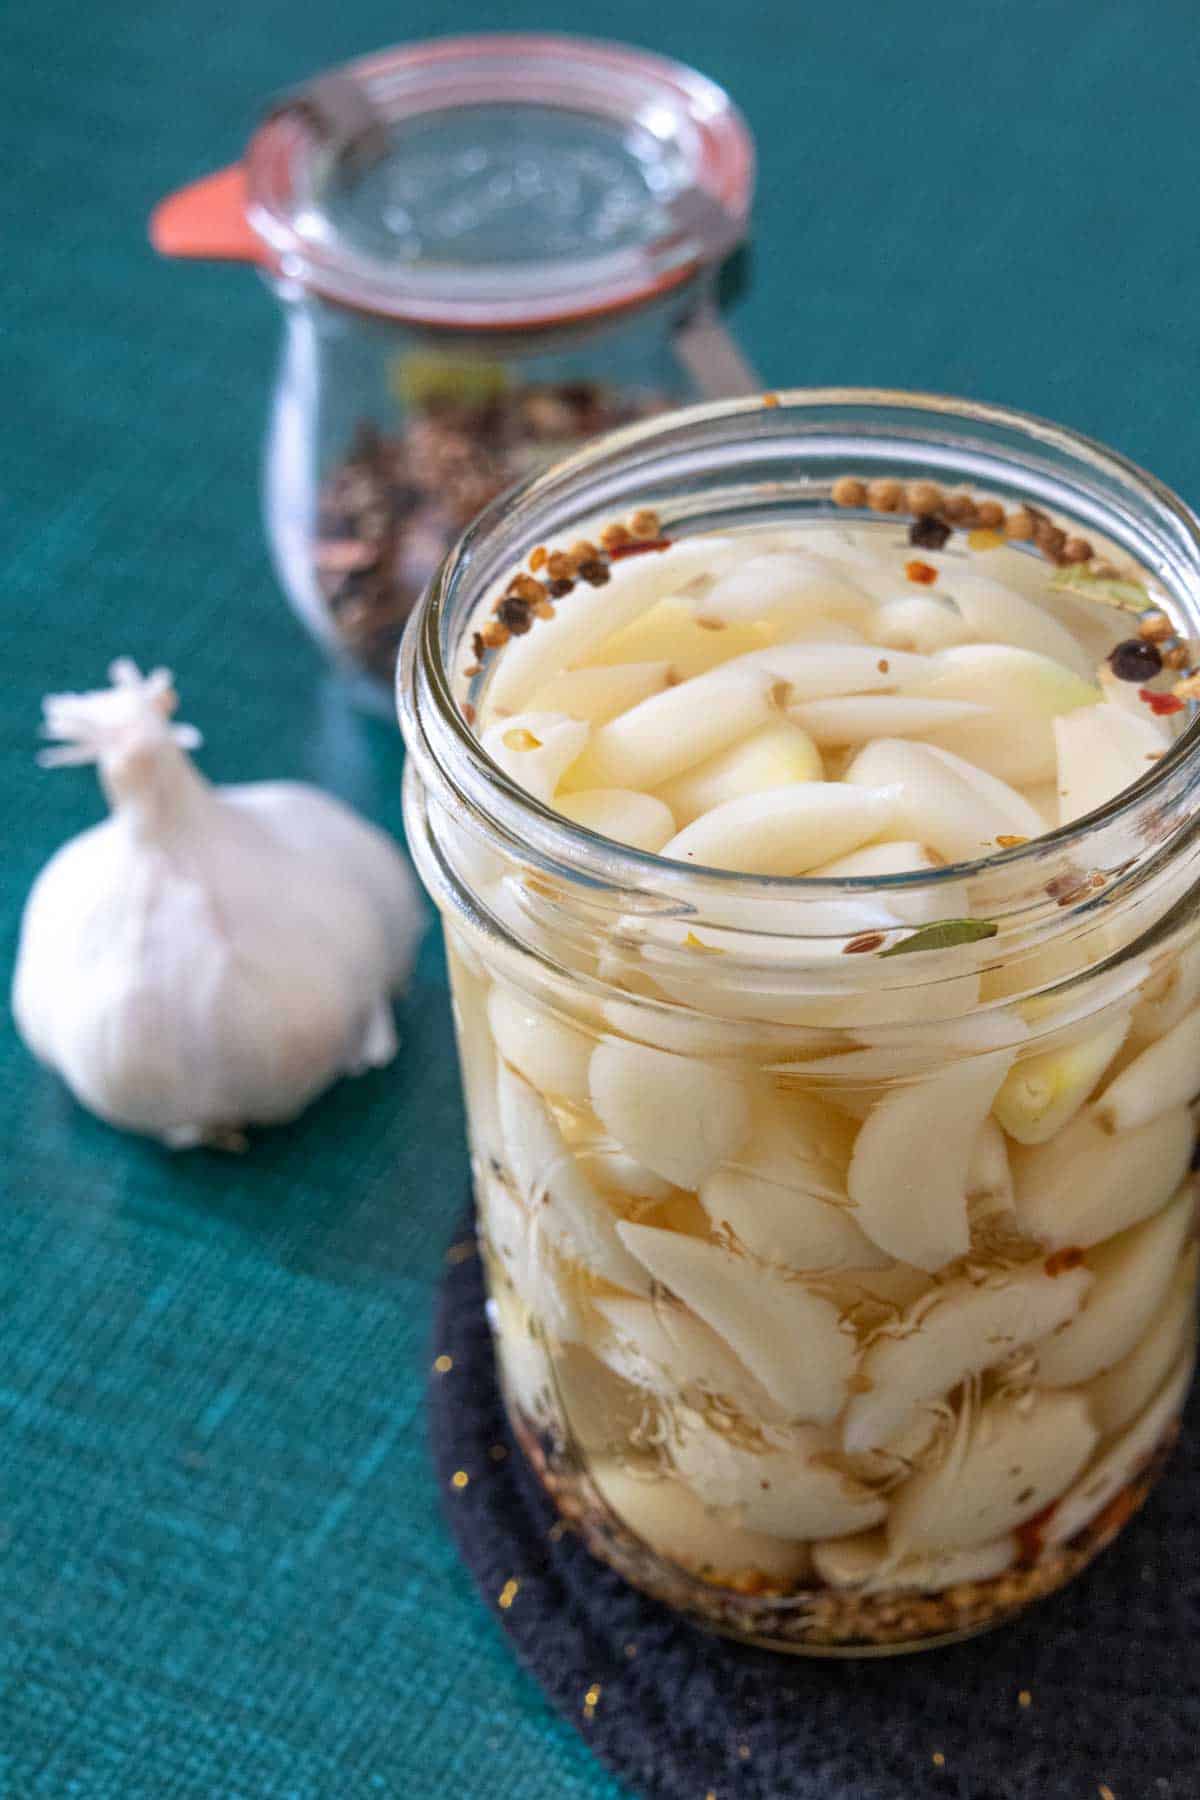
Pickled garlic is a tangy, flavorful addition to a relish tray, potato salad, and more! Make this quick and easy recipe to keep on hand for all your favorite dishes.
We always have multiple kinds of pickles in the fridge, from pickled carrots to pickled jalapeños.
When I was growing up I wasn’t a pickle fan, but at that time I didn’t know you could pickle other things besides cucumbers!
Exploring other kinds of pickles has been so fun and added so much flavor to my meals.
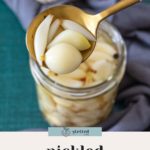
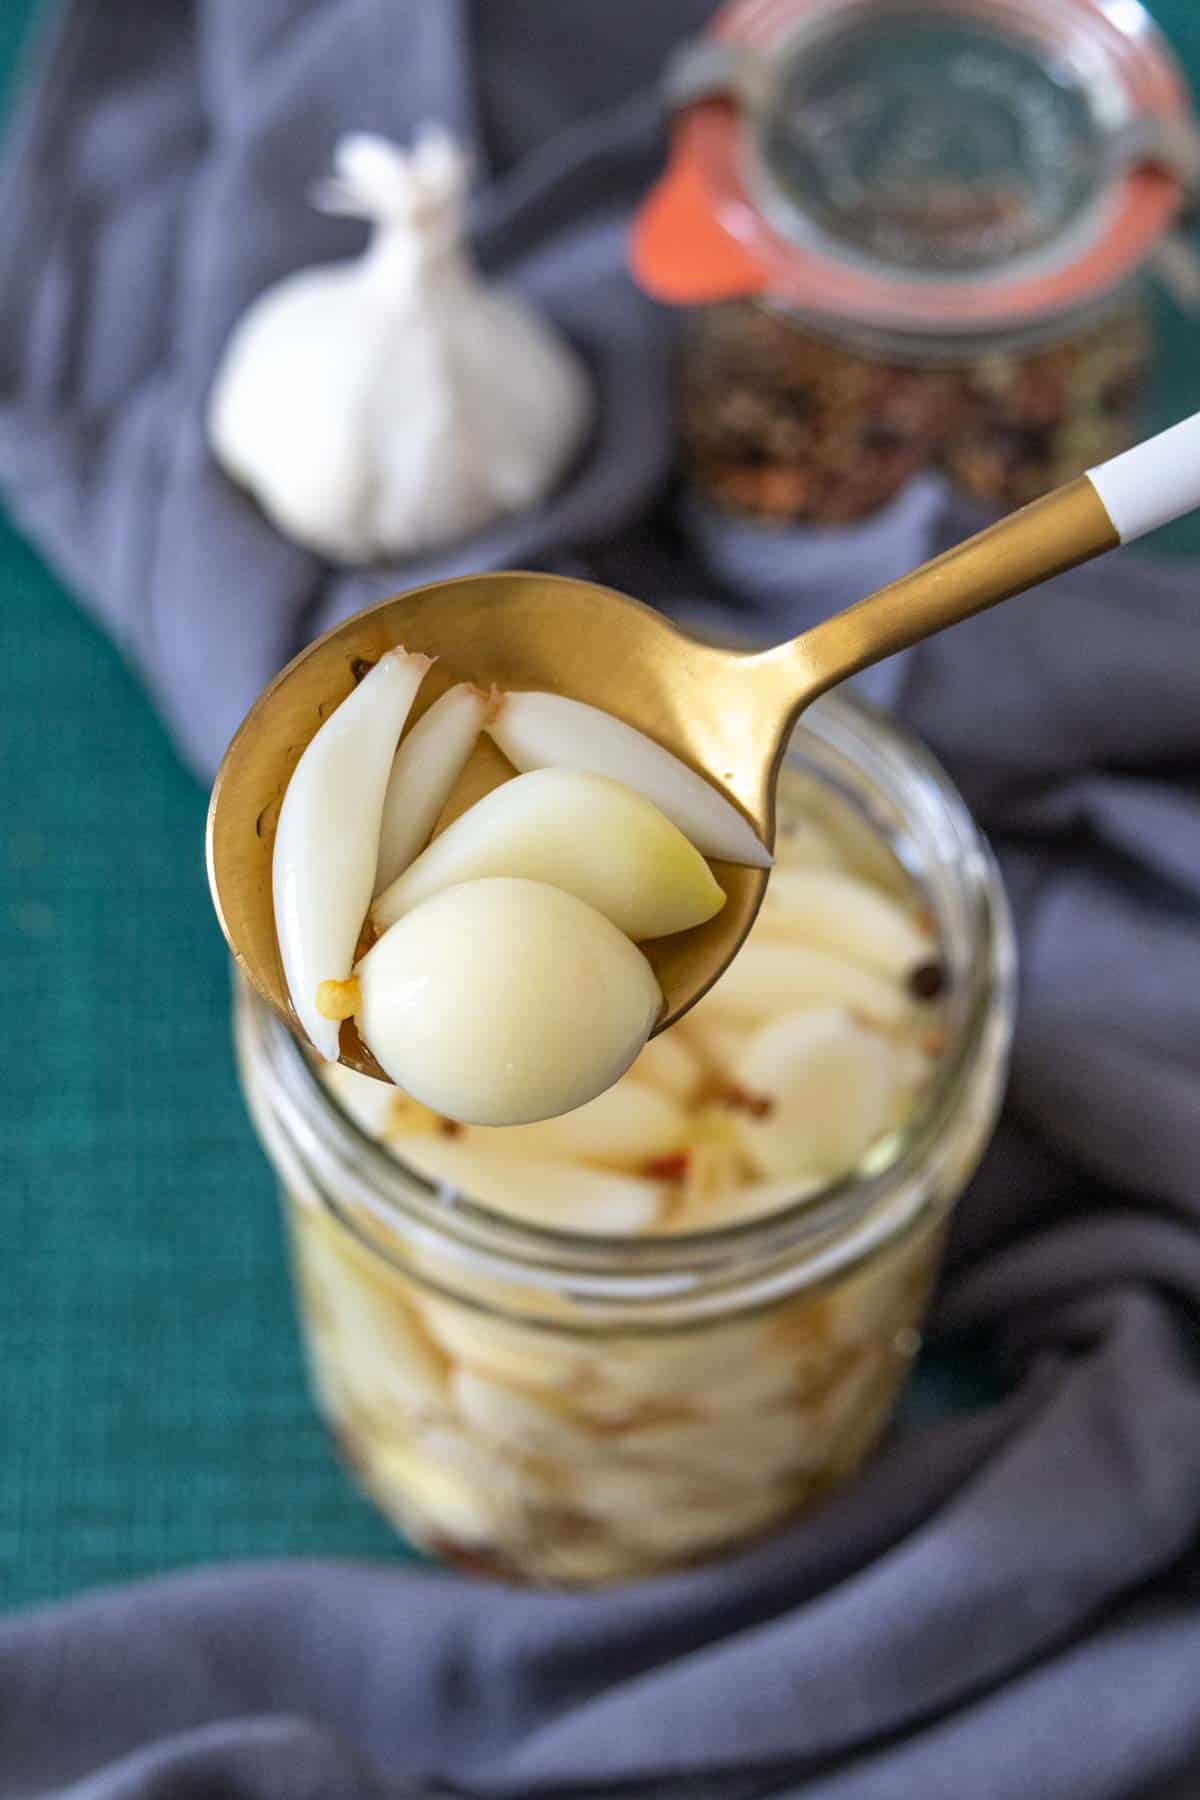
Pickled garlic is one of my favorites now, because it’s crazy versatile. You can pop the cloves right into your mouth, or add to tonight’s dinner recipe.
Plus, they are incredibly easy to make. All you need is a few ingredients and the patience to peel garlic cloves!
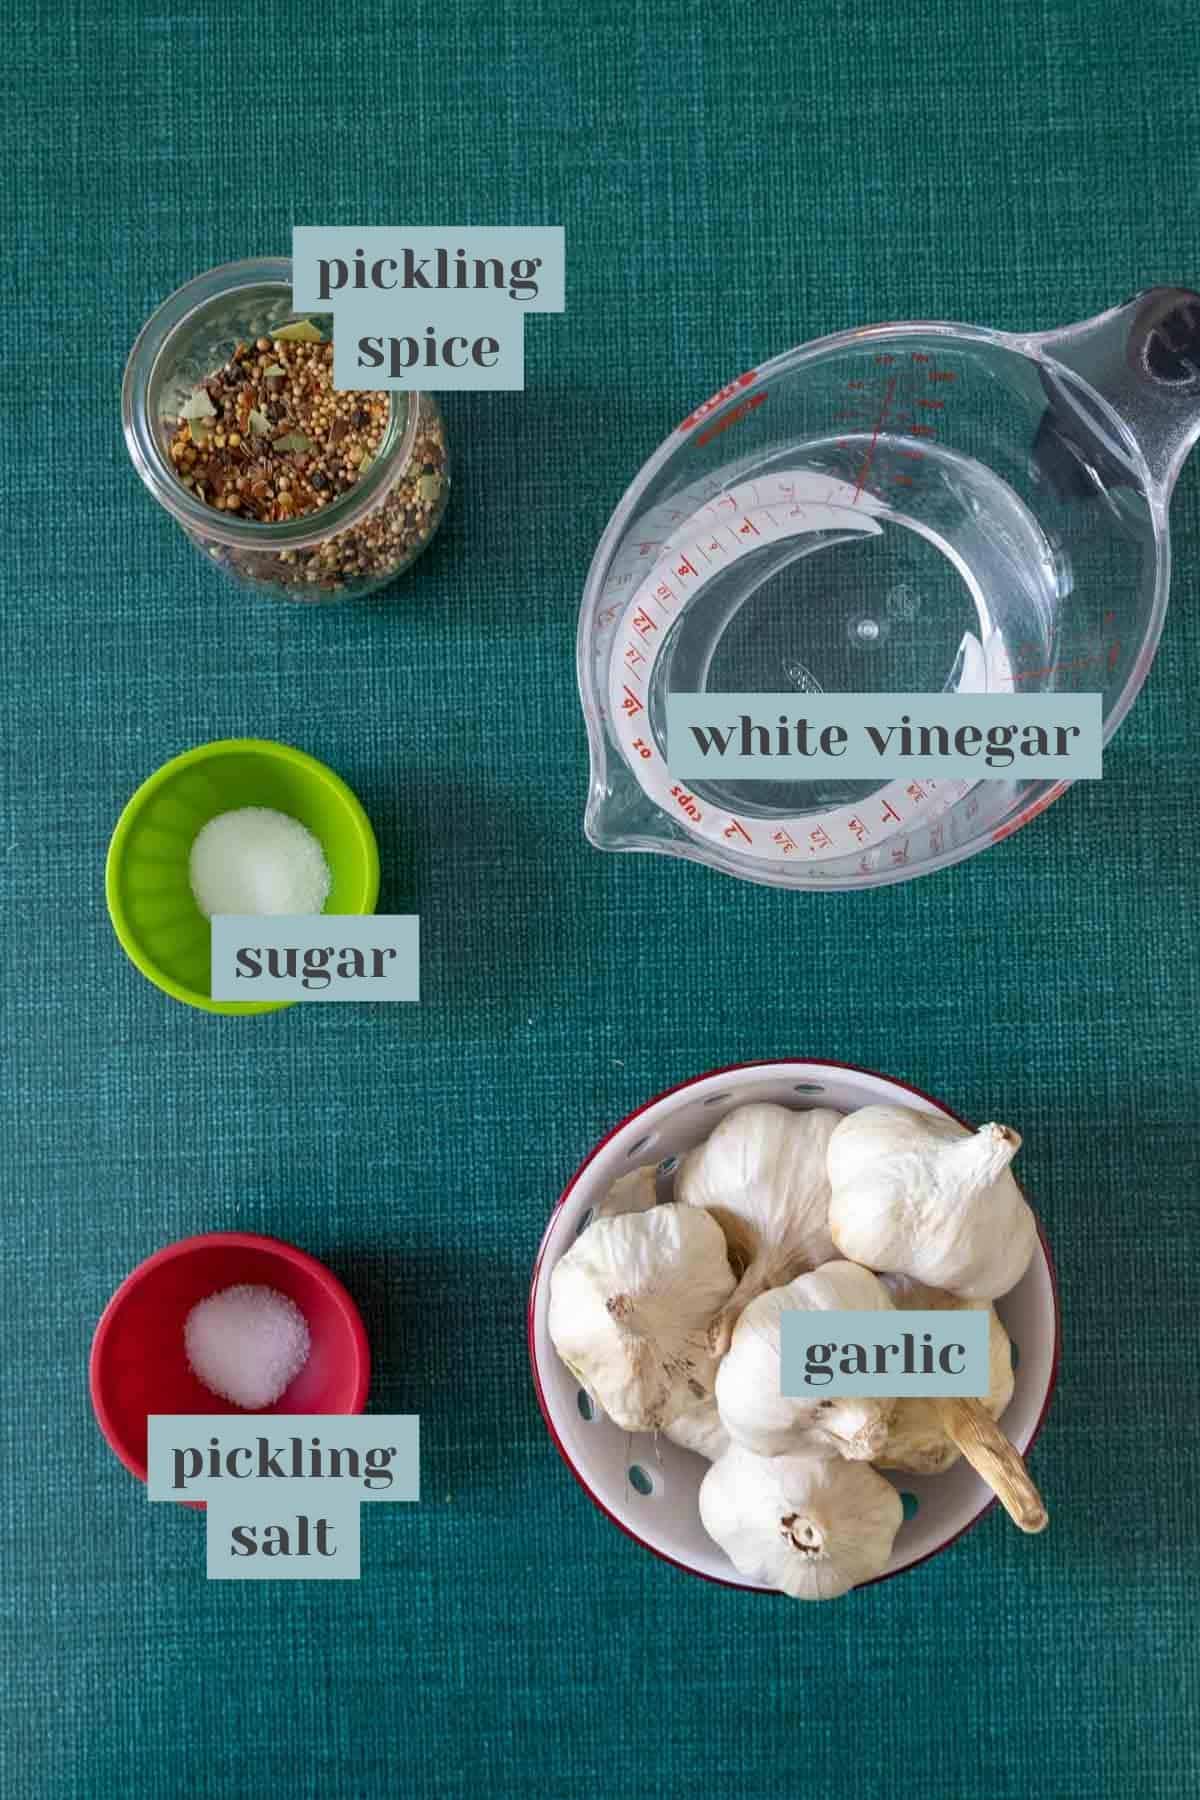
Ingredients for pickled garlic
You probably have all the ingredients for pickled garlic already, but you might need to grab some extra garlic!
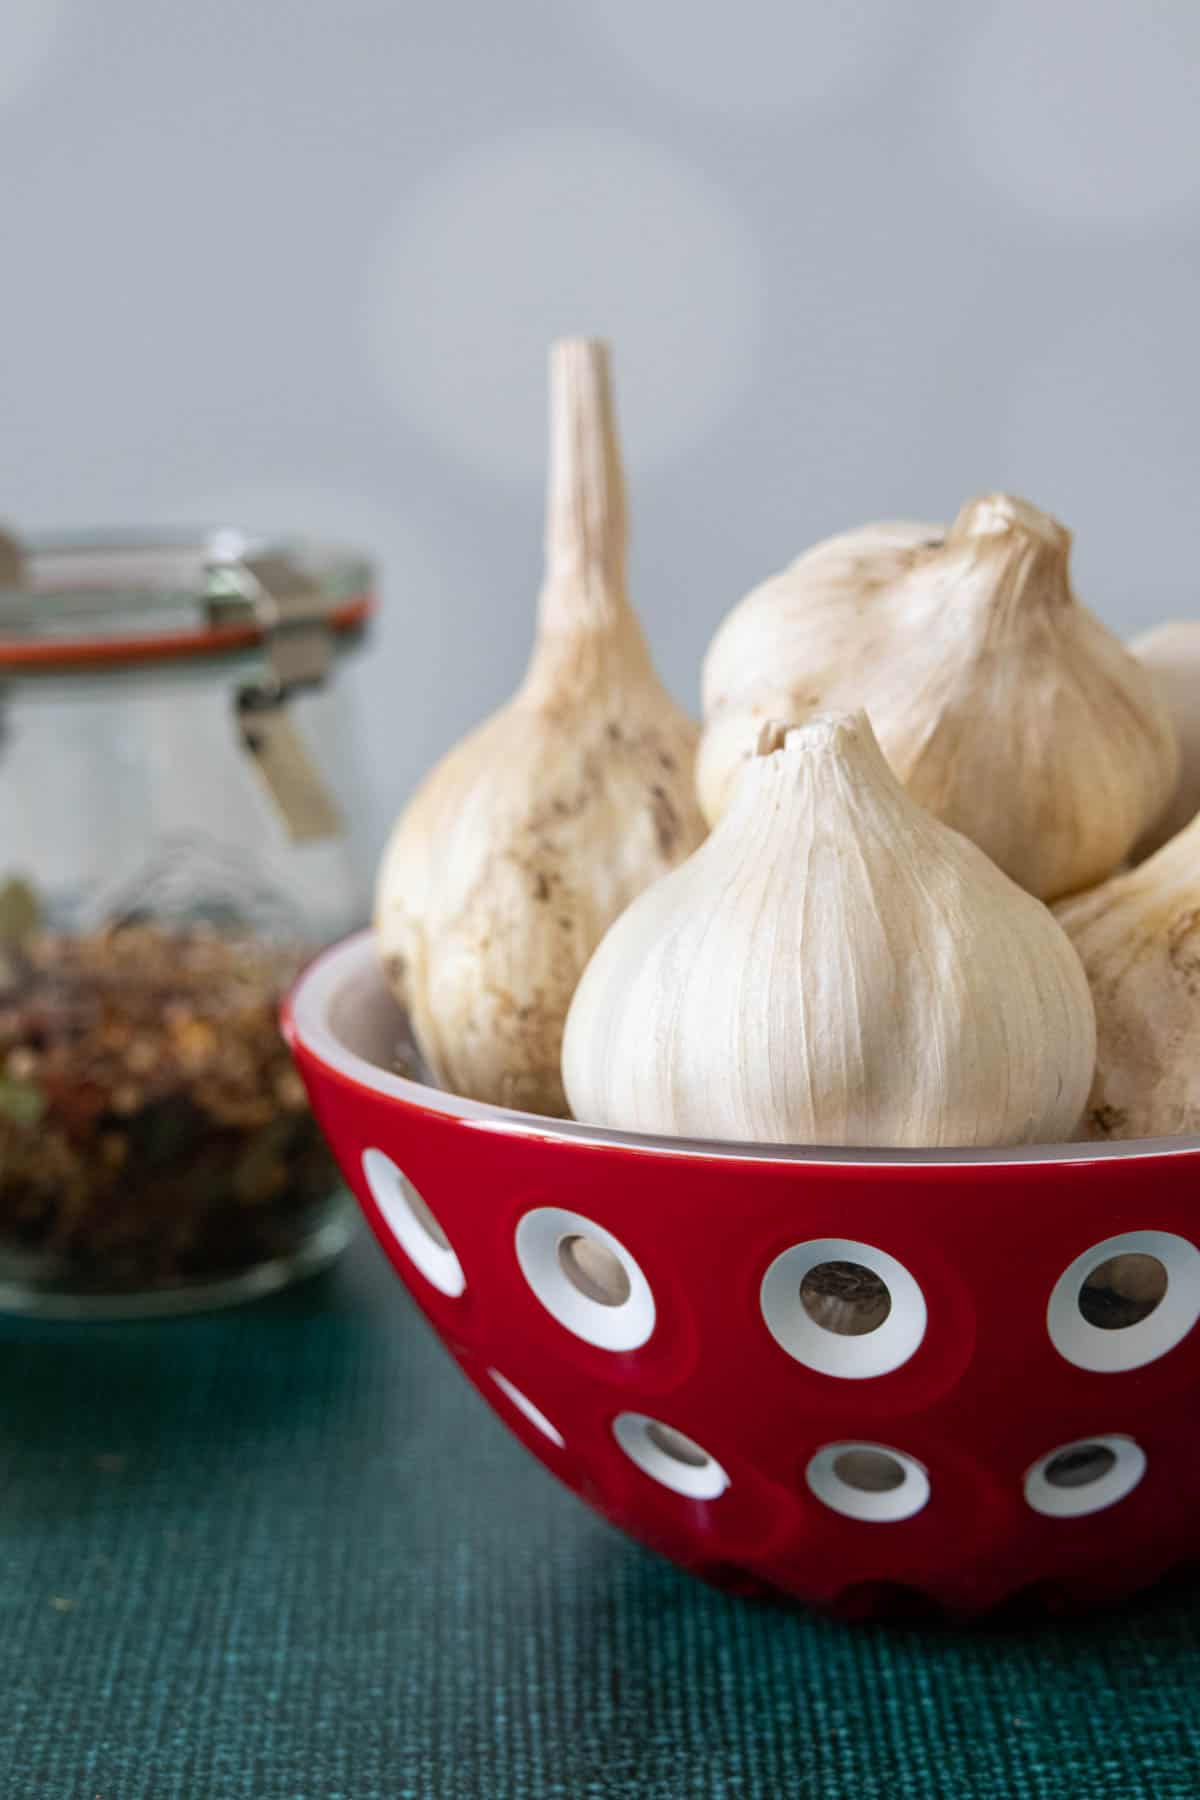
Garlic – To make 1 pint of pickled garlic, you’ll need 10 ounces of garlic.
Garlic cloves and bulbs vary a lot in size, so you’ll need to use weight measurements rather than cups.
Look for garlic bulbs that are not soft or excessively dry. The bulbs should be firm and not have any sprouts coming out of the cloves.
remember!
A clove of garlic is the single piece. A garlic bulb is composed of many garlic cloves.
Vinegar – I use distilled white vinegar for this recipe. If you like, you can swap in rice vinegar or apple cider vinegar, either in whole or in part combined with the white vinegar.
Sugar – Just a small amount of granulated sugar is needed when making pickles.
Pickling salt – Pickling salt is a finer grain than table salt, so it dissolves easily in the pickle brine. If you don’t have it or don’t want to buy it (it comes in a large box), you can swap in fine sea salt.
Pickling spices – Pickling spice is a blend of common spices used for making basic pickles like these.
Pickling spice contains spices like mustard seeds, black peppercorns, red pepper flakes, allspice, cloves, coriander, and bay leaves.
You can make your own pickling spice, or buy a premade blend from the store.
How to pickle garlic
Gather your ingredients together and set aside 2 8-ounce jars or 1 16-ounce jar. (If doubling or tripling this recipe, grab the appropriate number of jars.)
If you will be processing jars in a water bath canner, you will also need a water bath canner *, jar lifter, jar bands, and new lids.
For pantry storage, I like these handy reusable mason jar lids.
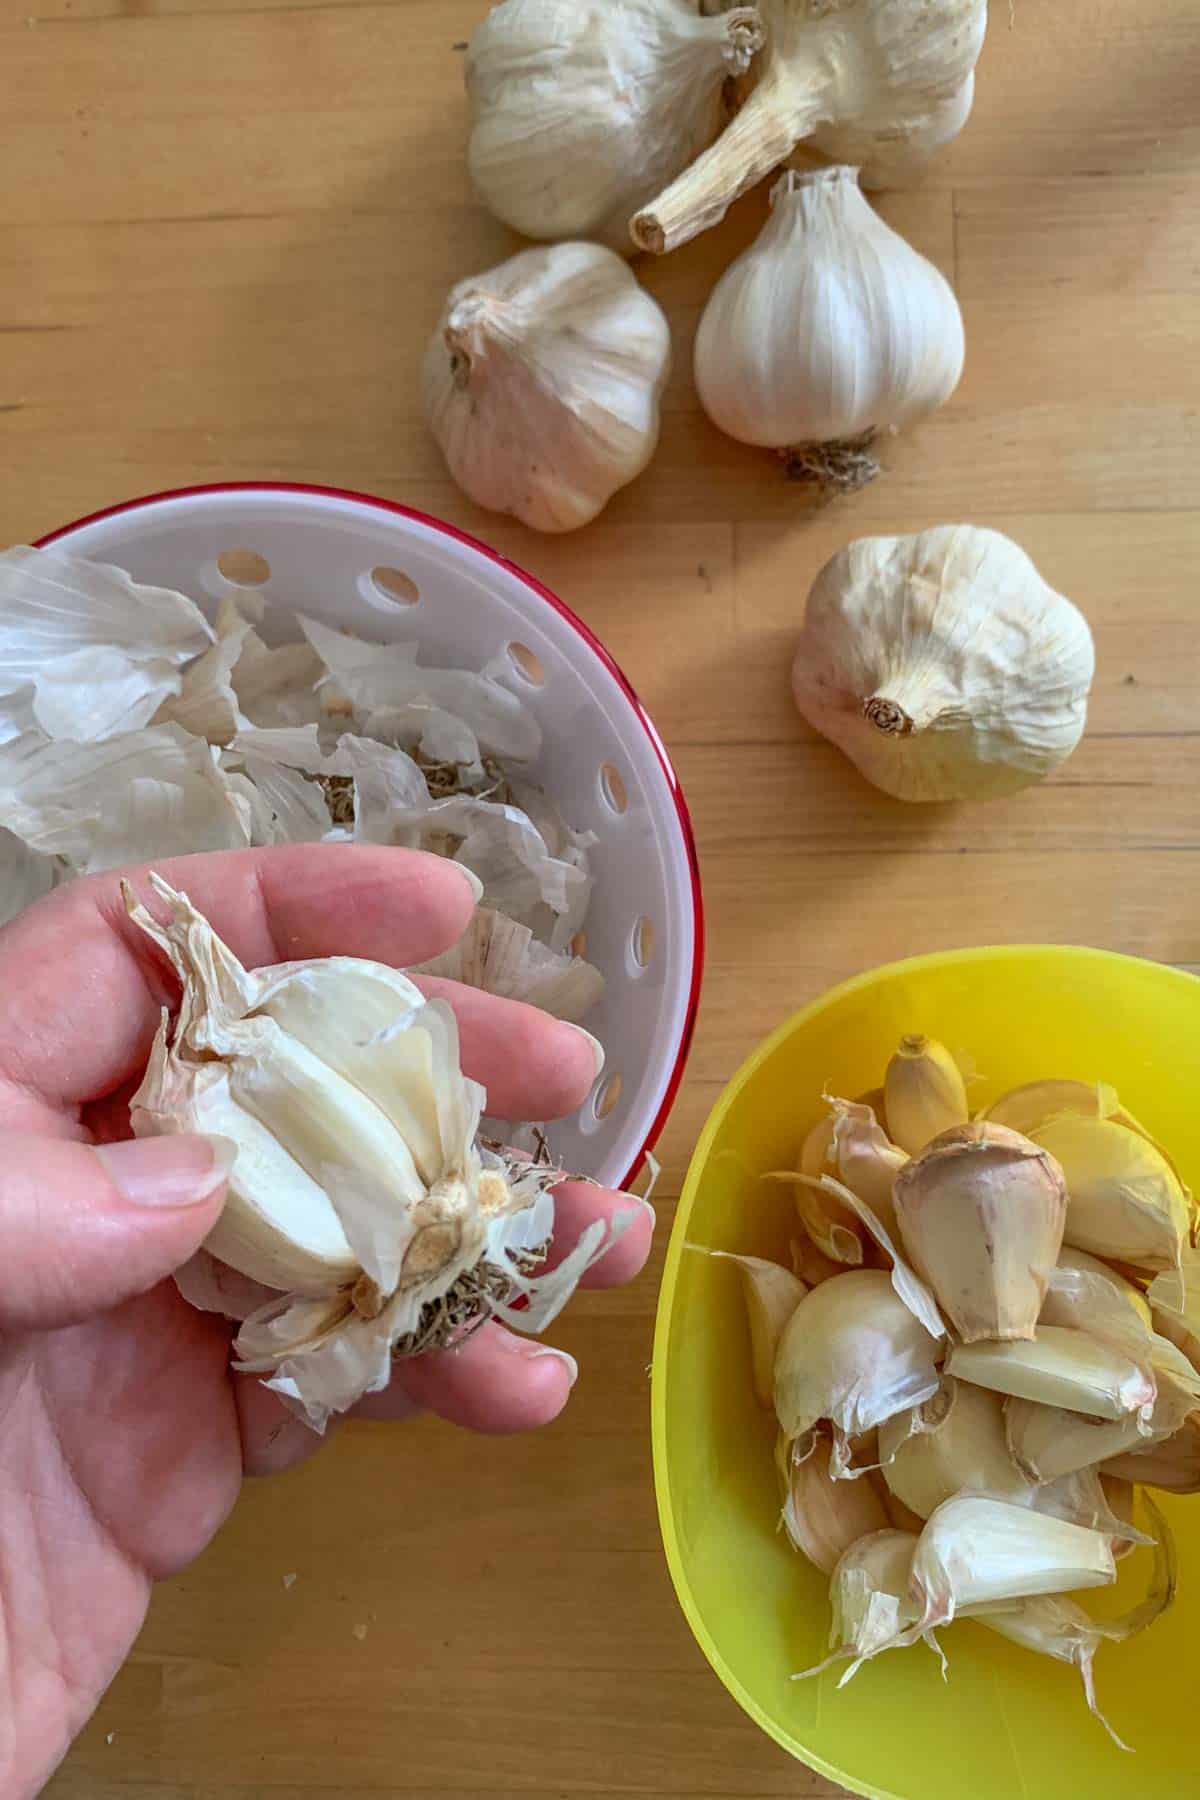
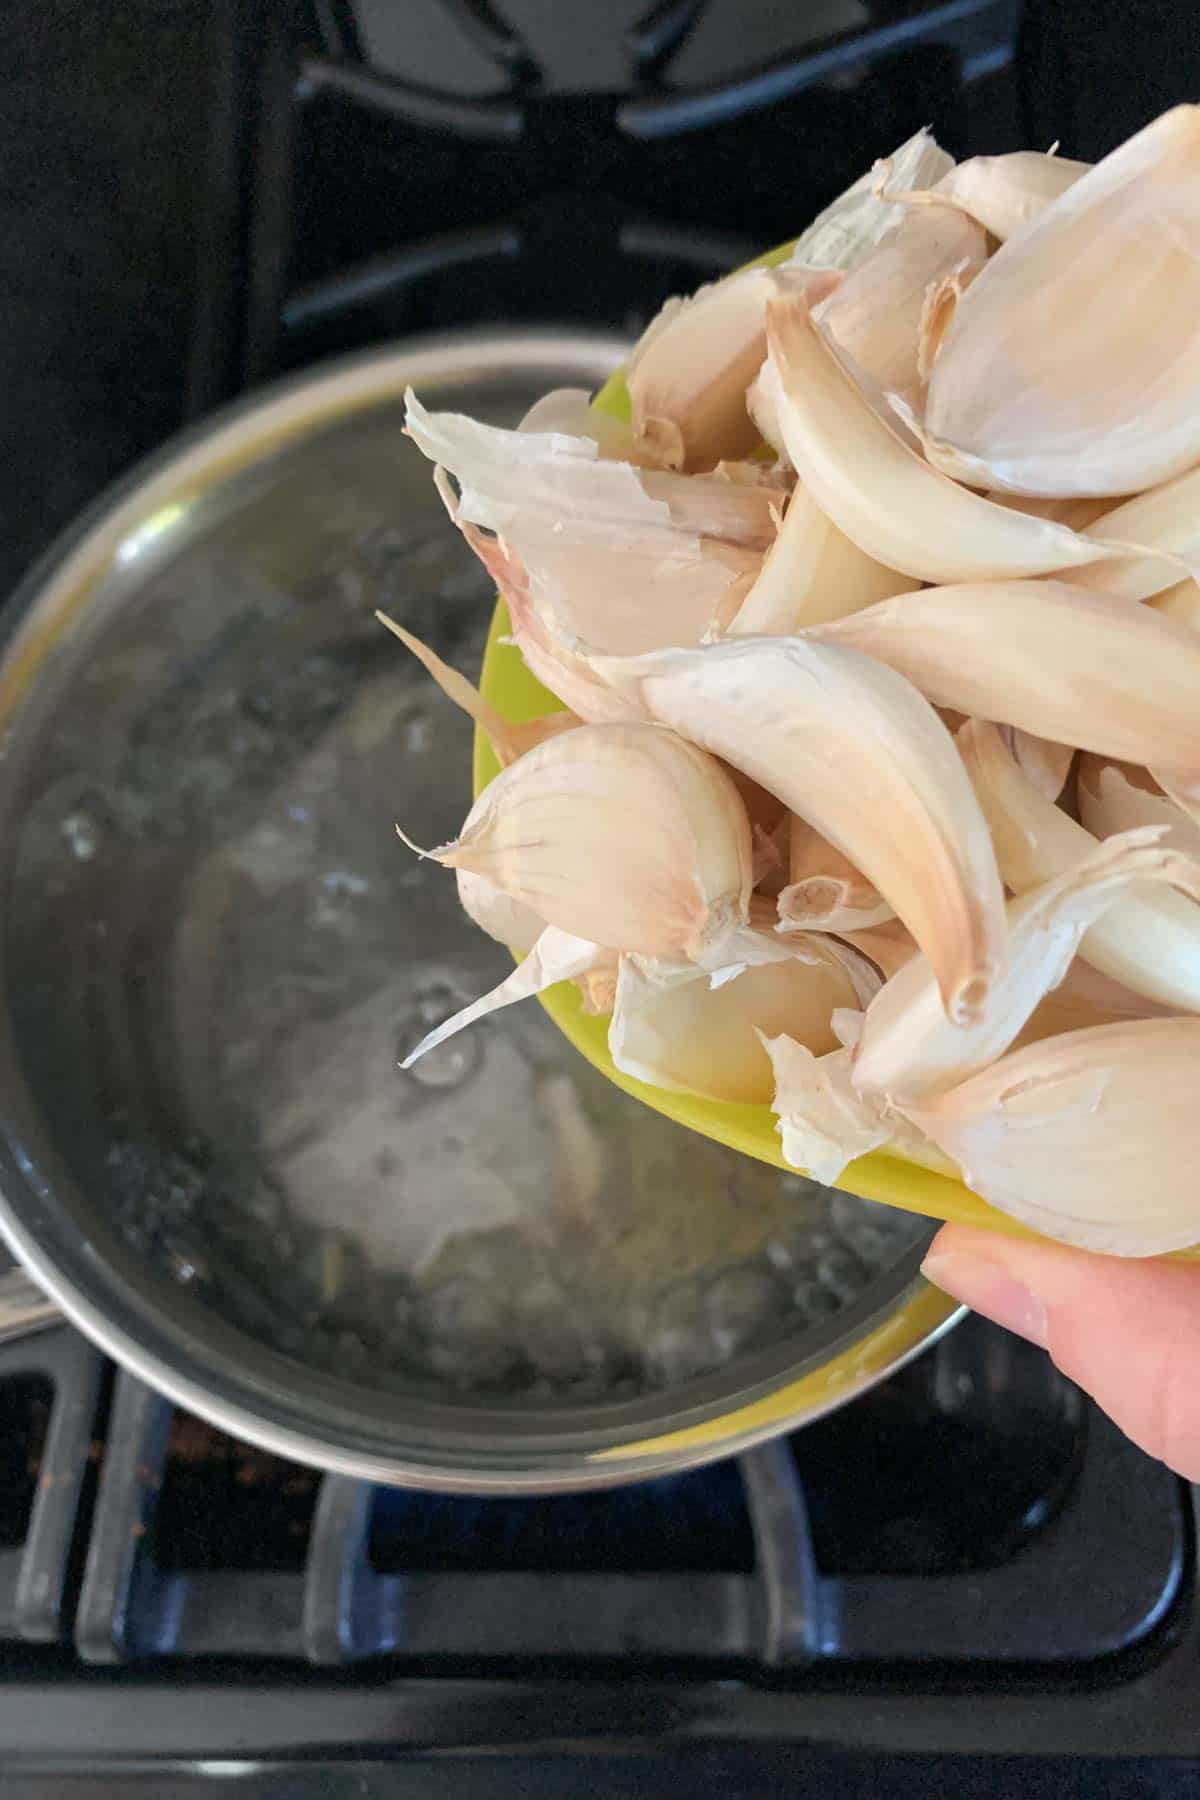
To pickle the garlic, you’ll first need to separate and peel the cloves.
Unfortunately, this step takes the longest, but you can blanch the cloves to make it easier.
Bring a pot of water to a boil, then add the separated garlic cloves.
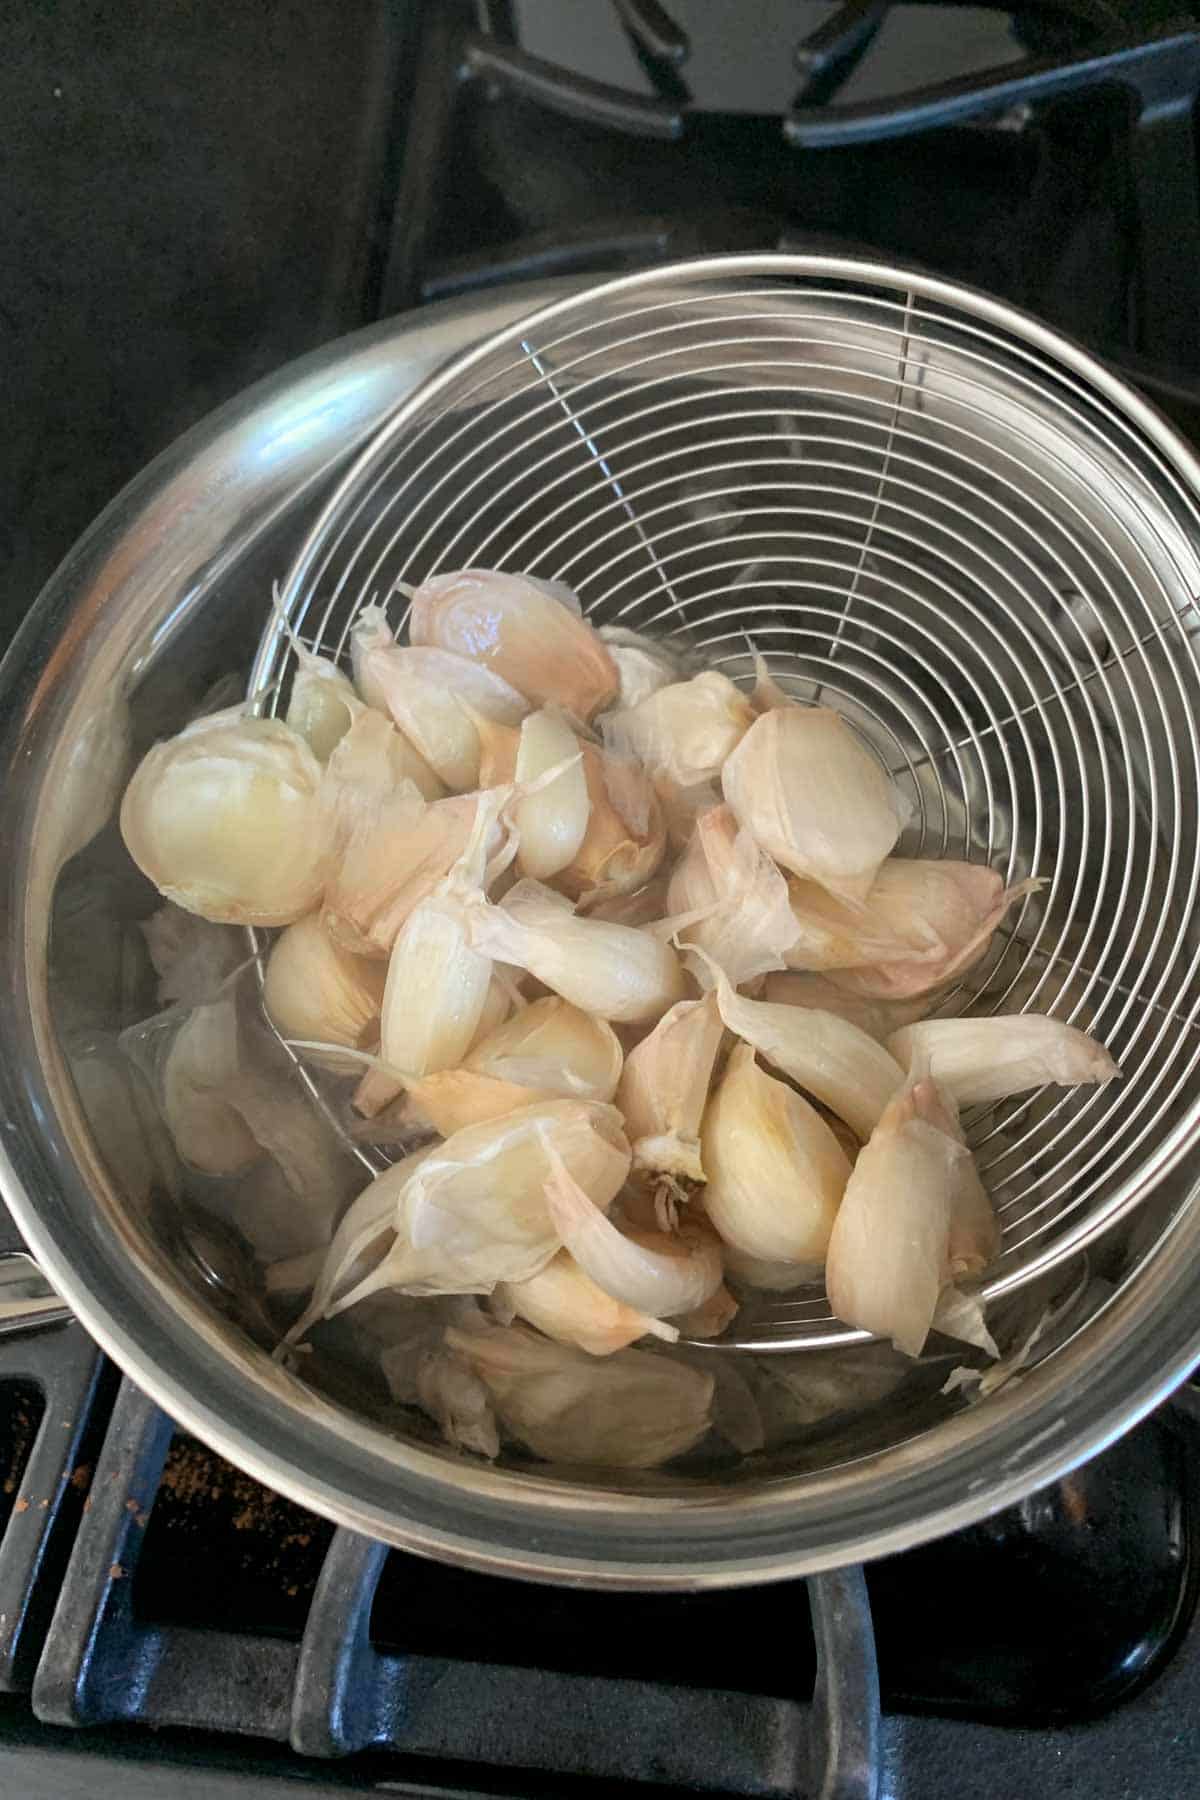
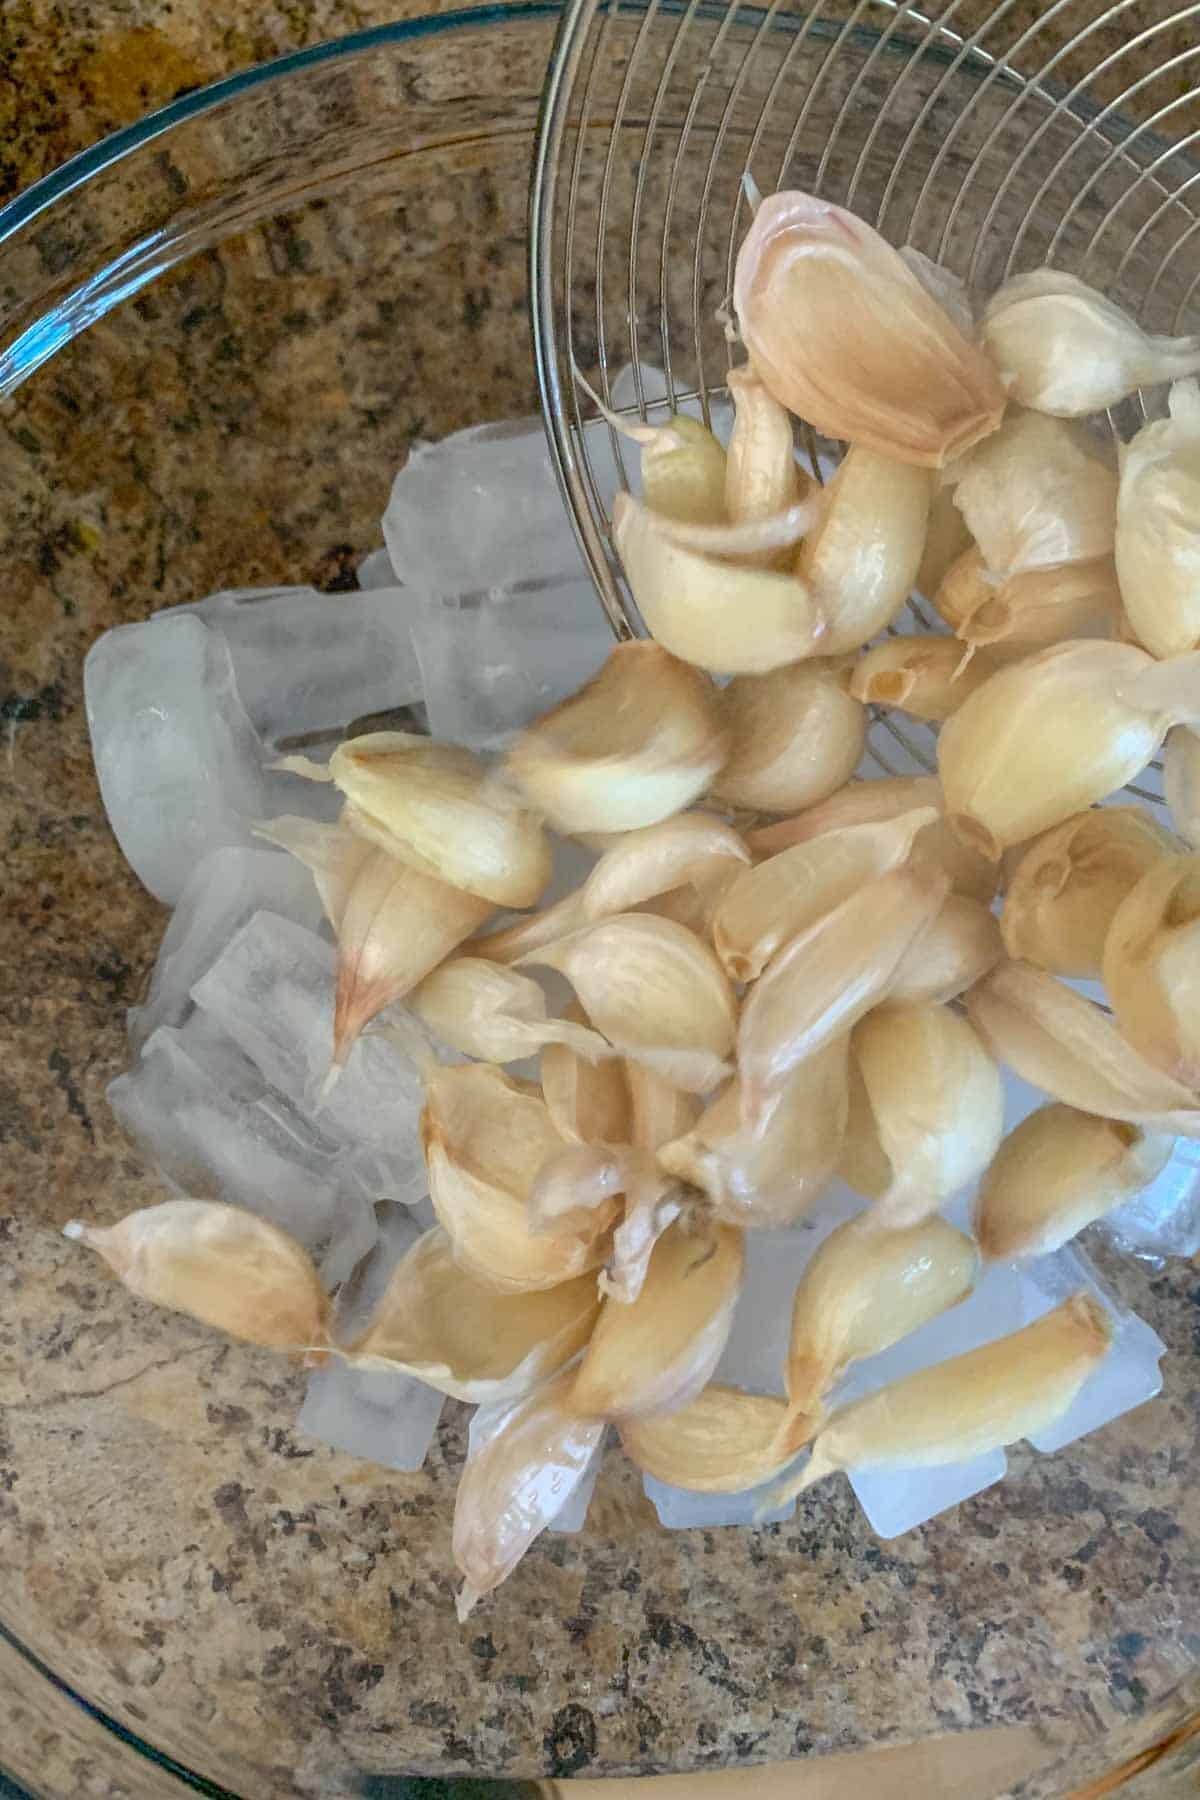
Boil for 1 minute, then strain the garlic cloves into an ice bath. (An ice bath is a bowl filled with ice cubes and a small amount of water.)
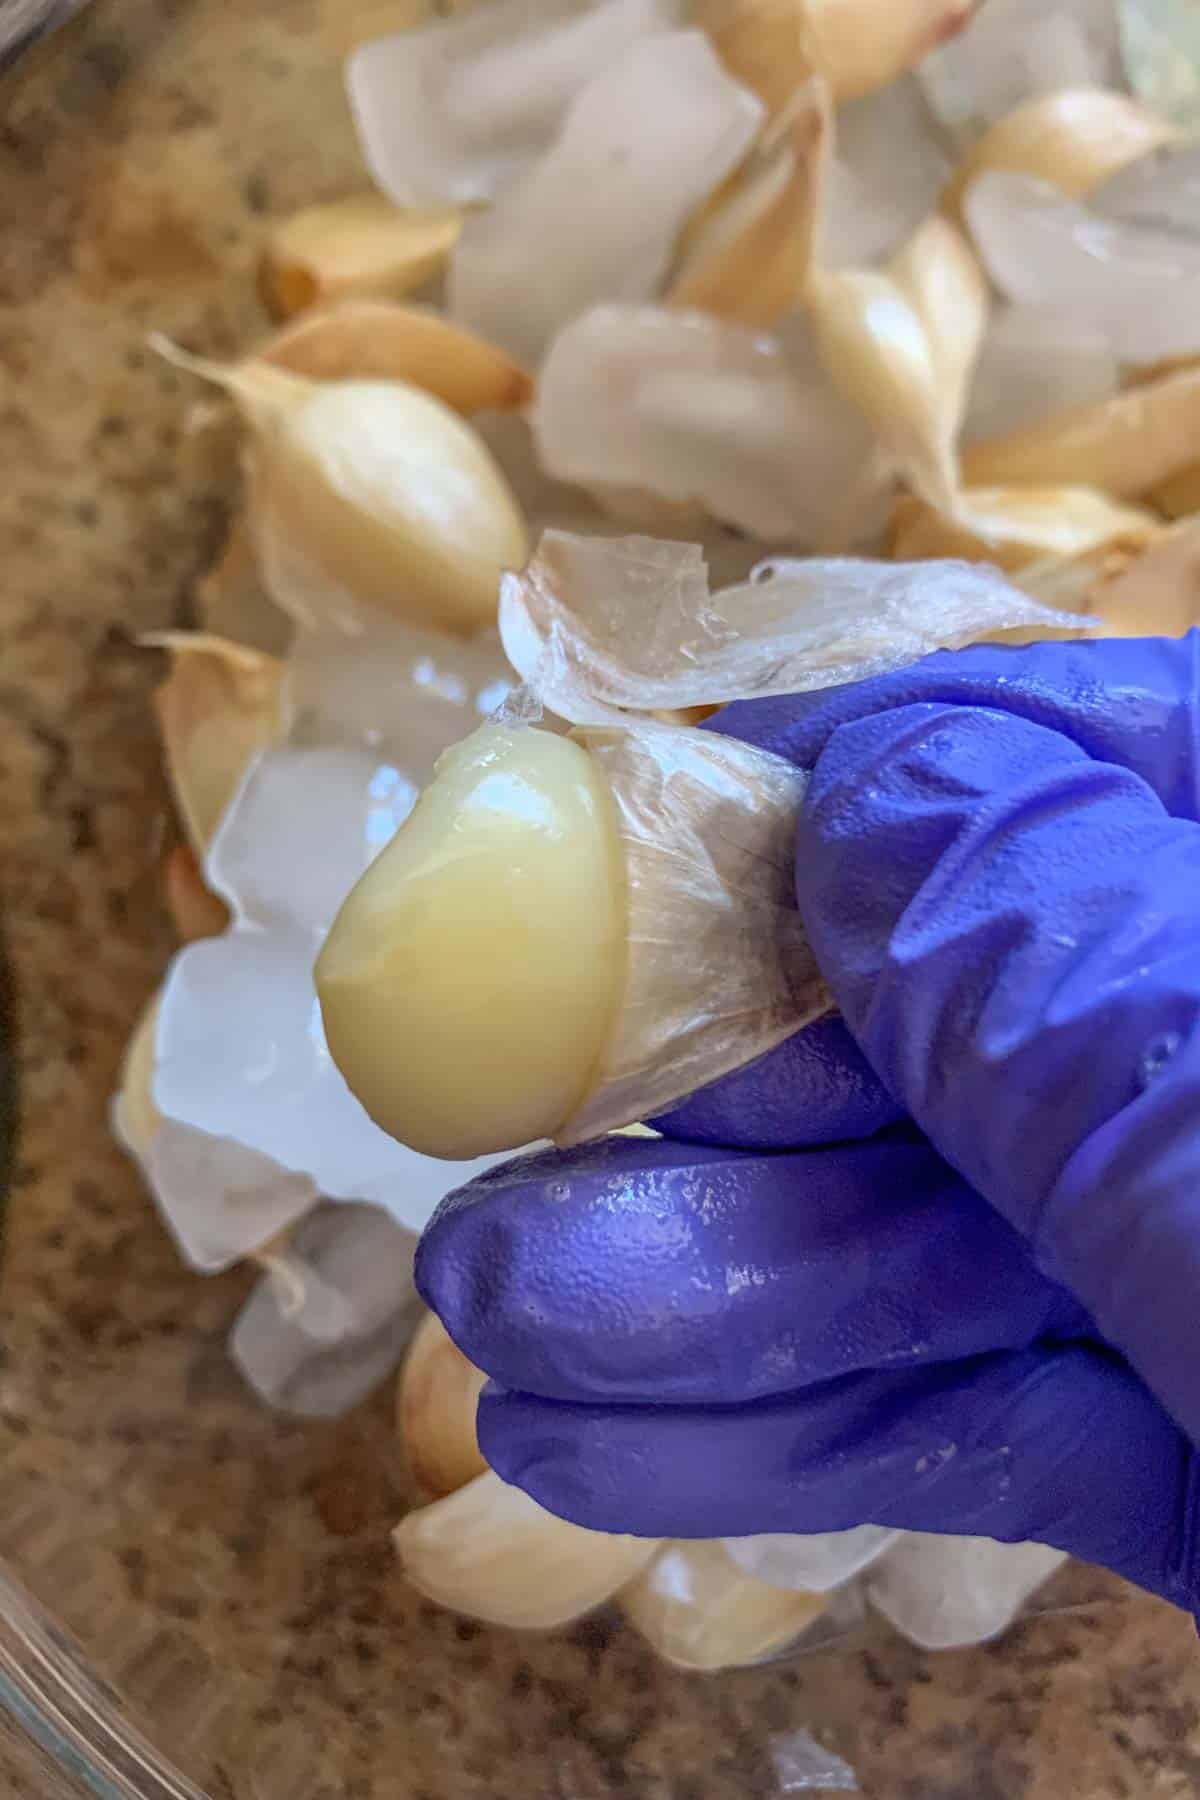
Once the garlic cloves are cool enough to handle, peel off the papery skins.
Want to save this recipe for later?
I recommend wearing kitchen gloves while peeling, unless you don’t mind garlic fingers!
You can also skip this step by purchasing pre-peeled garlic cloves. A big container of Costco peeled garlic will do the trick and give you plenty of garlic for a big batch of pickles.
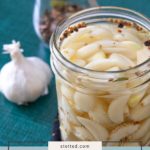
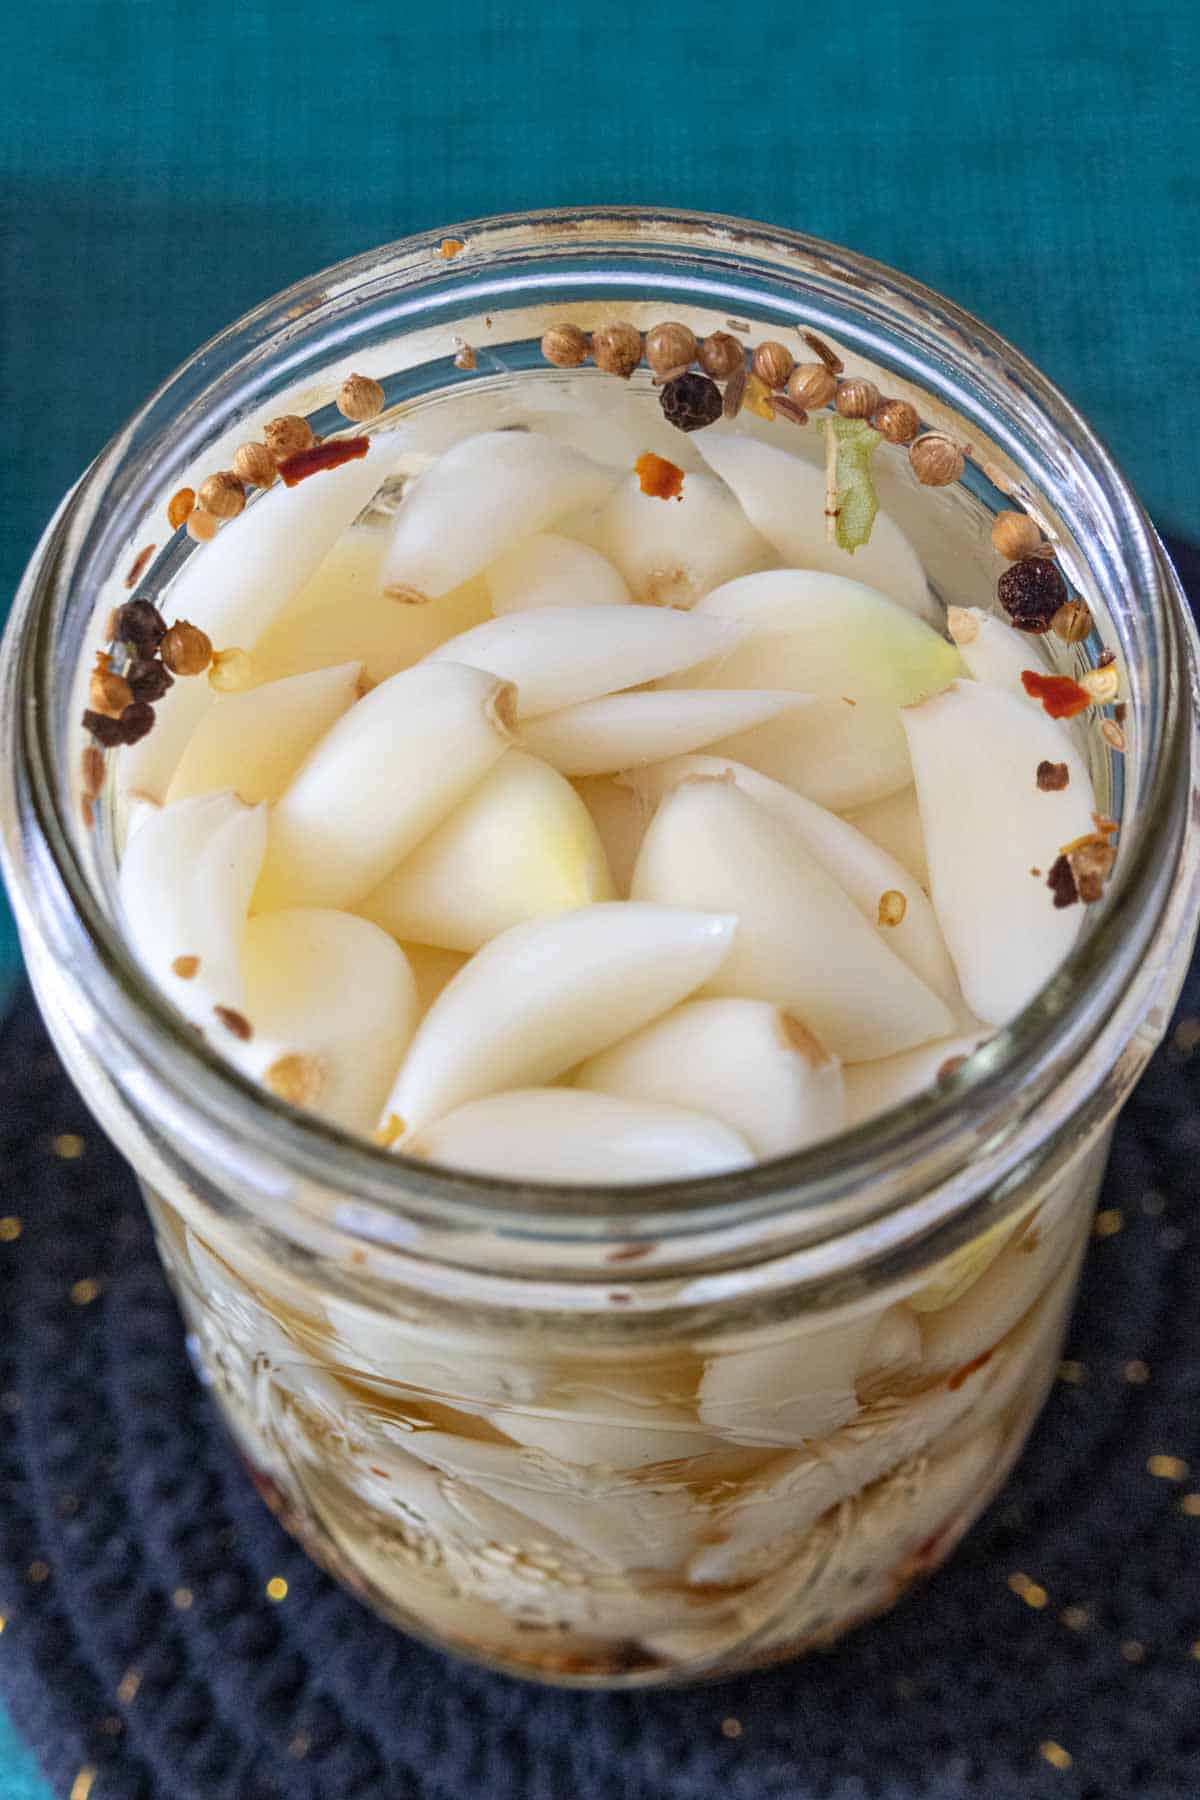
Divide your pickling spices between the jars you are using, and add the peeled garlic cloves.
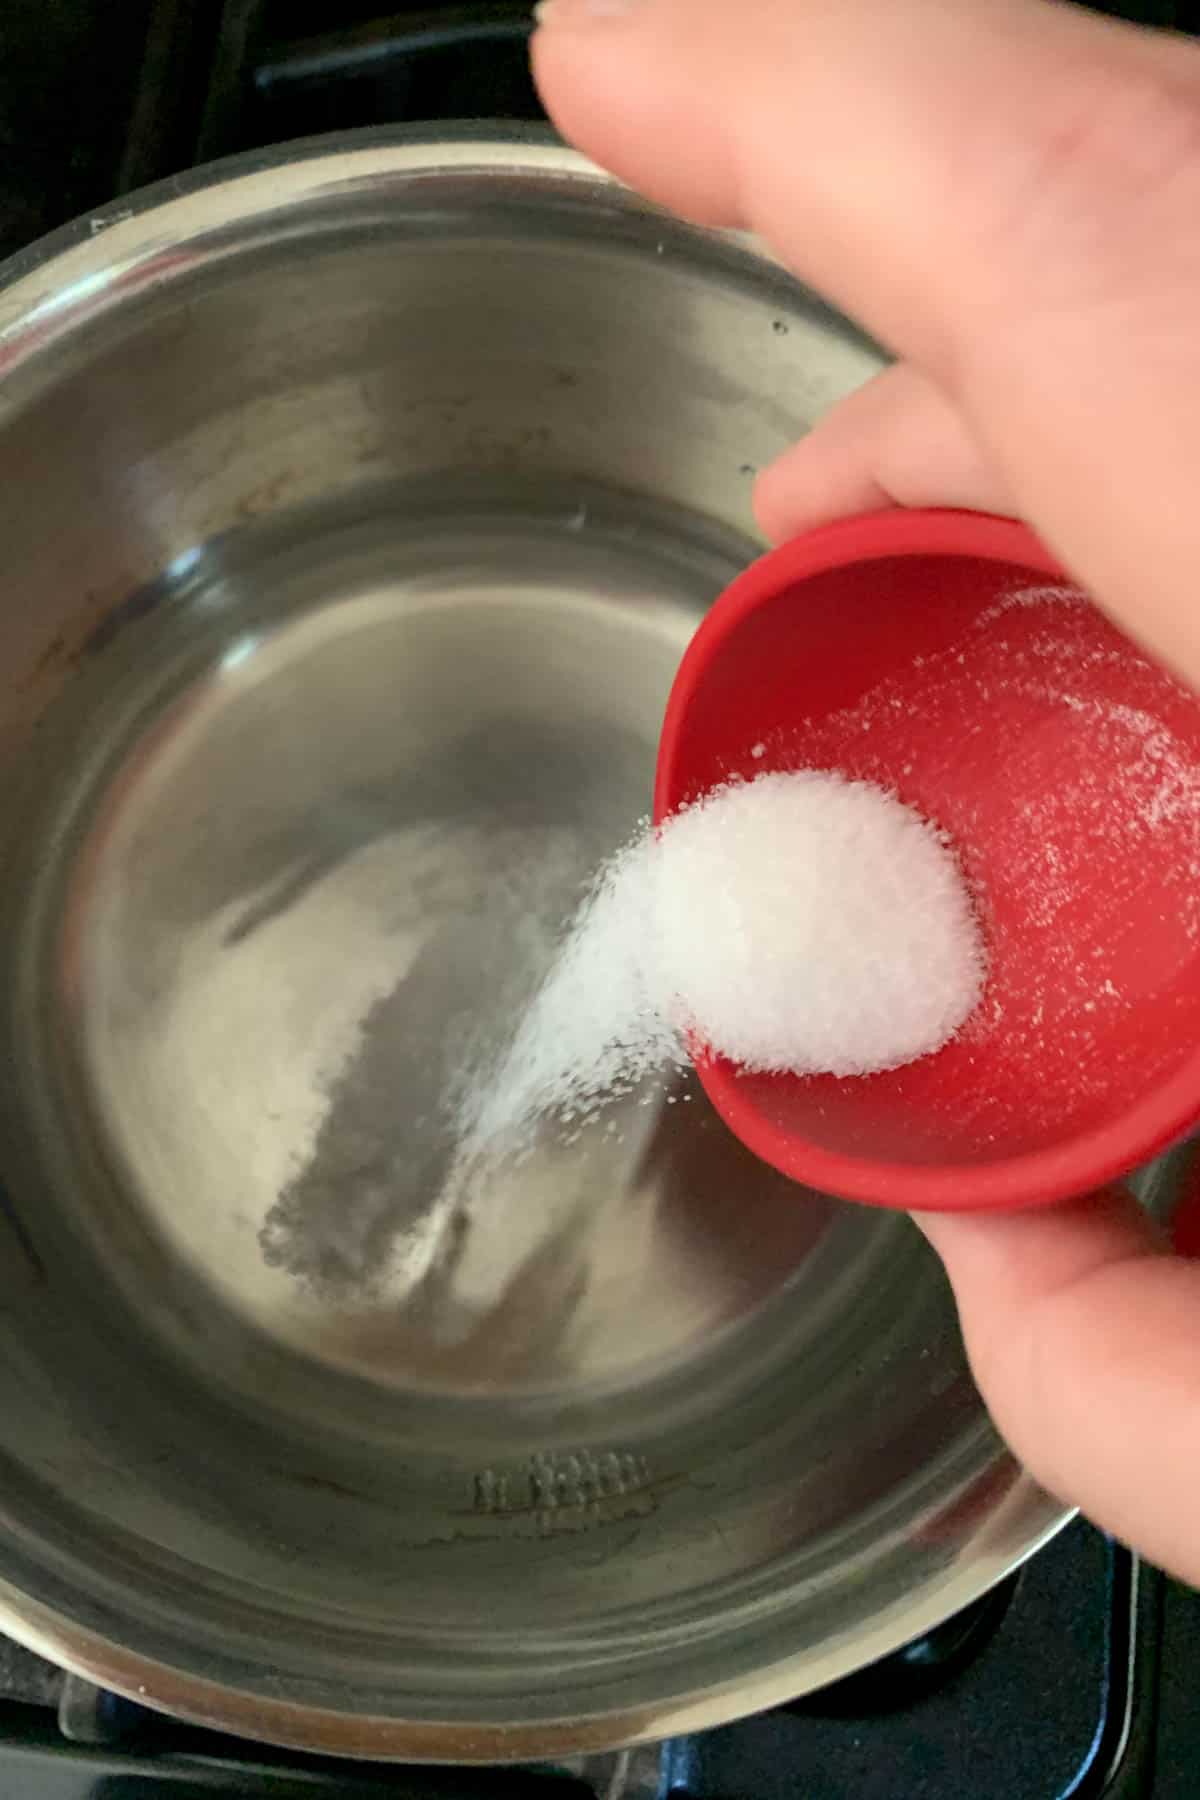
In a saucepan, bring the vinegar, salt, and sugar to a boil, whisking to dissolve.
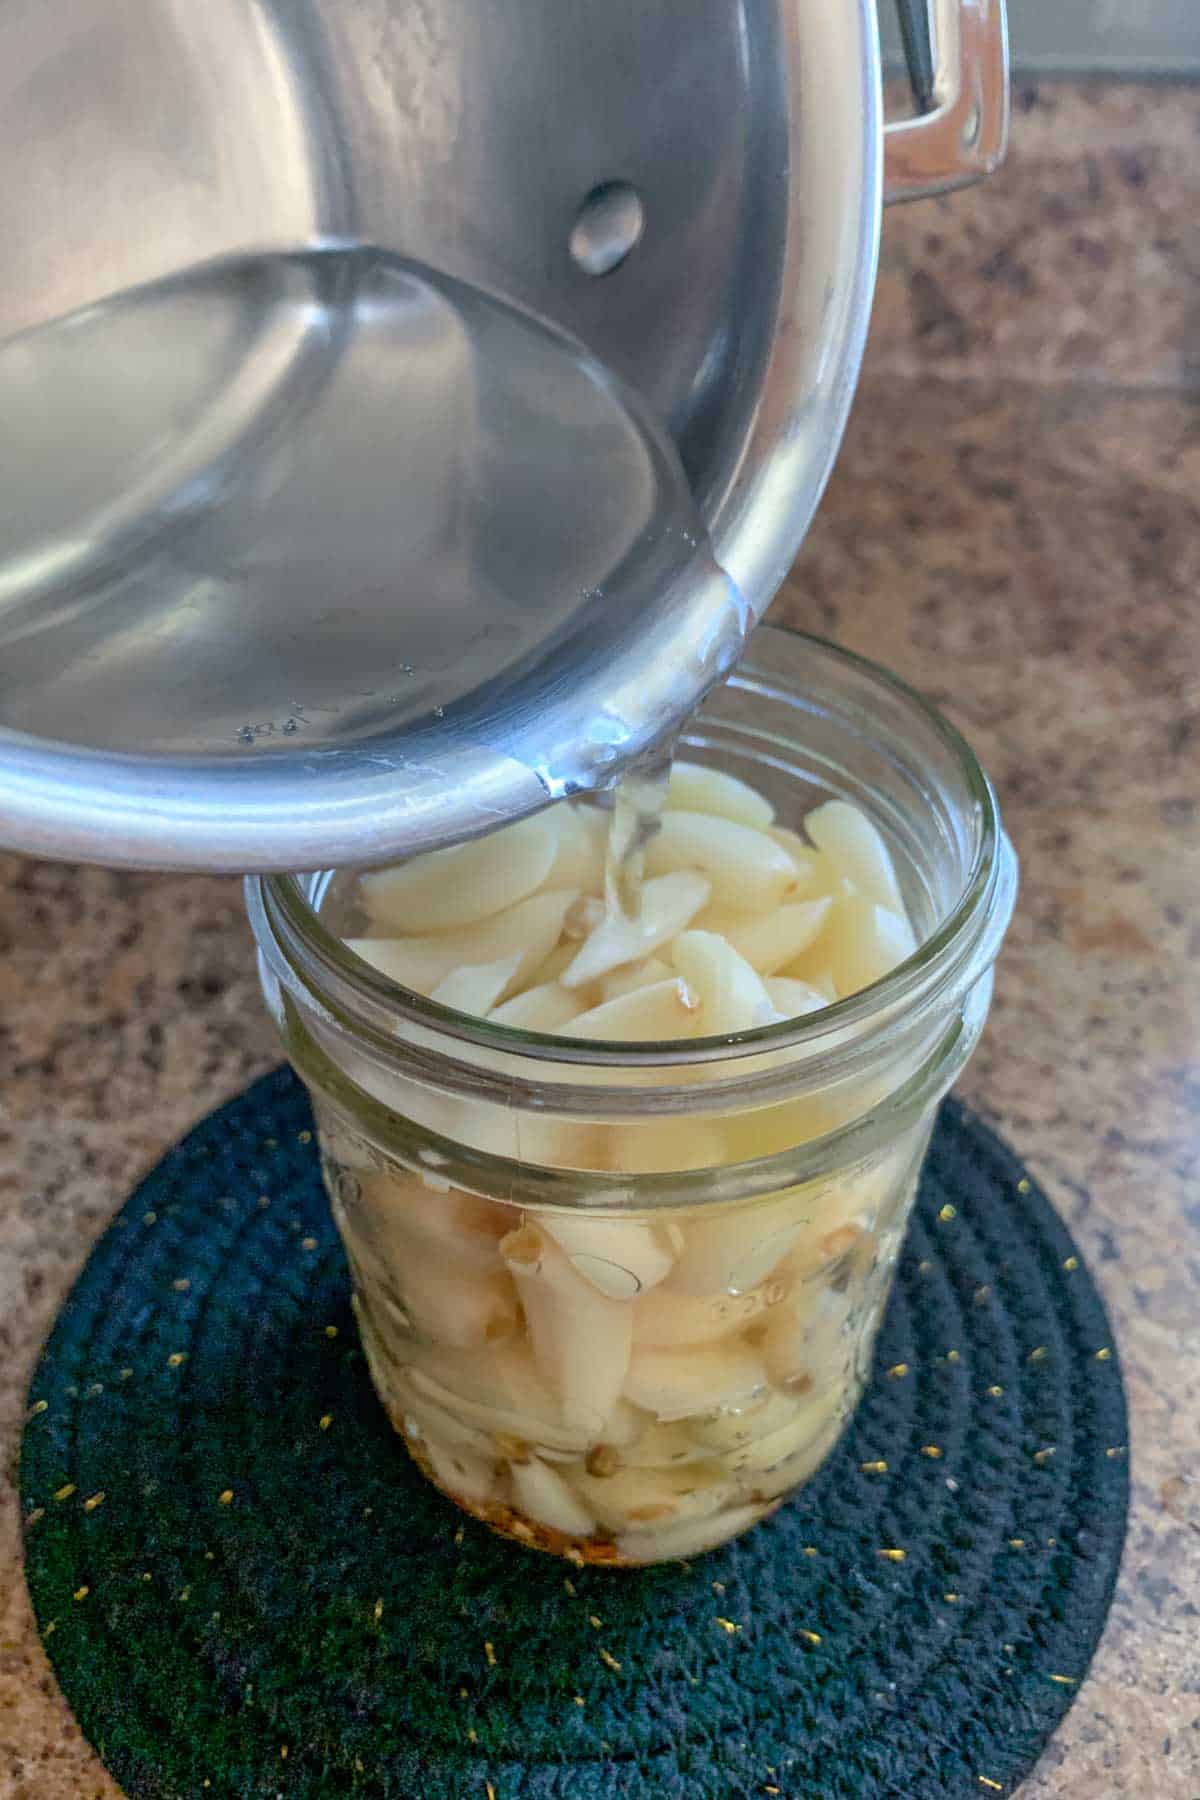
Once boiling, pour the pickling brine over the cloves, filling the jar. Leave about ¼ inch of space at the top of the jar.
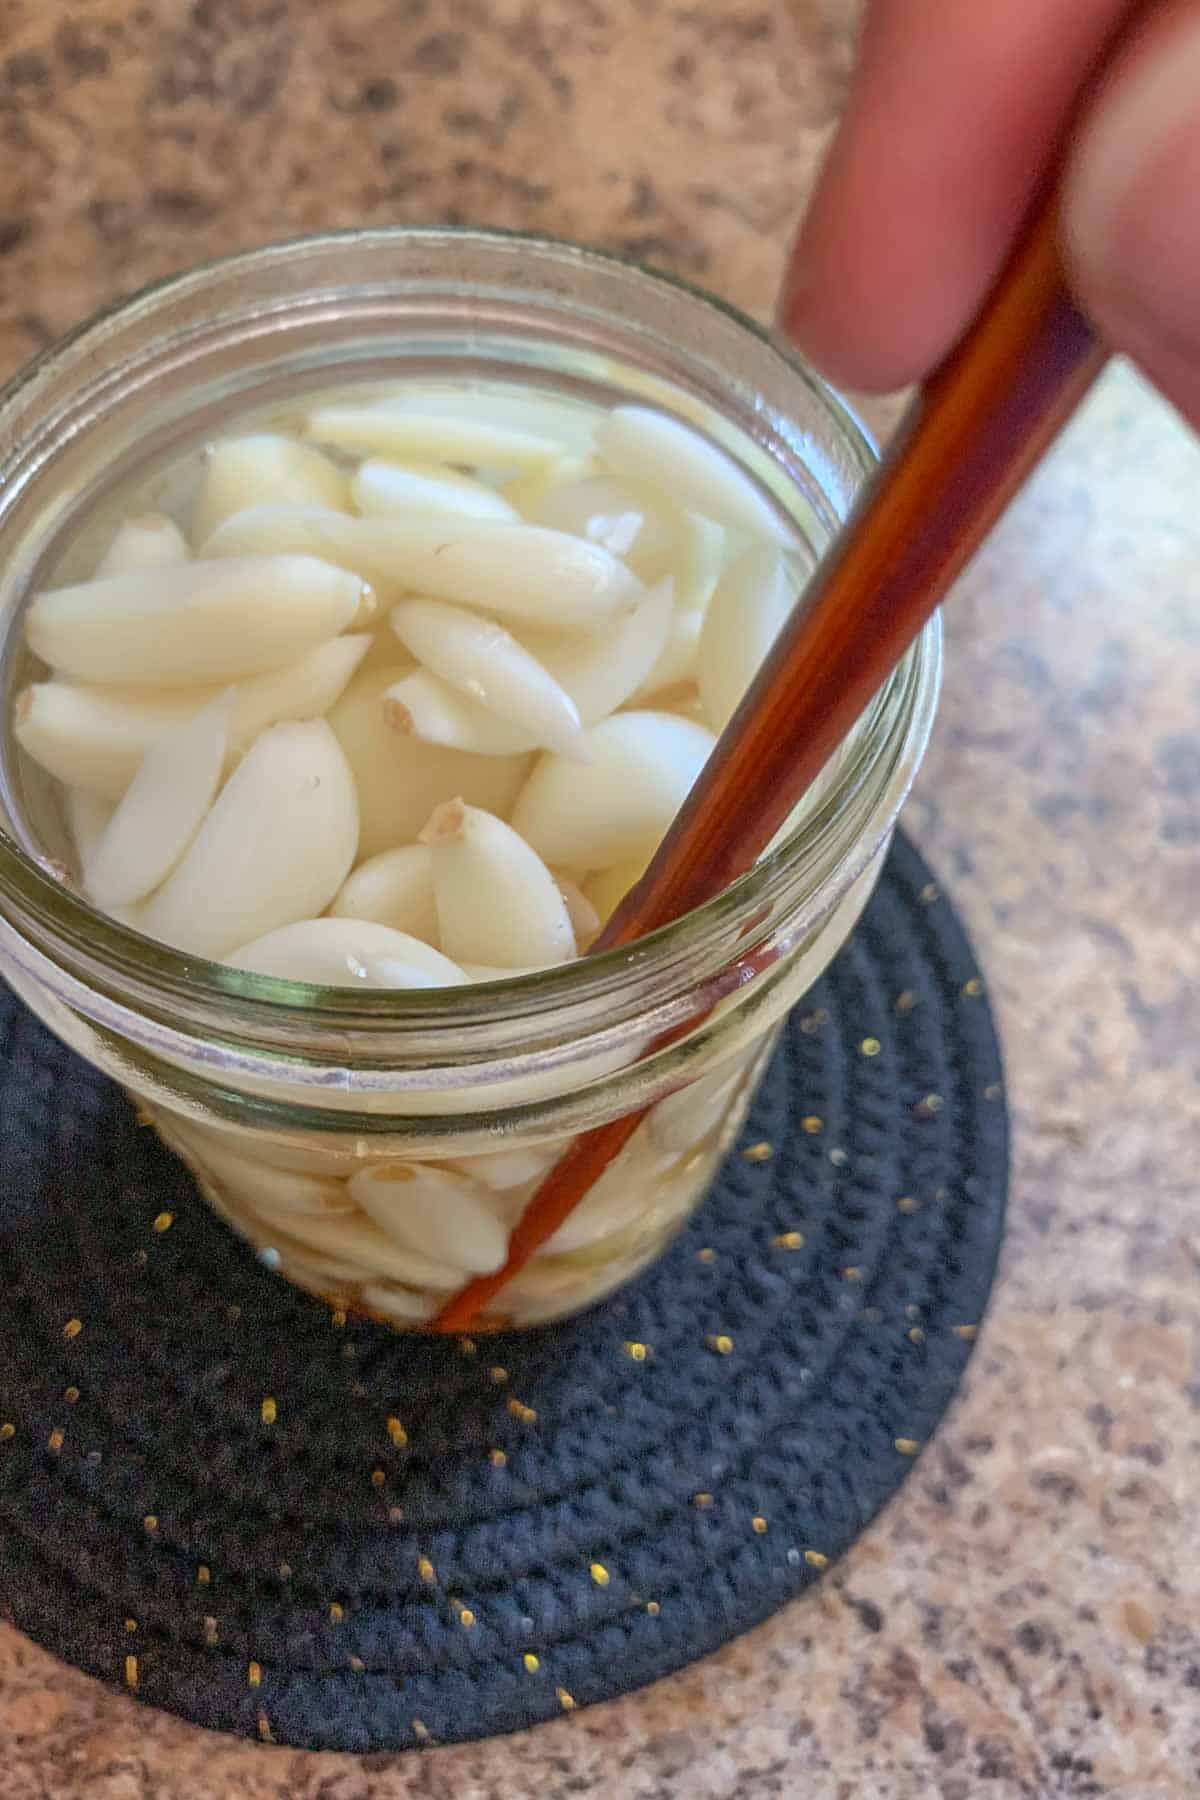
Use a chopstick to press against the side and remove any air bubbles and add more brine if needed.
All of the cloves should be covered with brine, but you might not use all of it.
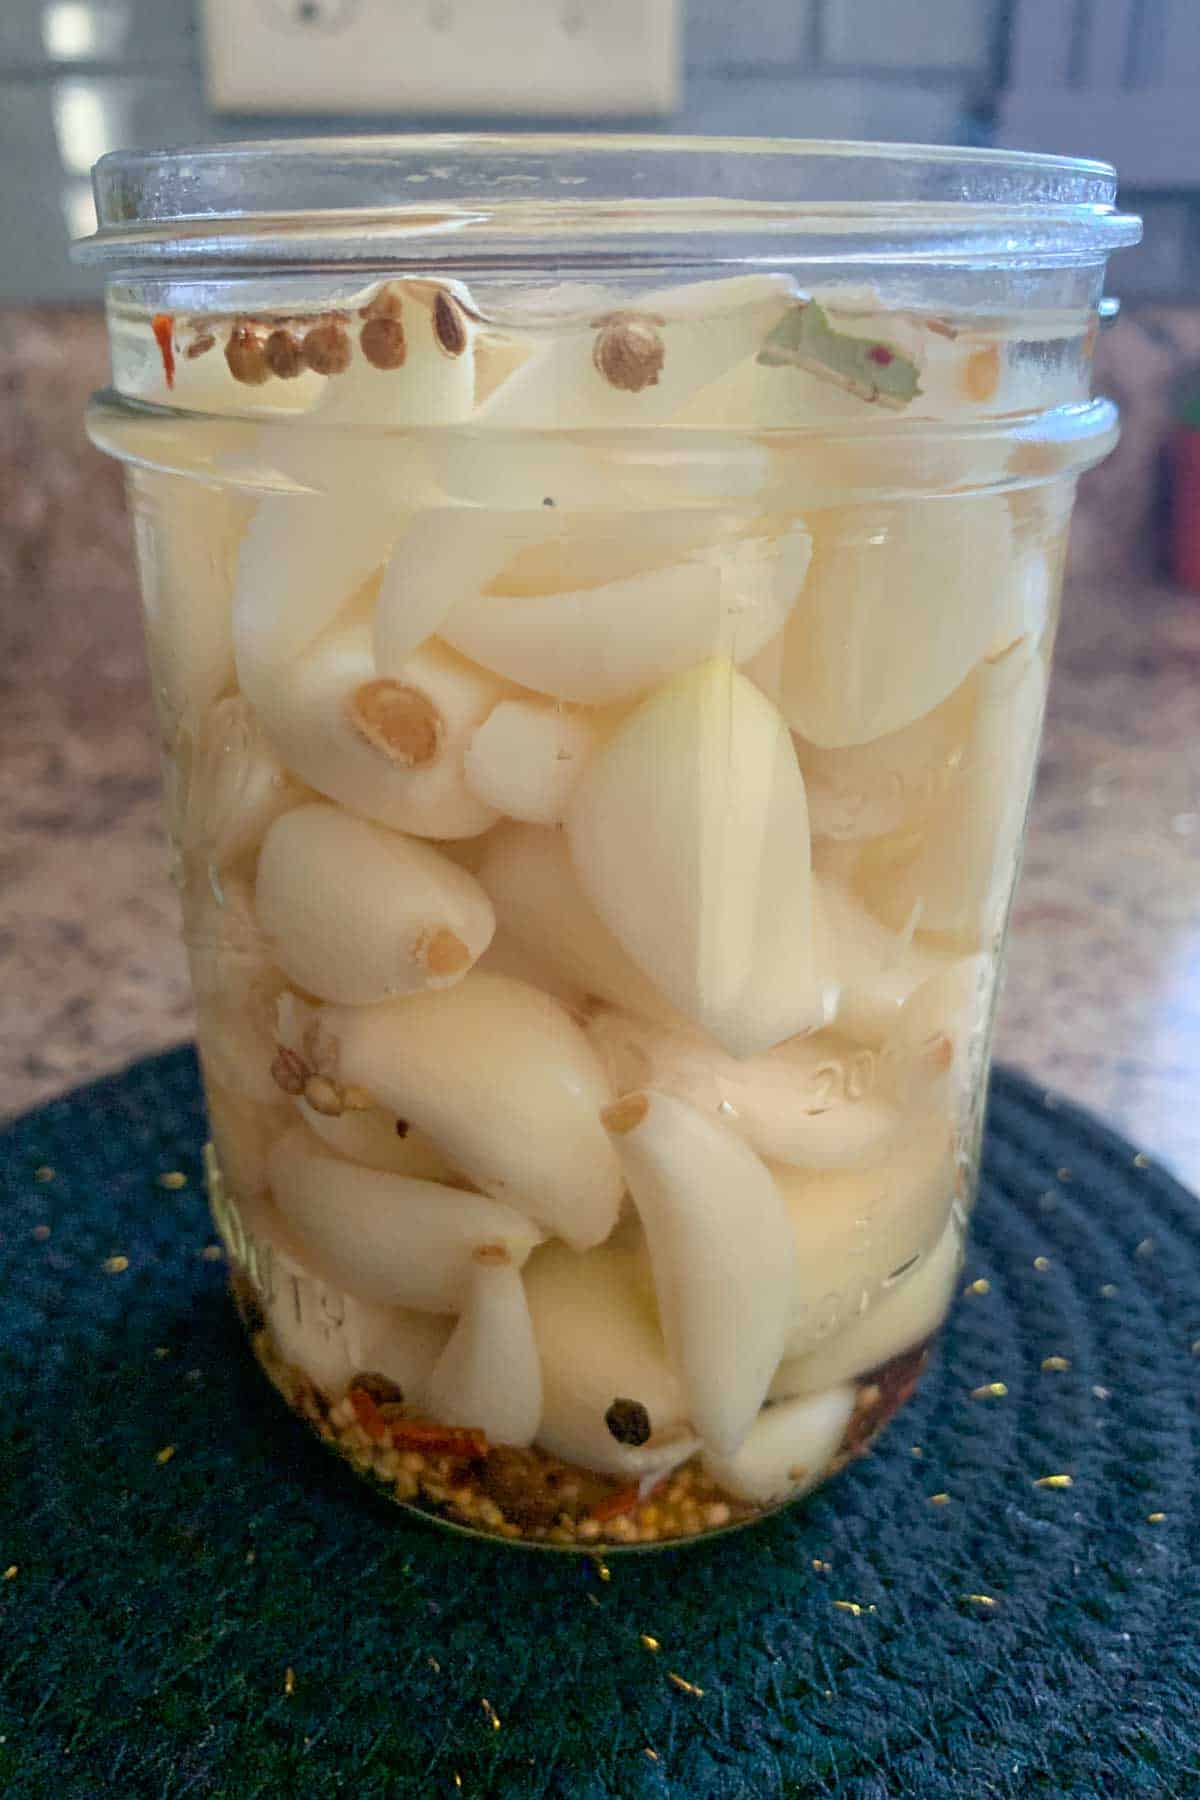
Place on the reusable lid or canning lid and band. Let cool to room temperature, then transfer to the refrigerator.
If canning, process in a boiling water bath canner for 10 minutes. Remove and let rest on the counter for 24 hours, then check for seal and transfer to the pantry.
Serving suggestions
Now that you’ve got a jar or two of pickled garlic, what should you do with it?
You can add it to a relish tray of course, but pickled garlic is also great as an ingredient.
Use it in place of fresh garlic in creamy garlic dressing or when making garlic aioli.
Chop and add to stir frys, sauteed vegetables, or with cucumber pickles to make a zesty hot dog relish.
Add to pizza or pasta dishes.
Use as a garnish for cocktails, like a spicy bloody mary.
Pickled garlic makes a great gift for the holidays, too! Process it in smaller jars and gift with your favorite cheeses, cranberry mustard, and crackers for a DIY cheese board.
Storage tips
If you are not canning this recipe, pickled garlic will keep in the refrigerator for about 2 months.
Storing the jar in a colder part of the refrigerator will help it last longer.
If you process the jars in a water bath canner, sealed jars will keep for about 18 months. Make sure to store them in a cool, dry place such as a pantry or cabinet.
important!
Do not store unprocessed jars in the pantry. Pickles that have not been processed in a water bath or pressure canner are not shelf stable.
FAQ
More pickles to enjoy
Craving more tangy pickles? Try these recipes!
You’ll love this tangy pickled garlic recipe!
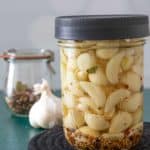
Pickled Garlic
Ingredients
- 10 ounces garlic cloves
- 2 teaspoons pickling spice
- 1 1/4 cups white vinegar
- 1 teaspoon granulated sugar
- 1/2 teaspoon pickling salt
Directions
- Separate garlic cloves and peel. To easily peel, blanch the cloves in a pot of boiling water for 1 minute, then transfer to an ice bath until cool enough to handle.
- Divide pickling spice and cloves among 2 8-ounce jars or 1 16-ounce jar.
- In a small saucepan *, combine vinegar, sugar, and pickling salt. Bring to a boil, whisking to dissolve sugar and salt.
- Pour over garlic cloves, filling the jar with ¼-inch headroom. The cloves should be completely covered, but you might not use all the brine.
- Screw on lid(s) and let cool to room temperature before transferring to the refrigerator.
Notes
- For pantry storage, process jars in a water bath canner for 10 minutes.
Want to save this recipe for later?
Recommended Products
Nutrition
Nutrition information is provided as a courtesy and is an estimate based on online calculators. Any nutritional information found on Stetted should be used as a general guideline only.
You might also like:


About Megan
I learned how to cook by exploring seasonal ingredients, and you can too! Meal time shouldn’t be stressful or complicated, and with fresh ingredients and easy methods, I’m here to help you enjoy the time spent in the kitchen. Read more…


How long should the garlic sit before trying it?
Hi Amy, I would let it sit for at least a day to let the garlic pickle and flavors meld.
Thank you for sharing this recipe. I have been searching for just the perfect recipe and you have provided it!